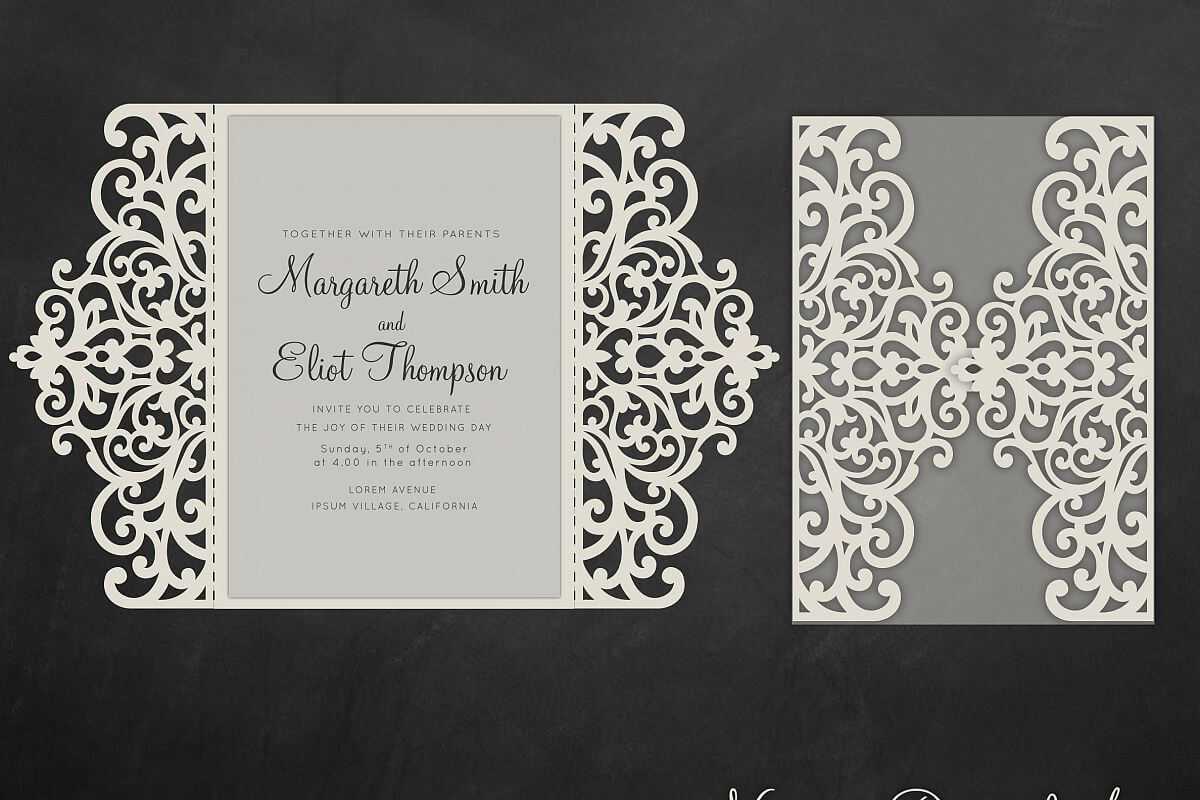
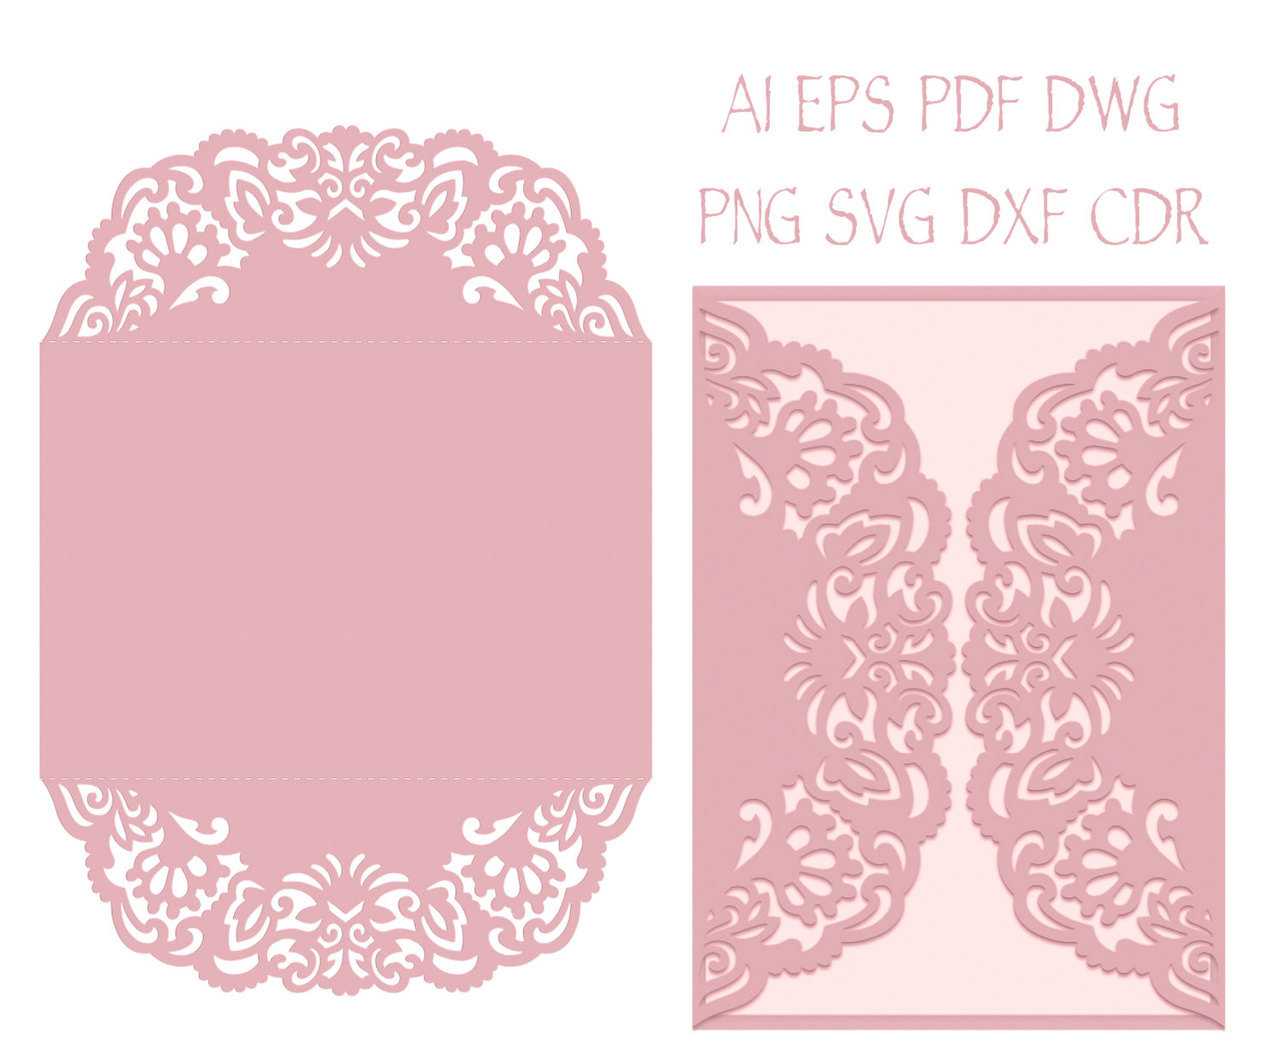
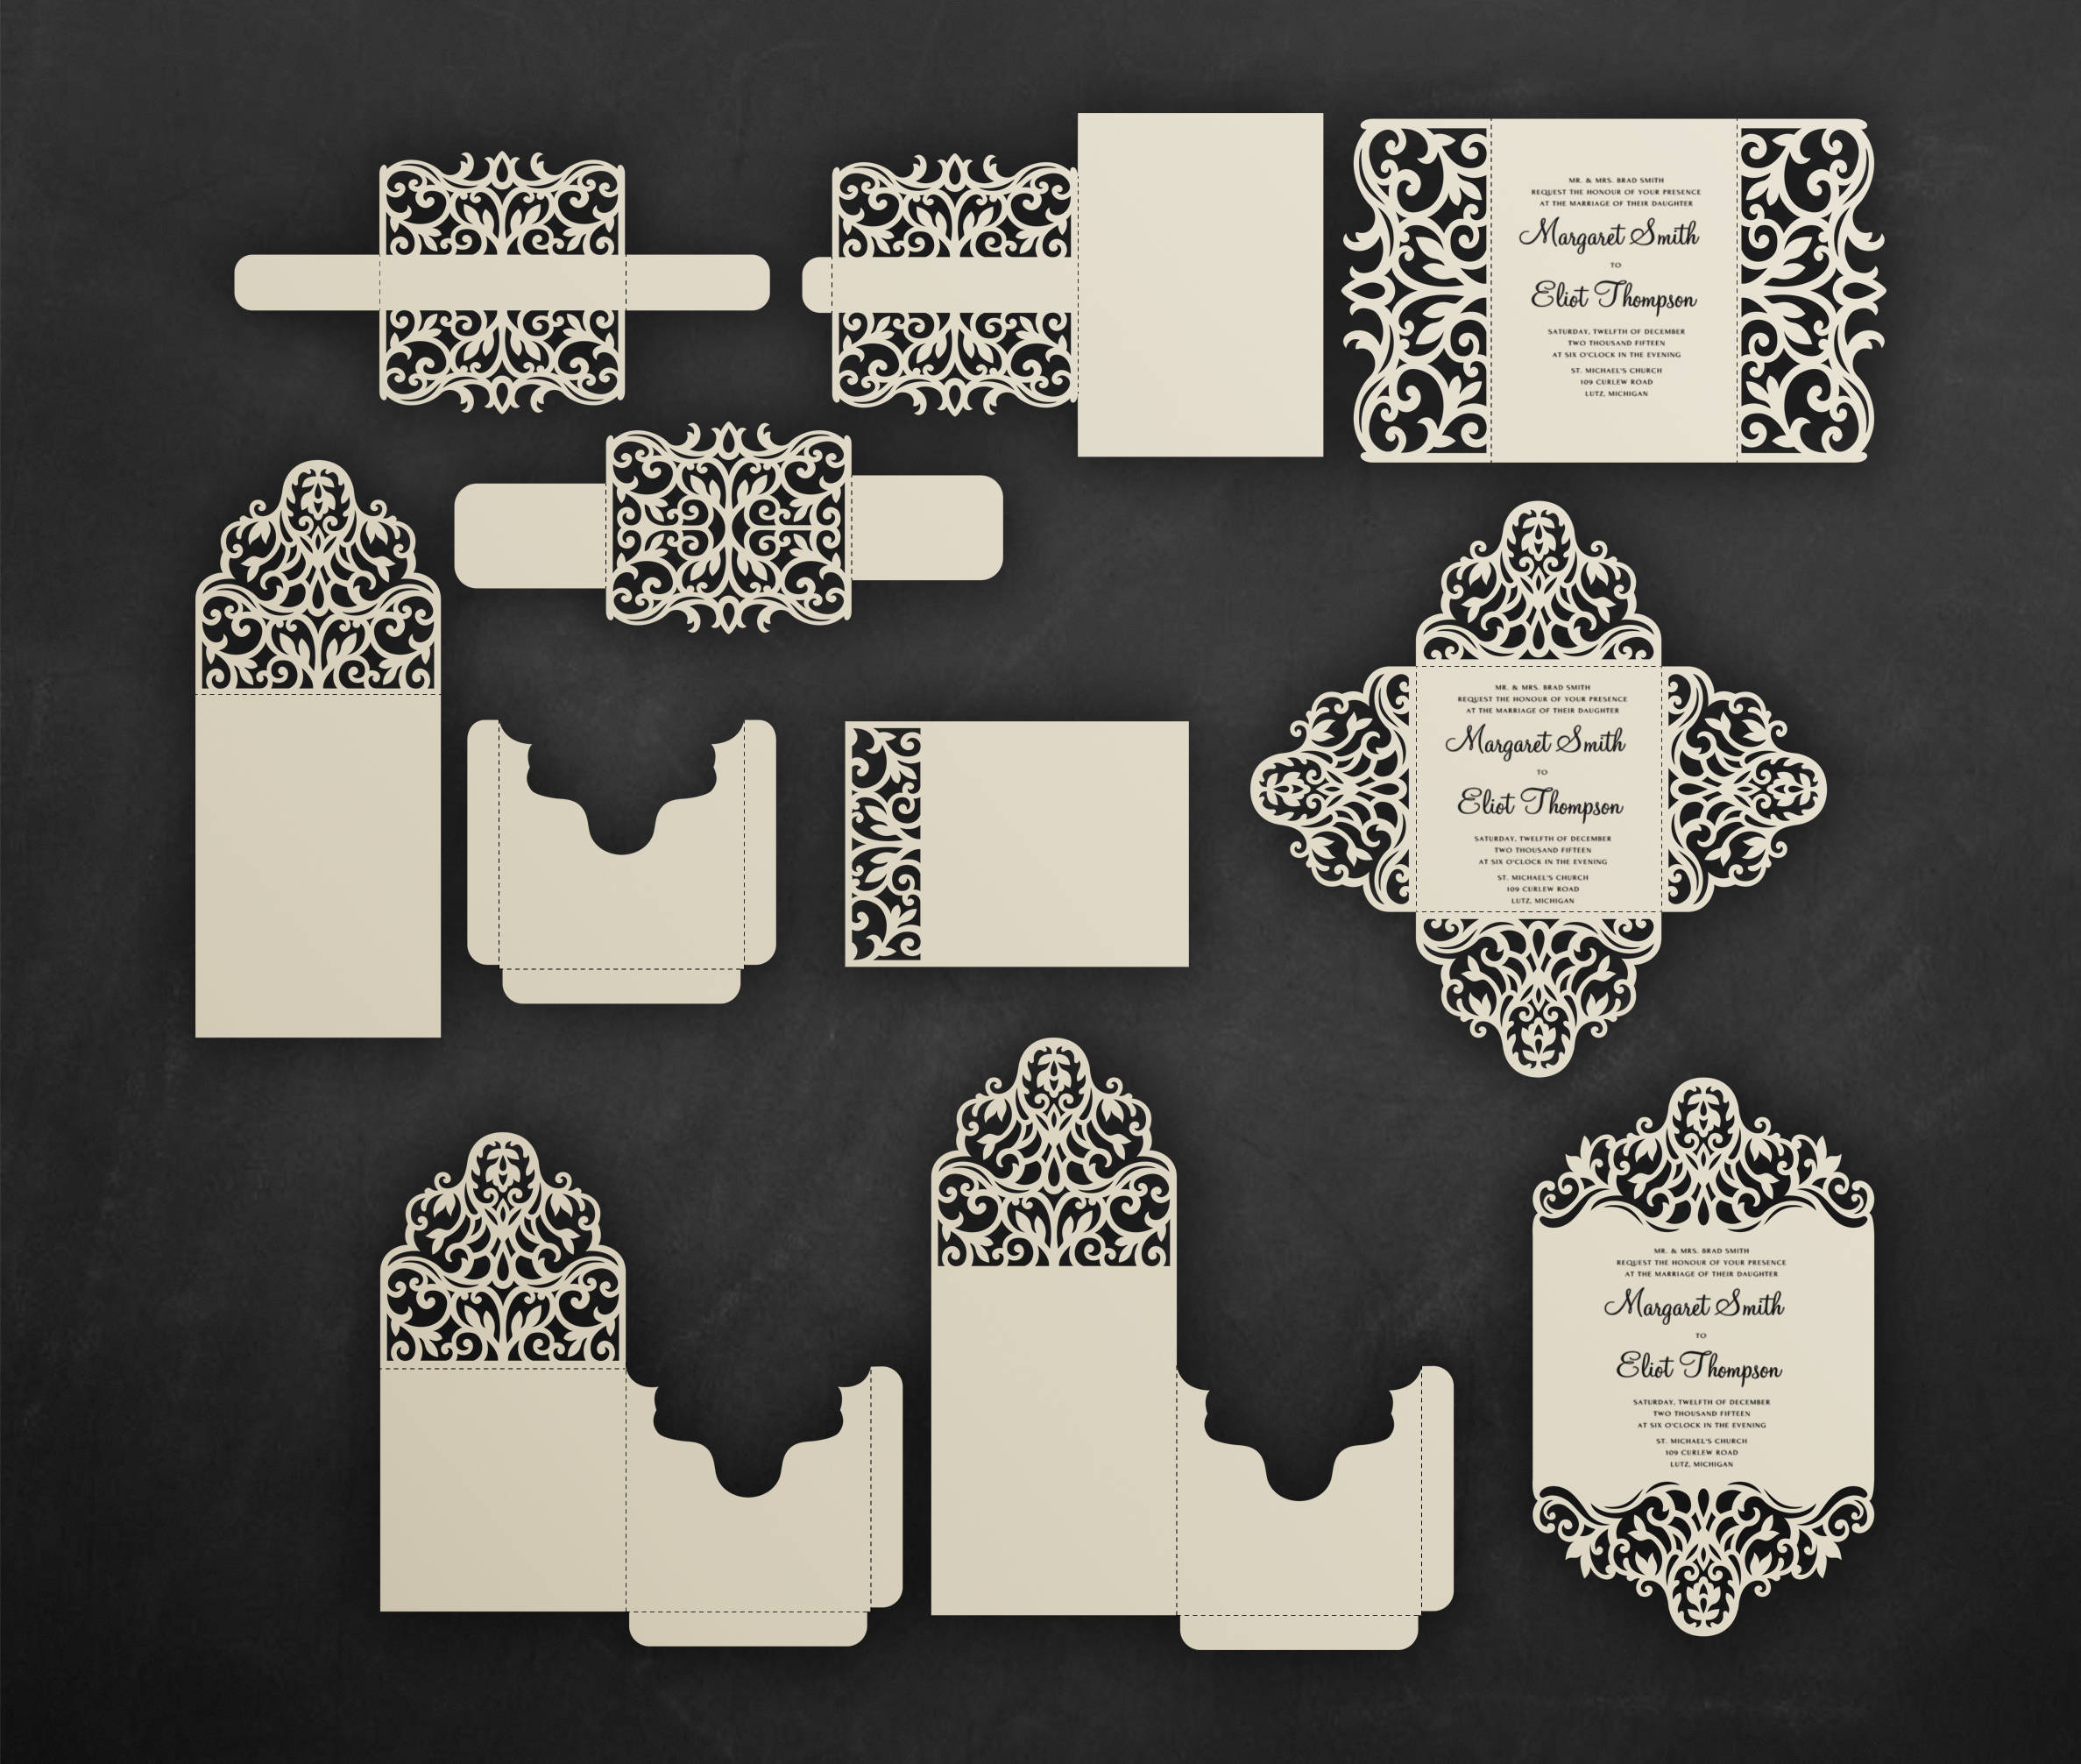
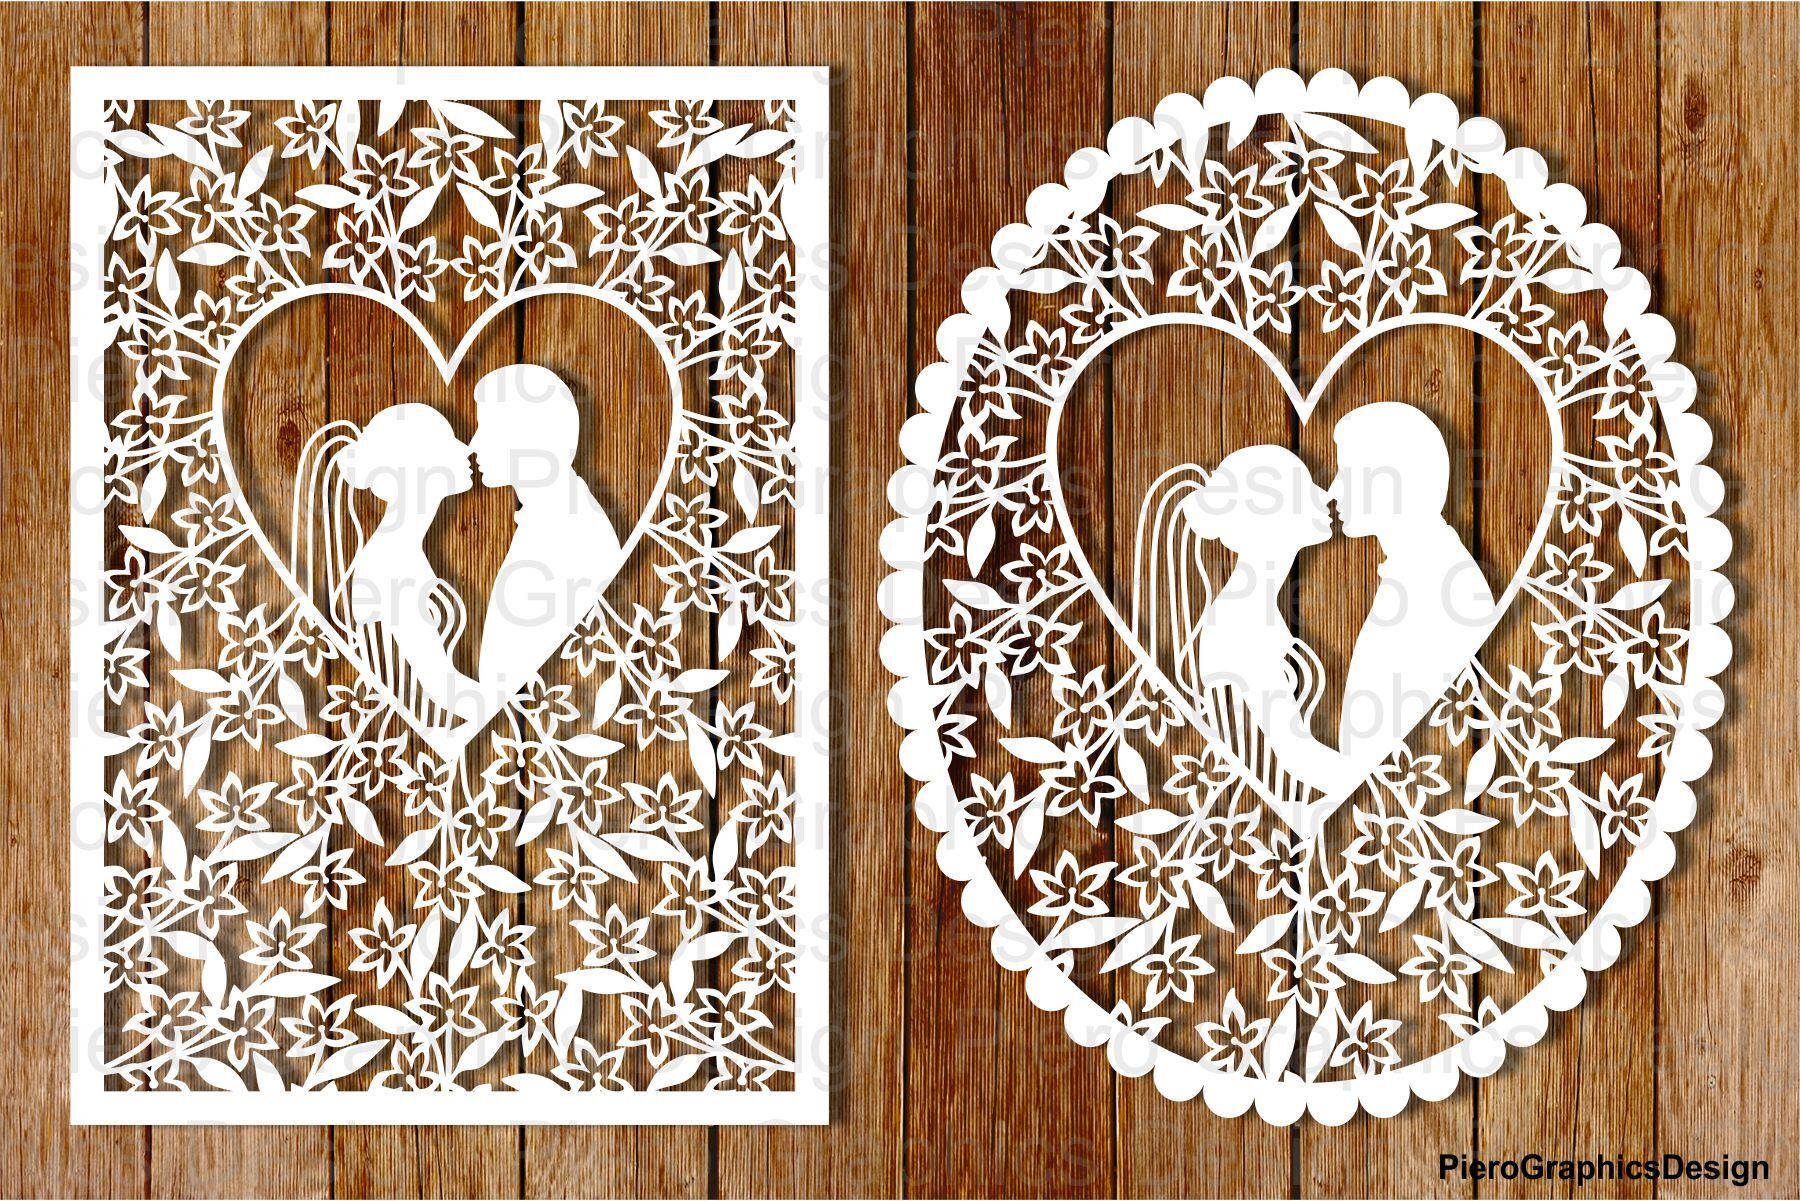
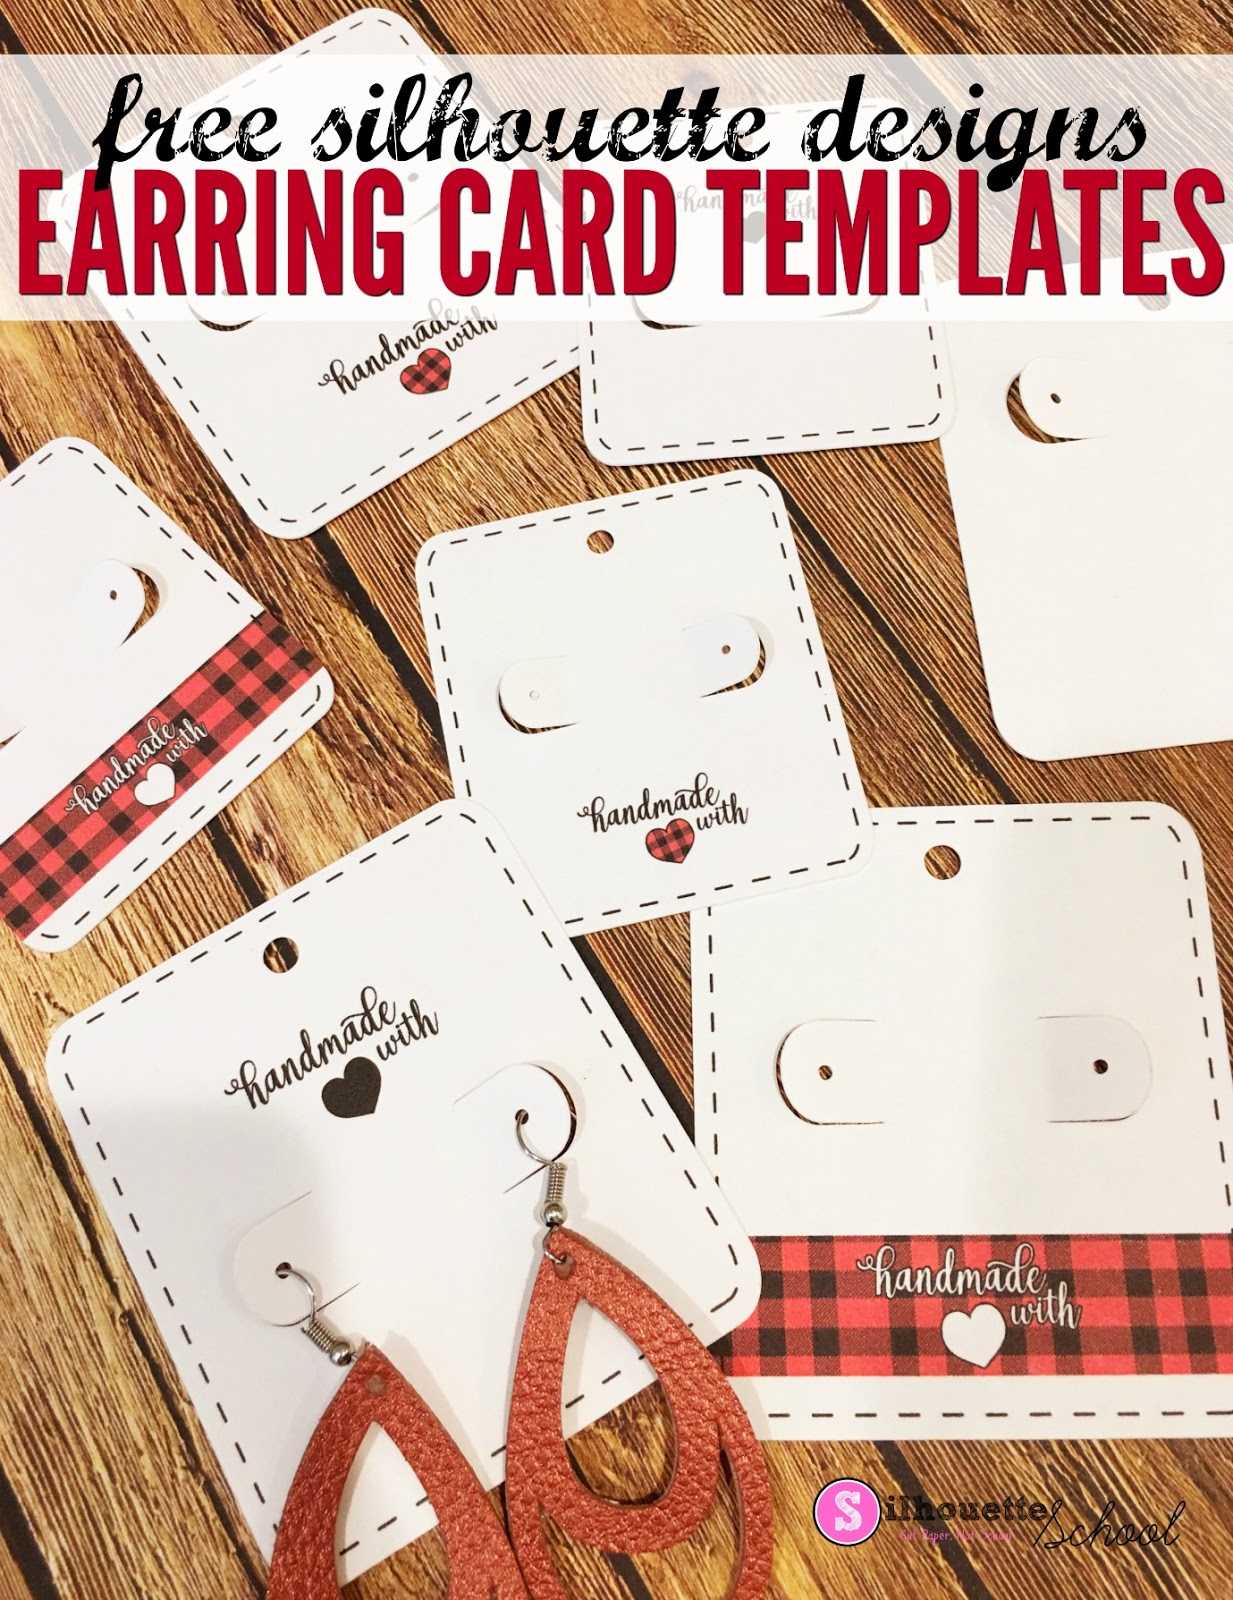
Silhouette Cameo Card Templates are the secret weapon for anyone looking to elevate their DIY card-making game without a steep learning curve. Whether you’re a wedding planner, a hobbyist, or a small business owner, these ready-made designs unlock endless creative possibilities and save hours of painstaking design work. The following guide will walk you through everything you need to know to make the most of these templates, from selection and customization to cutting tricks and finishing touches.
Understanding the Power of Card Templates
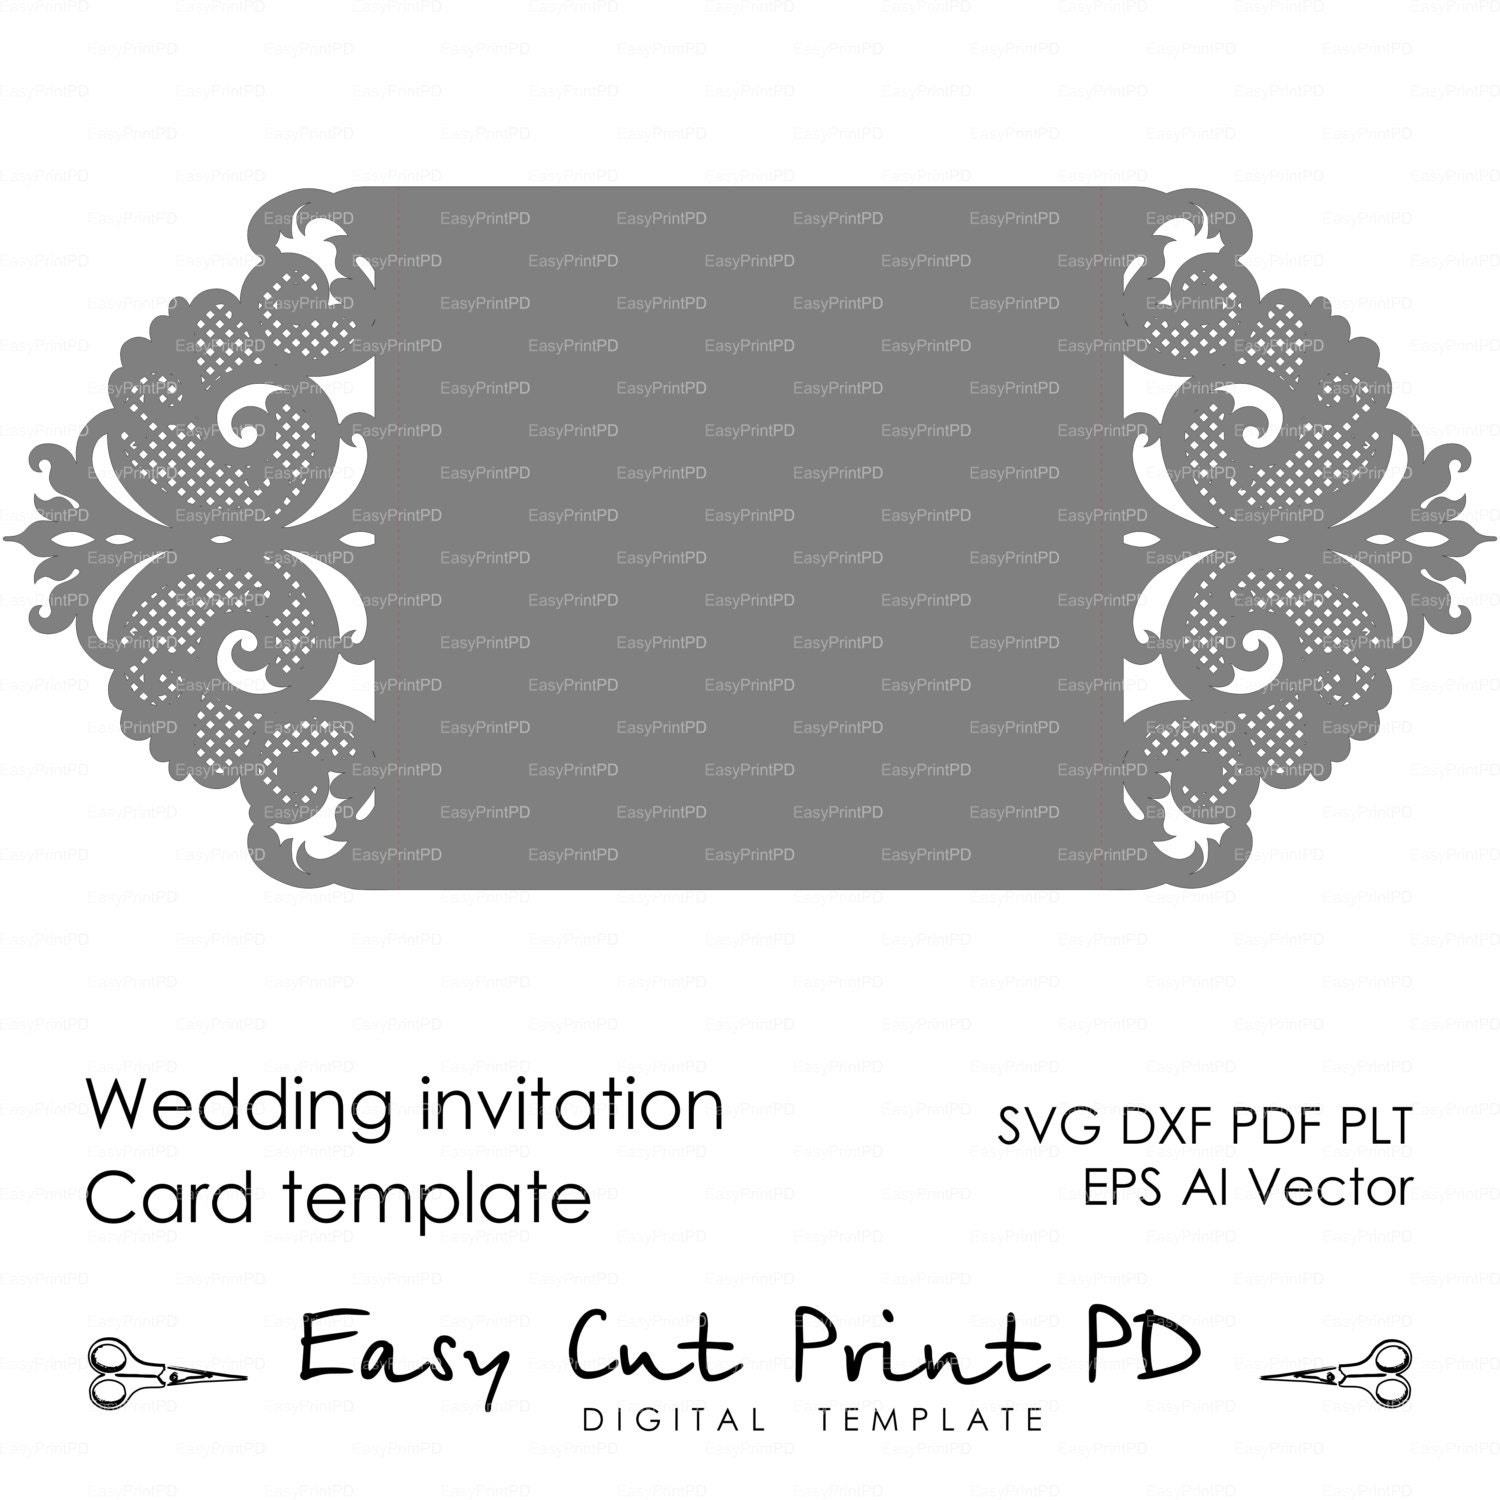
Card templates are pre‑designed files that can be directly loaded into the Silhouette Studio software. They come in various sizes, styles, and themes, covering everything from elegant wedding invitations to playful greeting cards. Because the Silhouette Cameo machine reads vector paths, these templates are highly scalable, allowing you to adjust dimensions without compromising quality.
Why Templates Matter for Card Makers
- Time‑Saving Design: Skip the tedious process of tracing or drawing from scratch.
- Professional Finish: Templates use clean lines and balanced compositions that look polished.
- Consistency: Ideal for bulk printing or batch production where uniformity is essential.
- Learning Tool: Beginners can study design layouts and learn how elements interact.
Typical Template Formats
- SVG files compatible with Silhouette Studio.
- Layered designs where each element can be independently edited.
- Bundled sets that include matching envelopes, flaps, and embellishment layers.
Selecting the Right Card Template
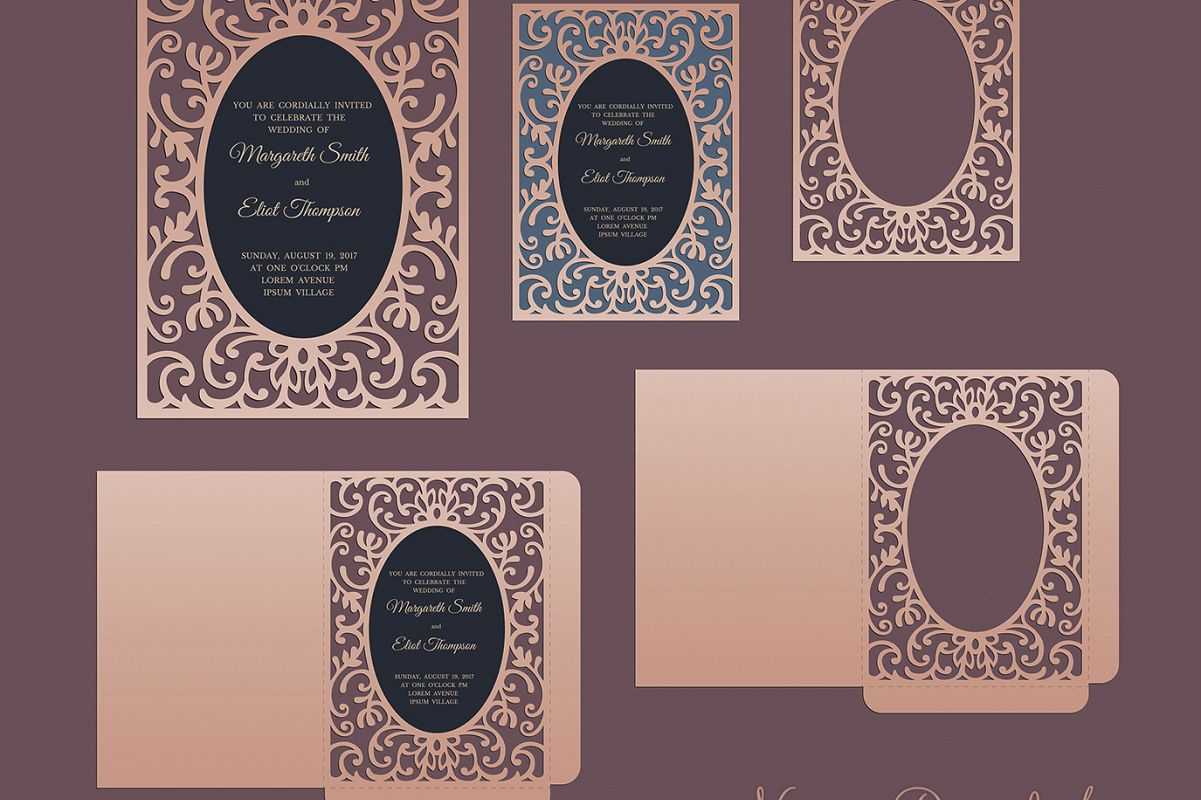
The first step in a successful card project is choosing a template that aligns with your purpose and aesthetic.
Consider the Card’s Function
- Invitations: Look for templates with open flaps, space for RSVP cards, and elegant typography.
- Greeting Cards: Seek out designs with front panels that can be easily personalized.
- Thank‑You Notes: Small, simple templates with ample white space work best.
Match the Theme to the Event or Brand
Color palettes, motifs, and typography should echo the overall theme. For wedding invitations, lace or botanical patterns often create an airy feel. Corporate cards benefit from clean, minimalist lines and subtle gradients. If you’re branding a small business, choose templates that can incorporate logos and brand colors.
Check Compatibility with Materials
Some templates are designed for thick cardstock, while others work better with lighter paper or specialty papers like vellum. Make sure the cutting lines are appropriate for the material thickness to avoid tearing or uneven cuts.
Customizing Templates to Your Style

While templates provide a solid foundation, personalization brings them to life.
Editing Text and Fonts
- Open the SVG file in Silhouette Studio and select the text boxes.
- Replace placeholder text with your own, adjusting font size, weight, and color.
- Consider legibility at the chosen card size; avoid overly decorative fonts that become unreadable when scaled down.
Altering Color Schemes
- Select each shape or layer and apply new fills or gradients.
- Use the color picker to match brand colors or seasonal palettes.
- Apply subtle shading or embossing effects to give depth.
Adding Personal Touches
- Insert photographs or custom illustrations as additional layers.
- Overlay translucent paper layers for a vintage, layered look.
- Use the “Pattern” tool to create repeating backgrounds that match the template’s aesthetic.
Resizing and Scaling
- Use the scale tool to adjust the entire card or individual elements.
- Keep a copy of the original file in case you need to revert or tweak dimensions again.
- When scaling, maintain aspect ratios to avoid distortion.
Choosing the Right Materials
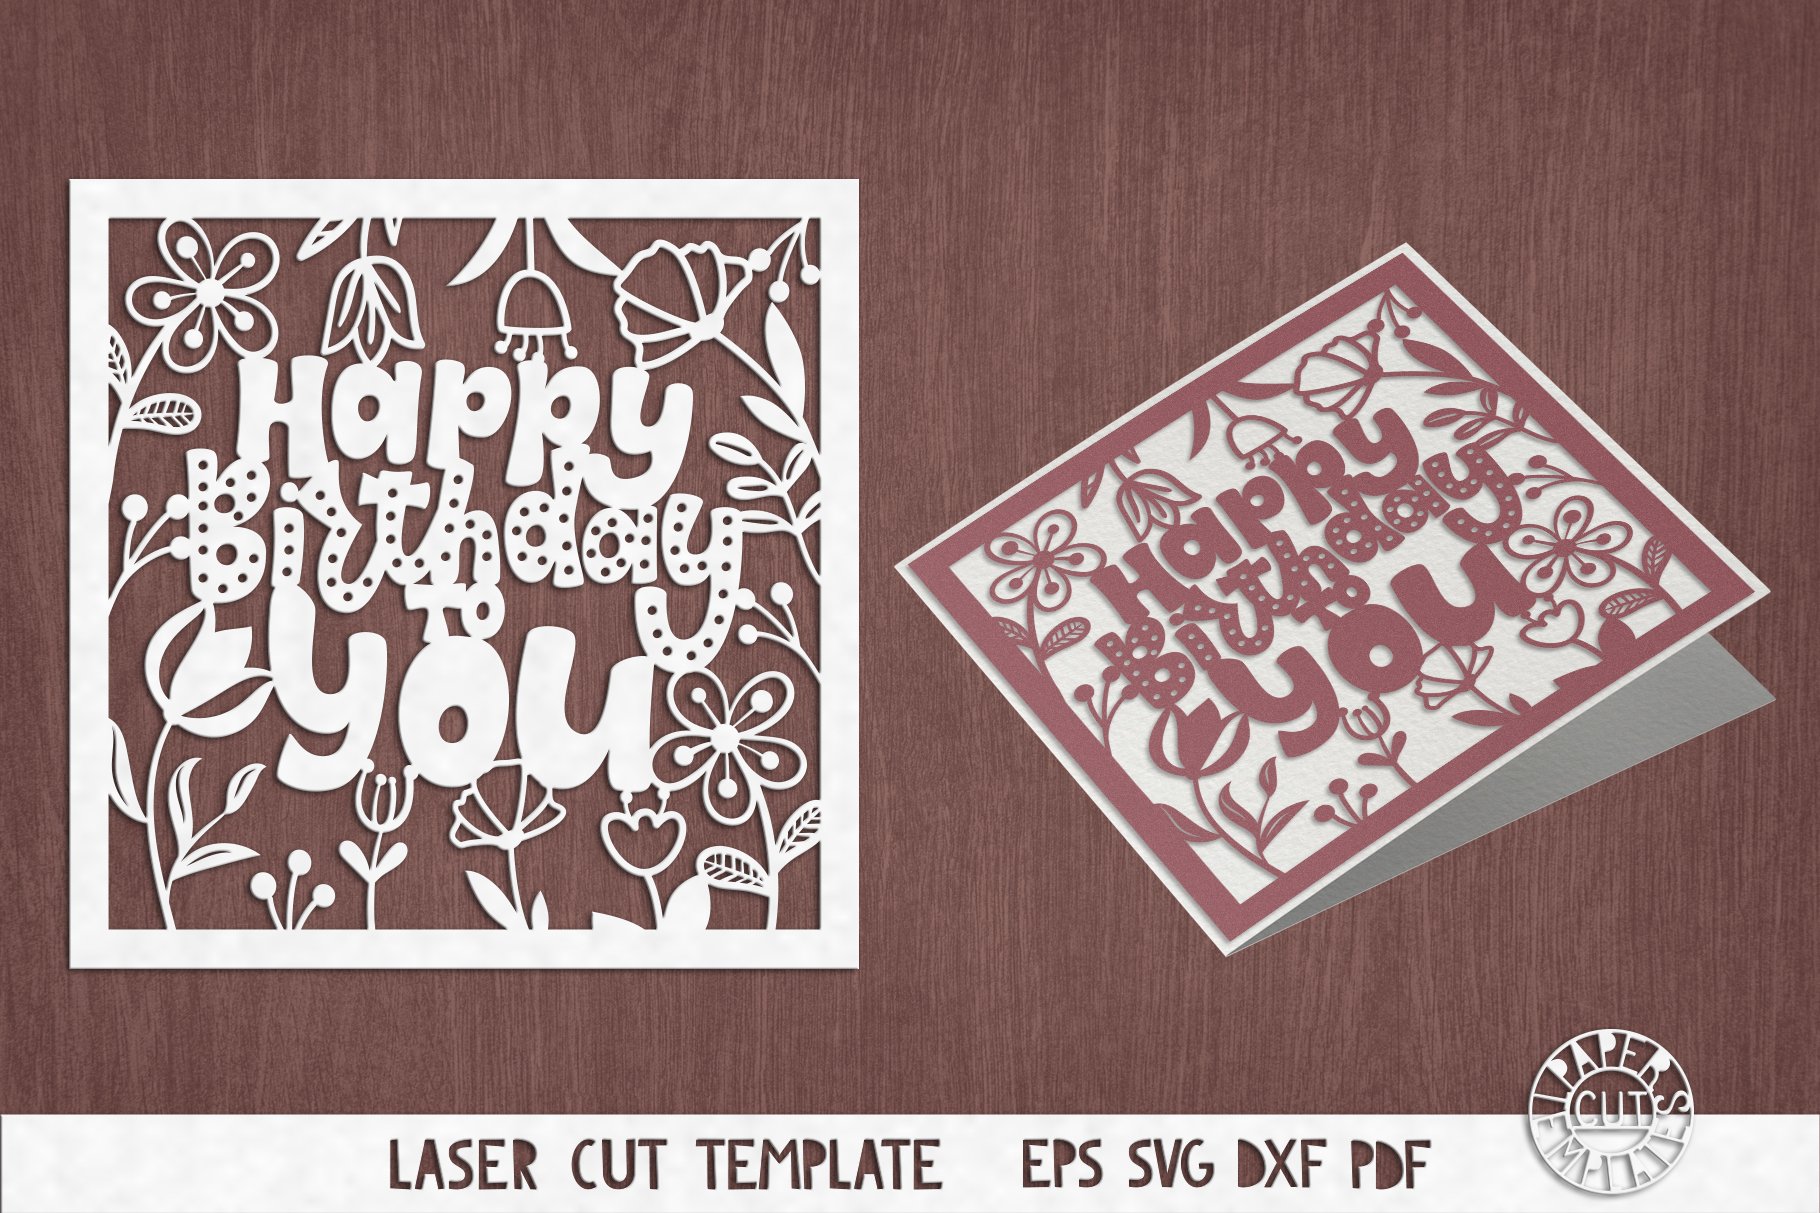
The final look of a card heavily depends on the materials you use. Each material interacts differently with the Silhouette’s cutting mechanics.
Standard Cardstock
- Thickness ranges from 8pt to 12pt for general use.
- Ideal for invitations and greeting cards where durability matters.
- Cut cleanly on the Cameo with minimal vibration.
Premium Papers
- Silky or textured papers add luxury but may require a slower cutting speed.
- Vellum and translucent layers create dramatic overlay effects.
- Test cuts on a small piece to avoid tearing.
Specialty Papers
- Recycled or eco-friendly options for sustainability-minded projects.
- Foil or metallic papers work well for accent flaps or borders.
- Keep in mind that reflective surfaces can confuse the laser sensor; use a higher-quality sheet or reduce cutting speed.
Optimizing Cutting Settings for Card Templates

Proper settings ensure sharp edges and precise cuts, especially when working with intricate designs.
Blade Selection and Calibration
- Use a fine-point blade for detailed patterns; a standard blade suffices for simple shapes.
- Check blade tension and replace when it shows signs of dullness.
- Calibrate the machine for each material to prevent under- or over-cutting.
Speed and Force Adjustments
- Start with a low speed setting for delicate layers.
- Increase force for thicker cardstock; too much force can damage the blade or cause paper to tear.
- Use the “Preview” function to evaluate cut lines before a full run.
Edge Cleanup Techniques
- For lace or feathered designs, use the “Smoothing” feature to reduce jagged edges.
- Trim excess material with scissors after cutting to clean up small nooks.
- Consider a small “cutter” or “blender” tool in Silhouette Studio to soften hard cuts.
Assembling Your Cards: From Cutting to Finishing
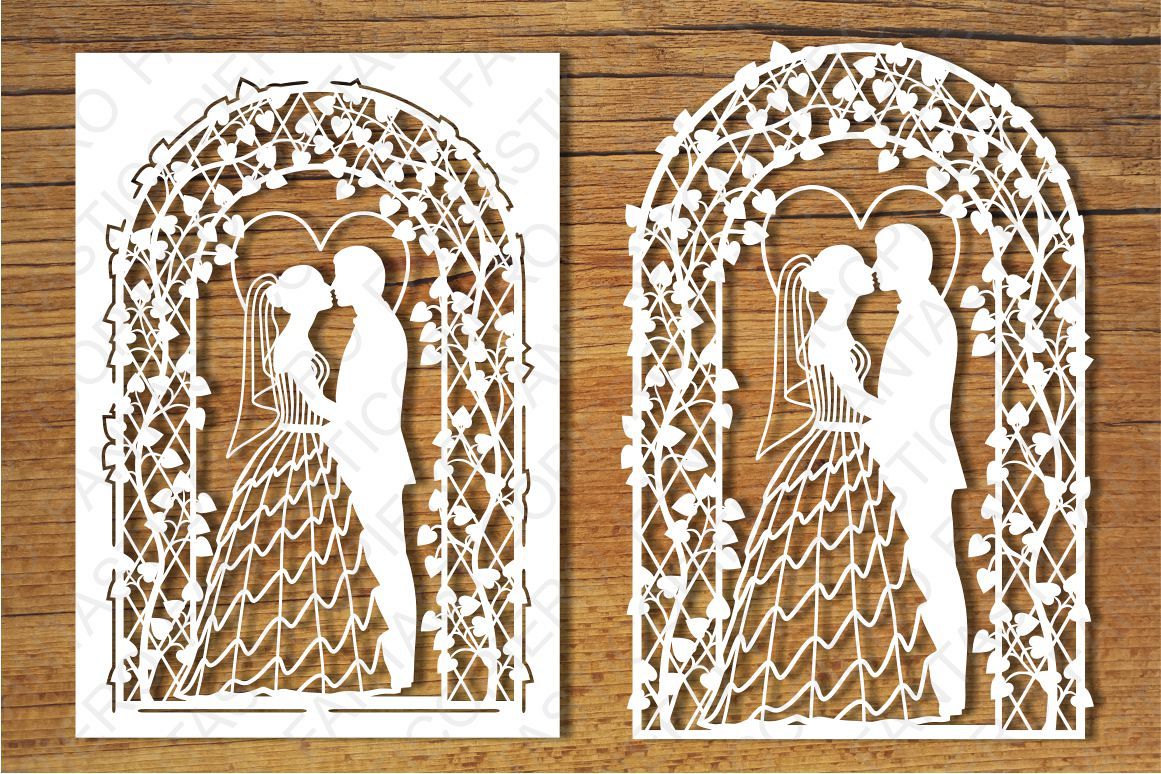
Once the cuts are complete, the next step is assembly. Each card style may demand a slightly different approach.
Basic Fold Cards
- Mark the fold line with a light pencil to avoid accidental cuts.
- Score the cardstock using the “Score” feature in Silhouette Studio before folding.
- For double‑fold cards, align the panels precisely to ensure a clean crease.
Envelope Integration
- Some templates include built‑in envelope panels; others require separate envelope sheets.
- Use a low‑pressure cut to create envelope openings that fit snugly.
- Adhere the envelope using a minimal amount of glue to avoid bulging.
Embossing and Debossing
- Apply a light coat of embossing powder on the desired area.
- Heat the paper with a home iron or a specialized embossing tool to raise the powder.
- Use a soft roller to smooth the surface and create a polished finish.
Adding Finishing Touches
- Attach ribbons, stamps, or die‑cut embellishments for a custom look.
- Use a fine brush to apply gold leaf or metallic ink on select elements.
- Seal with a clear, water‑resistant varnish for extra durability.
Workflow Tips for Efficient Production
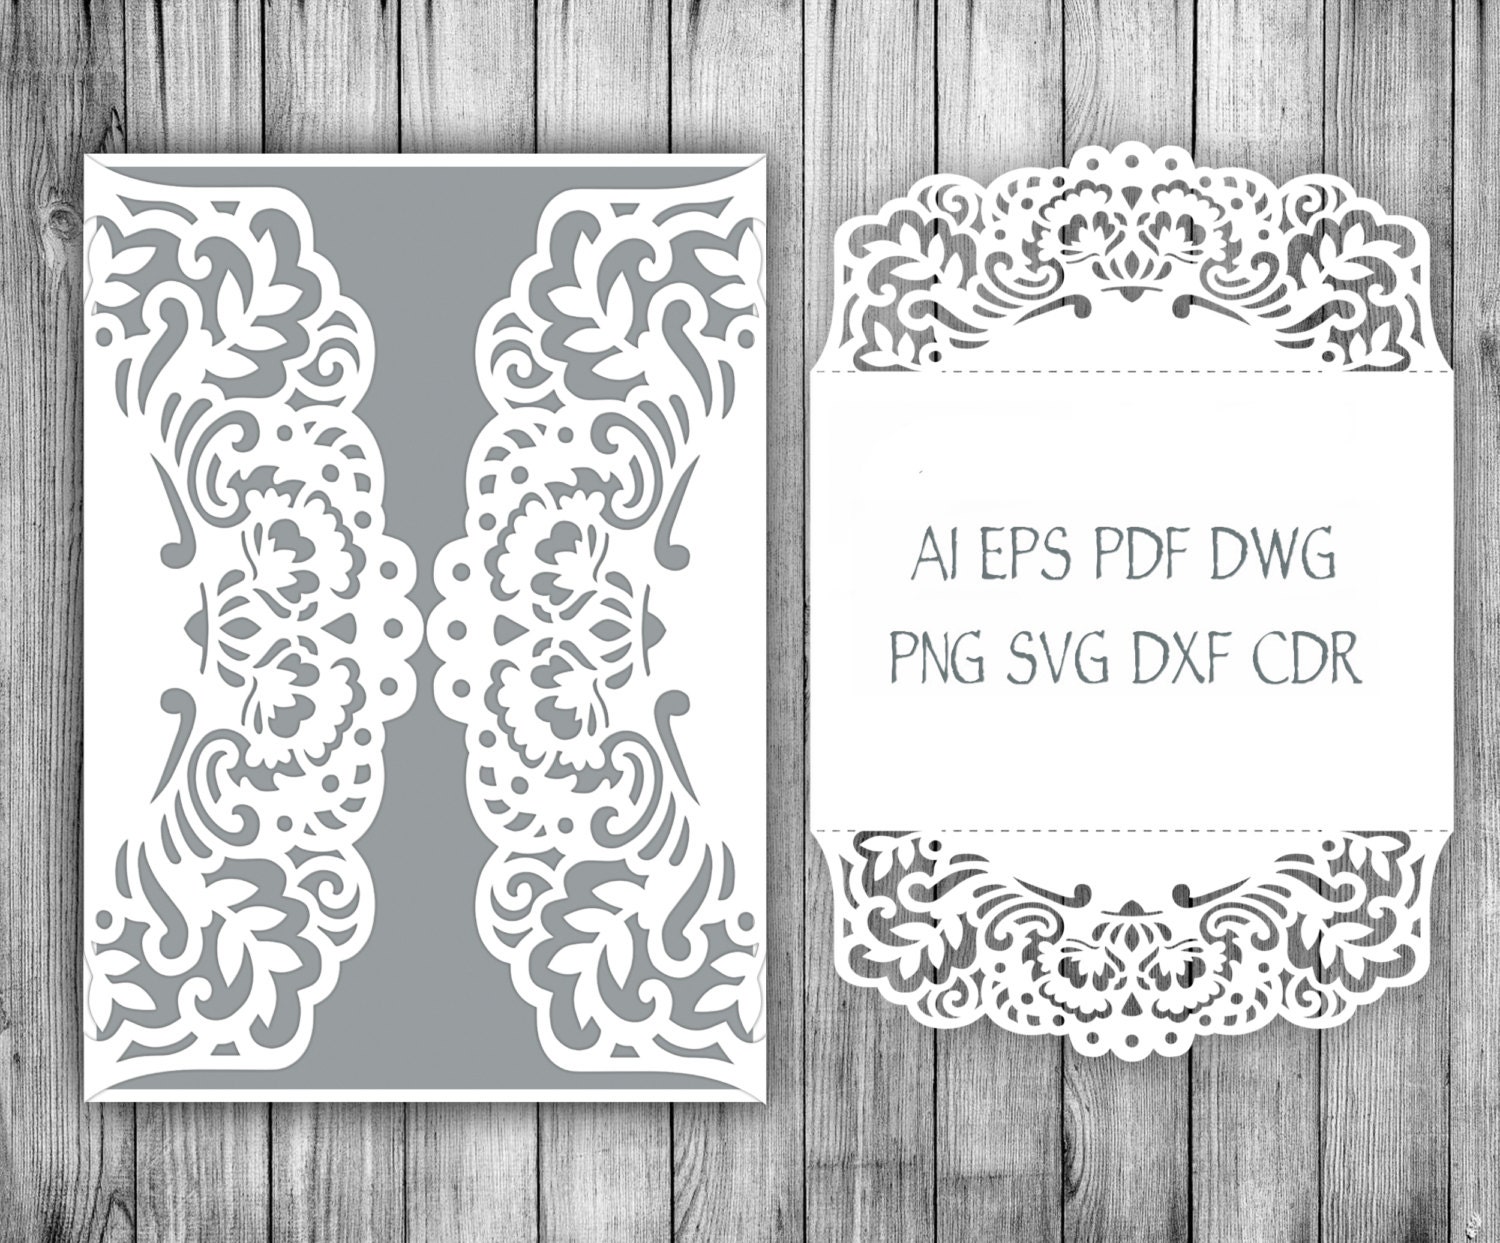
High-volume card projects demand an organized workflow to save time and minimize errors.
Batching Similar Projects
- Group cards of the same size and material to reduce machine setup time.
- Prepare a “template library” with categorized folders for easy access.
- Use a spreadsheet to track order details and customizations for each batch.
Template Backup and Version Control
- Save original SVG files before any edits.
- Maintain a naming convention that includes version numbers (e.g., WeddingInvite_v3).
- Archive older versions in cloud storage for reference.
Testing and Proofing
- Print a small test card to confirm colors, cuts, and overall design.
- Check for any bleed issues or misalignments before a large print run.
- Ask a second pair of eyes to review the design for any design flaws.
Troubleshooting Common Issues

Even with the best preparation, certain challenges can arise. Here are quick fixes for common problems.
Uneven Cuts or Blurred Edges
- Verify that the blade is sharp and properly seated.
- Reduce cutting speed and increase force slightly.
- Check if the material is warped; use a flat surface.
Misaligned Layers
- Ensure all layers are correctly grouped in the SVG.
- Re‑align using the “Snap” feature in Silhouette Studio.
- Export the file as a PDF to avoid layering issues in different software.
Paper Tearing or Crumpling
- Lower the blade tension and speed.
- Use a heavier cutting mat to provide stability.
- Switch to a different paper brand if the current one is too fragile.
Exploring Community Resources and Inspiration

The Silhouette community is vibrant and constantly producing new ideas. While not part of the official product line, these resources can enhance your card-making experience.
Design Forums and Facebook Groups
- Exchange tips on template customization and cutting techniques.
- Share completed projects for feedback.
- Discover hidden gem templates posted by other users.
YouTube Tutorials
- Watch step‑by‑step video guides on advanced editing tricks.
- Follow along with live editing sessions for real‑time learning.
- Subscribe to channels dedicated to Silhouette cutting.
Online Marketplaces
- Explore curated template collections from third‑party designers.
- Check for seasonal bundles or specialty patterns.
- Verify file compatibility before purchase.
Conclusion
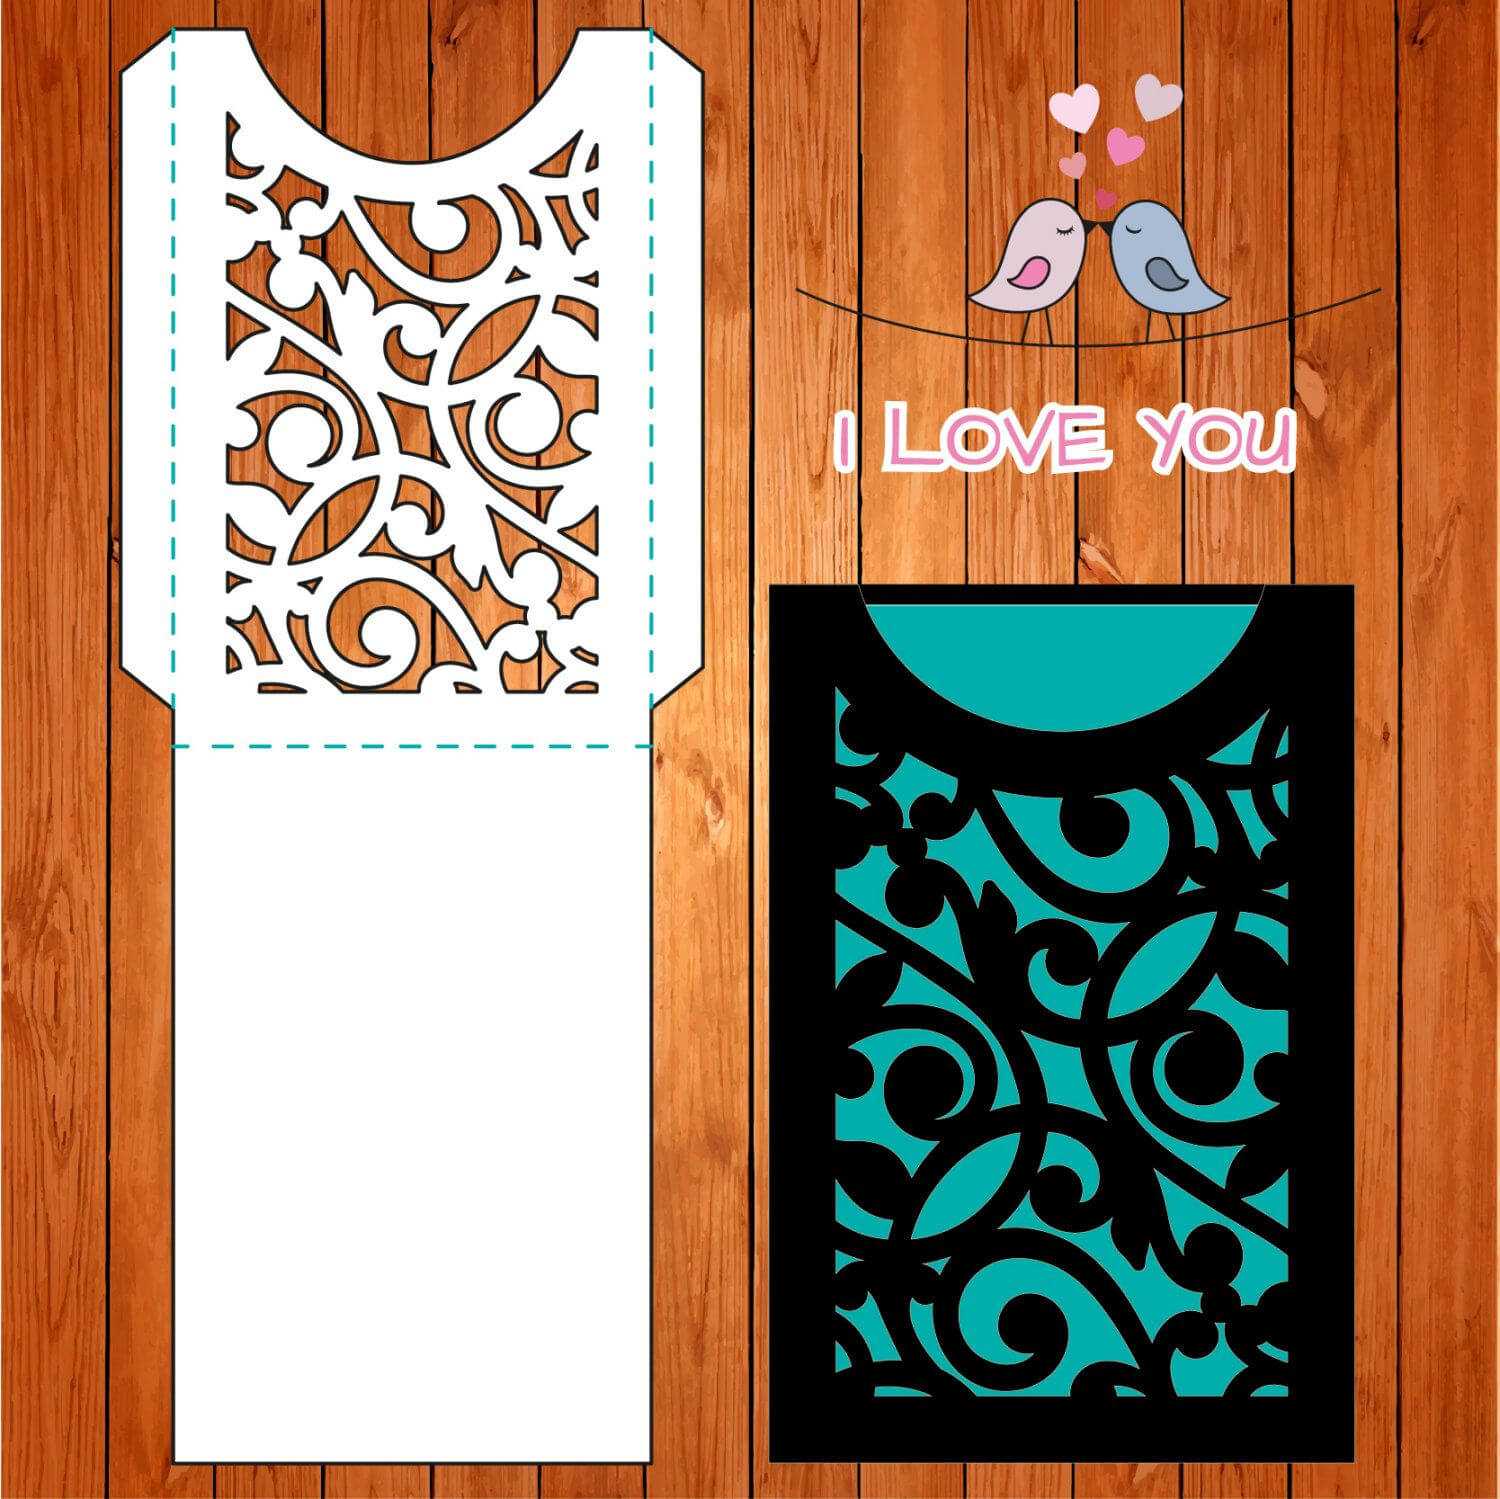
Silhouette Cameo Card Templates serve as a powerful platform that merges ease of use with professional results. By selecting the right template, customizing with care, and mastering cutting settings, you can produce stunning invitations, greeting cards, and more—all while keeping your workflow efficient. Whether you’re crafting a single wedding invitation or building a small card‑making business, the possibilities are as boundless as your imagination. With the techniques and insights shared here, you’re ready to turn every blank sheet into a memorable piece of paper art, one precise cut at a time.