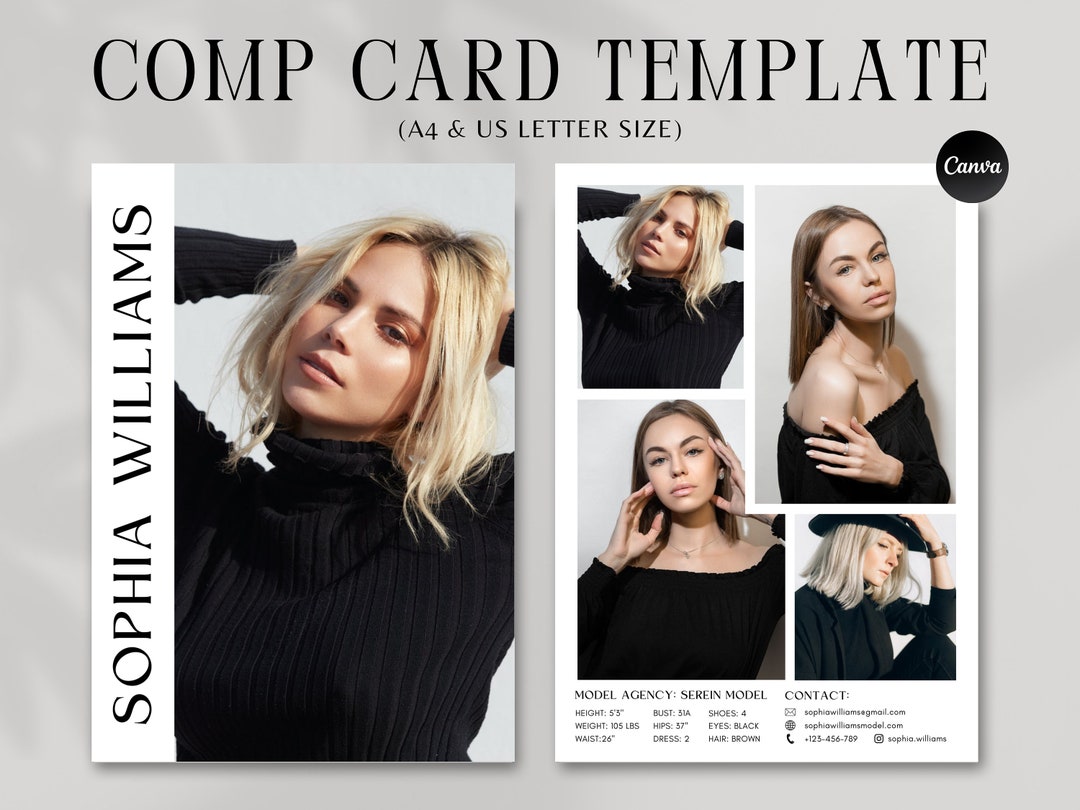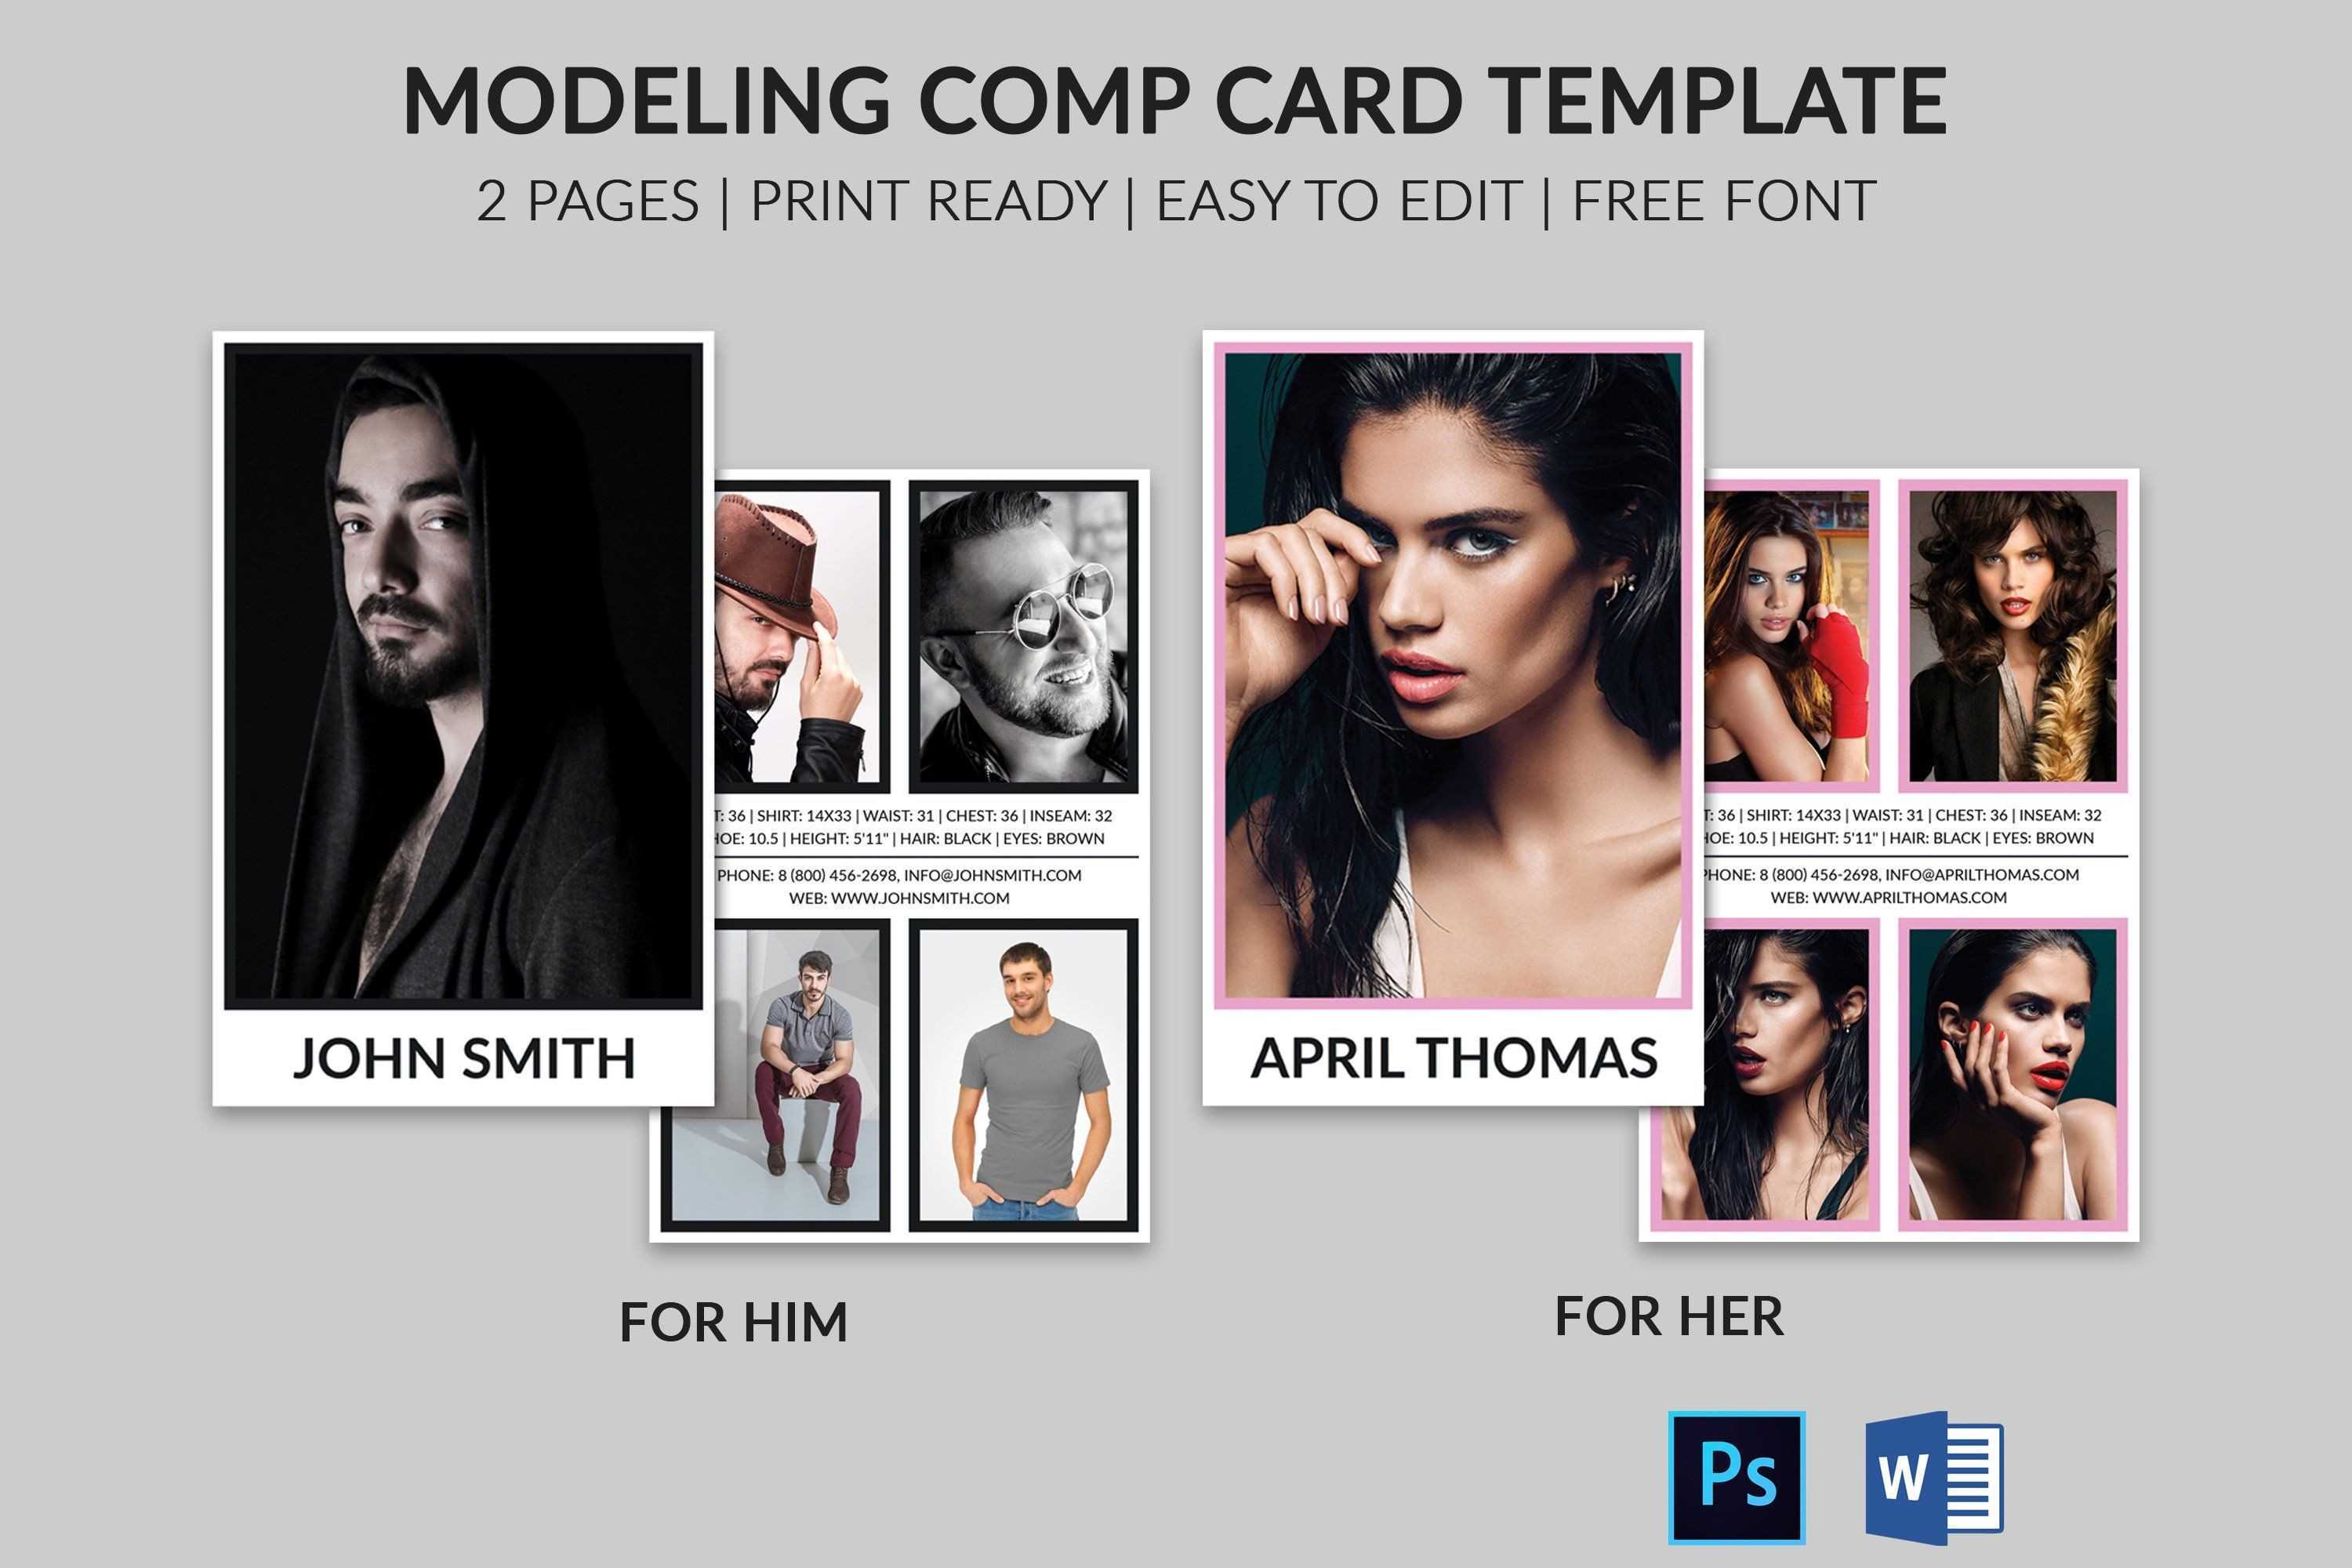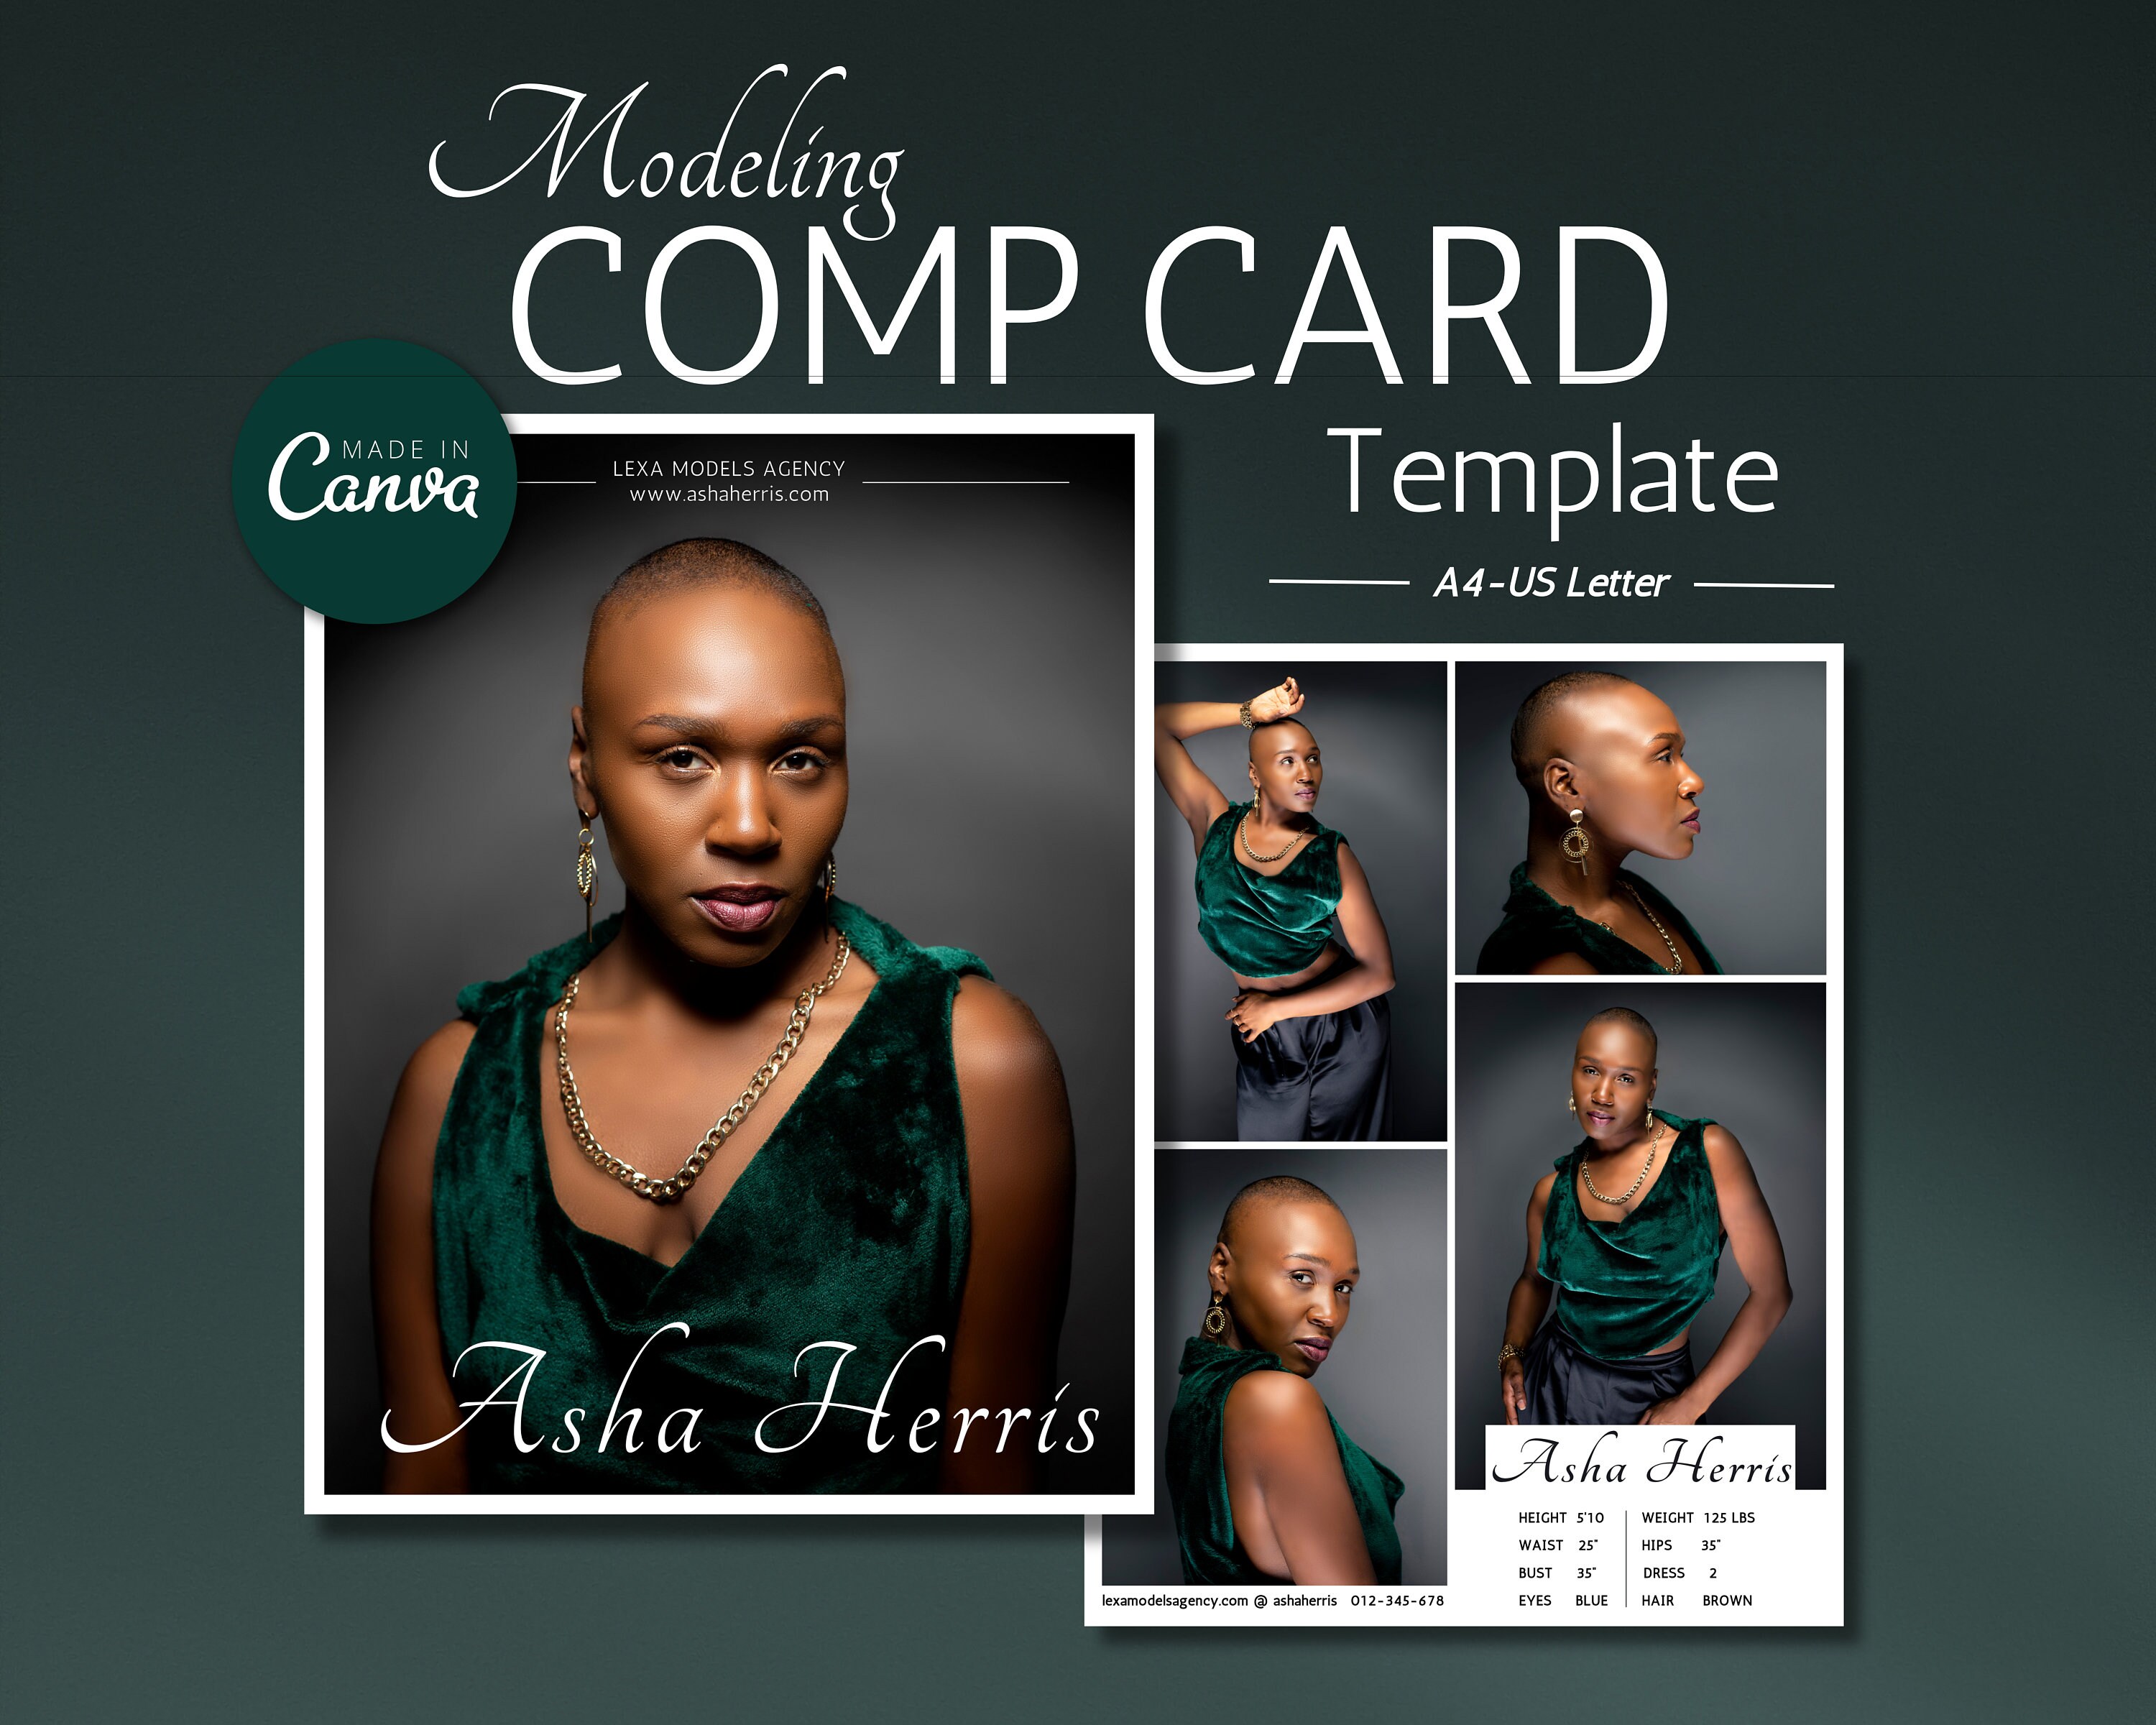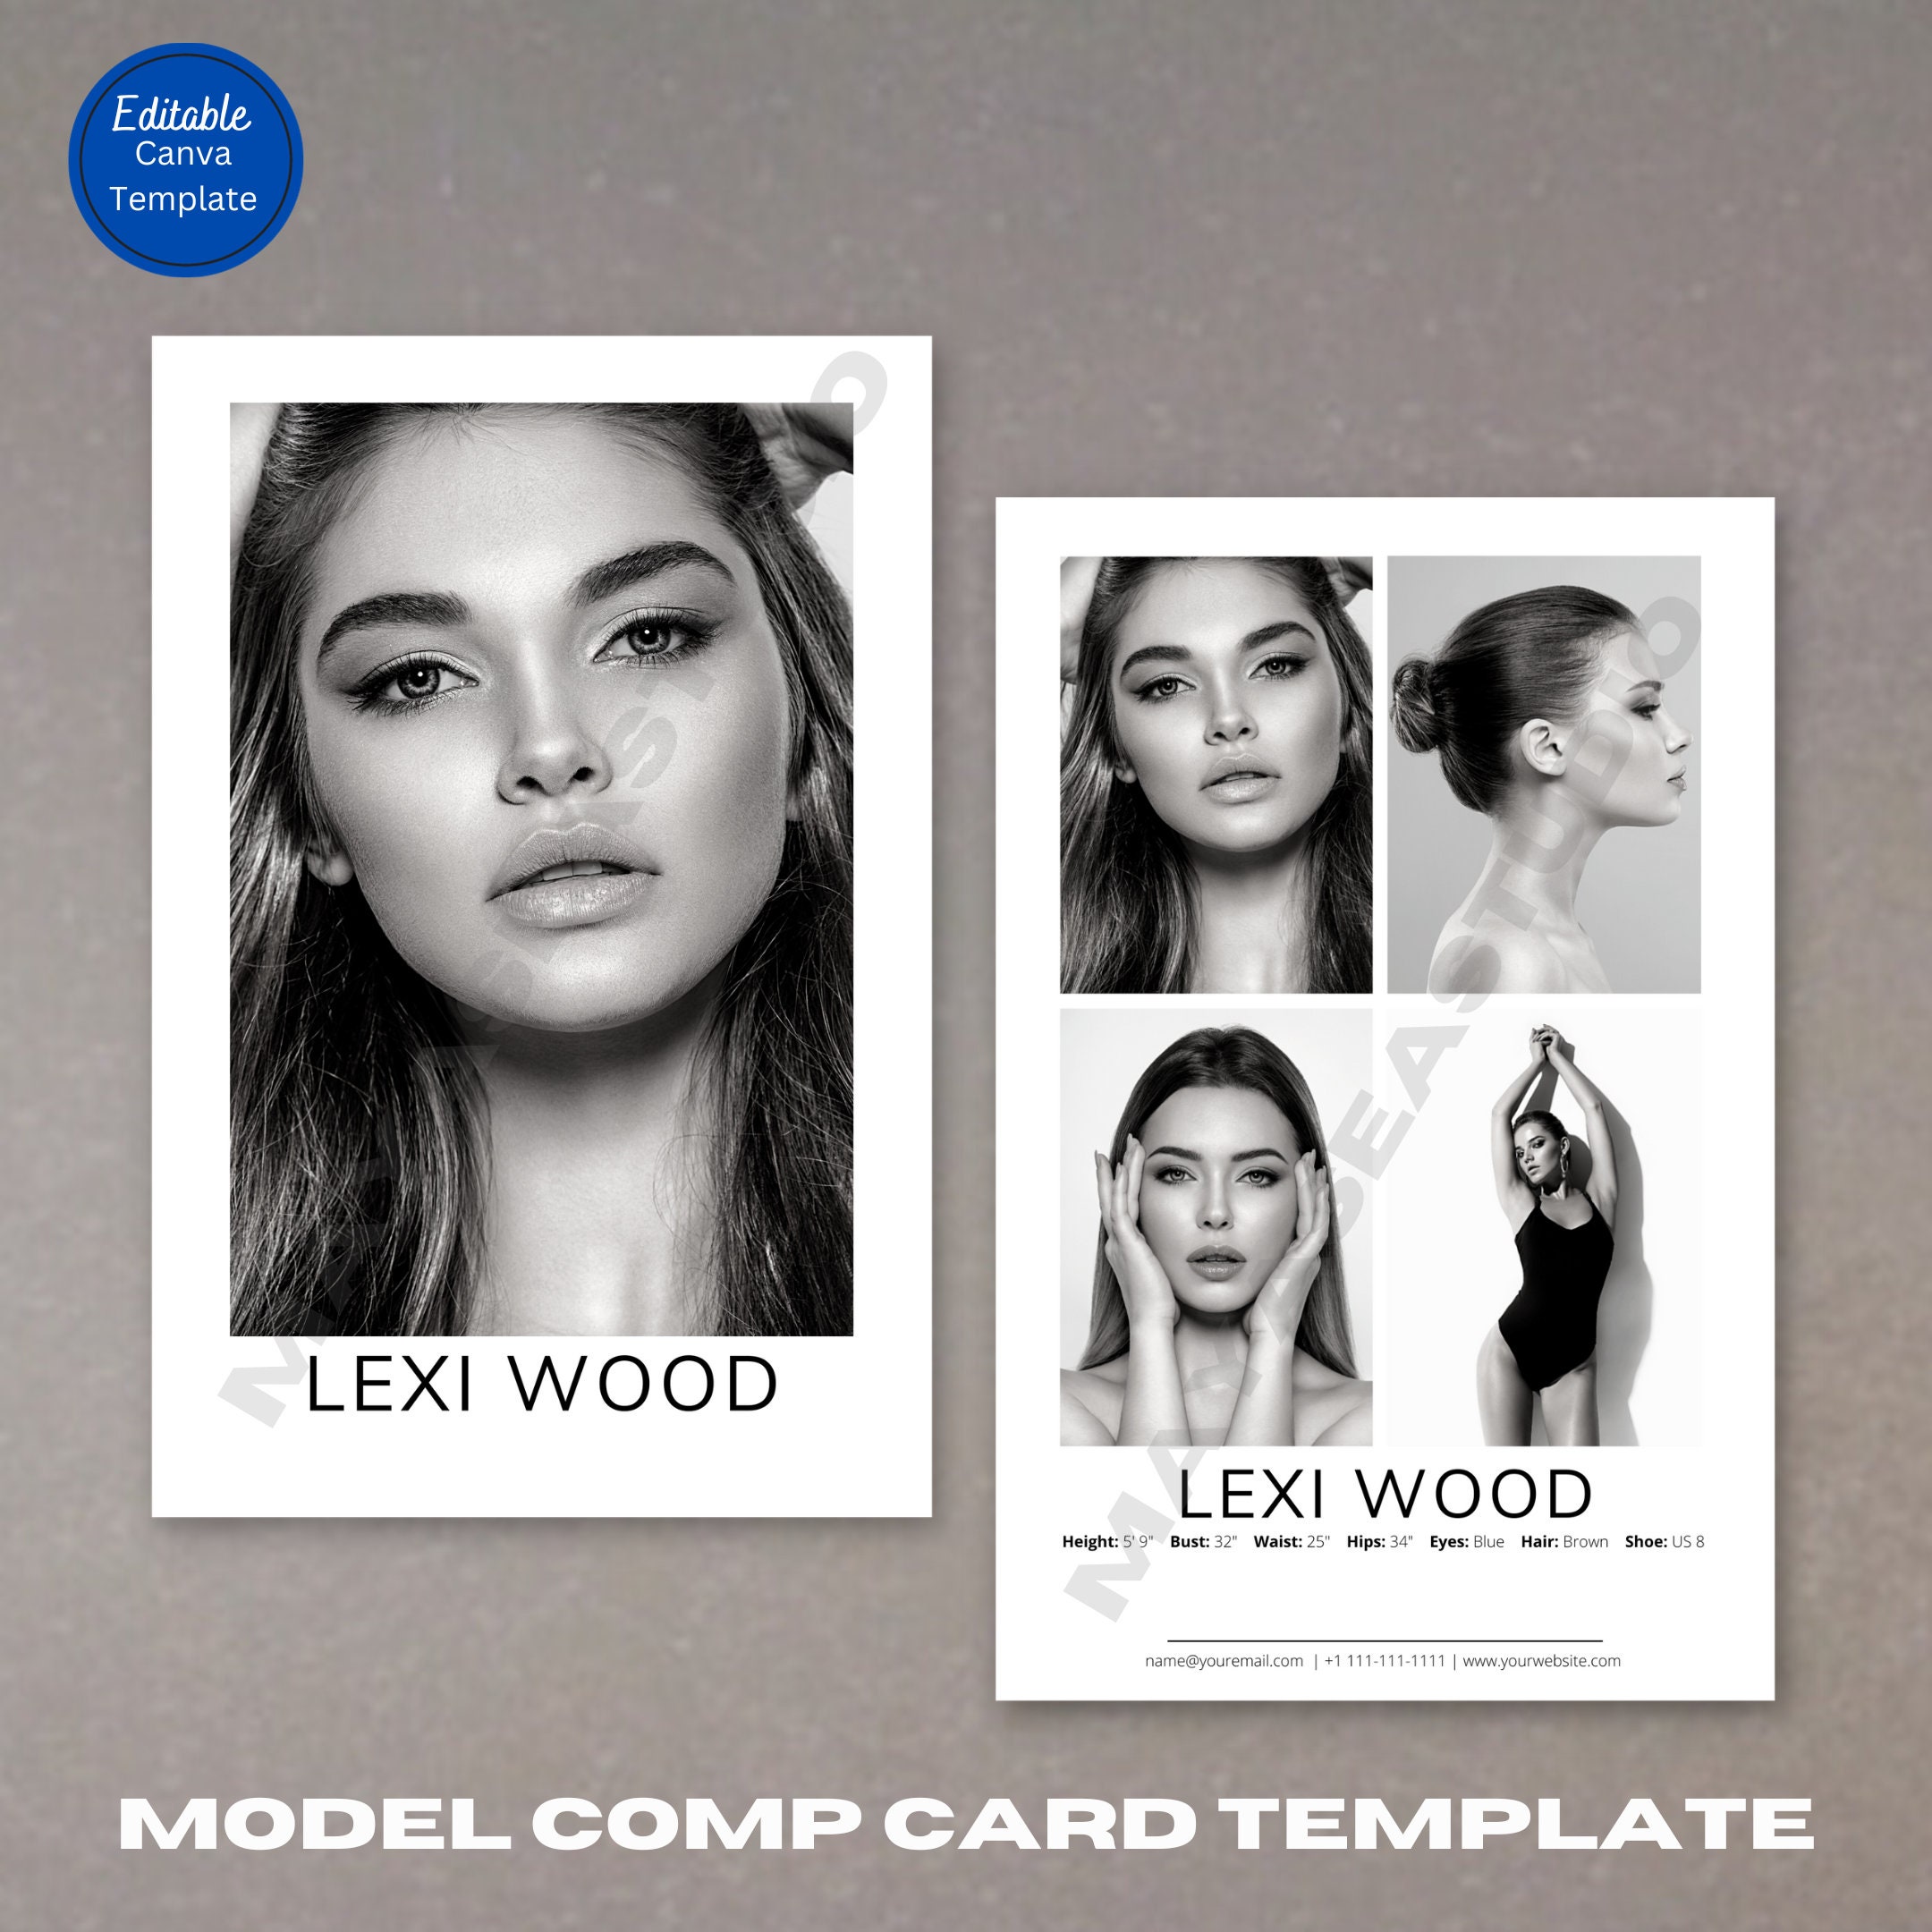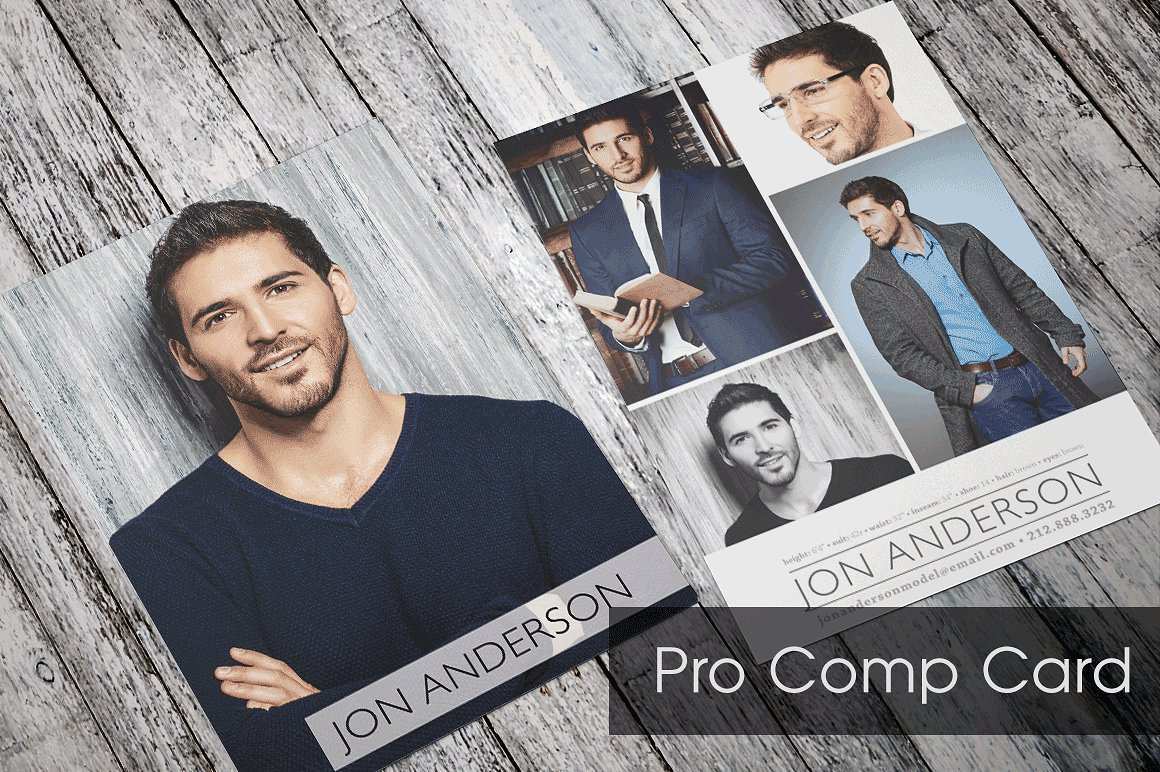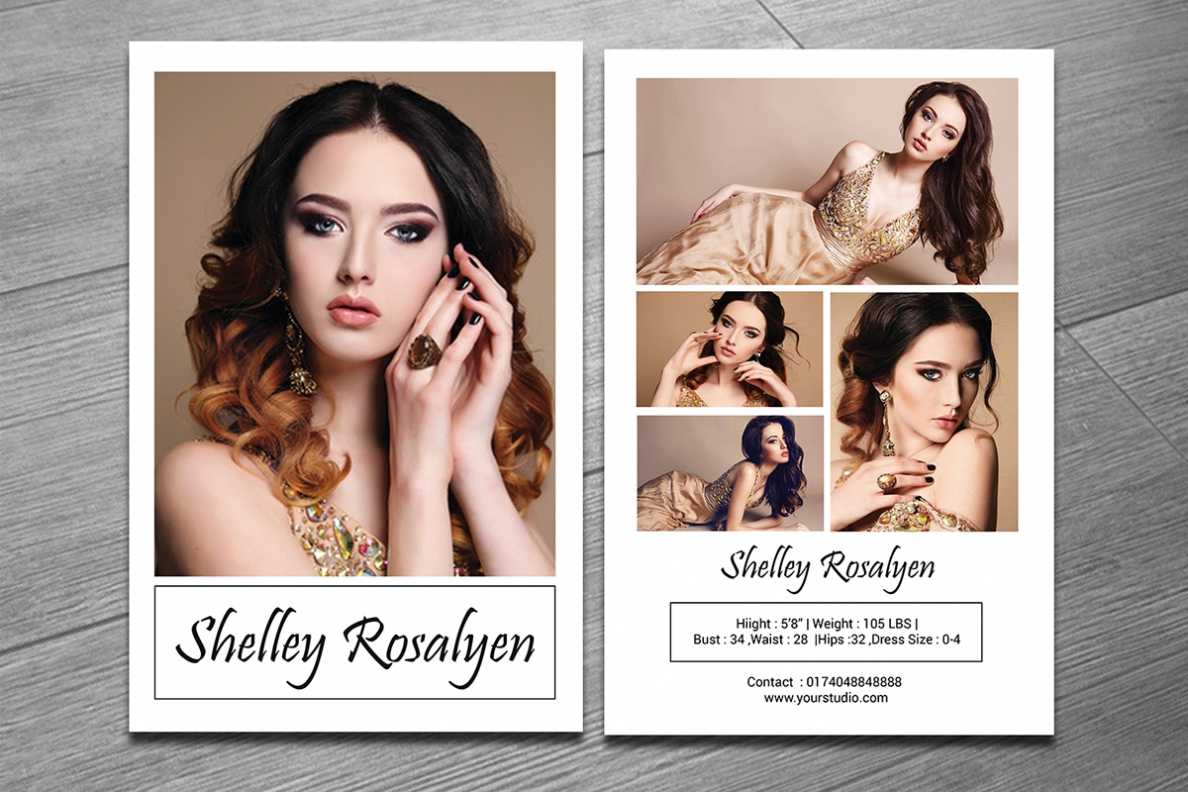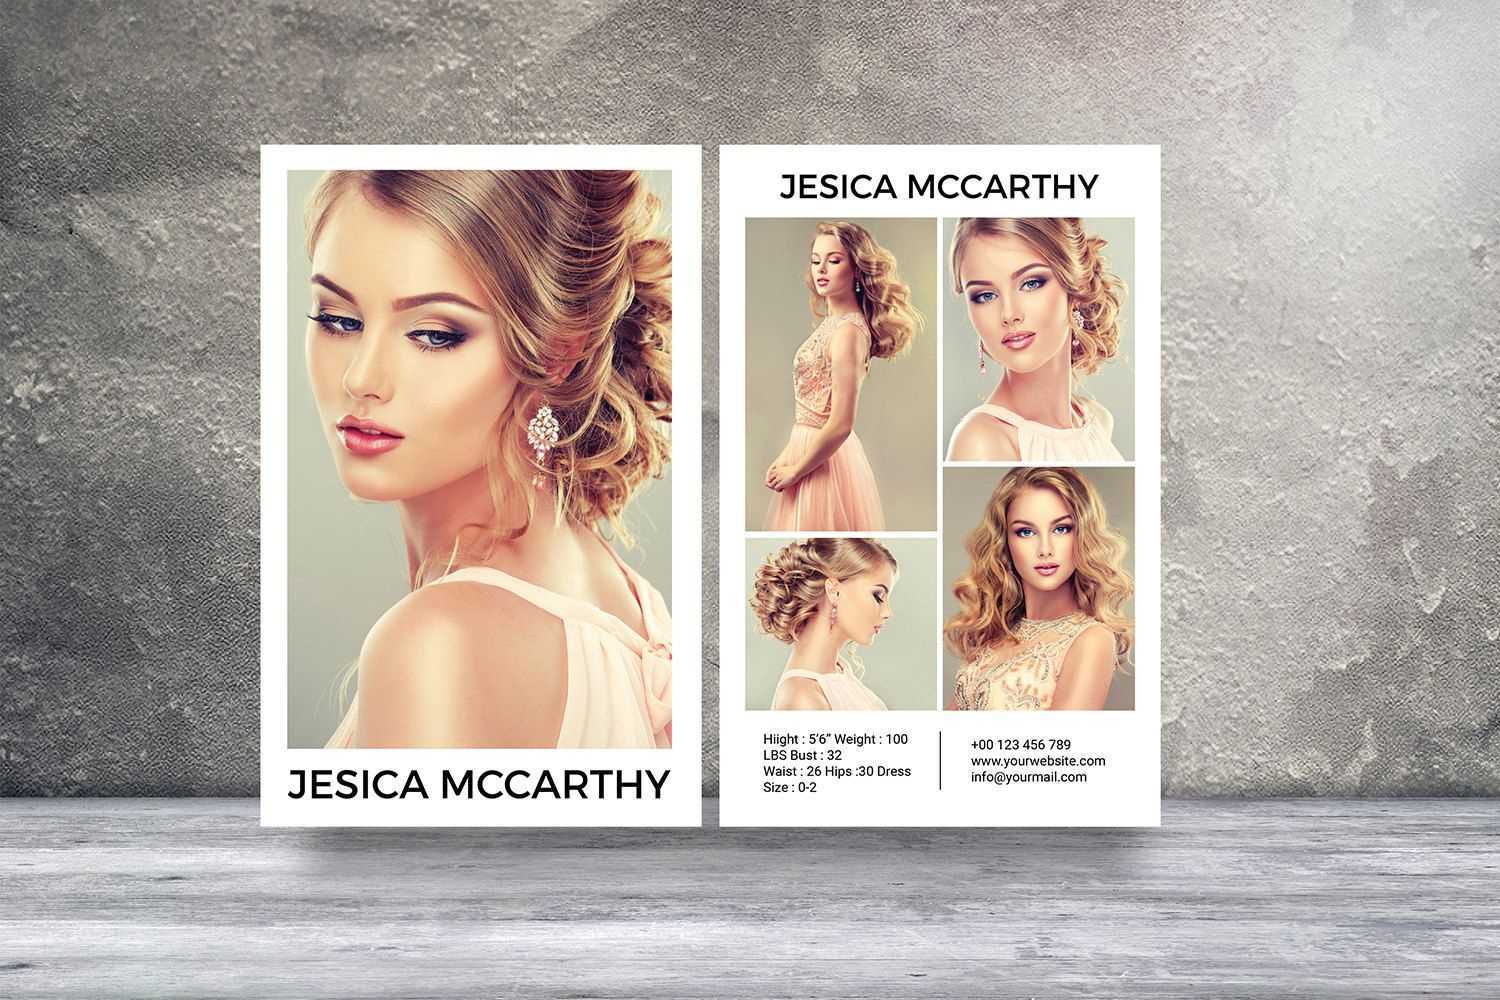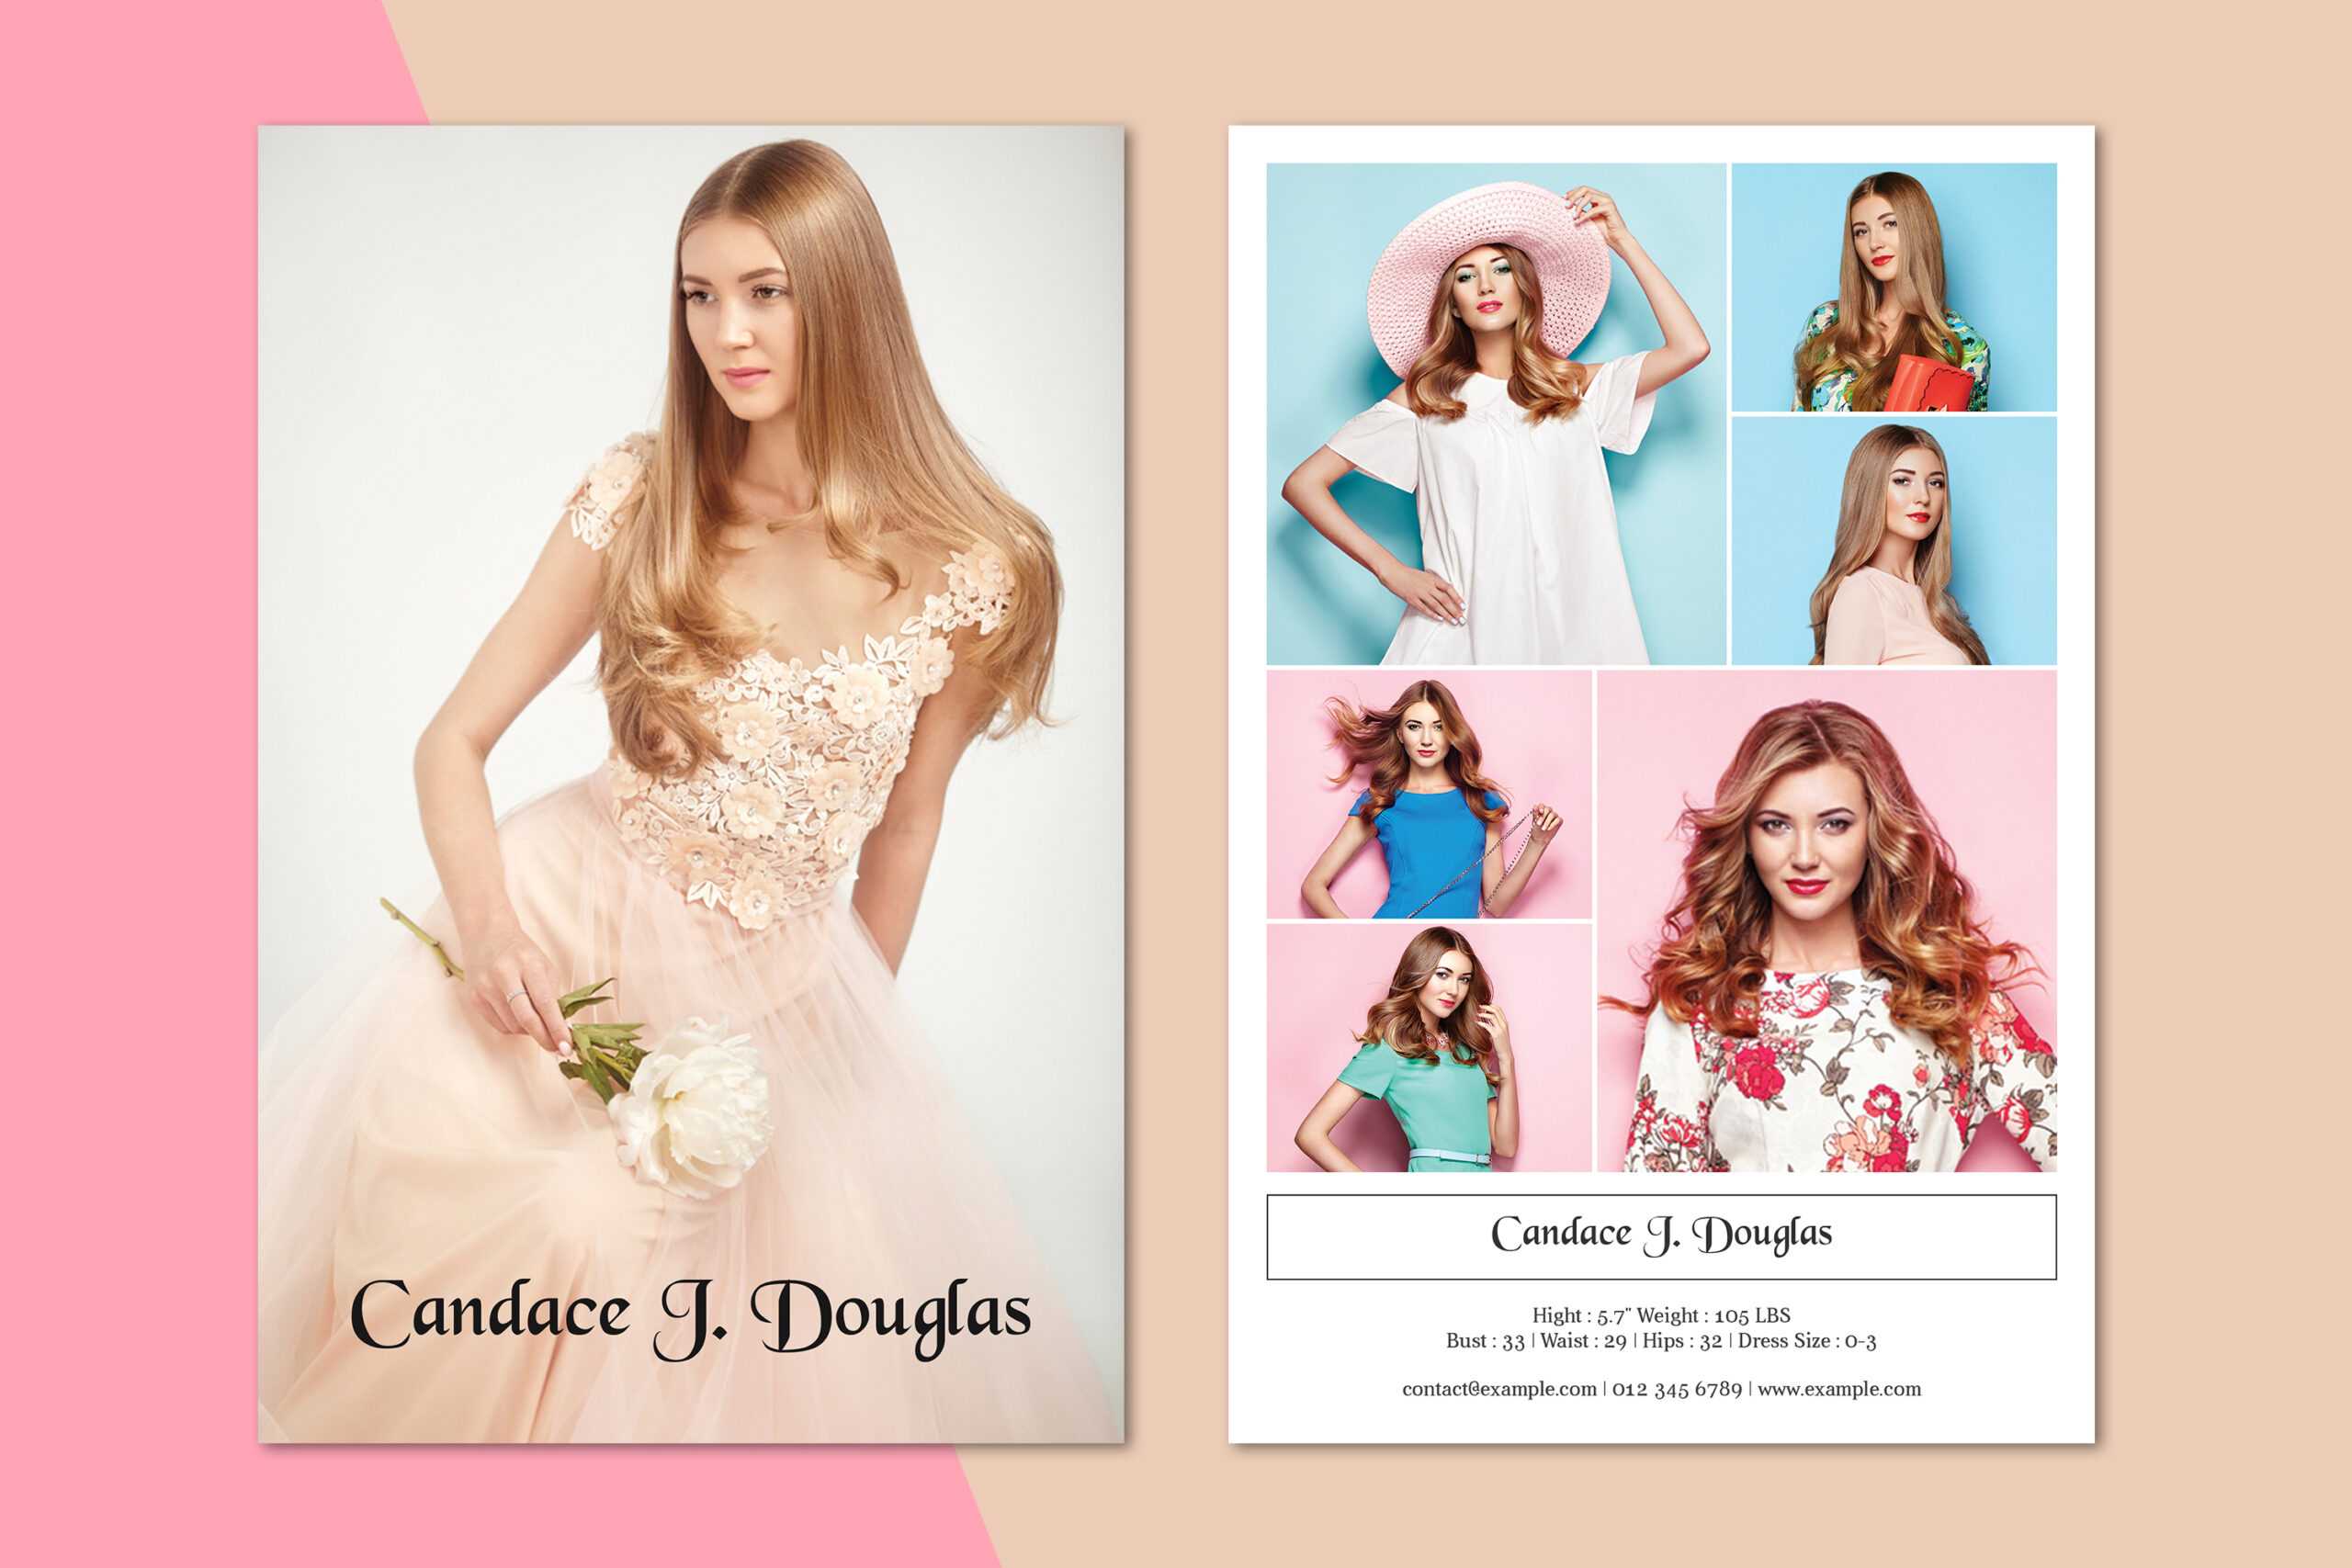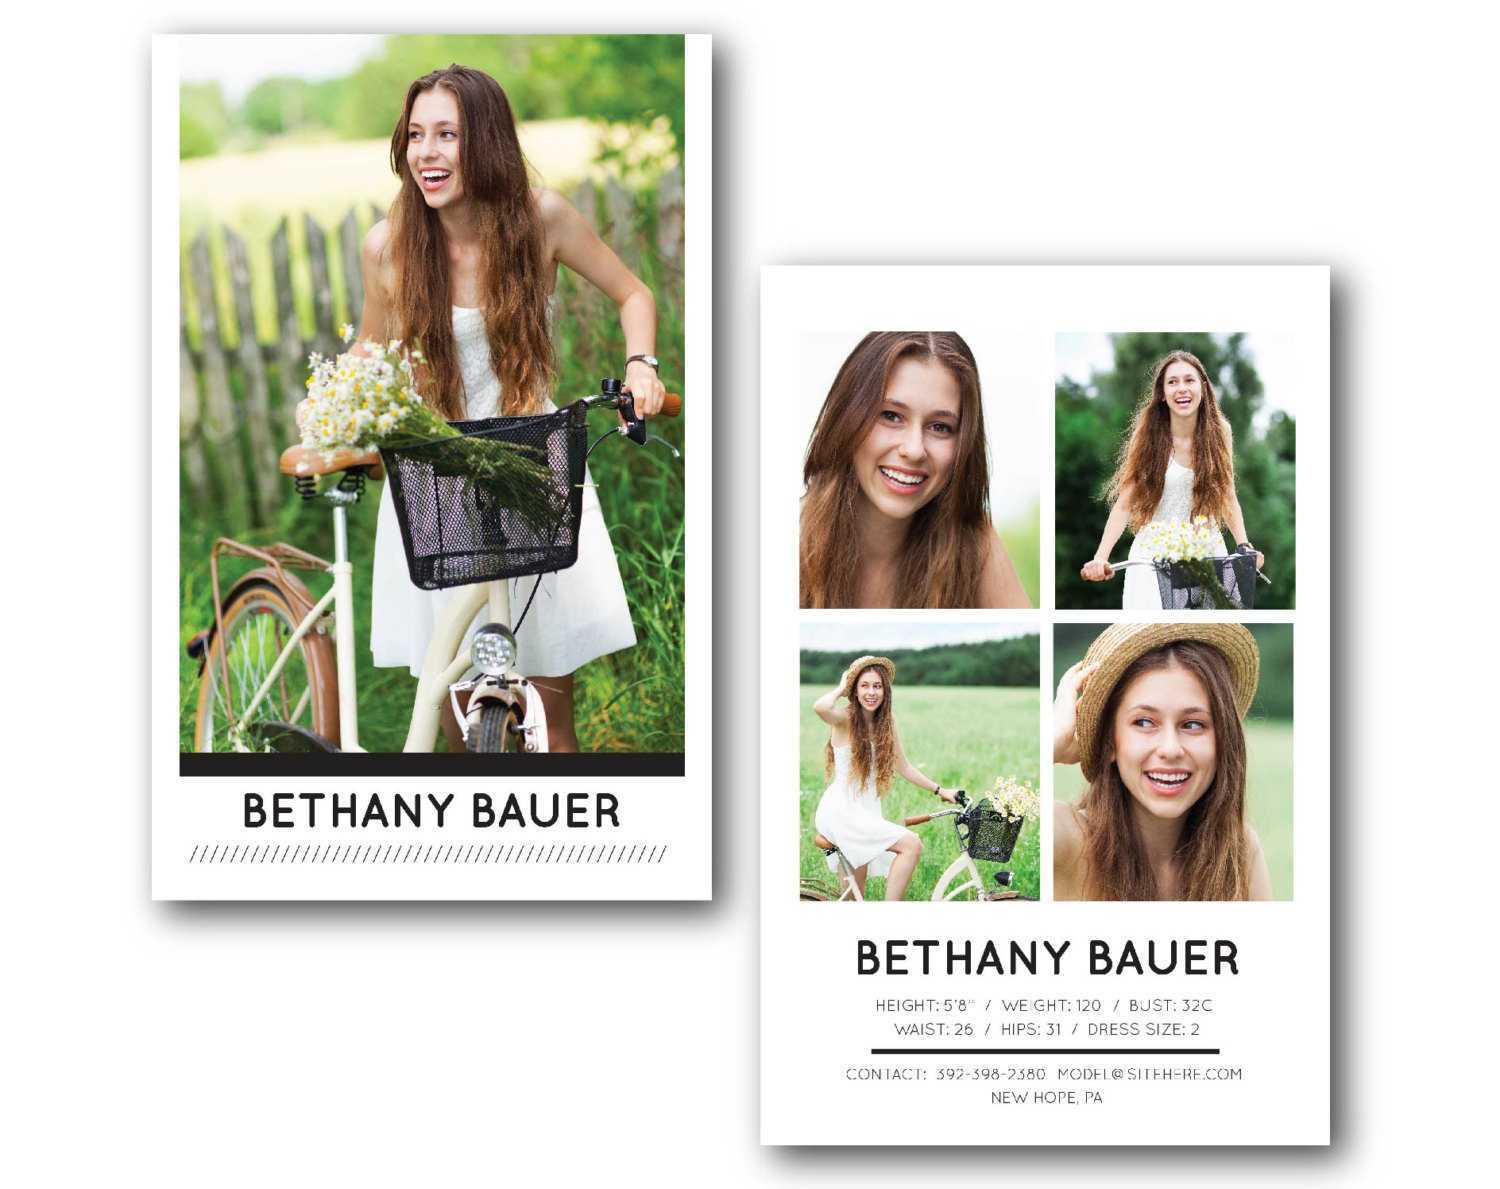
Zed Card Template Free offers model photographers, agencies, and aspiring talent a ready-made, professional layout that streamlines the creation of stunning portfolio cards. In an industry where first impressions can secure gigs, a polished Zed card can be the difference between being booked or overlooked. This article delves into the template’s advantages, walks you through a detailed customization process, and shares insider design tips that elevate your cards from good to unforgettable.
What Is a Zed Card and Why It Matters

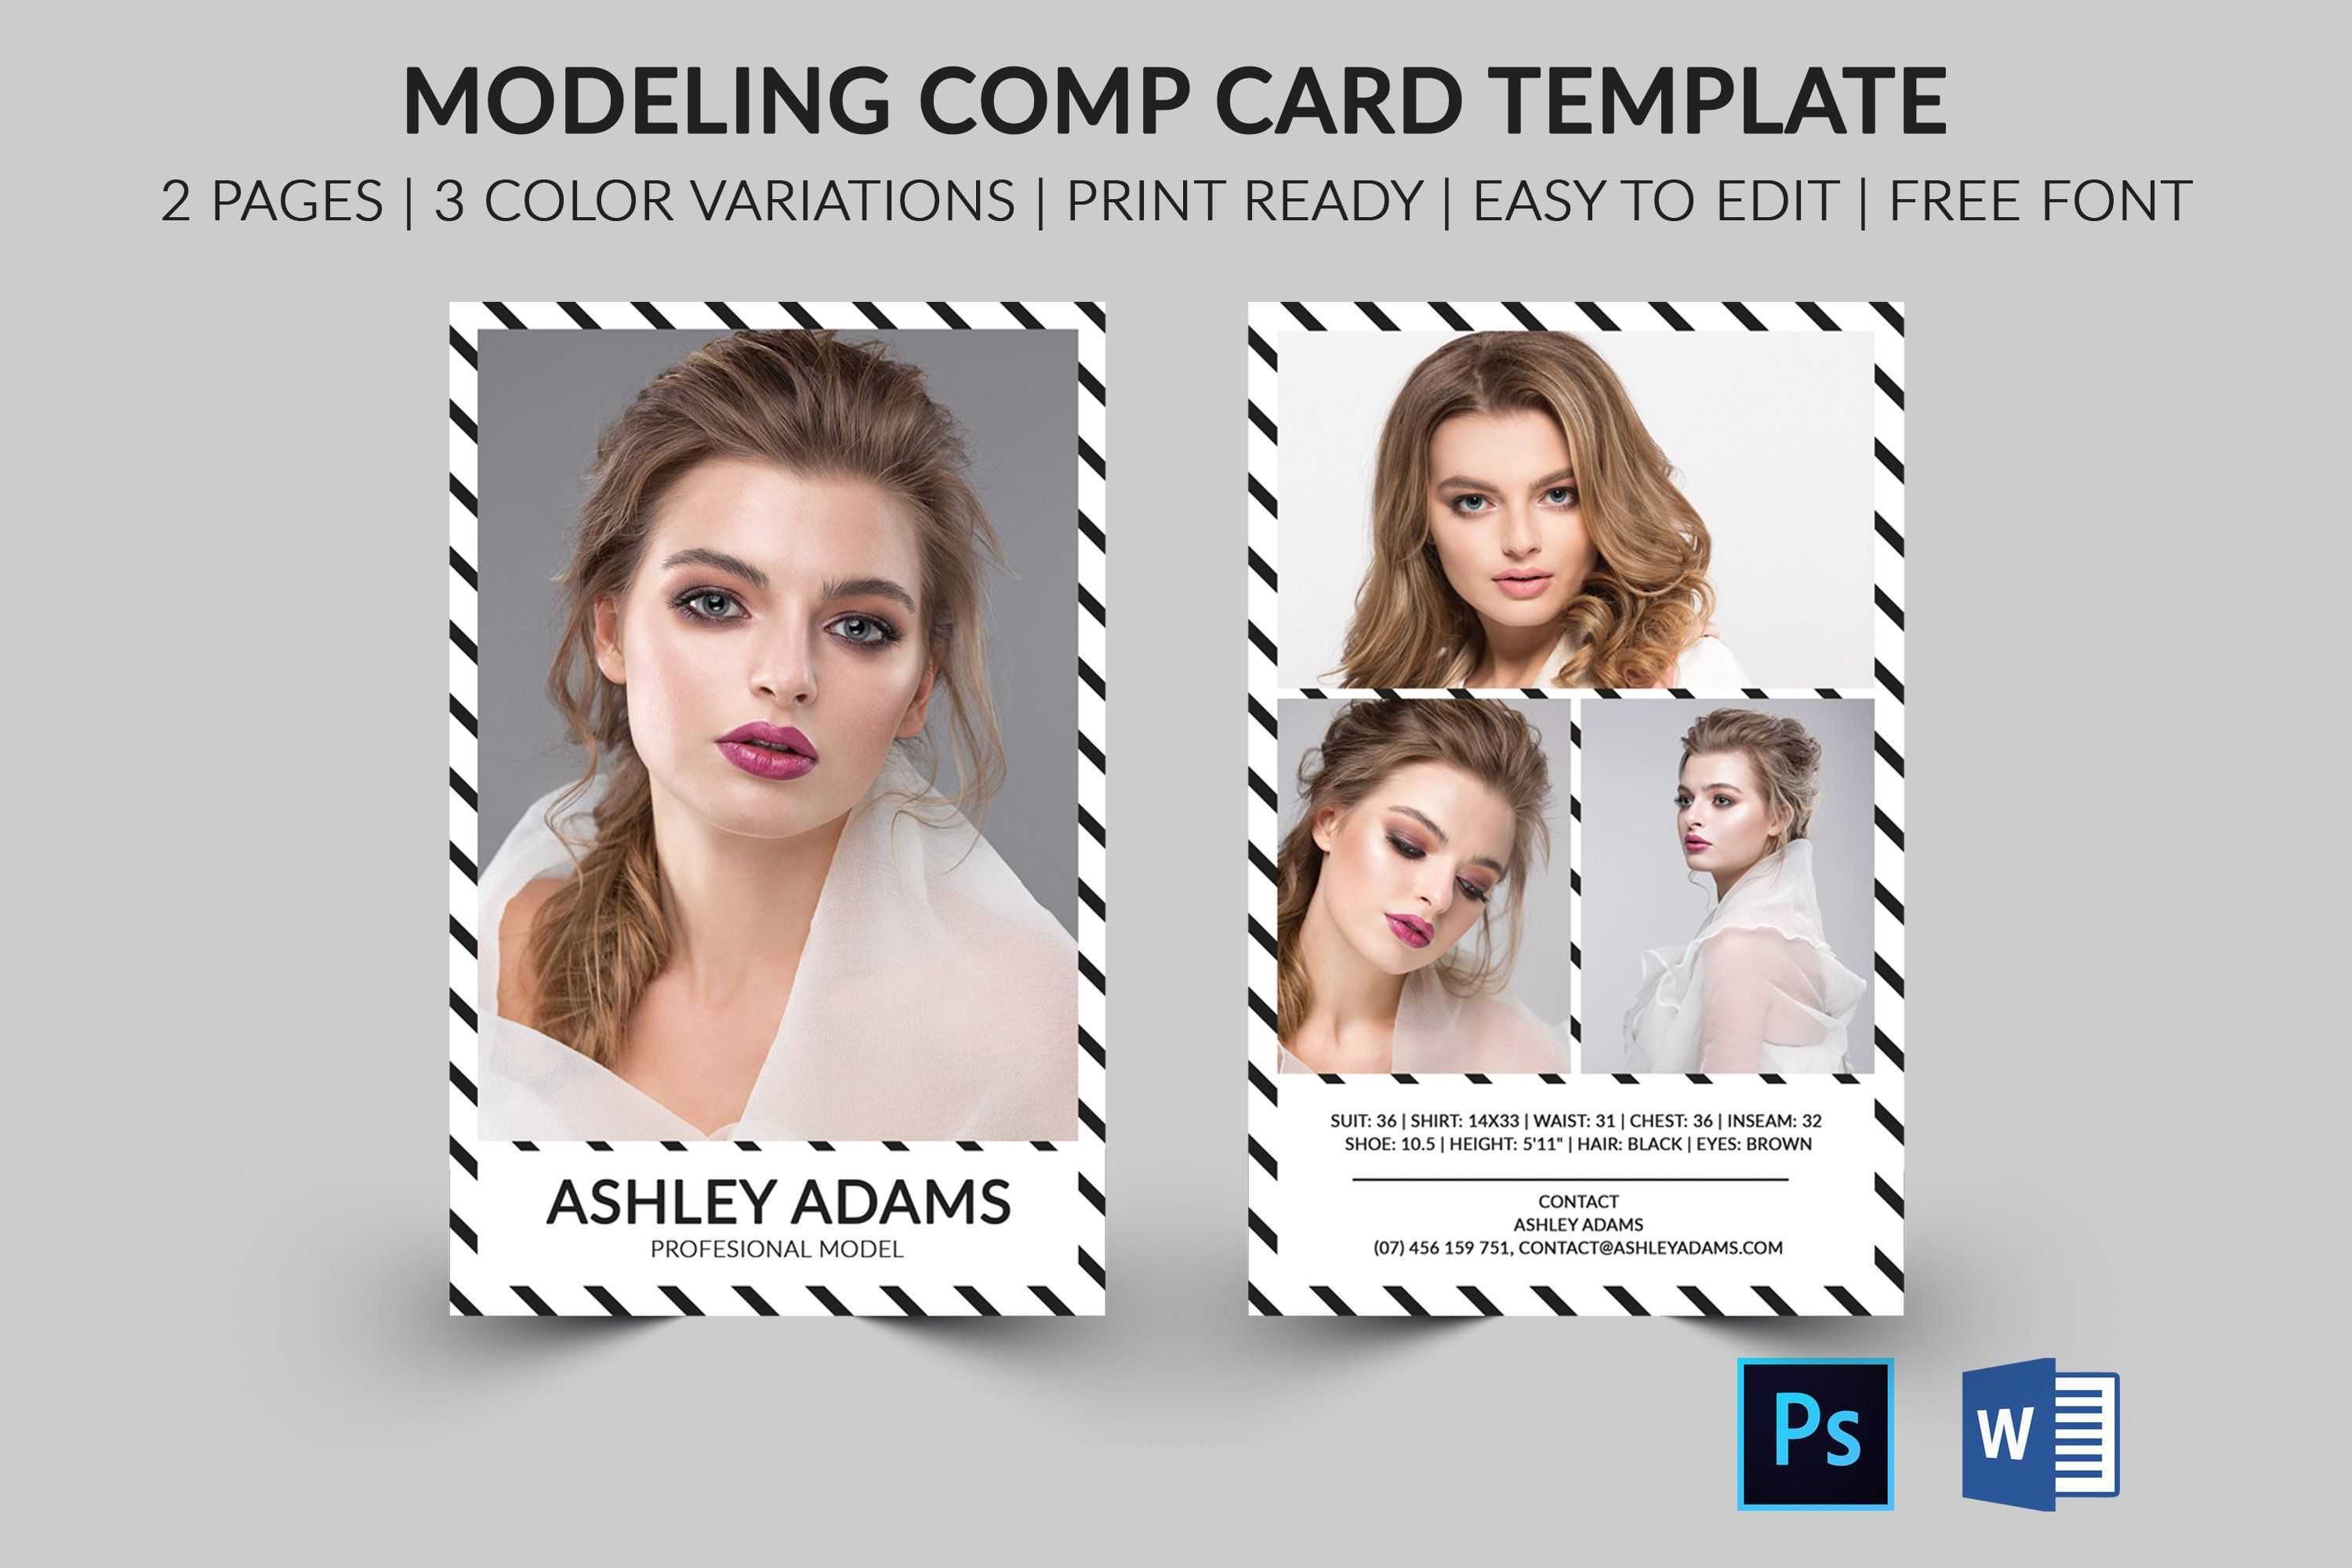
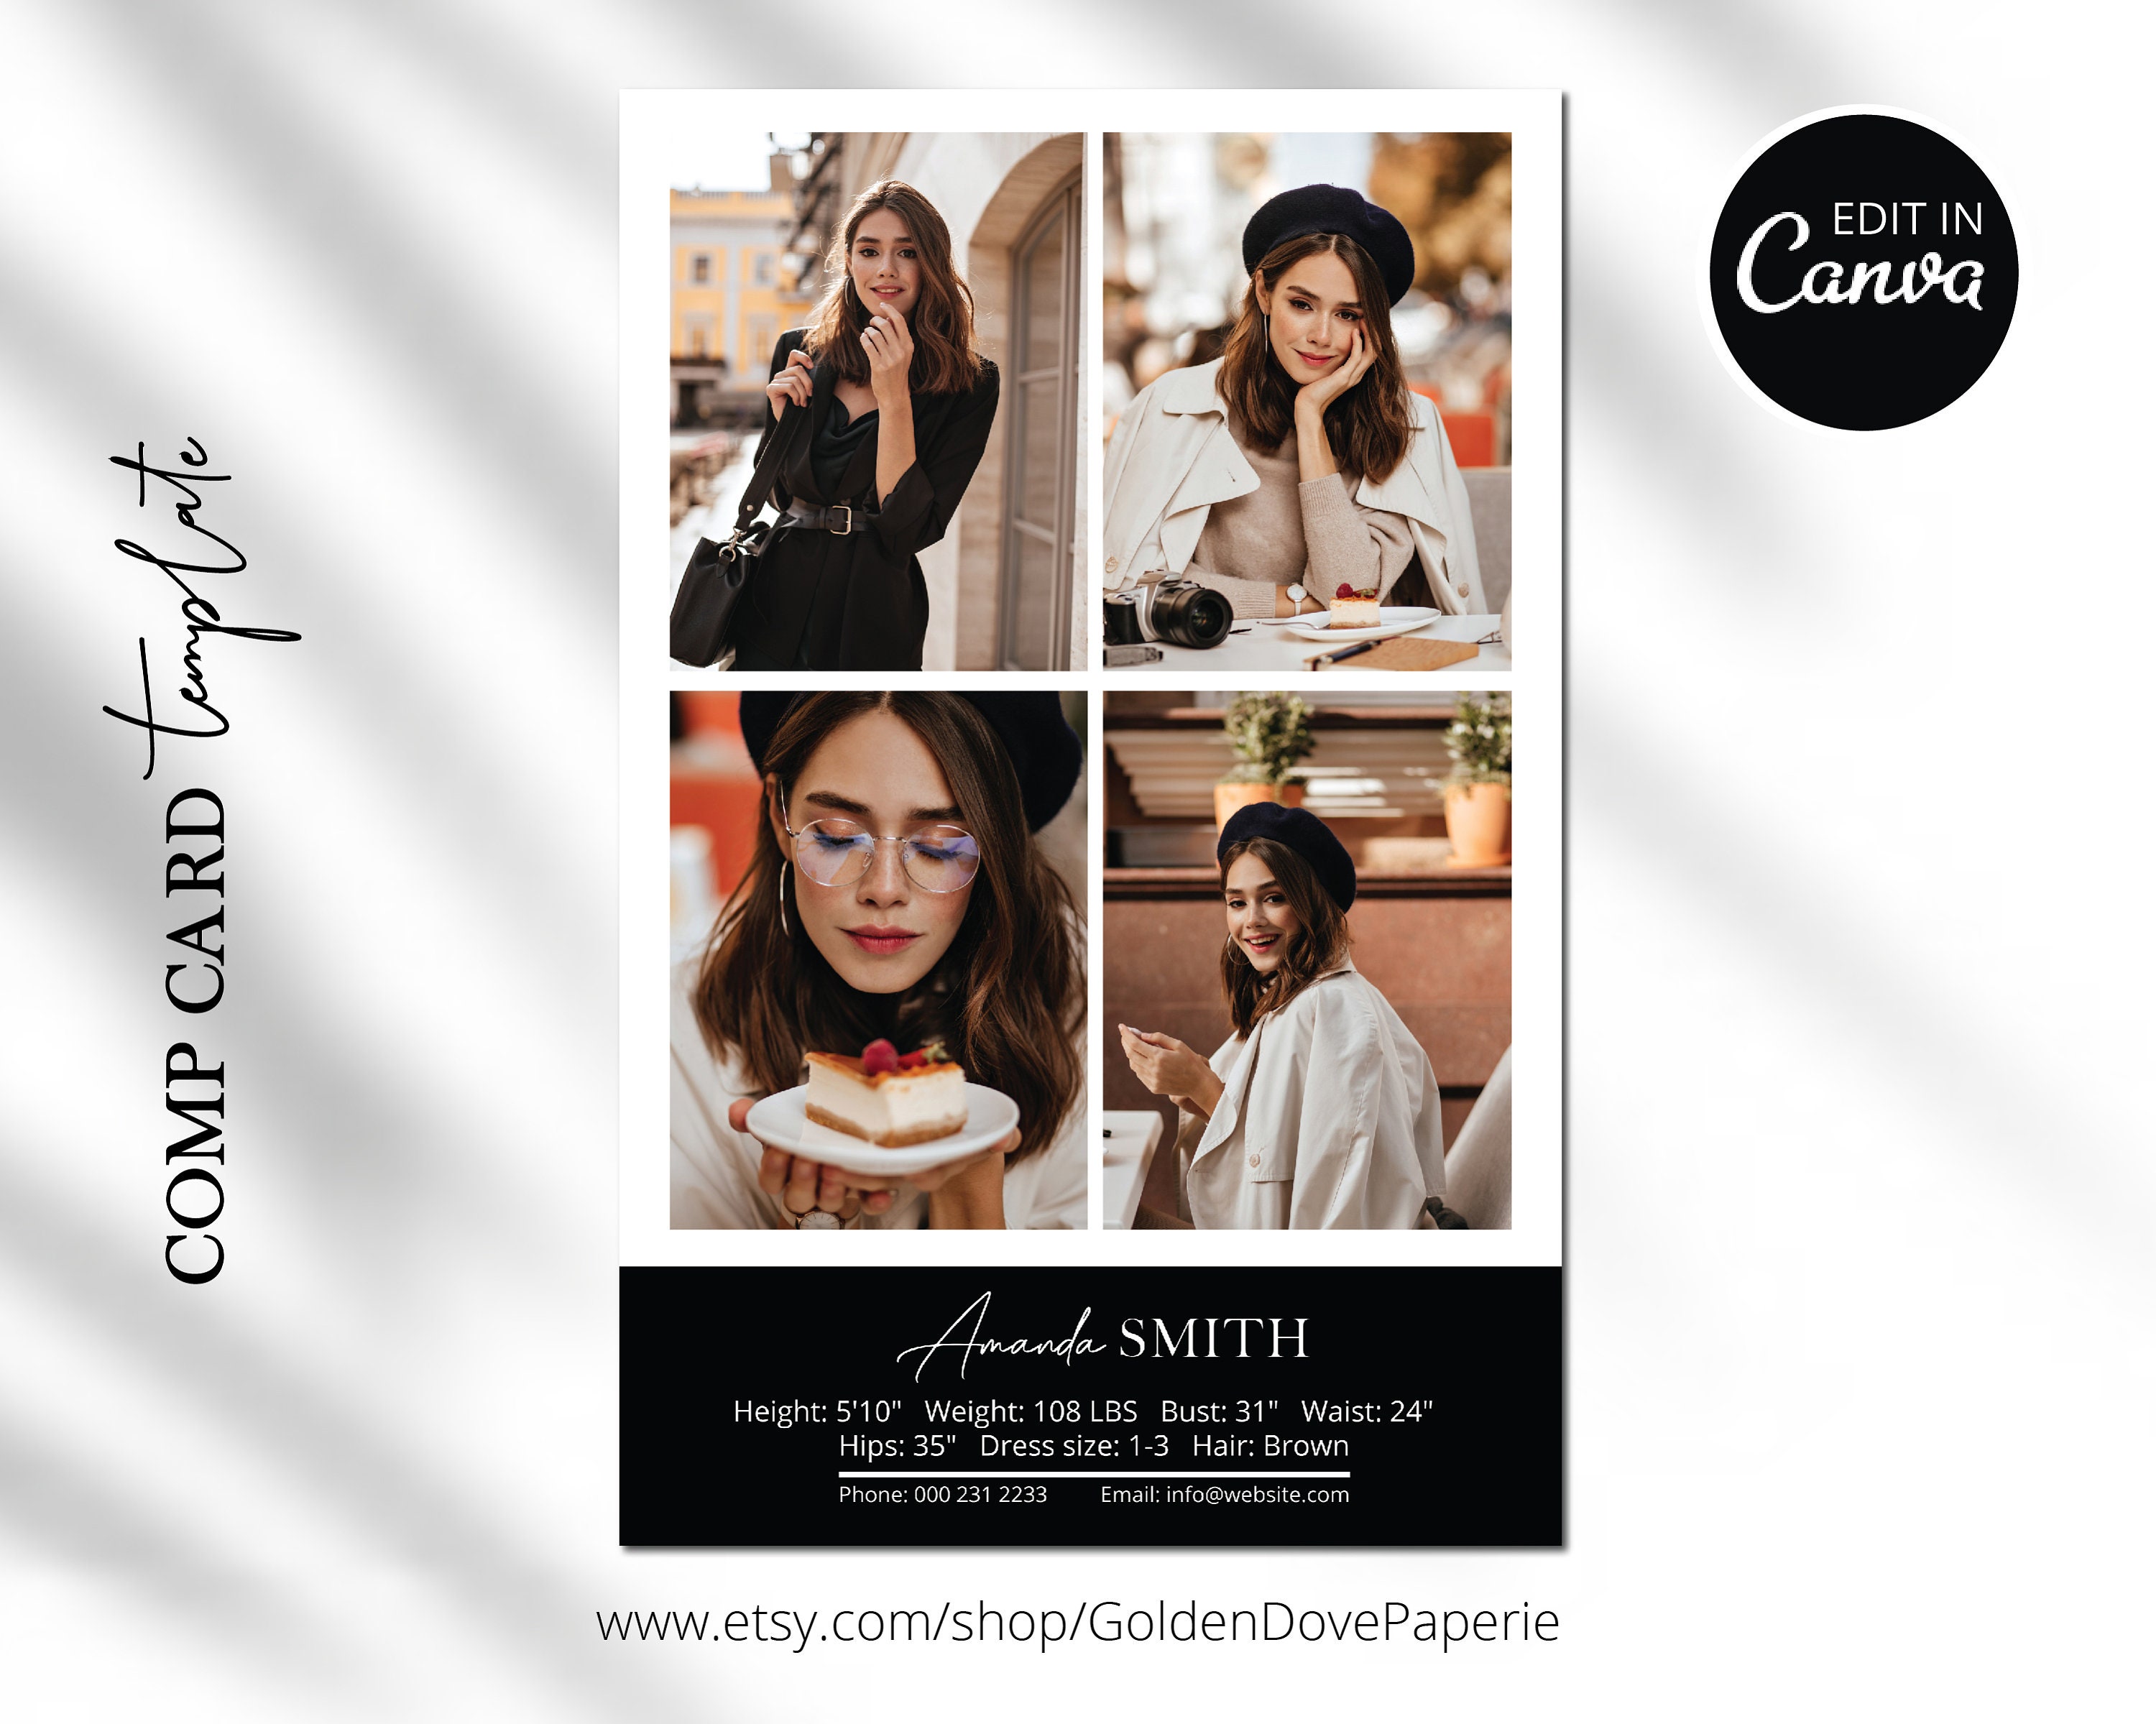
A Zed card is a compact, high-resolution card that showcases a model’s key attributes: facial image, measurements, and professional photos. Unlike a standard headshot, it’s designed for quick, at-a-glance assessment by casting directors and photographers. When you’re a model, an immaculate card demonstrates your professionalism and attention to detail, while for agencies it streamlines casting workflows.
Key Uses in the Modeling World
- Portfolio Showcase: Highlight your best work in a single, printable format.
- Networking Tool: Hand out cards at casting calls or industry events.
- Online Presence: Upload a PDF version to your website or social media.
Why the Free Template Is a Game Changer
Paid templates often come with licensing restrictions, limited customization, or complex design software requirements. A free, pre-built Zed card template eliminates these hurdles, allowing you to focus on content rather than code.
Key Features of the Free Template

When selecting a free template, you want flexibility, quality, and compatibility. This particular design offers:
- High-Resolution Layout: 300 DPI ensures crisp print quality.
- Editable Layers: Create new Photoshop or Illustrator files with layer groups for text, images, and background.
- Pre-Formatted Fields: Measurement tables and photo placeholders save time.
- Responsive Design: Works on both print and digital platforms.
Step-by-Step Guide to Customizing Your Zed Card
1. Set Up Your Workspace
Open the template file in Photoshop or Illustrator. Rename the file to your name or agency designation for easy identification. Adjust the canvas size to 4.75” × 6.75” if you plan to print on standard card stock.
2. Replace the Placeholder Images
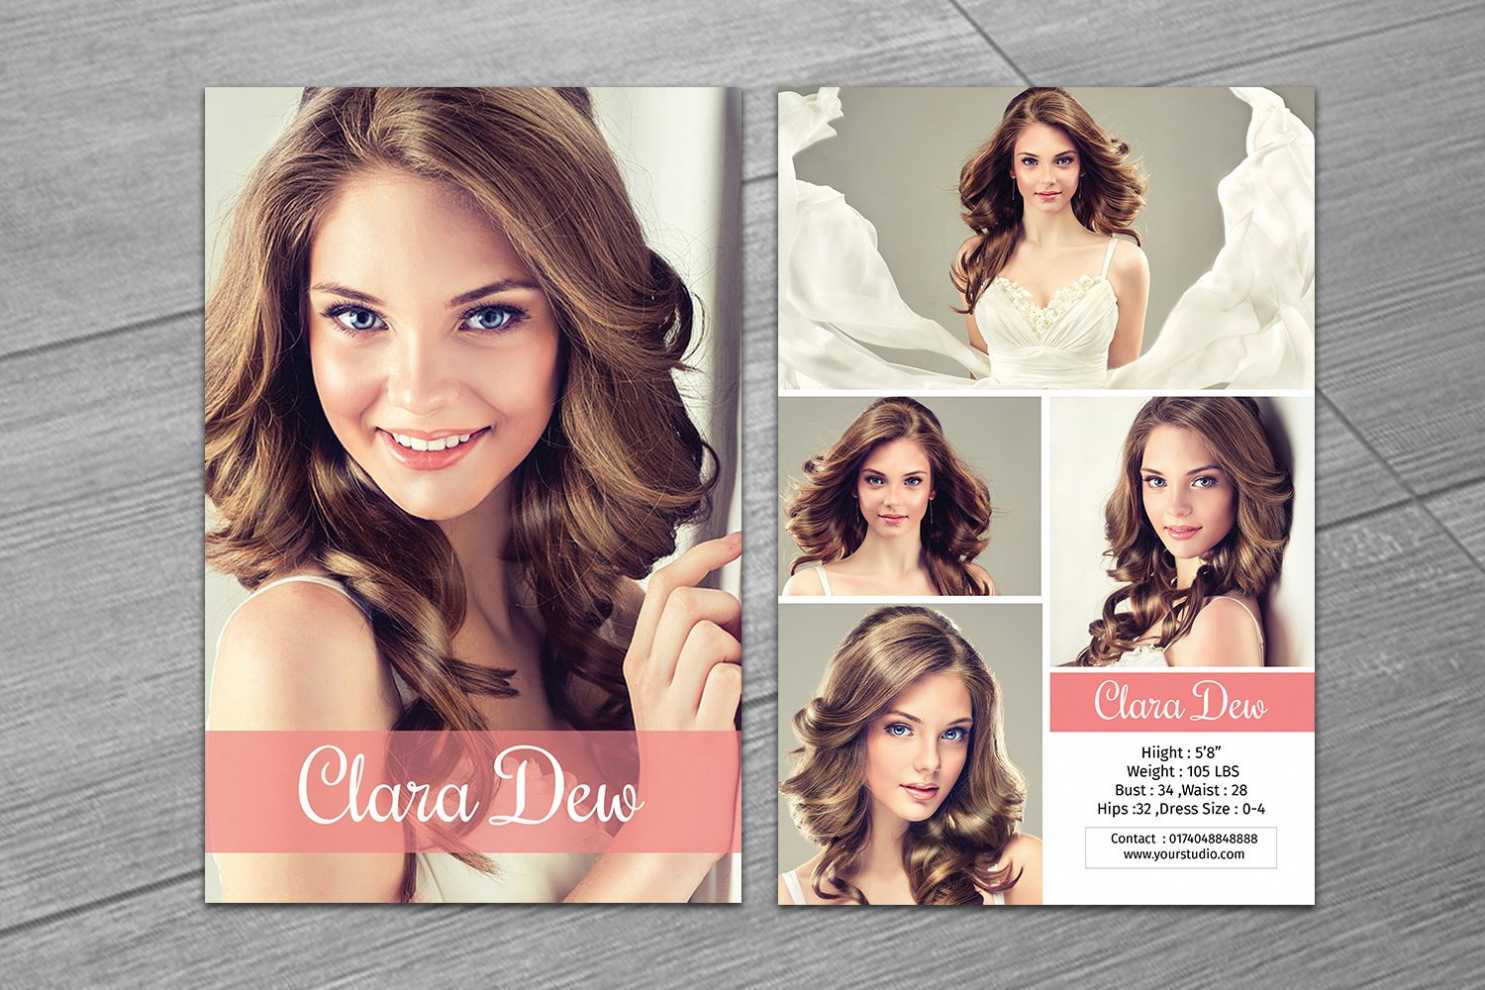
Select the photo layers labeled “Main Photo” and “Portfolio Grid.” Drag and drop your high-quality headshot into the main photo slot. For the portfolio grid, add 4–6 images that best represent your range—each should be at least 300 × 300 pixels.
3. Update Text Fields
Click on the text layers that read “Name,” “Age,” “Measurements,” and “Contact.” Replace placeholder values with your own. Use a clear, sans-serif font such as Montserrat or Arial to maintain readability. Adjust font size to fit the layout without overcrowding.
4. Adjust Measurements Table
Most templates include a table for bust, waist, hip, and height. Edit the numeric values and ensure units (inches or centimeters) are consistent. If your measurements fall outside standard ranges, add a note or footnote to clarify.
5. Add Branding Elements
Incorporate your personal or agency logo in the bottom-right corner. Resize proportionally so it doesn’t dominate the card. If you’re using an agency’s branding, align colors with the brand palette for cohesion.
6. Fine-Tune Colors and Effects
Use the “Color Overlay” or “Blend Mode” settings to tweak background hues. If you prefer a matte finish, apply a subtle overlay or gradient to reduce glare in printed copies.
7. Export for Print and Digital Use
- Print: Export as a PDF with “High Quality Print” settings and embed all fonts.
- Digital: Export as JPEG or PNG at 72 dpi for online use. Create a thumbnail for quick sharing.
Best Practices for Design Consistency
Maintain Brand Cohesion
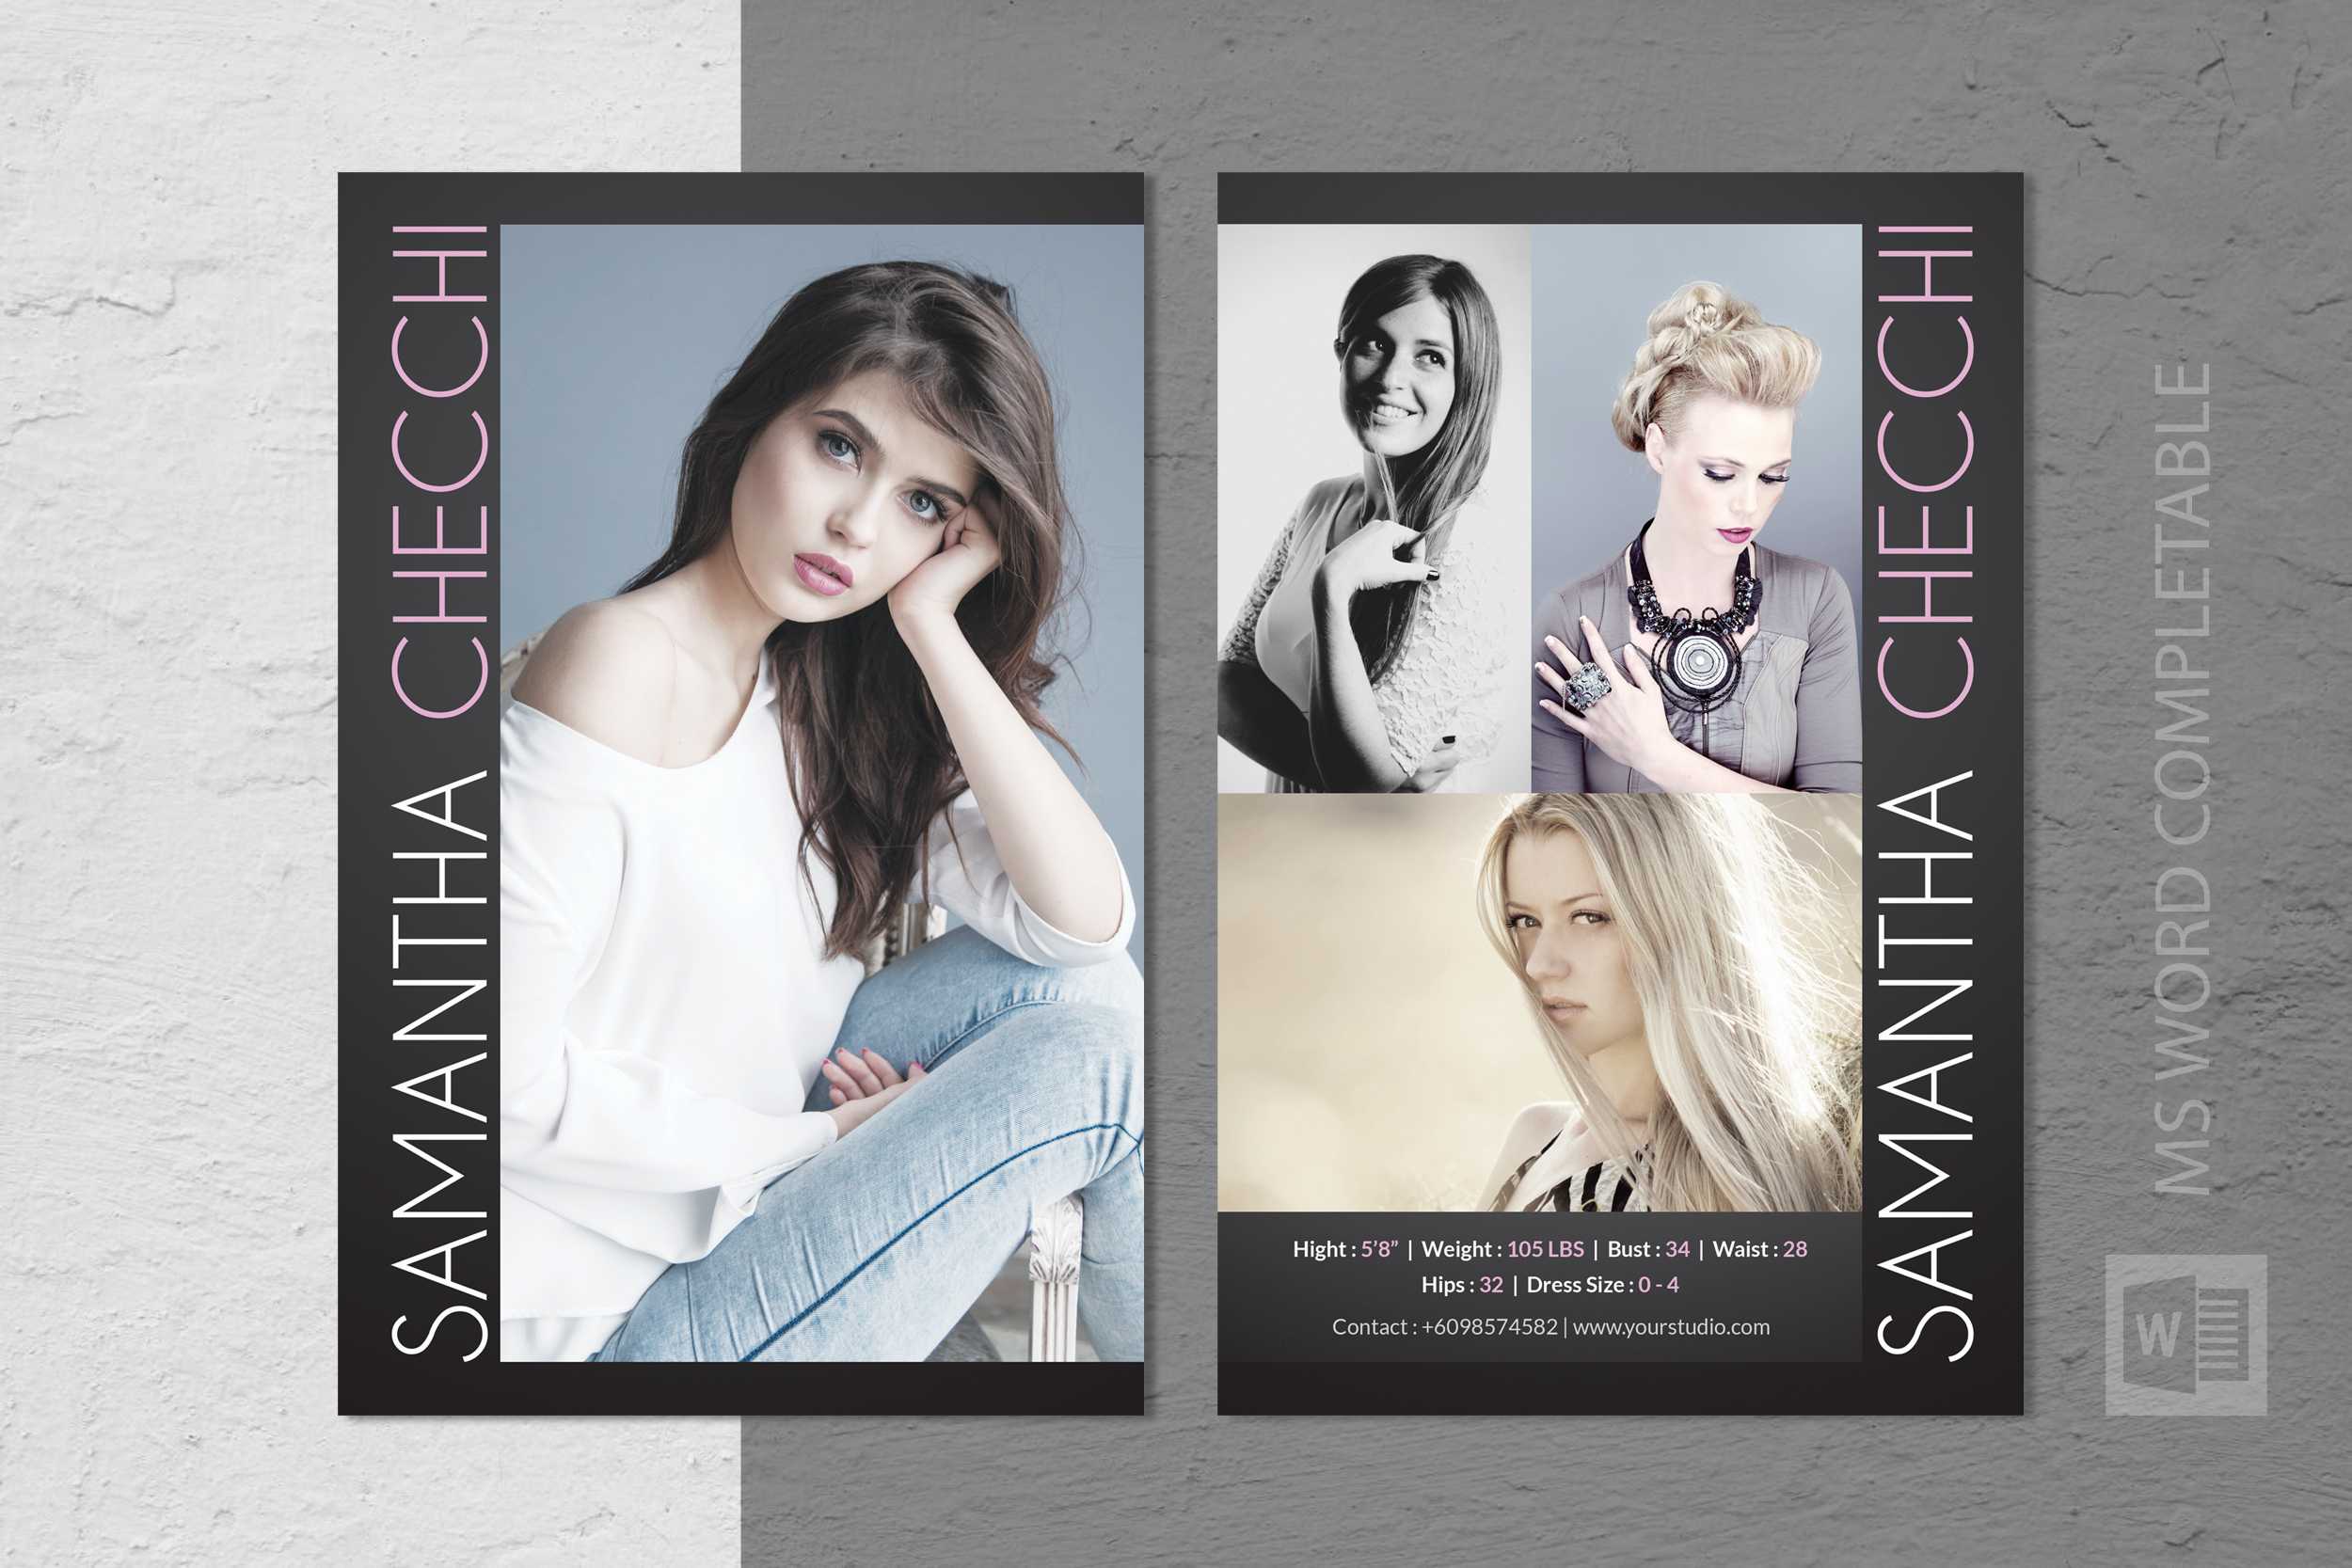
Your card should reflect your personal brand or agency’s visual identity. Keep color palettes, typefaces, and logo placement consistent across all marketing materials. This uniformity signals professionalism and attention to detail.
Use High-Quality Images Only
Low-resolution photos can make your card appear unprofessional. Stick to images that are at least 300 dpi for print and 72 dpi for web. Avoid heavy compression that introduces pixelation.
Keep Text Legible and Concise
Use no more than two font families to avoid visual clutter. Limit the amount of text on the card; a clean layout makes it easier for casting directors to read key data quickly.
Test Print Before Finalizing
Print a single copy on your home printer to catch any layout issues. Check for alignment, font readability, and color fidelity. If possible, print on the same cardstock you’ll use for the final version.
Where to Store and Share Your Completed Cards

Digital Portfolio Platforms
- Behance – Create a project for your Zed cards.
- Model Mayhem – Upload PDFs in the “Portfolio” section.
- Instagram – Use story highlights or reels to showcase your cards.
Physical Storage Tips
Store printed cards in a clear plastic sleeve to protect them from damage. Label each sleeve with your name and the date of printing for quick retrieval.
Common Mistakes to Avoid
Overloading the Card with Content
Too many photos or excessive text can overwhelm the viewer. Stick to a maximum of six portfolio images and concise measurement data.
Using Incompatible File Formats
Make sure your export settings match the intended use. For print, PDF or TIFF is ideal; for web, JPEG or PNG with compression is suitable.
Neglecting Accessibility
For digital versions, include alt text for images and ensure color contrast meets accessibility standards. This ensures your card can be viewed by all audiences.
Ignoring Feedback from Casting Directors
Ask for feedback from peers or casting professionals. They may suggest adjustments that improve readability or visual impact.
Conclusion
A Zed Card Template Free is more than just a design asset; it’s a strategic tool that enhances your professional presentation. By following the customization steps above, applying best design practices, and distributing your card thoughtfully, you’ll create a standout portfolio piece that captures attention and opens doors. Whether you’re a newcomer to the modeling world or an established talent looking to refresh your branding, this template provides a solid foundation for success.