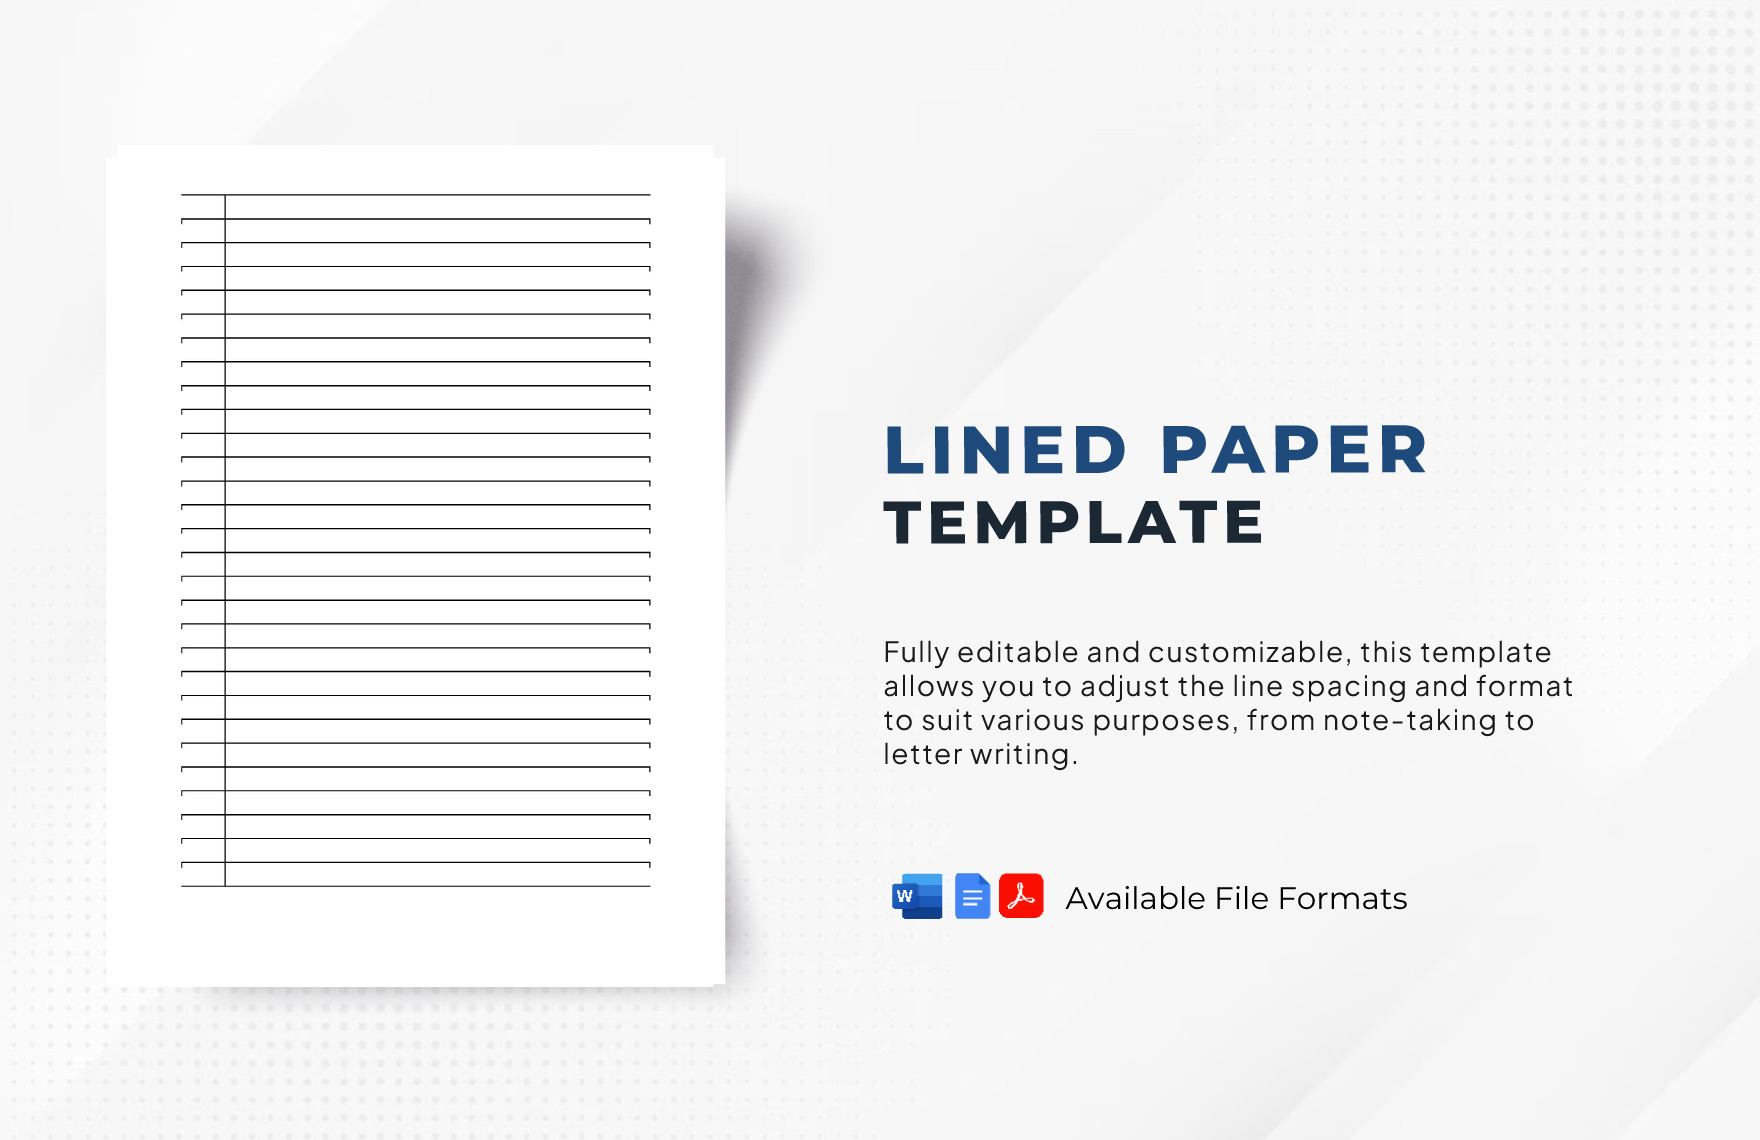
Microsoft Word Lined Paper Template is a game‑changing feature that transforms how students, writers, and professionals format their documents. By blending the simplicity of classic ruled paper with the versatility of modern word processing, this template offers a clean, organized canvas that boosts productivity and reduces clutter.
Why Lined Paper Templates Matter in Today’s Digital Landscape
In an era dominated by sleek digital interfaces, the humble lined paper remains a powerful tool for clarity and focus. Lined paper templates in Microsoft Word echo the familiarity of school notebooks, encouraging structured writing without the distraction of excessive formatting tools. They also help maintain consistency across reports, notebooks, and lecture notes, making collaboration smoother and printouts more professional.
Key Features of the Microsoft Word Lined Paper Template
1. Customizable Line Spacing
Unlike standard Word document settings, the lined paper template allows you to adjust the vertical distance between each line. Whether you need a tighter layout for dense notes or more room for handwritten drafts, you can modify the line spacing to fit your style.
2. Adjustable Margin Widths
Margins define where your content starts and ends on each page. The template includes preset margins that mimic traditional stationery, but you can also tweak them for larger or smaller paper sizes, ensuring every line stays within readable bounds.
3. Optional Header and Footer Insertion
Adding a header with your name or a footer with page numbers adds a layer of professionalism without breaking the aesthetic. The template offers pre‑built header/footer styles that blend seamlessly with the lined background.
4. Seamless Printing Options
When you’re ready to print, the template automatically scales to match standard paper sizes like Letter or A4. It also supports double‑sided printing, conserving paper and keeping the lines aligned on both sides.
How to Create a Lined Paper Template from Scratch

Step 1: Open a New Document
Launch Microsoft Word and start with a blank document. This ensures you’re working on a fresh canvas that won’t carry unwanted styles from previous projects.
Step 2: Configure Page Layout
- Click on Layout in the top ribbon.
- Select Margins and choose Custom Margins to set the desired left, right, top, and bottom values.
- Set the paper size to Letter or A4 depending on your locale.
Step 3: Add Horizontal Lines Using Table Borders
- Insert a table with one column and an infinite number of rows (or at least enough to cover your expected page count). Go to Insert → Table → choose 1×10 (you can add more rows later).
- Adjust the row height to your preferred line spacing, e.g., 0.6 cm for tighter lines.
- Remove all table borders except the bottom border of each row by selecting the table, clicking Borders, and choosing No Border then applying only Bottom Border.
- Set the bottom border color to a subtle gray to mimic pencil lines.
Step 4: Fine-Tune the Font and Text Alignment
Select a clean, readable font like Calibri or Times New Roman. Set the font size to 11 or 12 points for optimal legibility. Align the text to the left and enable Justified or Left Align based on your preference.
Step 5: Save as a Template
Once satisfied, go to File → Save As. Choose Word Template (*.dotx) from the file type dropdown. Name it “Lined Paper” and store it in the default templates folder. Now, any time you start a new document, you can select this template for instant access.
Optimizing Your Lined Paper for Specific Use Cases
Academic Note-Taking
Students often need a structured layout to capture lecture notes efficiently. By adding a header with the course name and a footer with the page number, you can create a ready-to-use notebook in seconds. Pair this template with a stylus for digital tablets to maintain handwritten aesthetics.
Professional Report Drafts
Managers and analysts can use the template to draft reports before formatting them into polished presentations. The lined layout keeps paragraphs distinct, reducing visual noise and making the draft easier to review.
Creative Writing and Journaling
Writers benefit from the rhythm that lined paper provides, encouraging flow and organization. Incorporate a subtle watermark or a faint title at the top of each page to personalize your manuscript without disrupting the lined aesthetic.
Integrating Lined Paper with Modern Features

Using Styles for Consistency
Define custom styles for headings, subheadings, and body text. Even on a lined background, consistent styling ensures that your document looks cohesive when printed or shared electronically.
Adding Page Numbers and Section Breaks
Insert Page Numbers through the Insert tab to maintain navigation ease. Use Section Breaks if you need to switch to a different page layout within the same document—for example, a table of contents without lines.
Exporting to PDF While Preserving Lines
When saving your document as a PDF, double‑check that the line borders remain intact. Use “Save As” → PDF and review the output. If the lines appear too light, adjust the border color to a darker shade before exporting.
Common Pitfalls and How to Avoid Them

Lines Misaligning on Different Pages
To prevent misalignment, use the table method described earlier rather than typing repeated “_” characters. Tables ensure that every line stays evenly spaced throughout the document.
Printing Too Many Blank Lines
Set the number of rows in the table to match the number of pages you anticipate. If you need more lines, add rows in a single location to avoid creating gaps in the middle of a page.
Font Size Inconsistencies
Lock the font size in a custom style or set the default for the document. Mixing 10‑point and 12‑point fonts can disrupt the visual flow of lines.
Enhancing the Template with Visual Elements

Inserting a Subtle Watermark
Go to Design → Watermark and choose a custom watermark that reflects your brand or personal style. Make the opacity low enough so it doesn’t interfere with the lined paper.
Using Color-Coded Margins
For collaborative projects, color‑code each contributor’s margin using the table border tool. For instance, a blue left margin could denote notes from the project manager, while a green margin signals draft content.
Frequently Asked Questions

Can I use a lined paper template on a mobile Word app?
Yes. Once you save the template on your computer, upload it to OneDrive and open it with the mobile Word app. The lined layout remains intact.
What if I want a different line color?
Open the table formatting options and change the bottom border color to any RGB value you prefer. Dark gray offers a classic look, while lighter shades provide a more modern feel.
Is it possible to create a dotted line template instead?
Absolutely. Replace solid borders with dotted or dashed lines in the table formatting settings. Adjust the line width for optimal clarity.
Conclusion
Adopting a Microsoft Word Lined Paper Template not only brings the nostalgic charm of ruled paper into the digital age but also provides a structured foundation for all kinds of writing. By customizing margins, line spacing, and visual accents, you can tailor the template to meet academic, professional, or creative needs. Whether you’re a student jotting down lecture notes, a manager drafting reports, or a writer outlining a novel, this template offers an elegant, distraction‑free workspace that elevates both productivity and presentation. Embrace the timeless simplicity of lined paper and transform every Word document into a polished, purpose‑driven masterpiece.