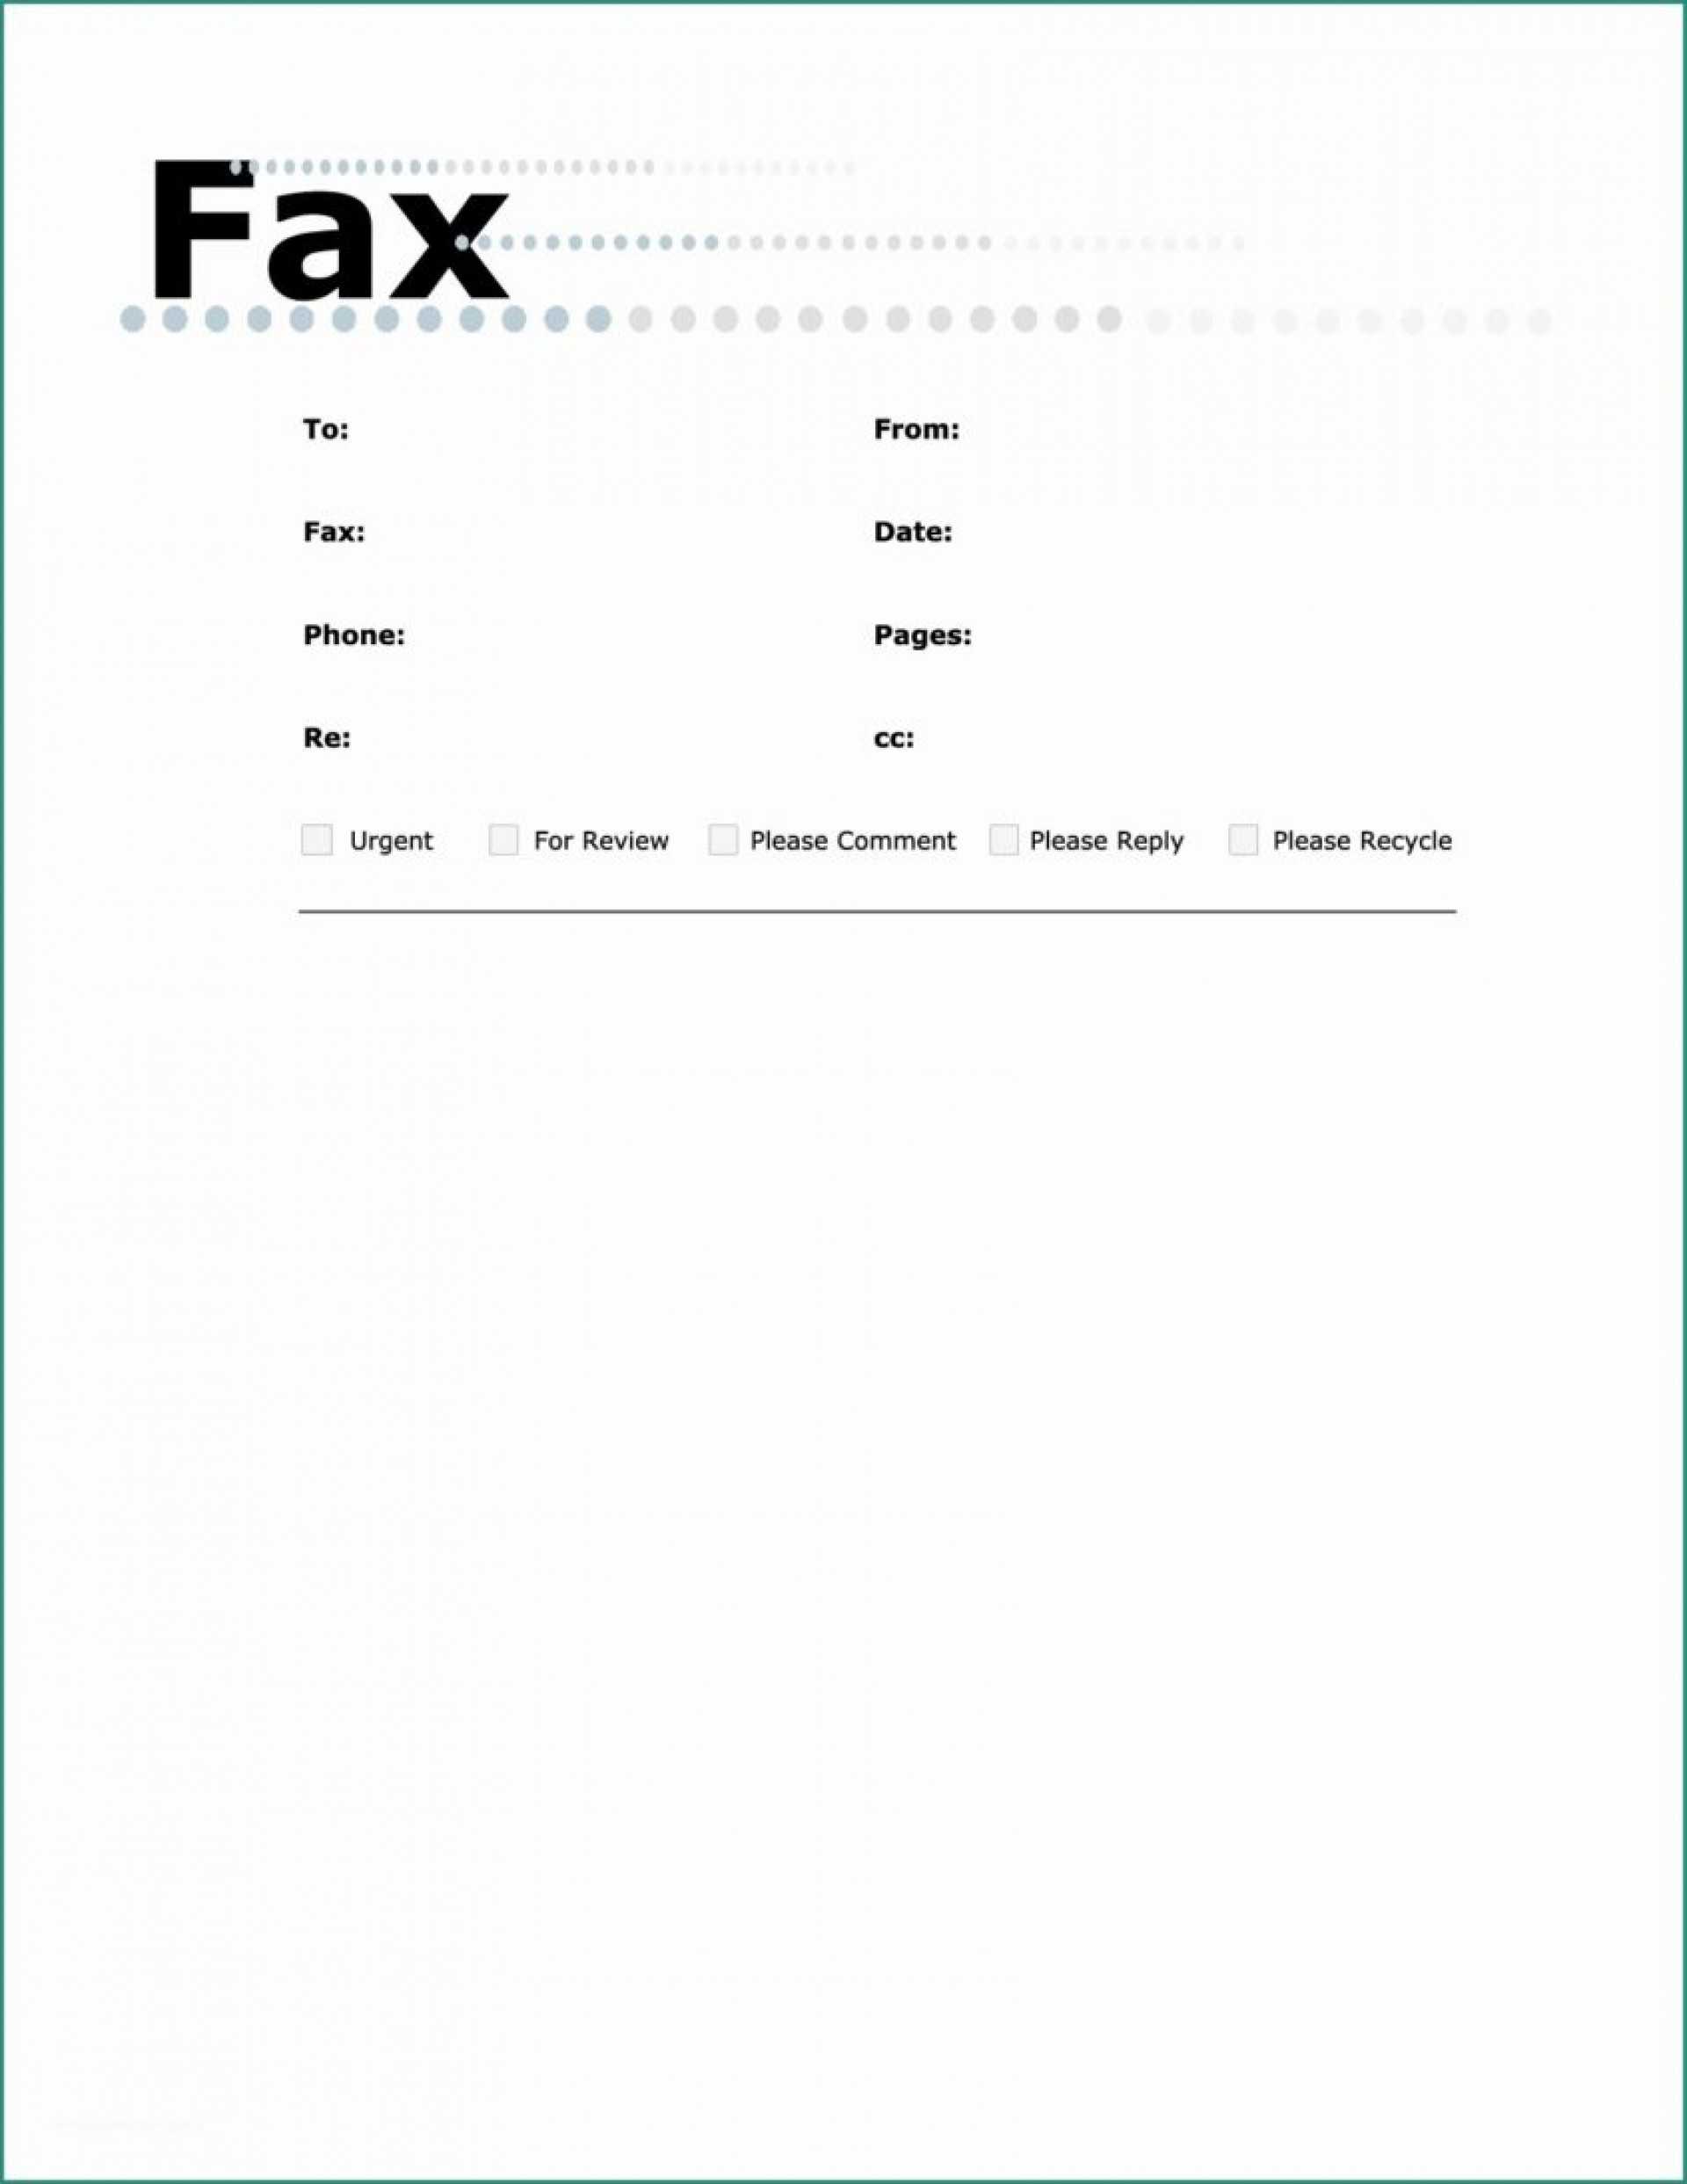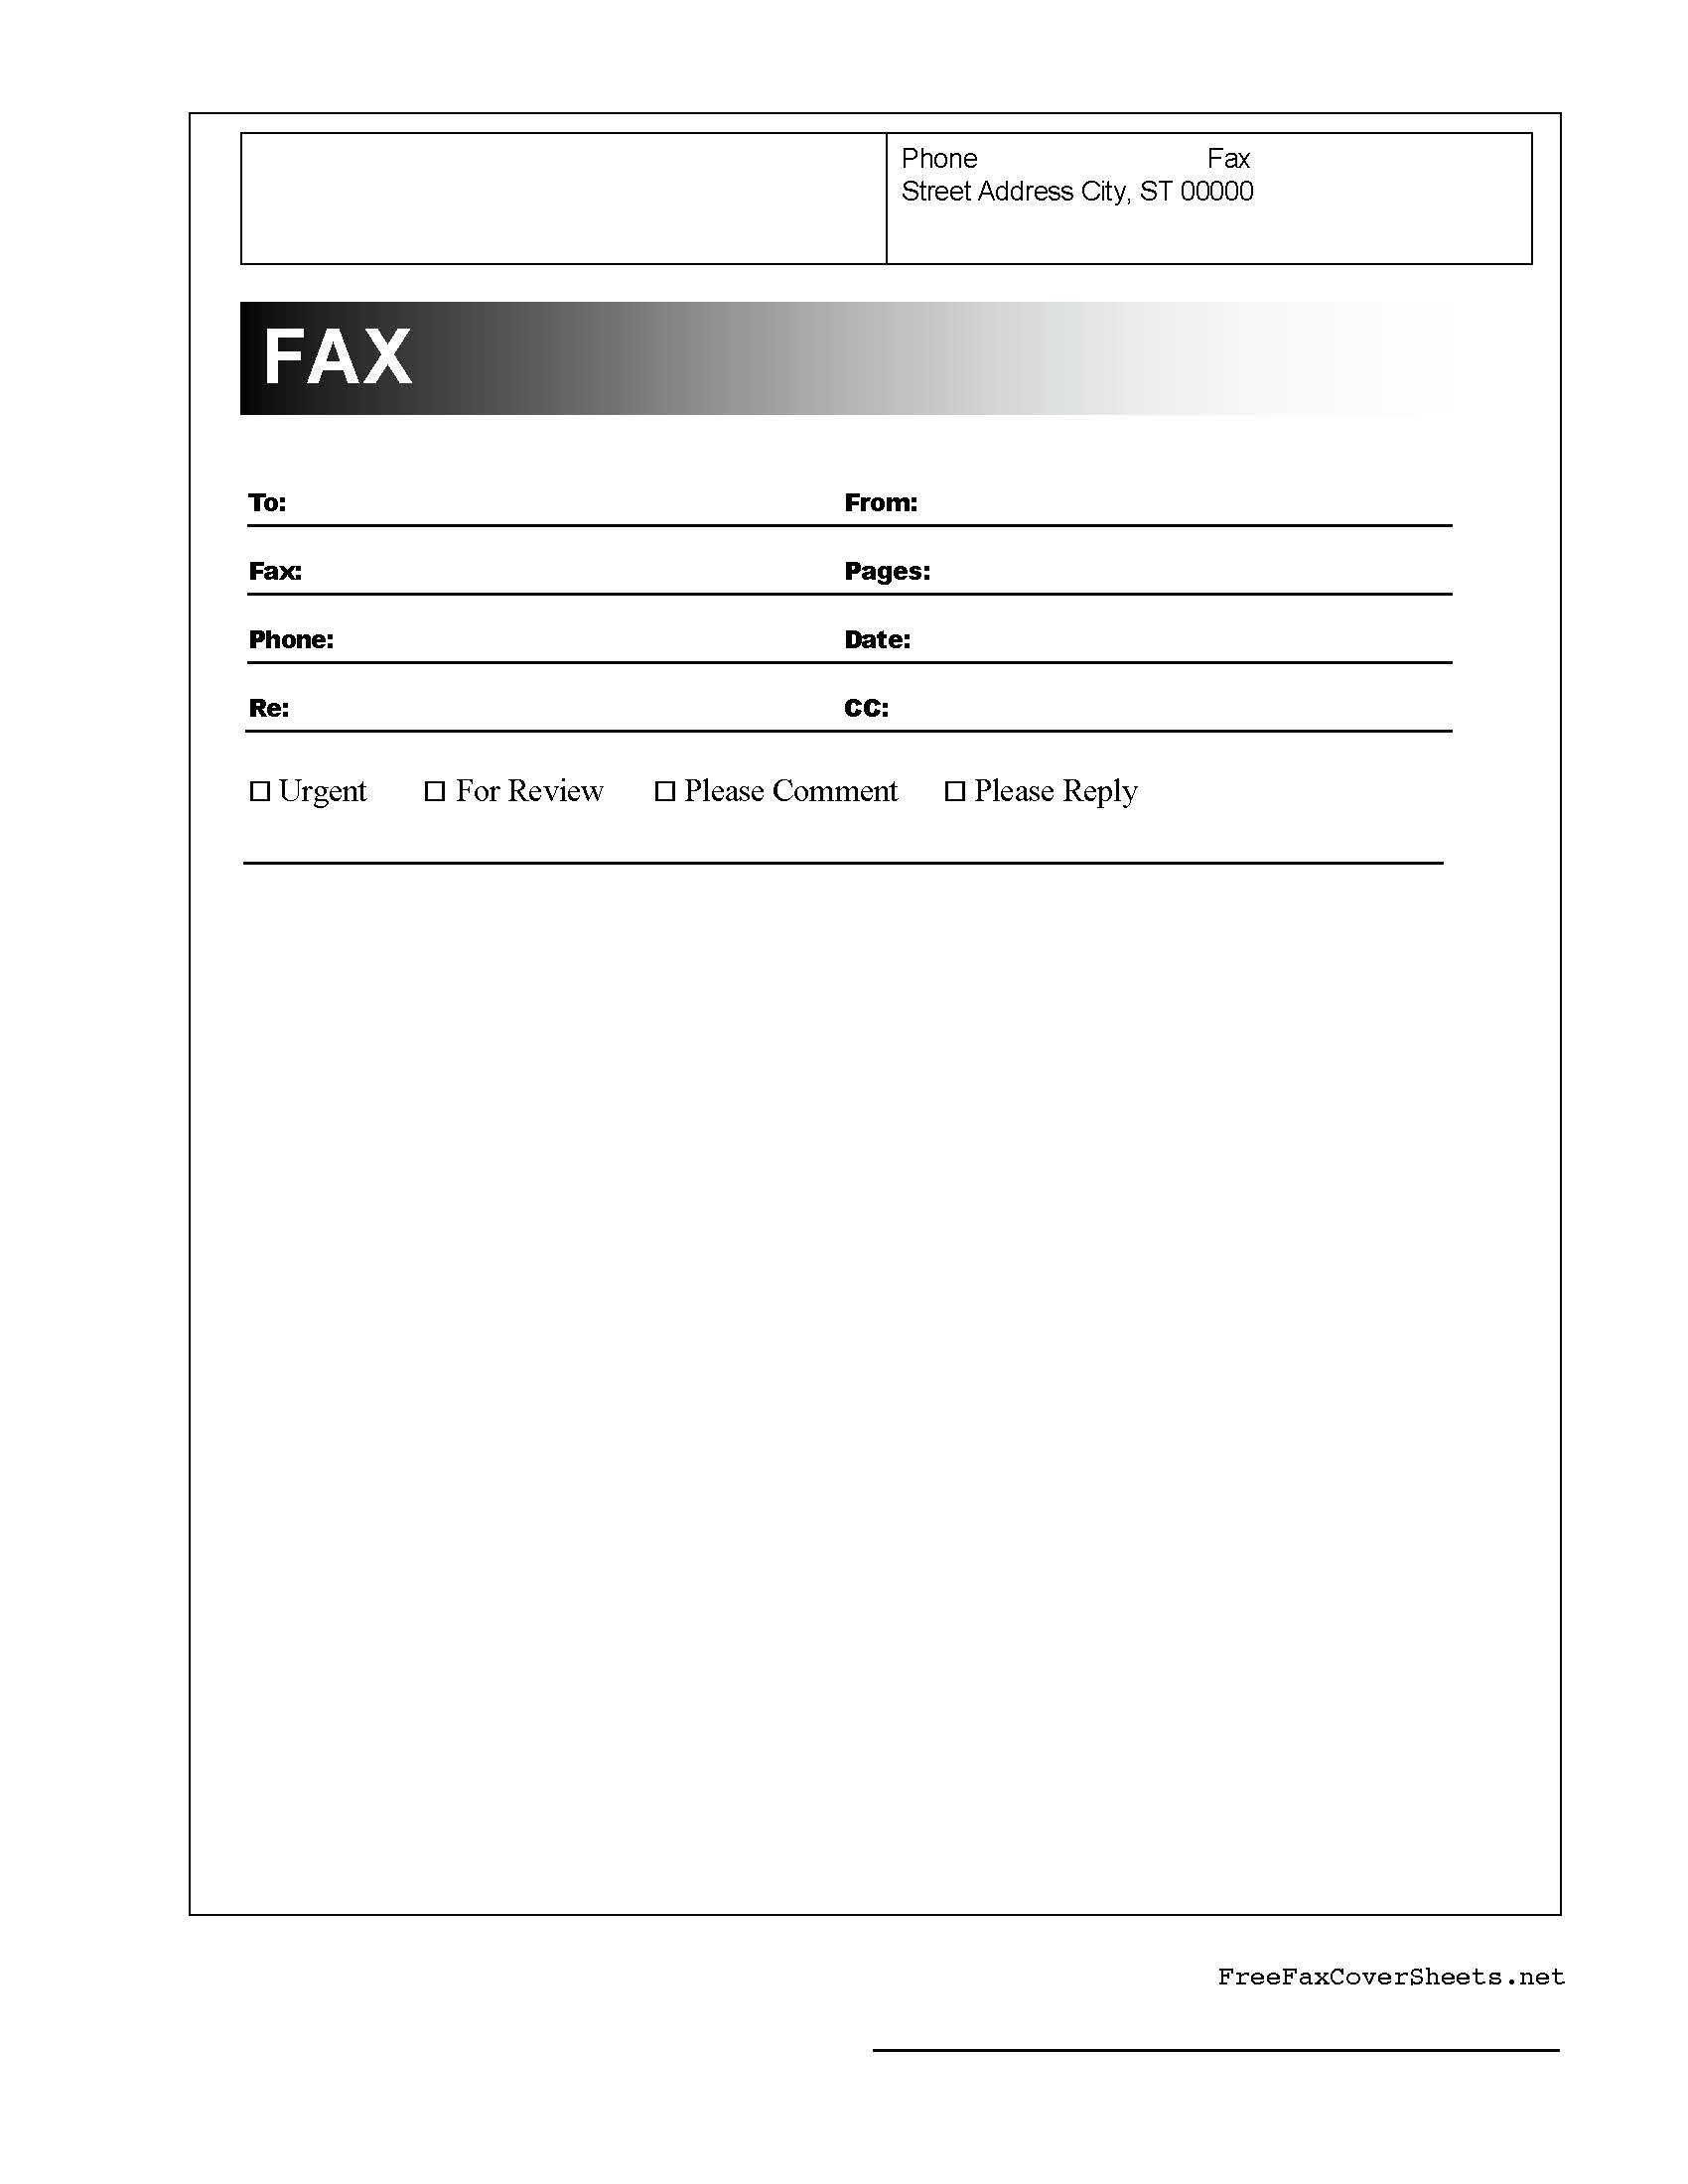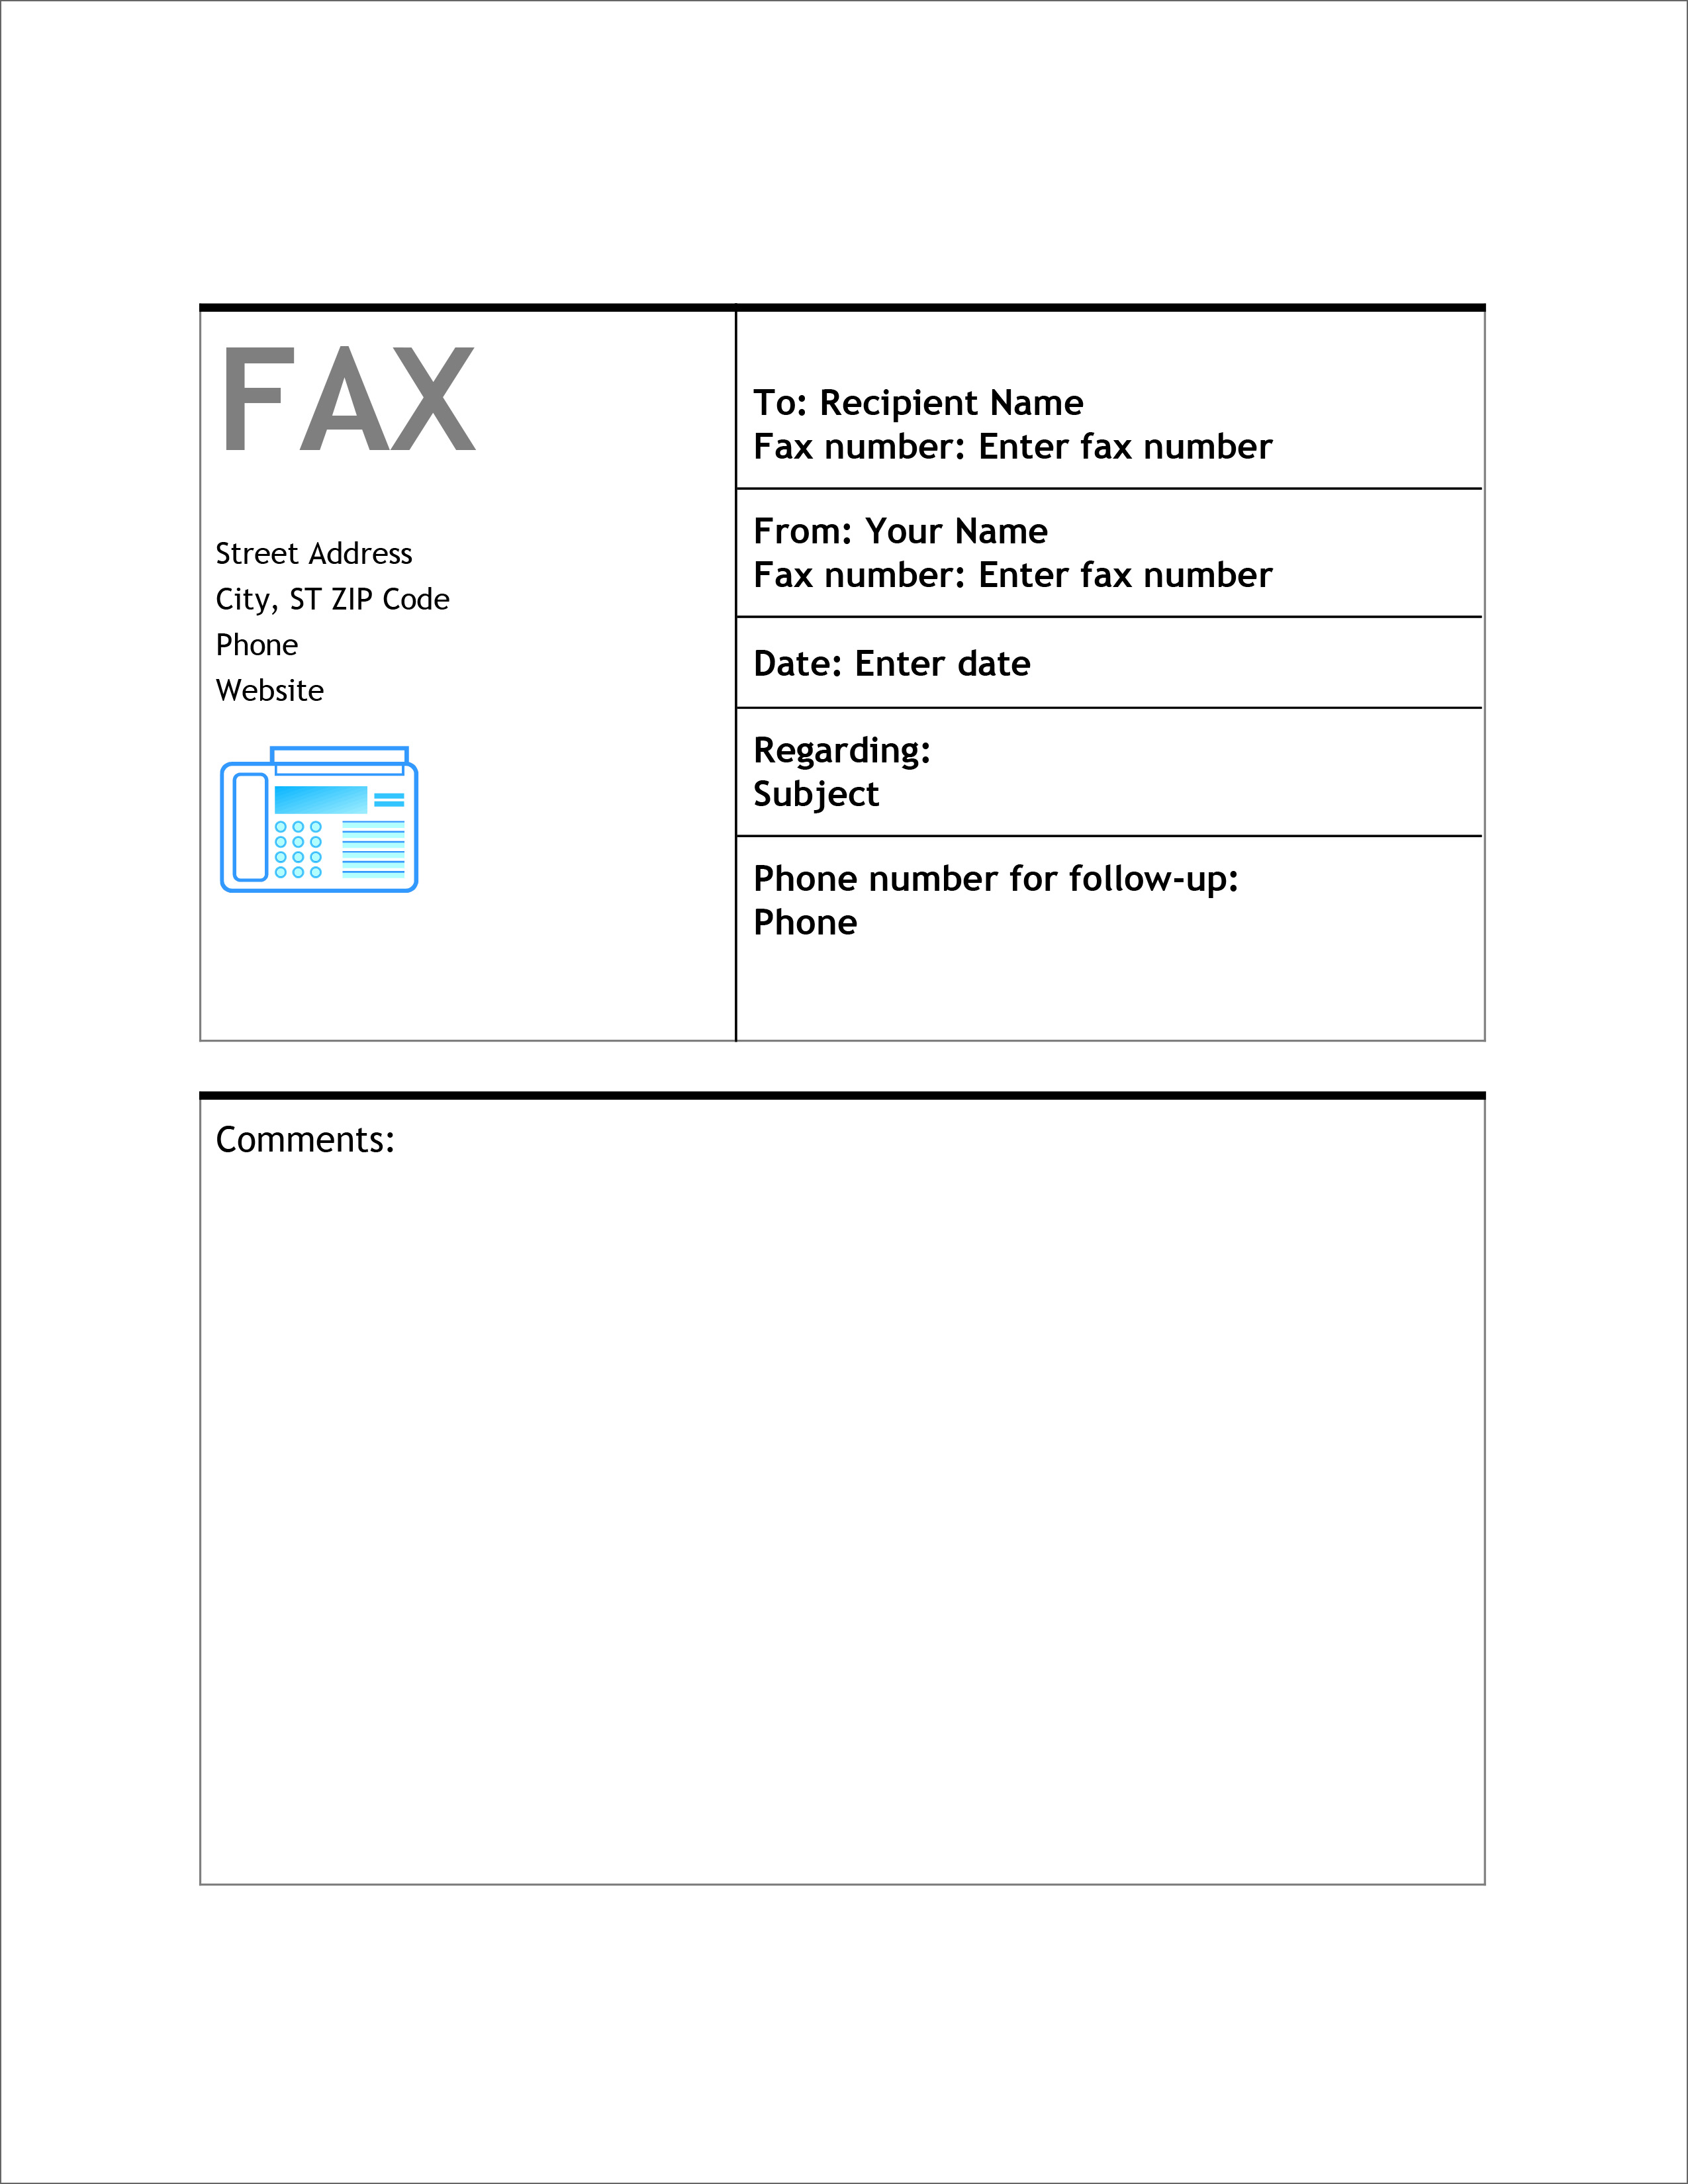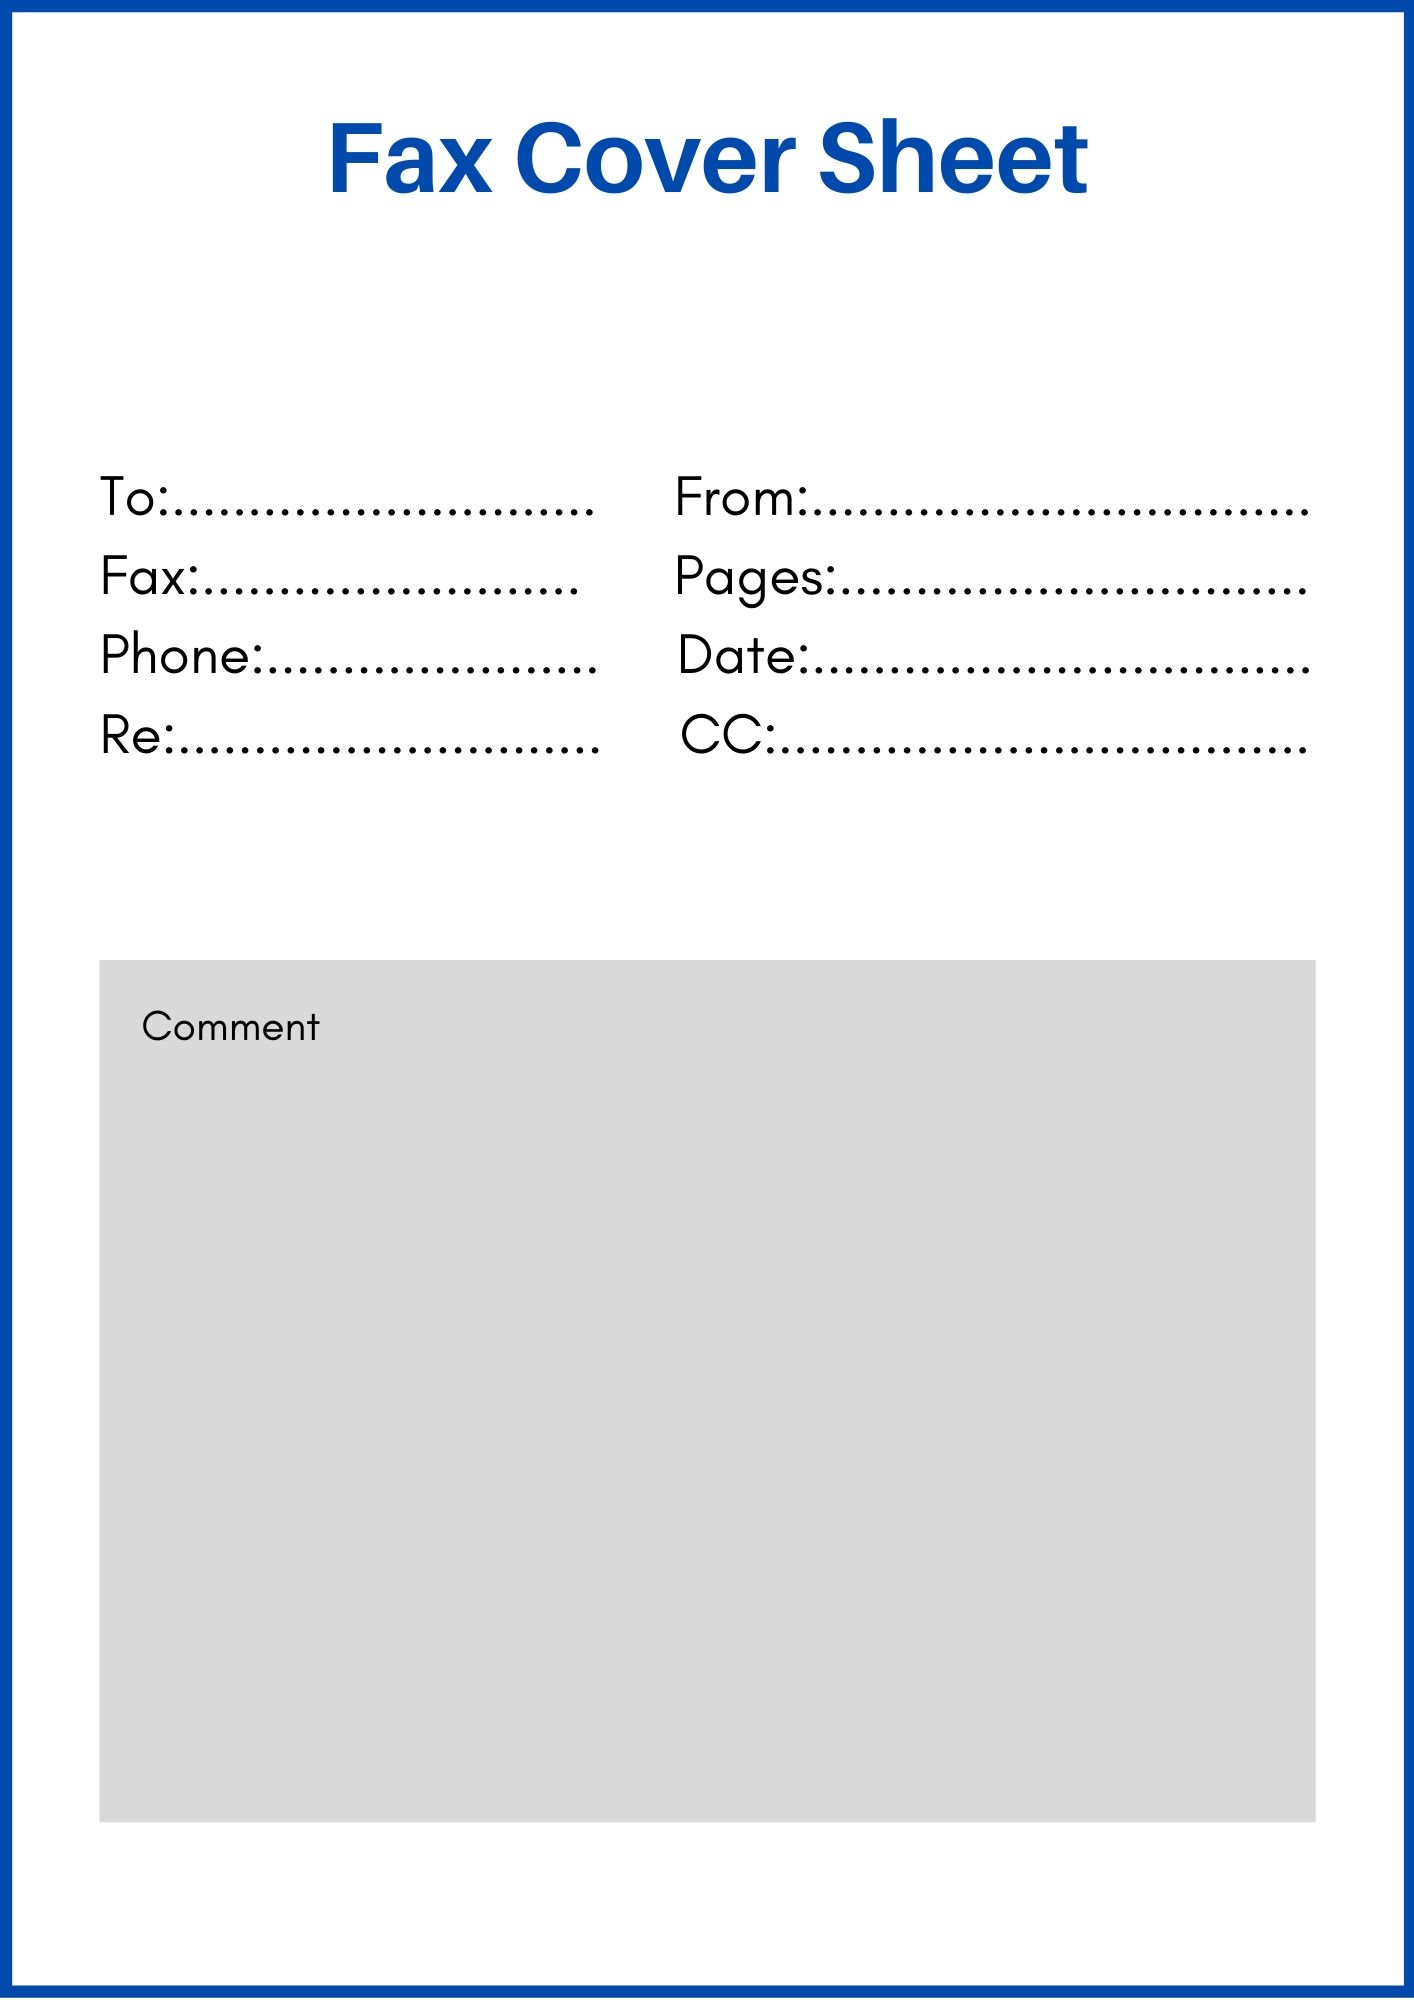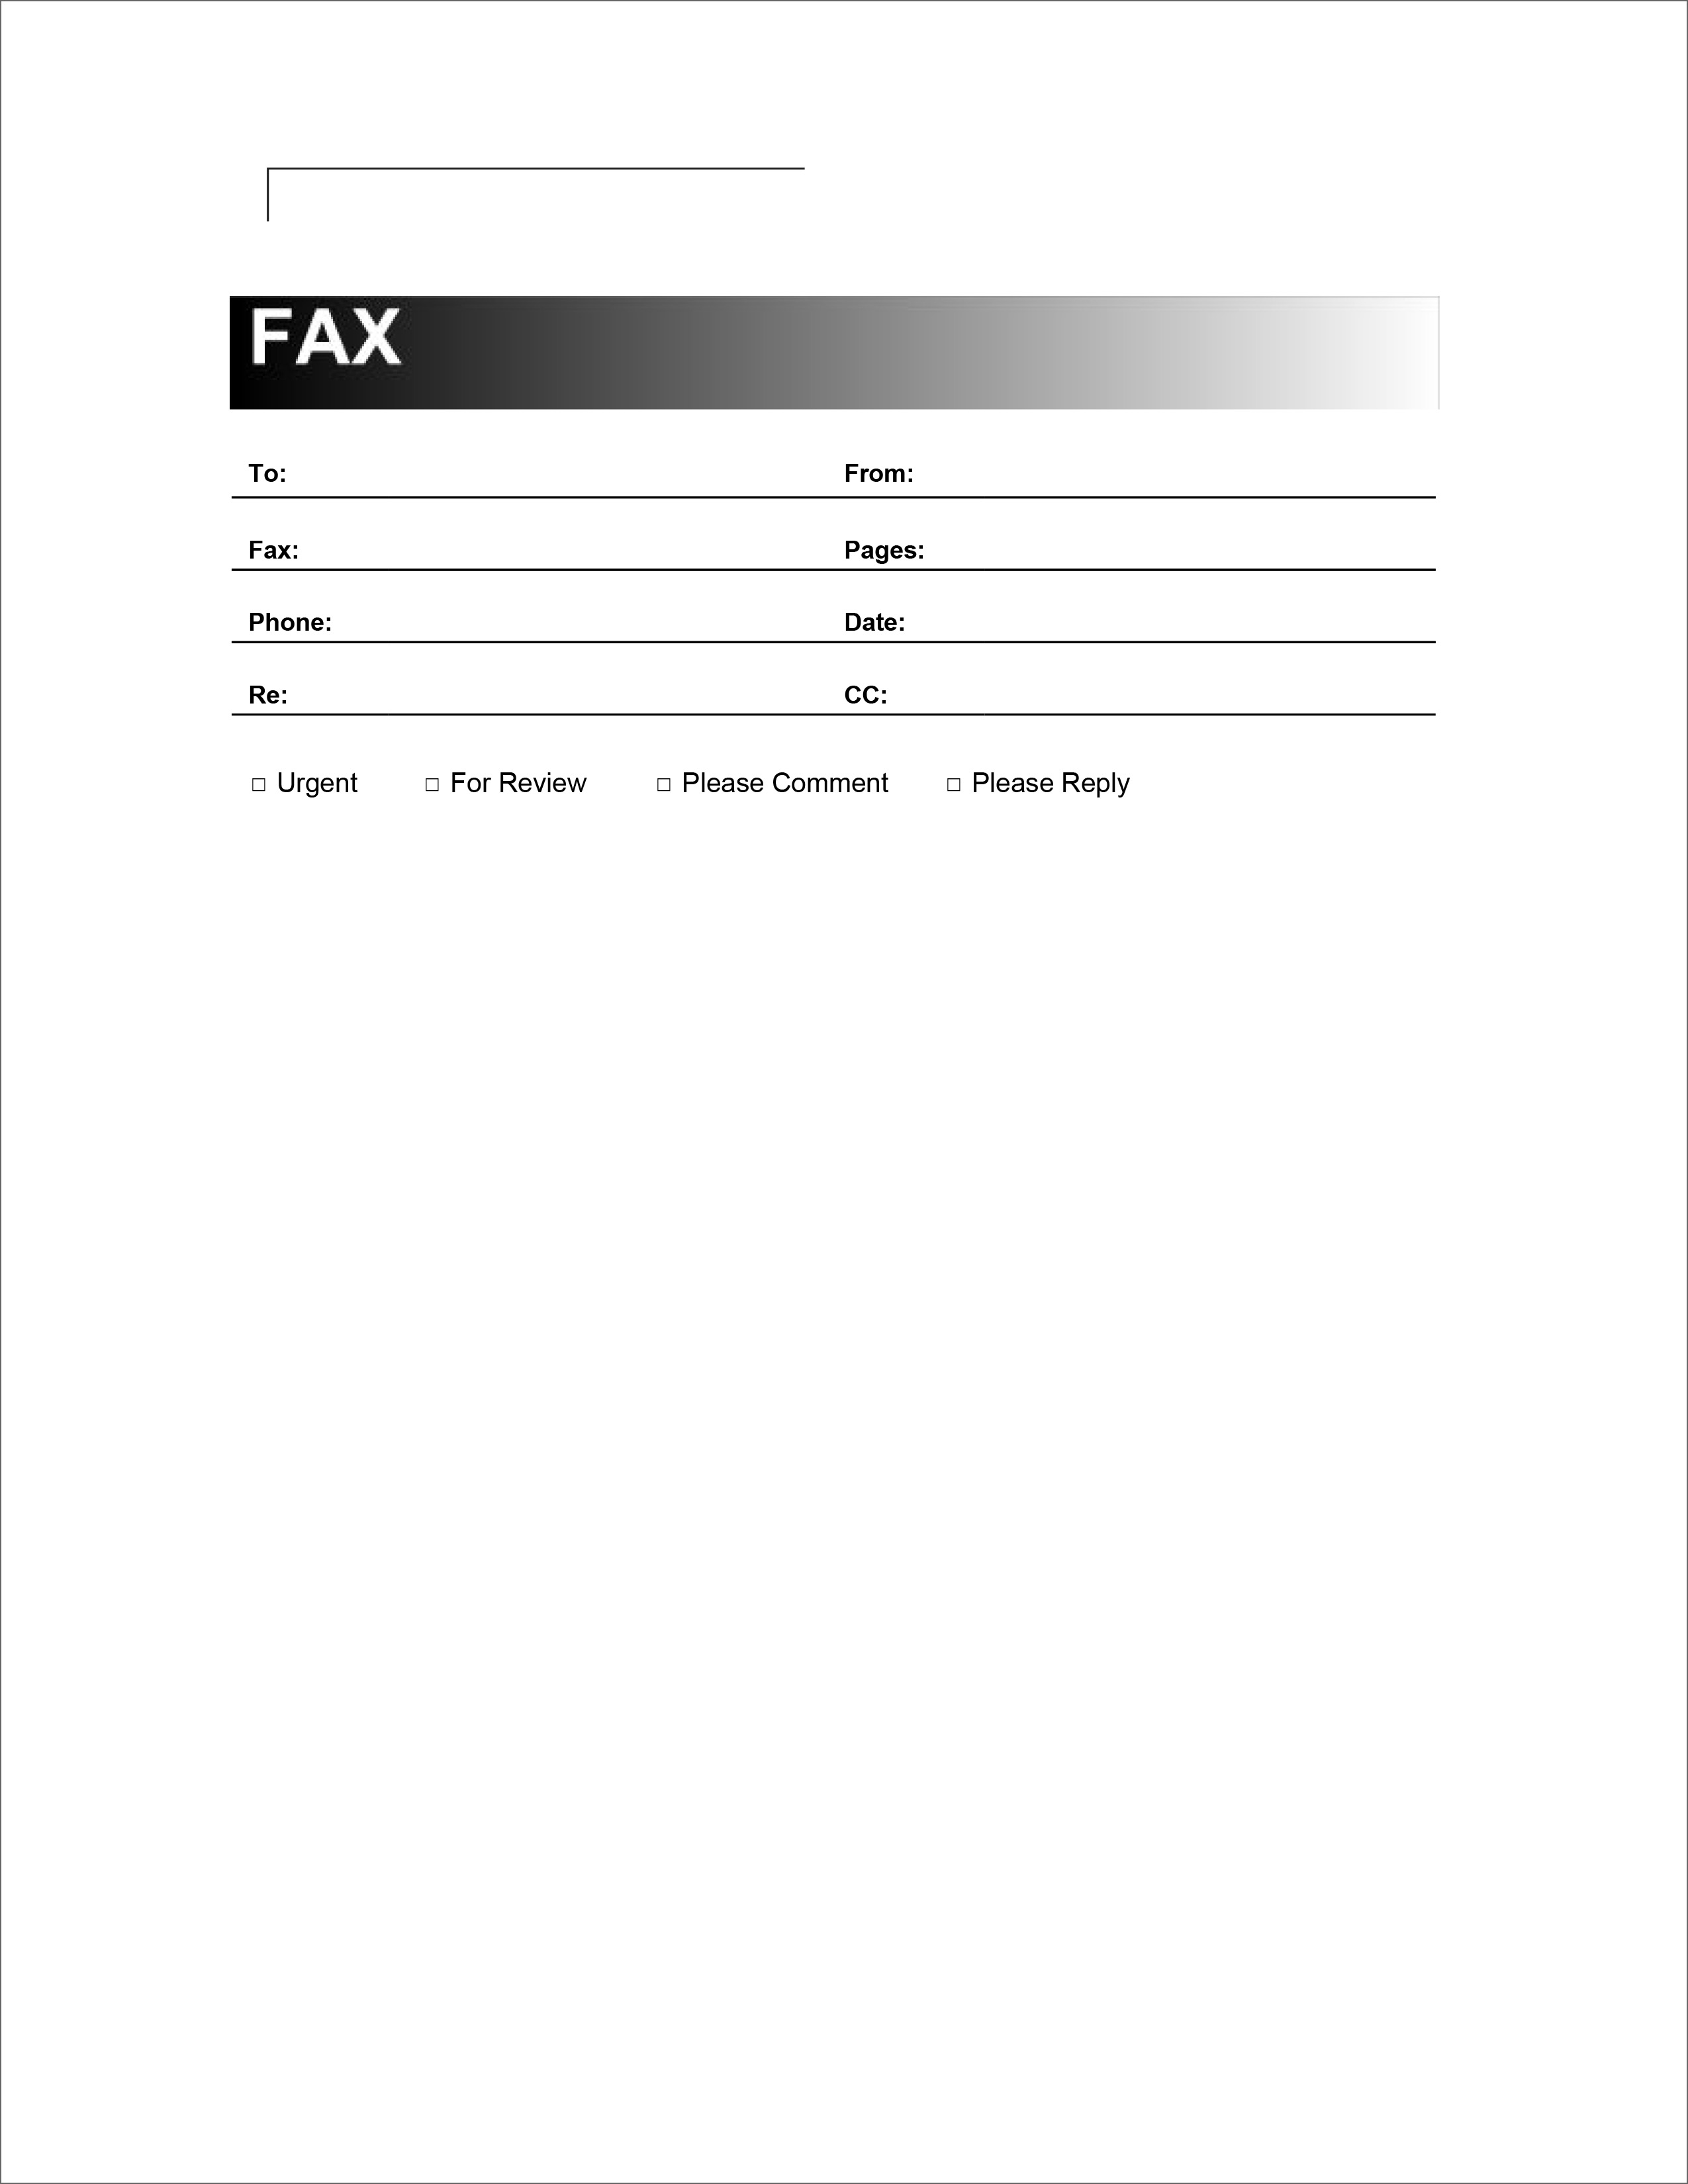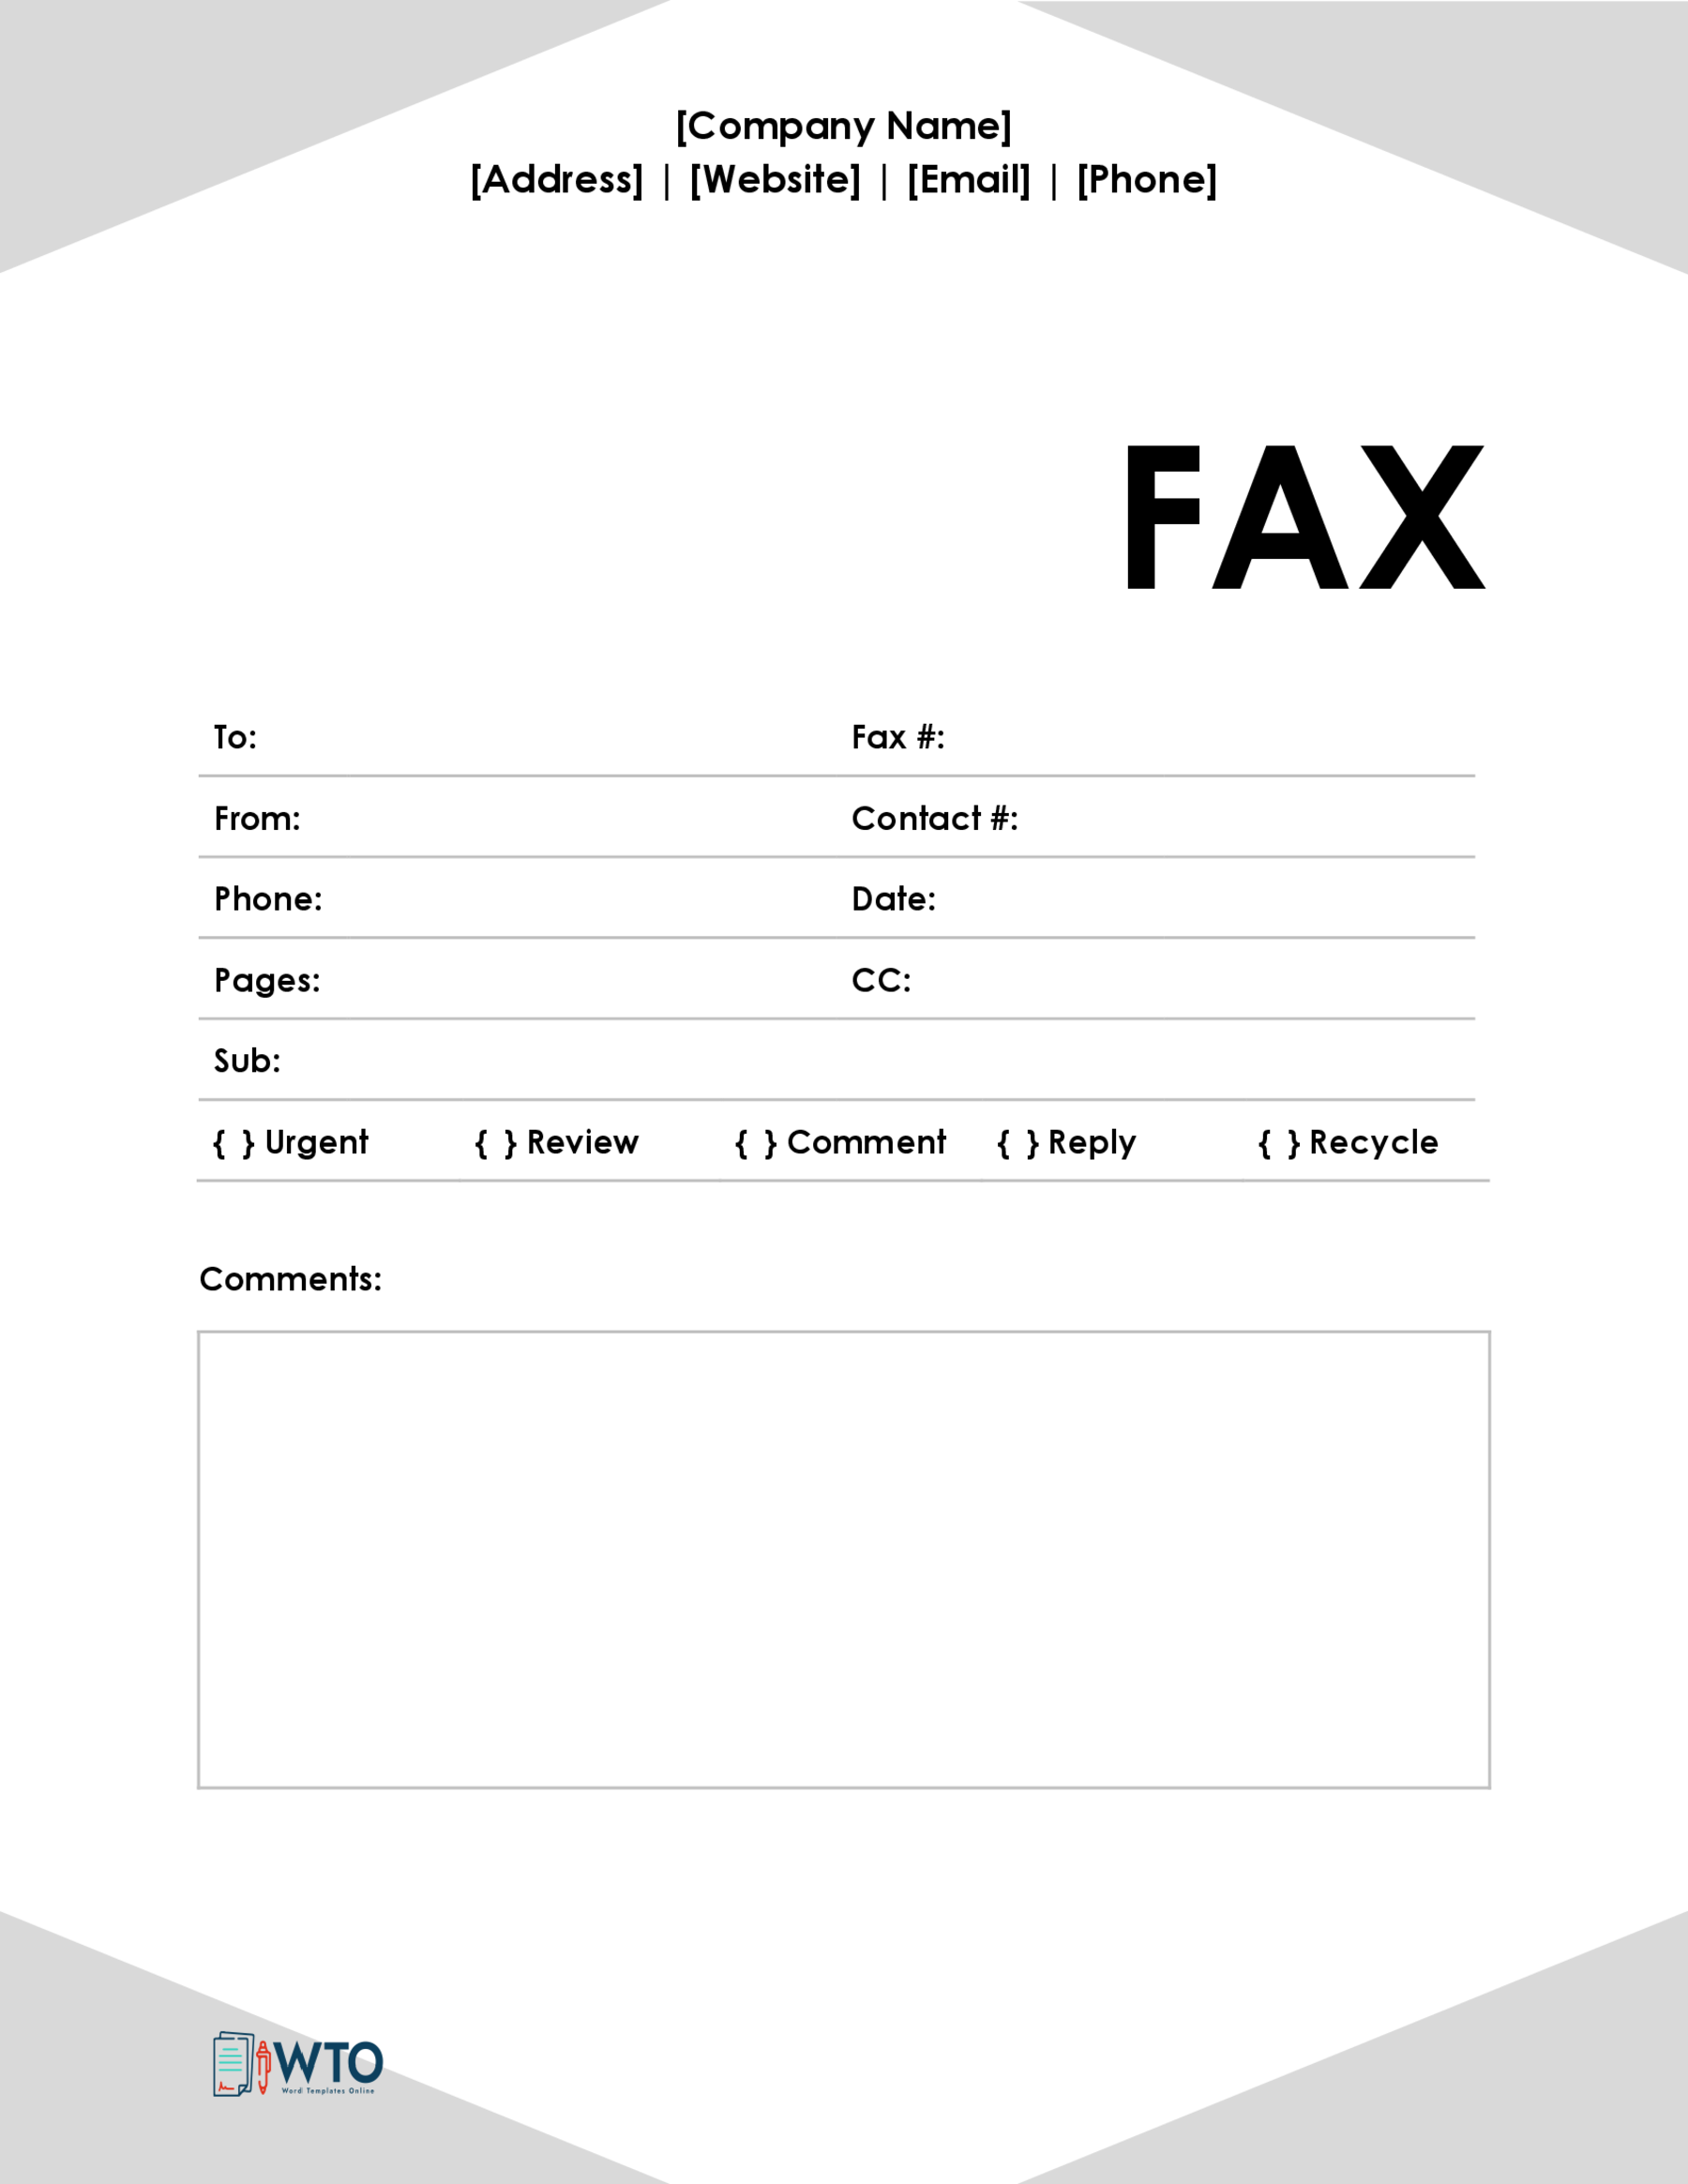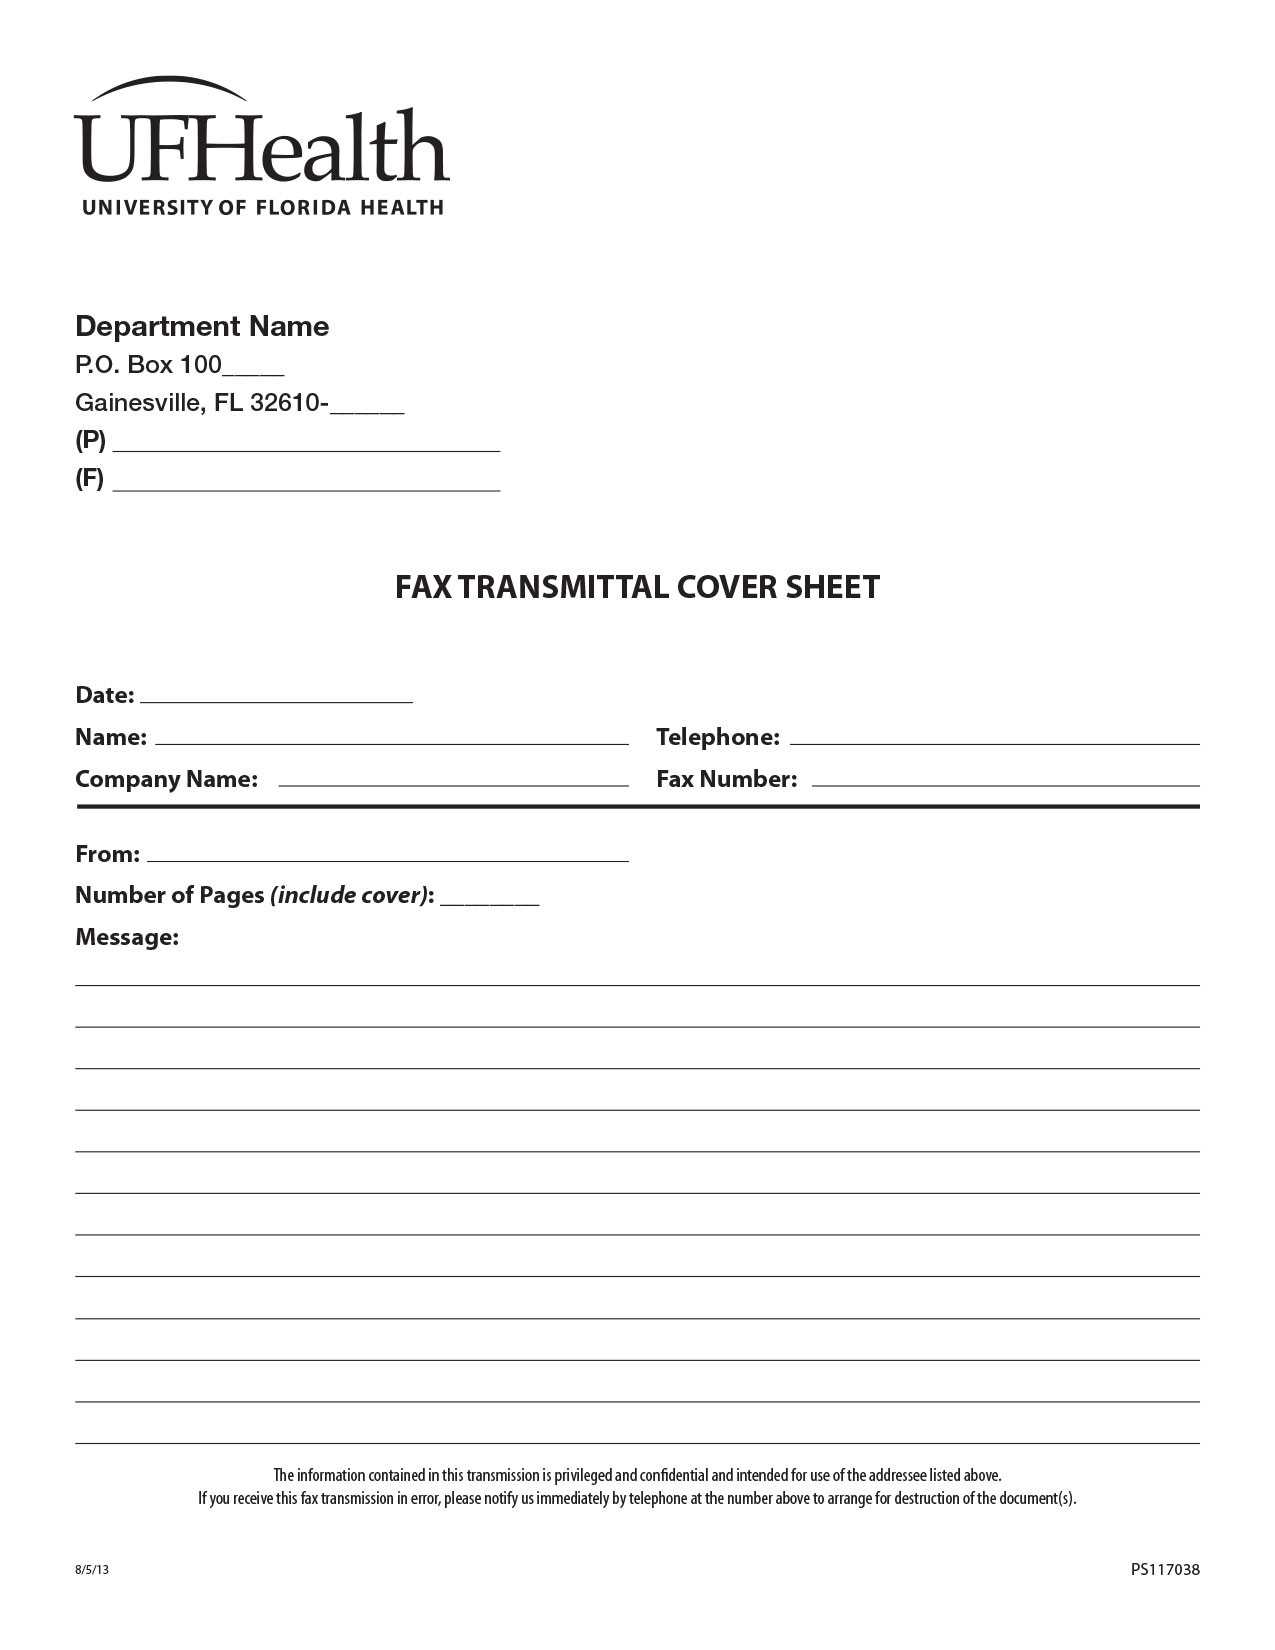
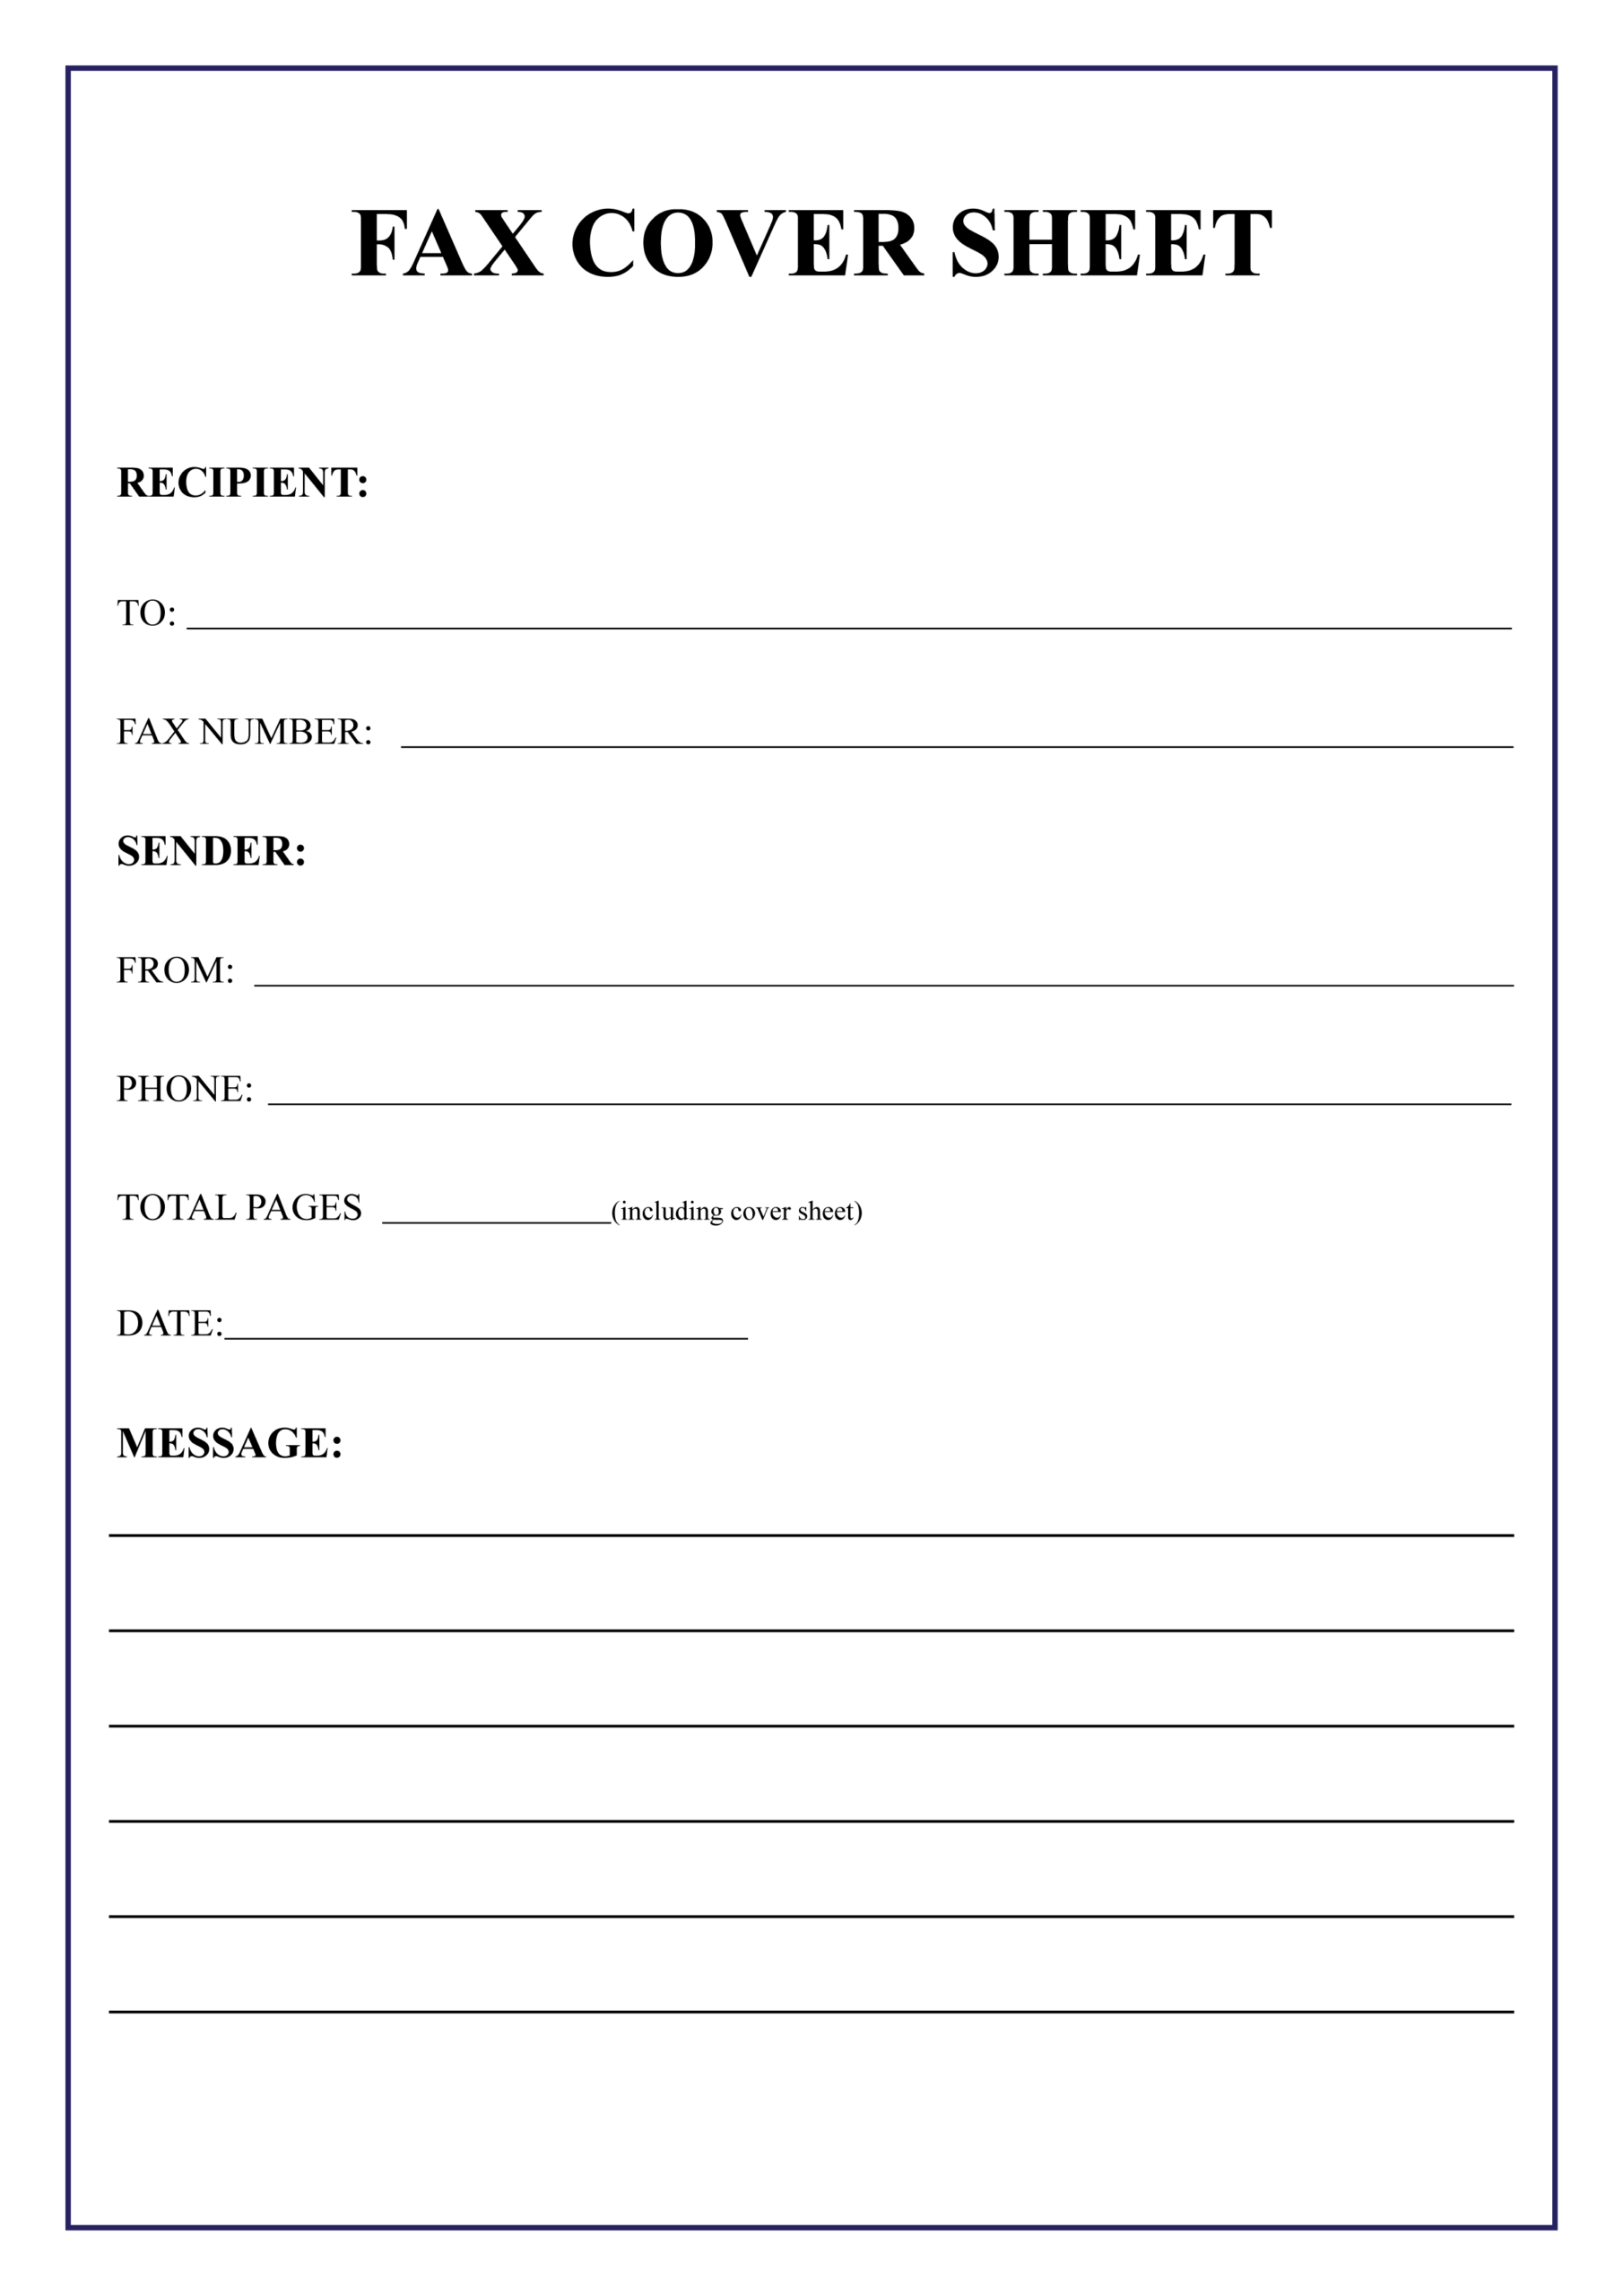
Fax Template Word 2010 is a versatile tool that allows professionals to create polished, professional-looking fax cover sheets directly within Microsoft Word, saving time and ensuring consistency across your business communications. In a world where paper still circulates through fax machines in many industries—legal, medical, real estate, and even some government agencies—having a ready-made template can streamline your workflow and reduce errors. This guide will walk you through every step, from the initial design choices to the final fax, so you can create a fax cover sheet that looks as sharp as the document inside.
Why Use a Fax Template in Word 2010?
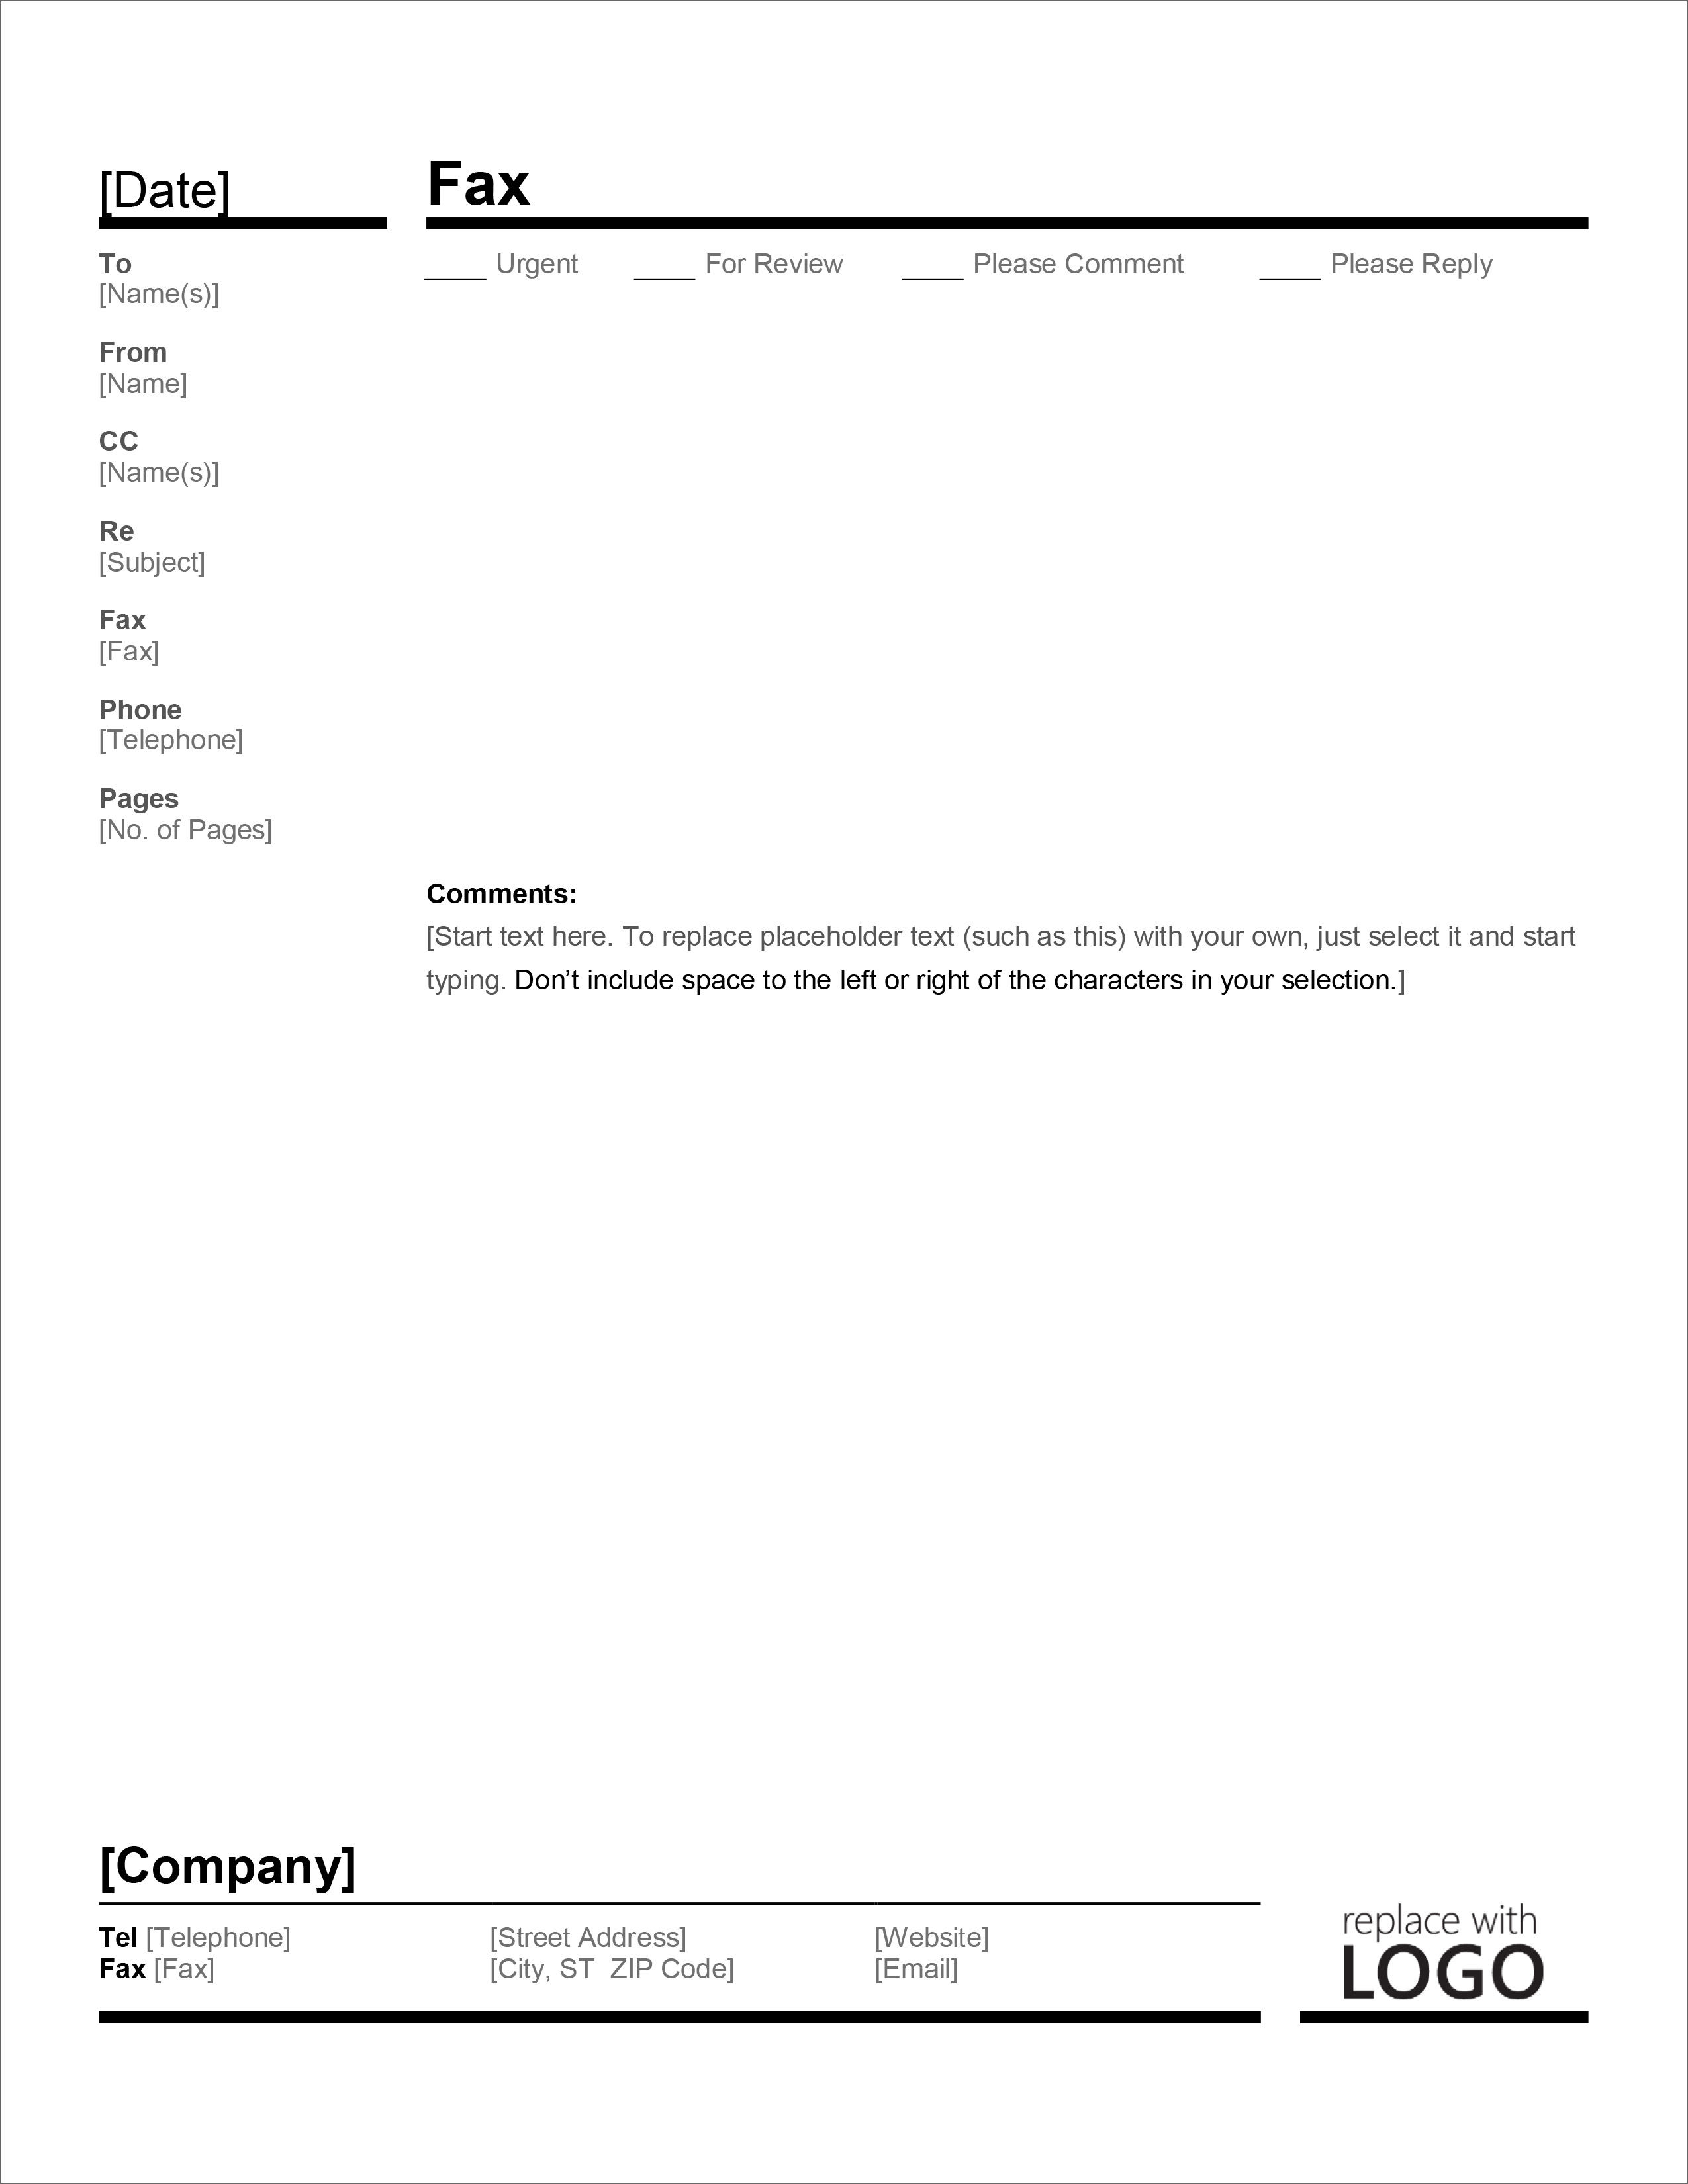
Time Savings
Every time you prepare a fax, you spend a few minutes retyping header information, addresses, and signatures. A template eliminates that repetitive typing, letting you fill in only the unique details for each transmission. Over the course of a month, those few minutes add up, freeing you for more strategic tasks.
Consistency and Branding
Businesses that maintain a consistent visual identity strengthen trust. A template with your company logo, color palette, and font choices projects professionalism. It also ensures that every fax, whether sent internally or externally, reflects the same level of quality.
Compliance and Record‑Keeping
Many industries have regulations requiring certain information—such as patient confidentiality notices or legal notices—to be present on every fax. A template embeds these mandatory fields, reducing the risk of non‑compliance and simplifying audit trails.
Getting Started: Setting Up Your Template
Choosing the Right Document Layout
Open Word 2010 and select Page Layout > Orientation > Portrait. A portrait orientation matches the standard fax paper size (8.5″ × 11″) and provides ample space for both cover information and the attached document.
Creating the Header Section
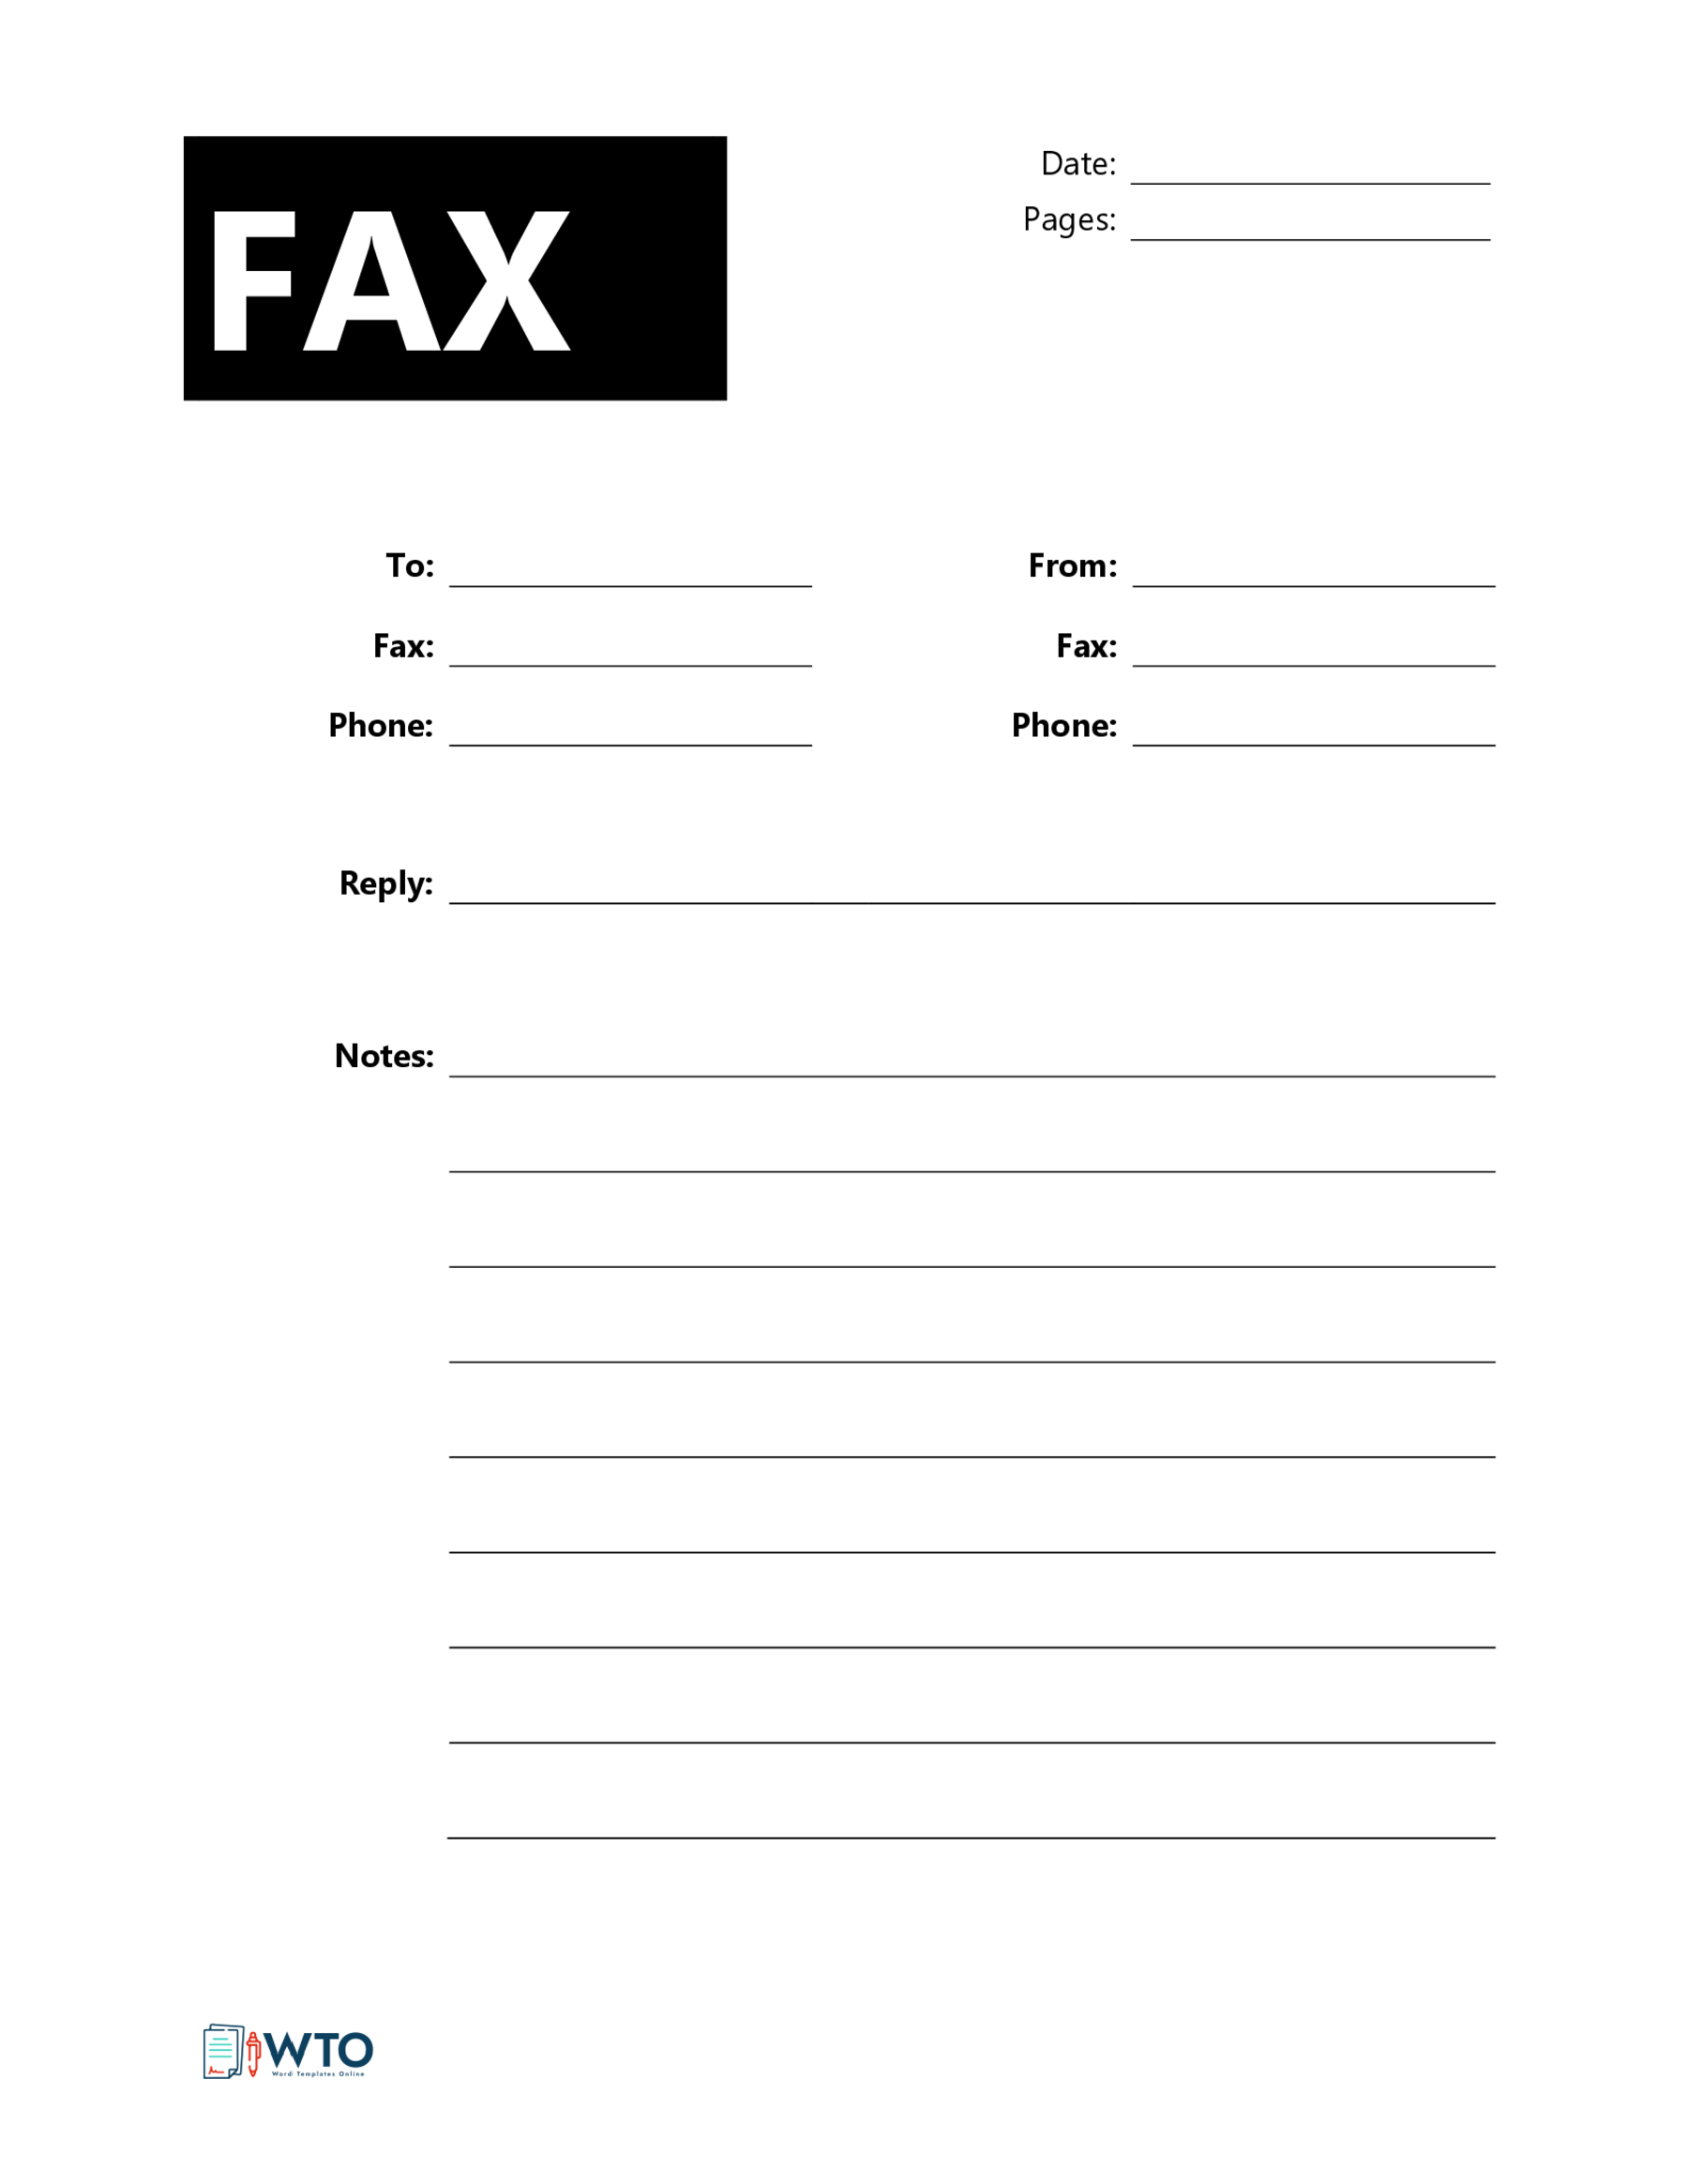
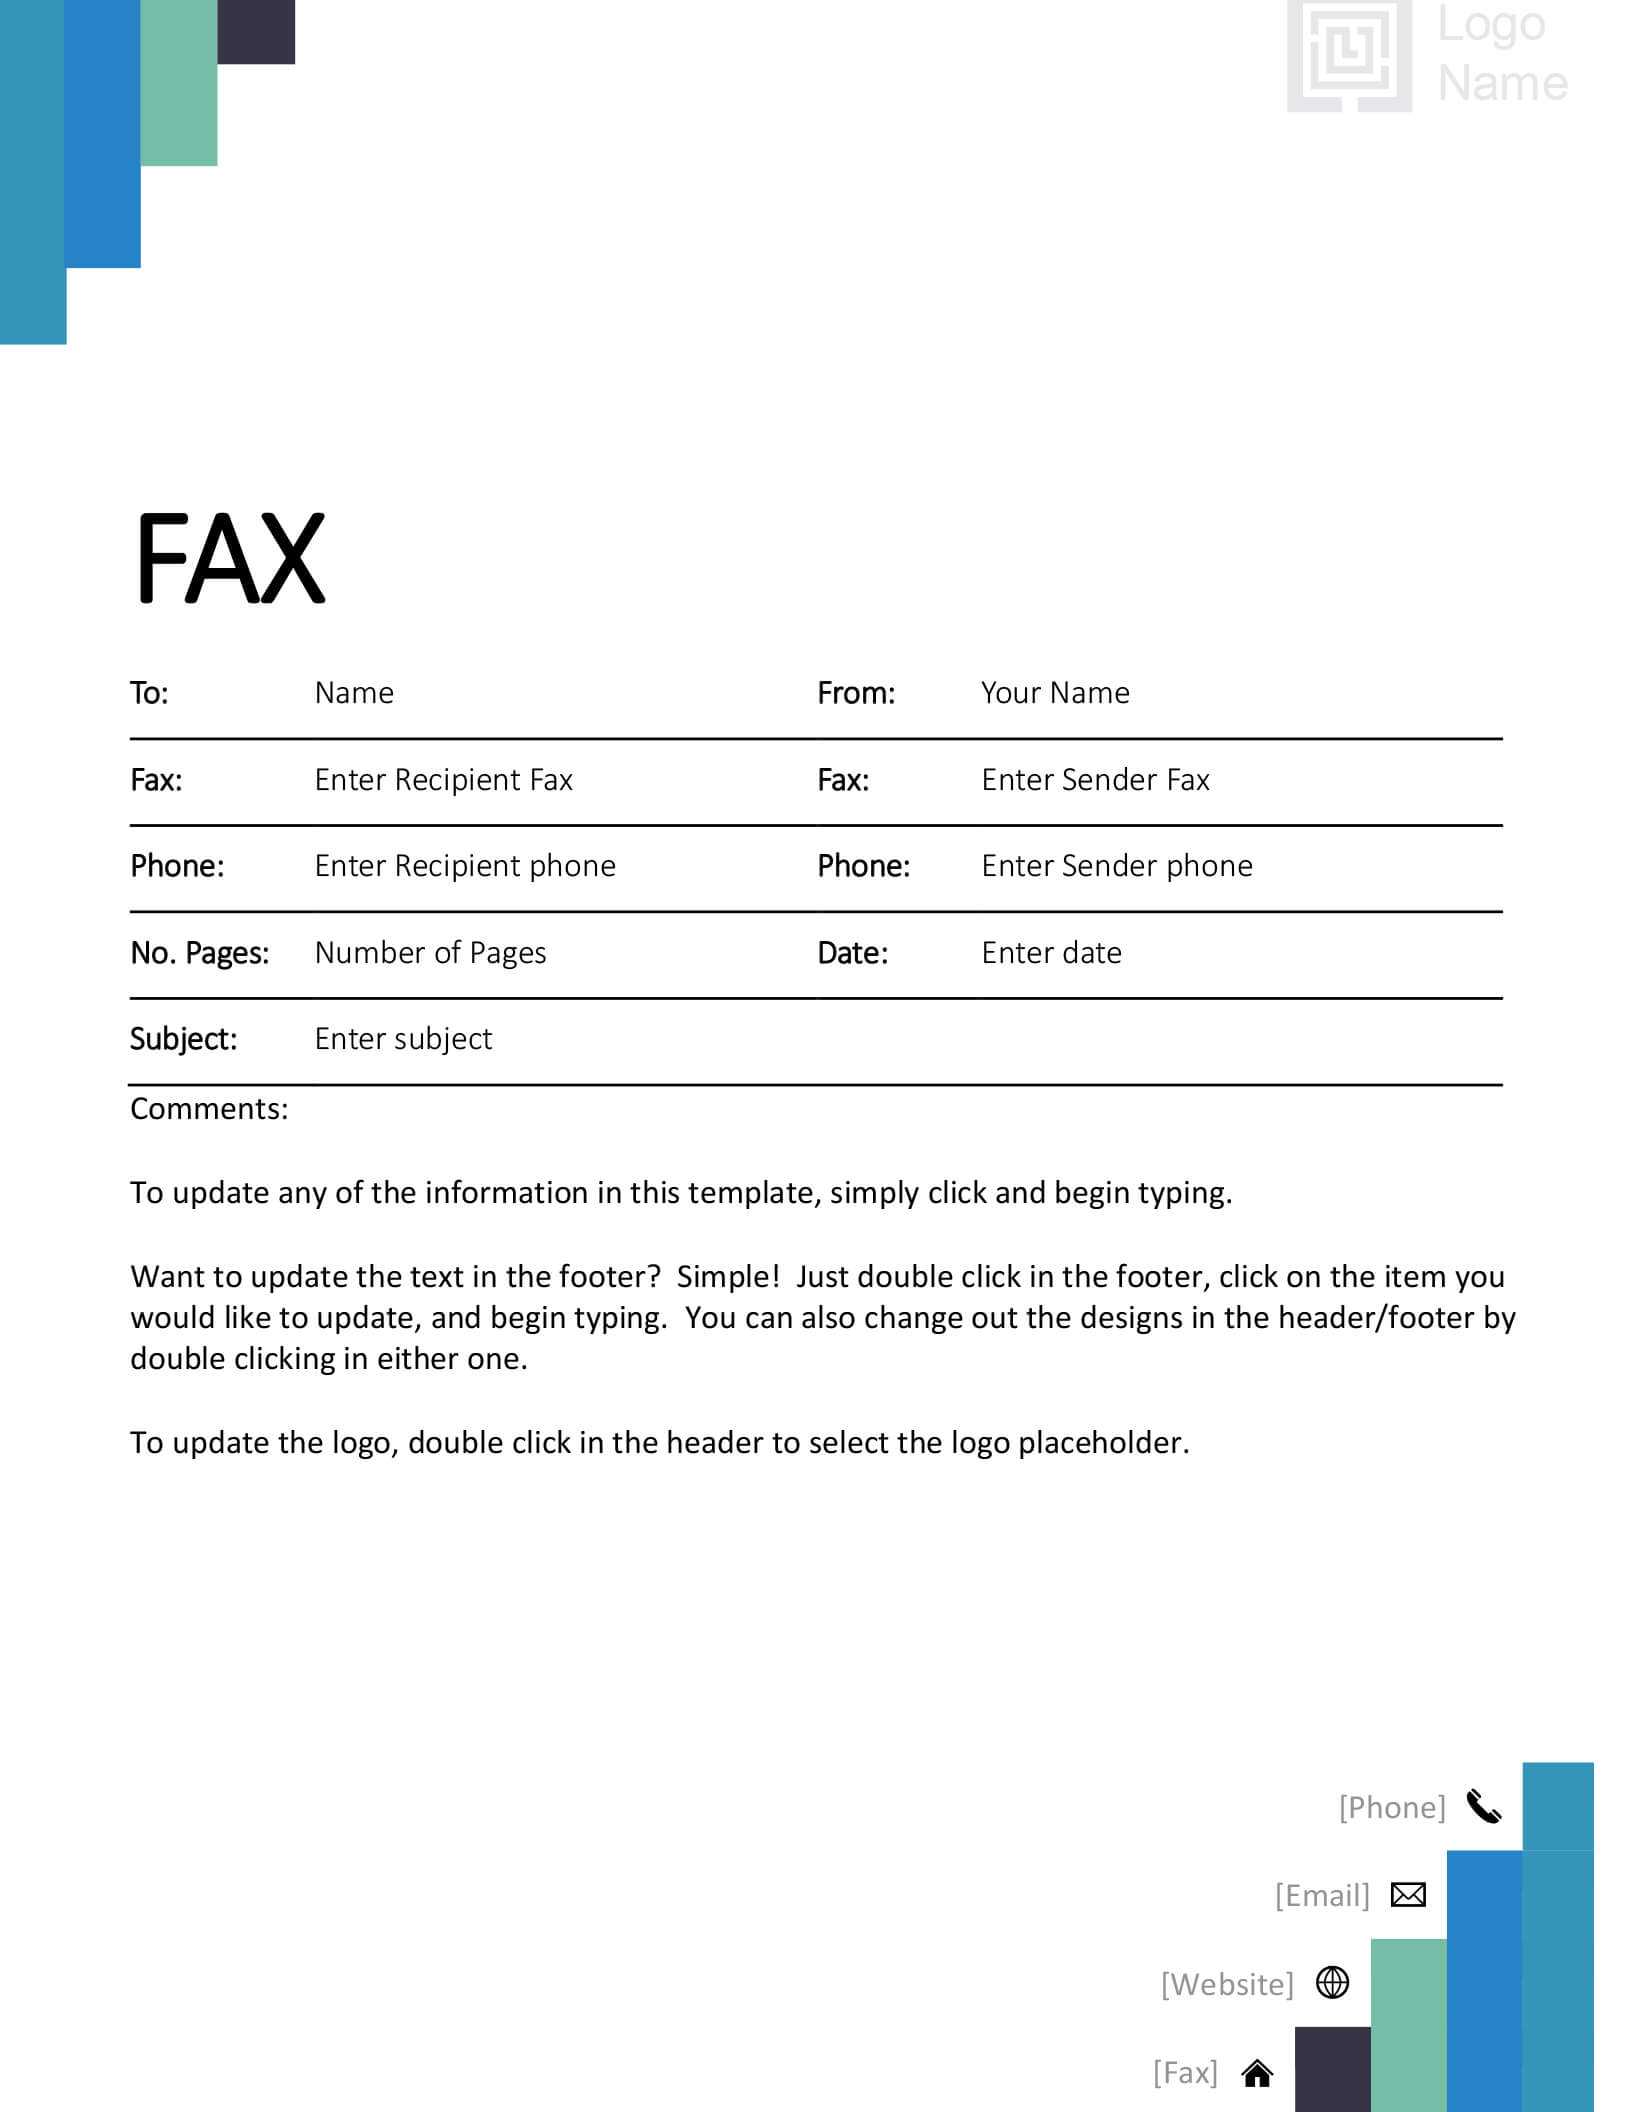
Insert a table with a single row and two columns. In the left cell, place your company logo using Insert > Picture. Resize it to fit the cell without distorting the image. In the right cell, add the company name and address in a bold, 11‑point font. This simple two‑column layout keeps the header clean and organized.
Adding Dynamic Fields
To make the template truly reusable, insert Word fields that can automatically pull data. Use Insert > Quick Parts > Field to add a Date field in the top right corner. For fax numbers, insert a MergeField named FaxNumber so you can quickly type Ctrl+F9 and insert the field if you plan to use mail merge later.
Designing Your Cover Sheet
Typography and Font Choices
Choose a legible serif or sans‑serif font such as Times New Roman or Calibri. Use a 10‑point size for body text and 12‑point for headings. Avoid decorative fonts that may render poorly on fax machines.
Logo Placement and Branding
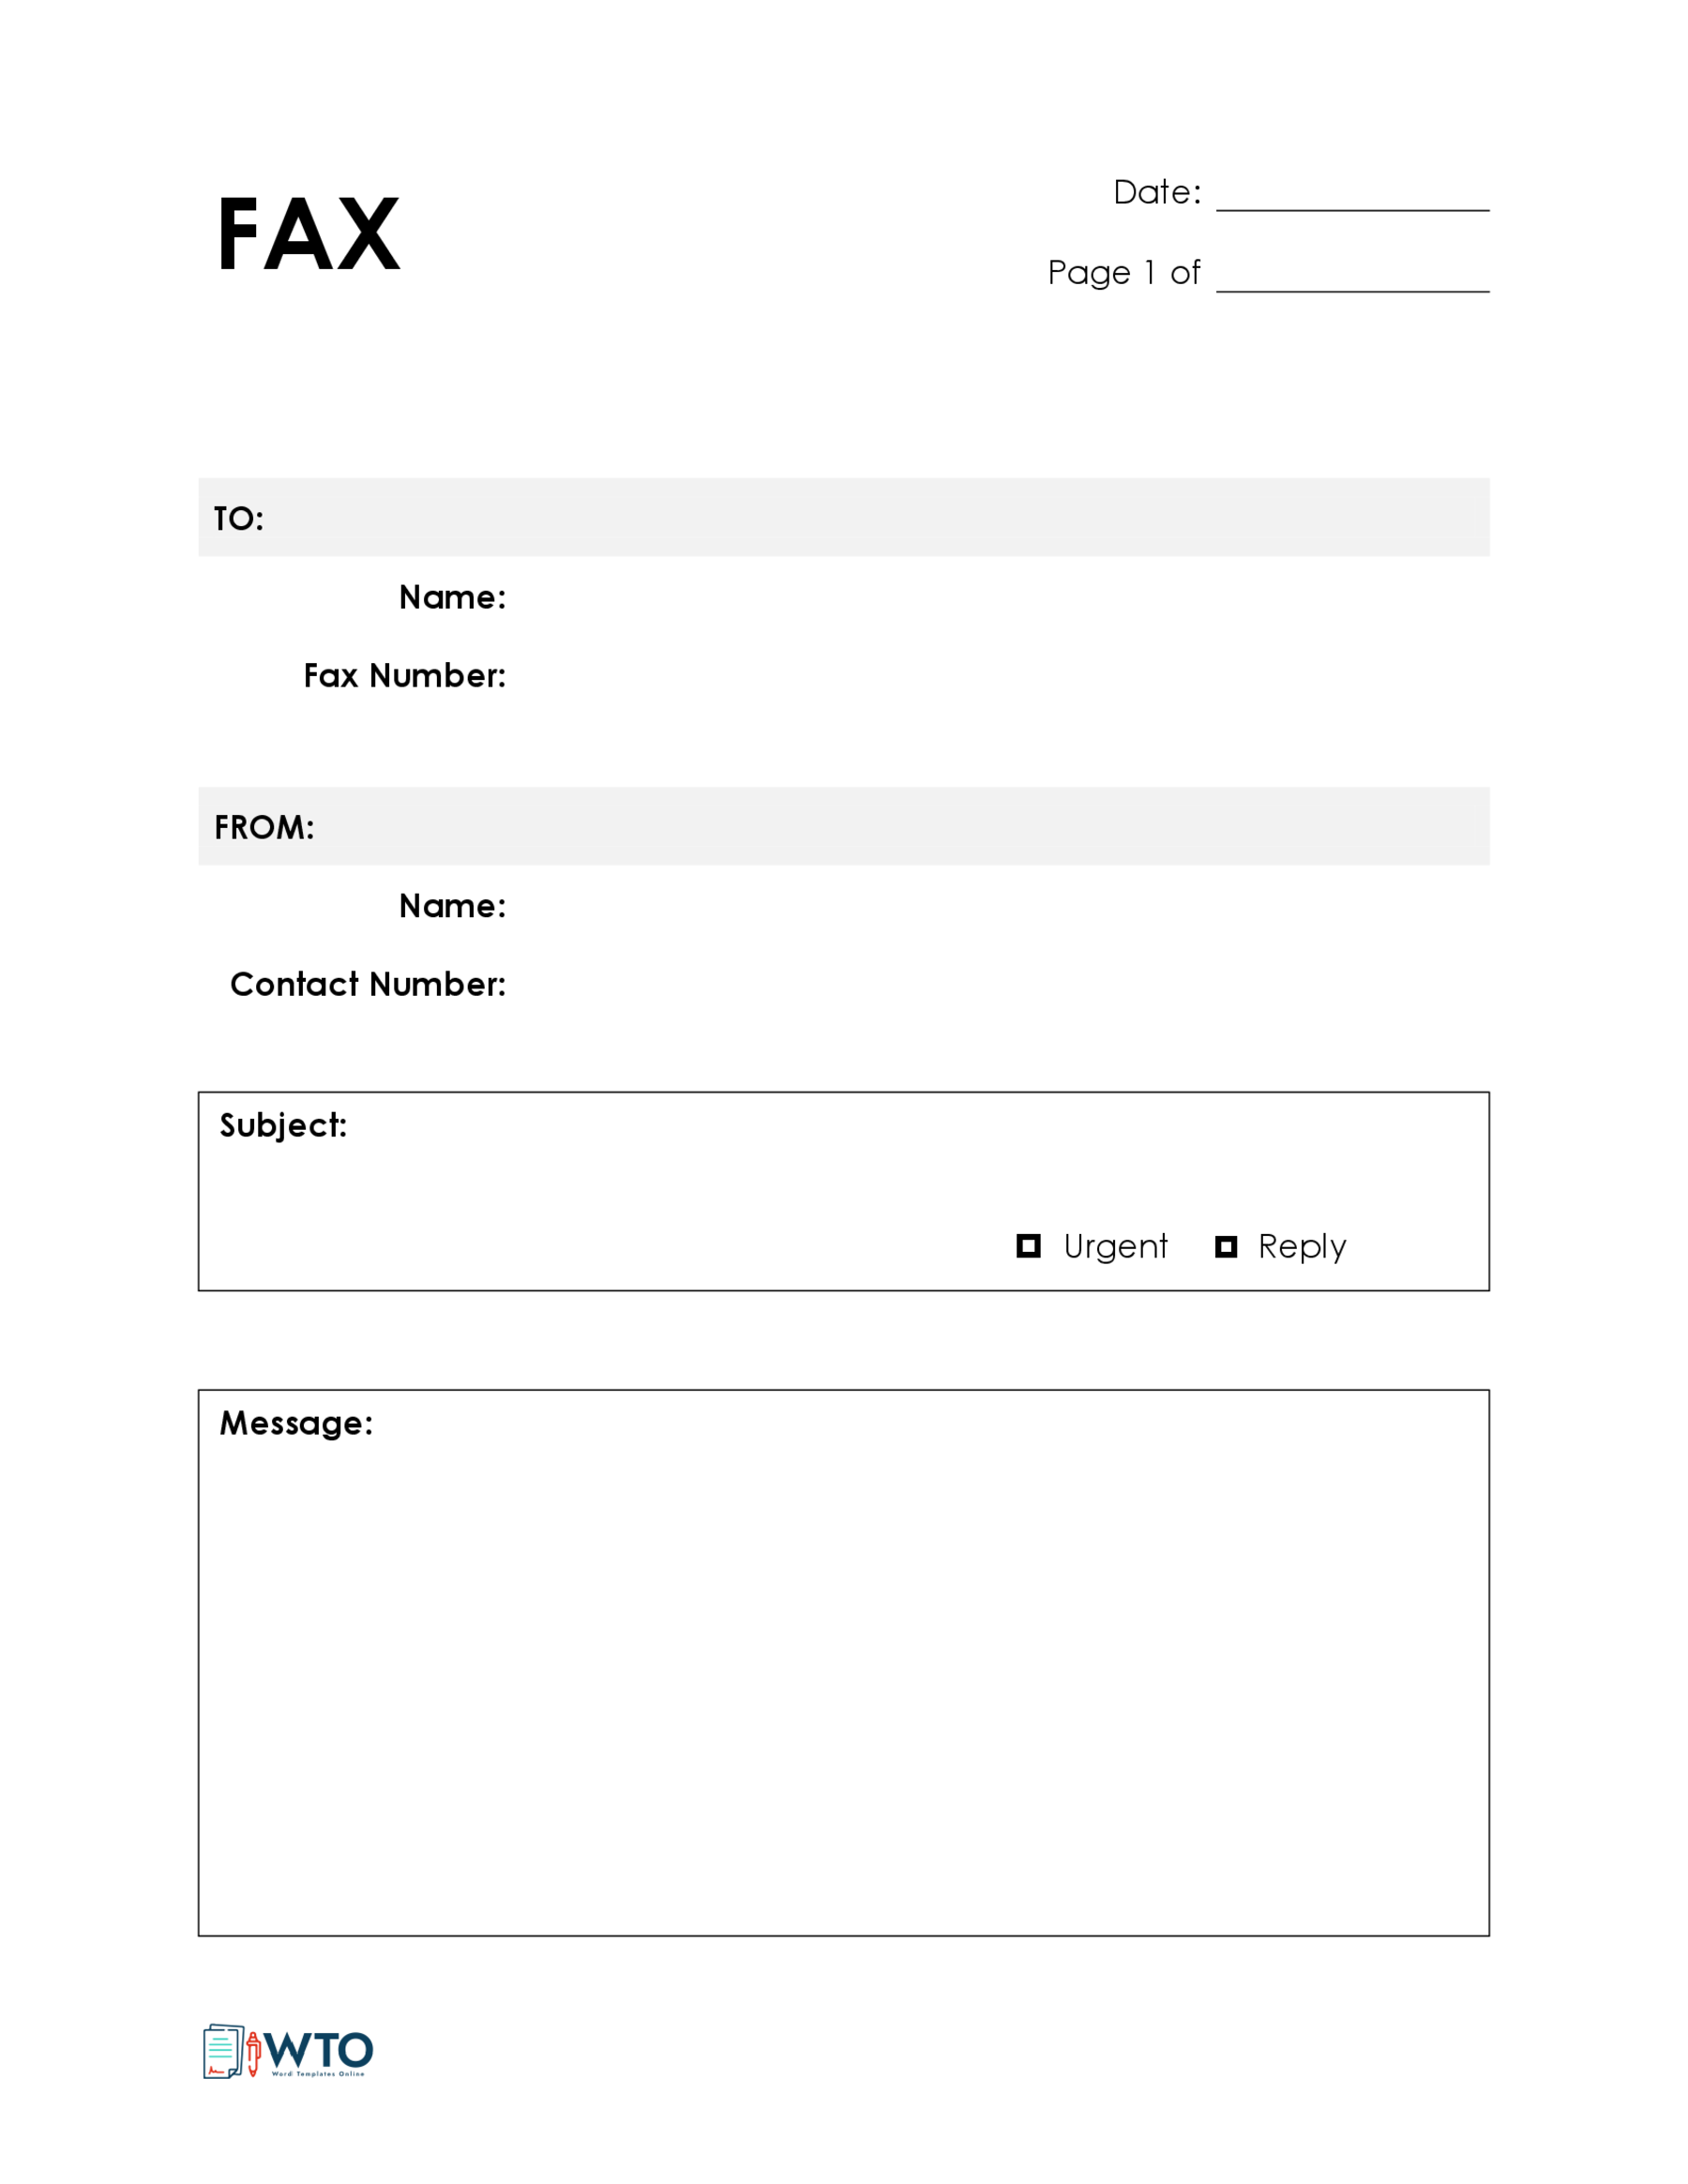
Position the logo at the top left, ensuring it is centered vertically within its cell. Below the logo, place a horizontal line using the Shape tool. This line visually separates the header from the body and adds a professional finish.
Color Schemes that Read Well on Fax
Most fax machines print in black and white, so keep any color elements minimal. Use grayscale shades for borders or background fills if you want a subtle cue of brand identity, but never rely on color alone to convey important information.
Customizing for Different Fax Scenarios
Internal Memos
For internal faxes, include a short subject line, the department name, and a “For Internal Use Only” stamp. Keep the language concise and avoid legal jargon unless necessary.
External Client Communications
When faxes go to clients, add a “Confidential” watermark in the center of the page. Include a brief confidentiality notice underneath the subject line to remind the recipient of privacy obligations.
Legal and Regulatory Documents
Legal faxes often require a clause stating that the fax is a true and correct copy. Insert a field named LegalDisclaimer that reads: “This fax is a true and accurate copy of the original document.” Place it in a shaded box to draw attention.
Inserting Contact Information Efficiently
Using Tables and Text Boxes
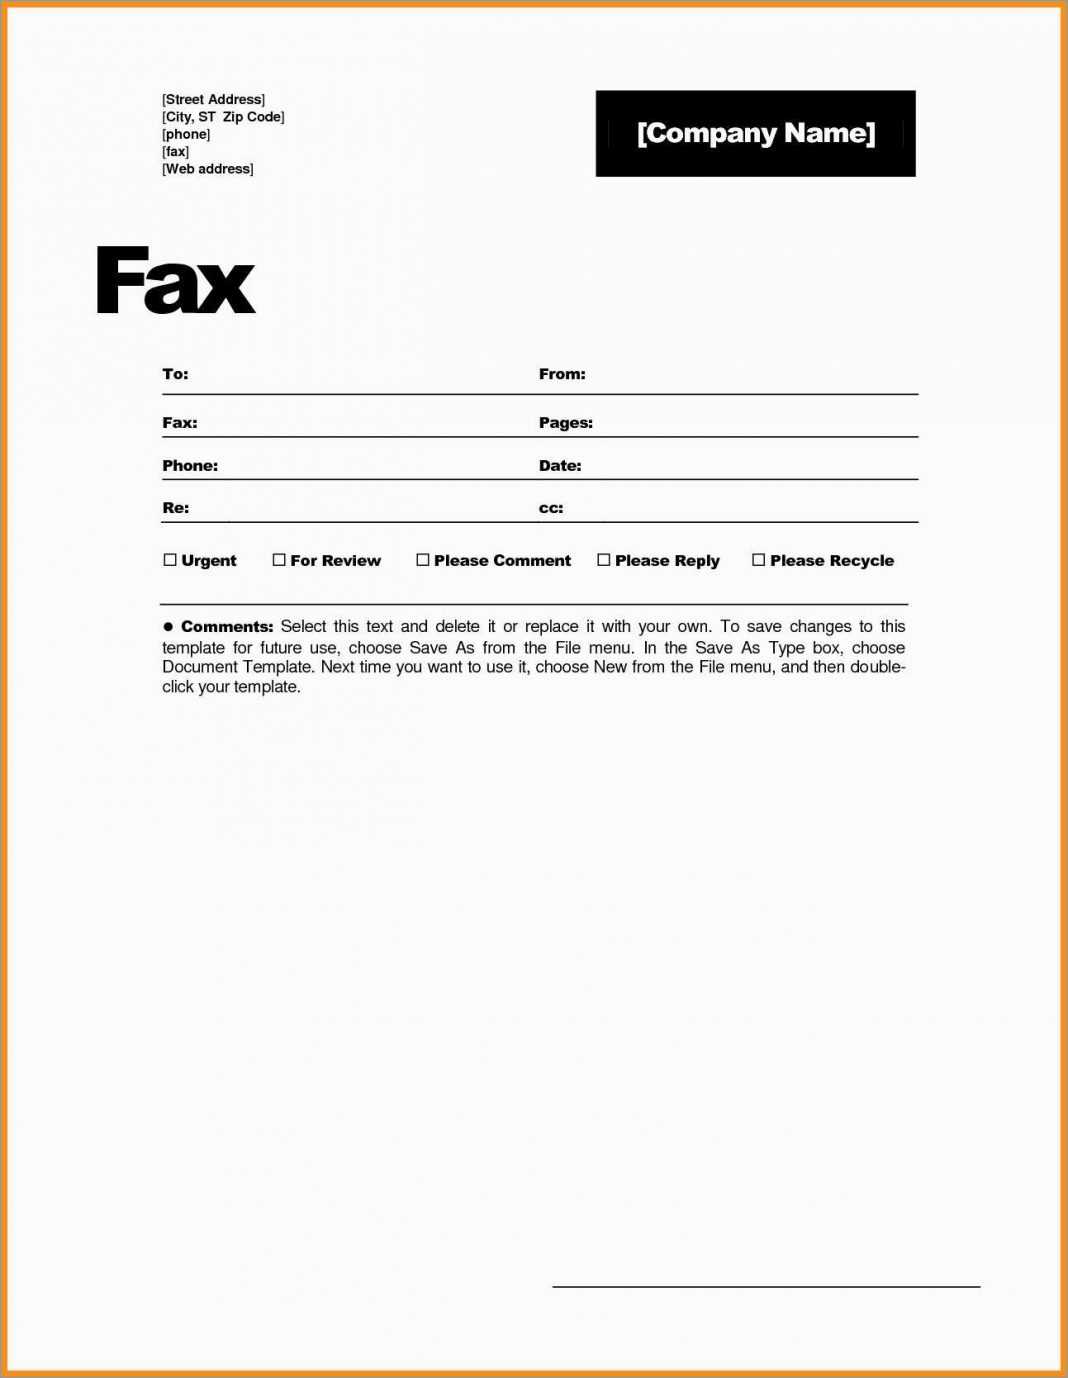
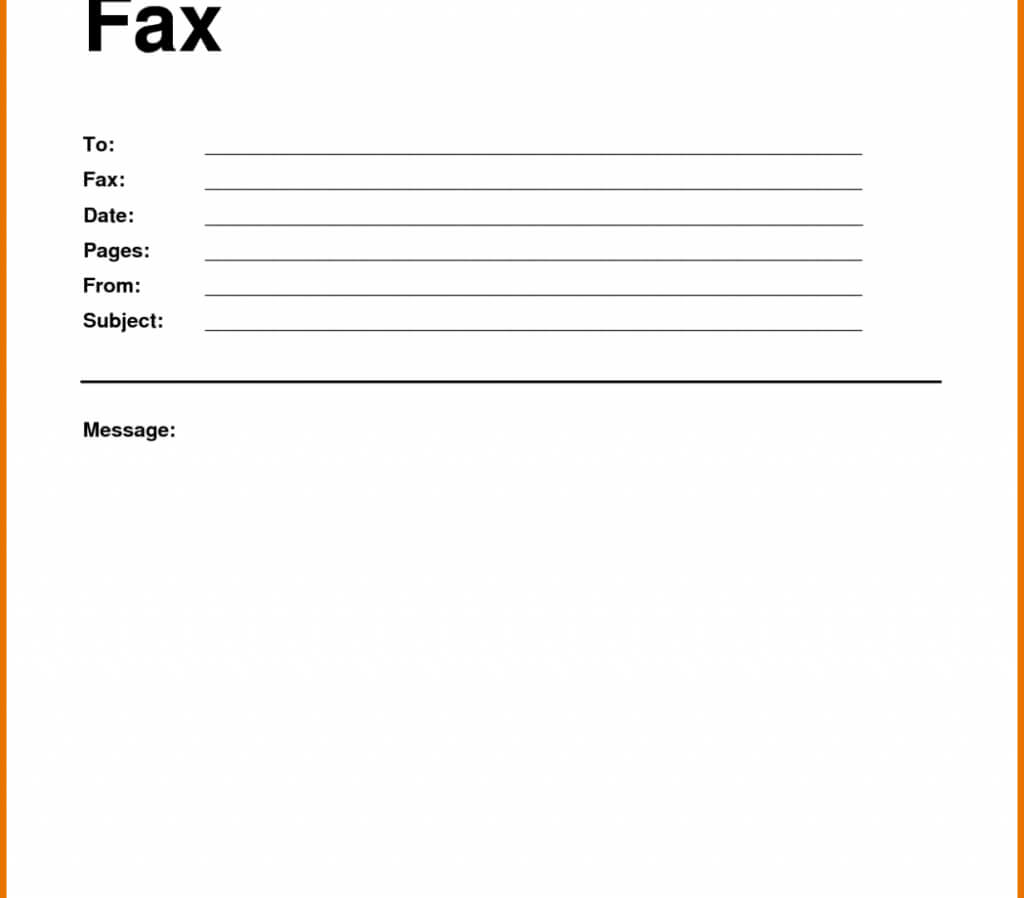
Insert a second table beneath the header with three columns: Sender, Receiver, and Fax Details. Within each cell, use Text Box to allow the user to type the necessary information. This structure keeps data aligned and prevents accidental line breaks.
Auto‑Filling with Word’s Fields
For fields that often repeat, such as your department’s fax number, use a MergeField named DepartmentFax. When you create a new fax, simply replace the field value in one place, and it updates throughout the document.
Adding Signature and Authentication Fields
Electronic Signatures
Insert a Signature Line under the “Send By” section. In Word 2010, go to Insert > Signature Line. Fill in the signer’s name, title, and email. This line allows the fax recipient to verify the sender’s identity.
Paper‑Based Signatures
For scenarios where a physical signature is required, create a rectangular field with a dotted border. Label it “Signature.” The recipient can sign directly on the faxed copy, and you can later scan it back into your digital records.
Saving and Reusing Your Template
Saving as .dotx
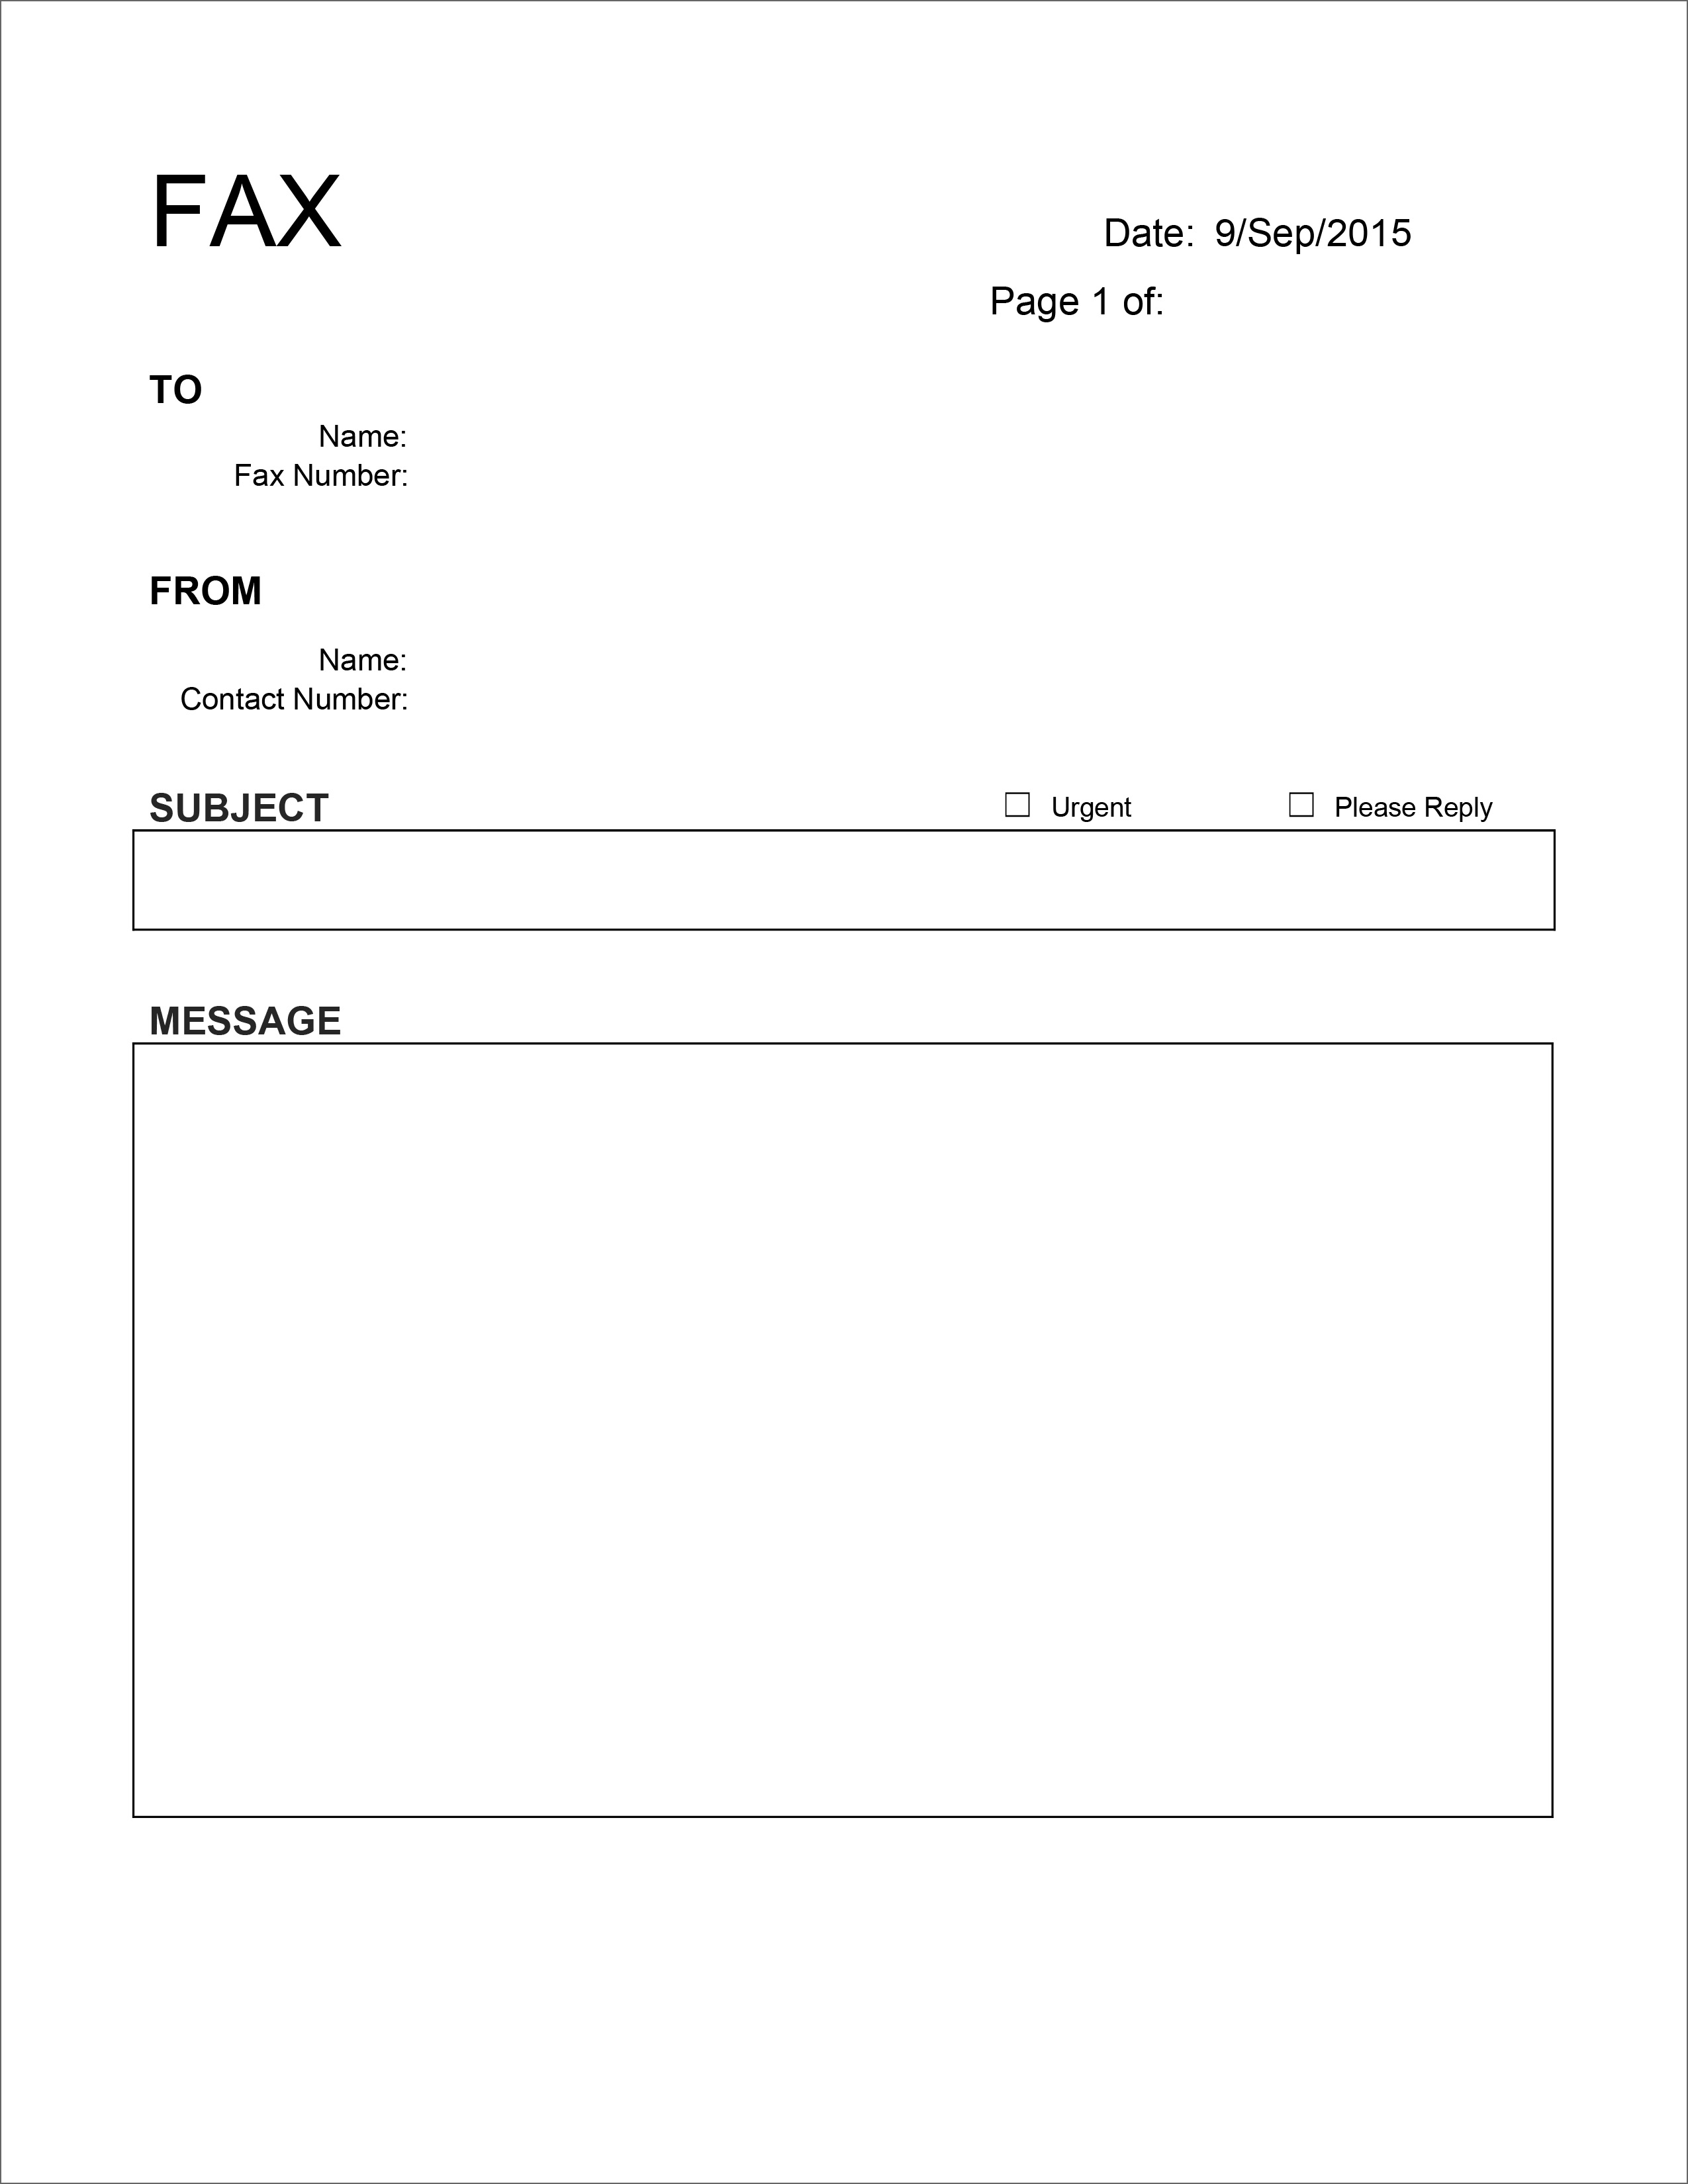
Once you’re satisfied with the layout, save the document as a Word Template: File > Save As > select Word Template (.dotx) from the file type dropdown. Name it something descriptive like “Fax Cover Sheet.”
Template Library Management
Store your templates in a centralized folder that all authorized users can access. If you’re using a network drive, consider setting permissions so only staff in the communications department can edit the master template. All other users should use a copy to avoid accidental changes.
Best Practices for Faxing from Word 2010
Print vs. Fax Directly
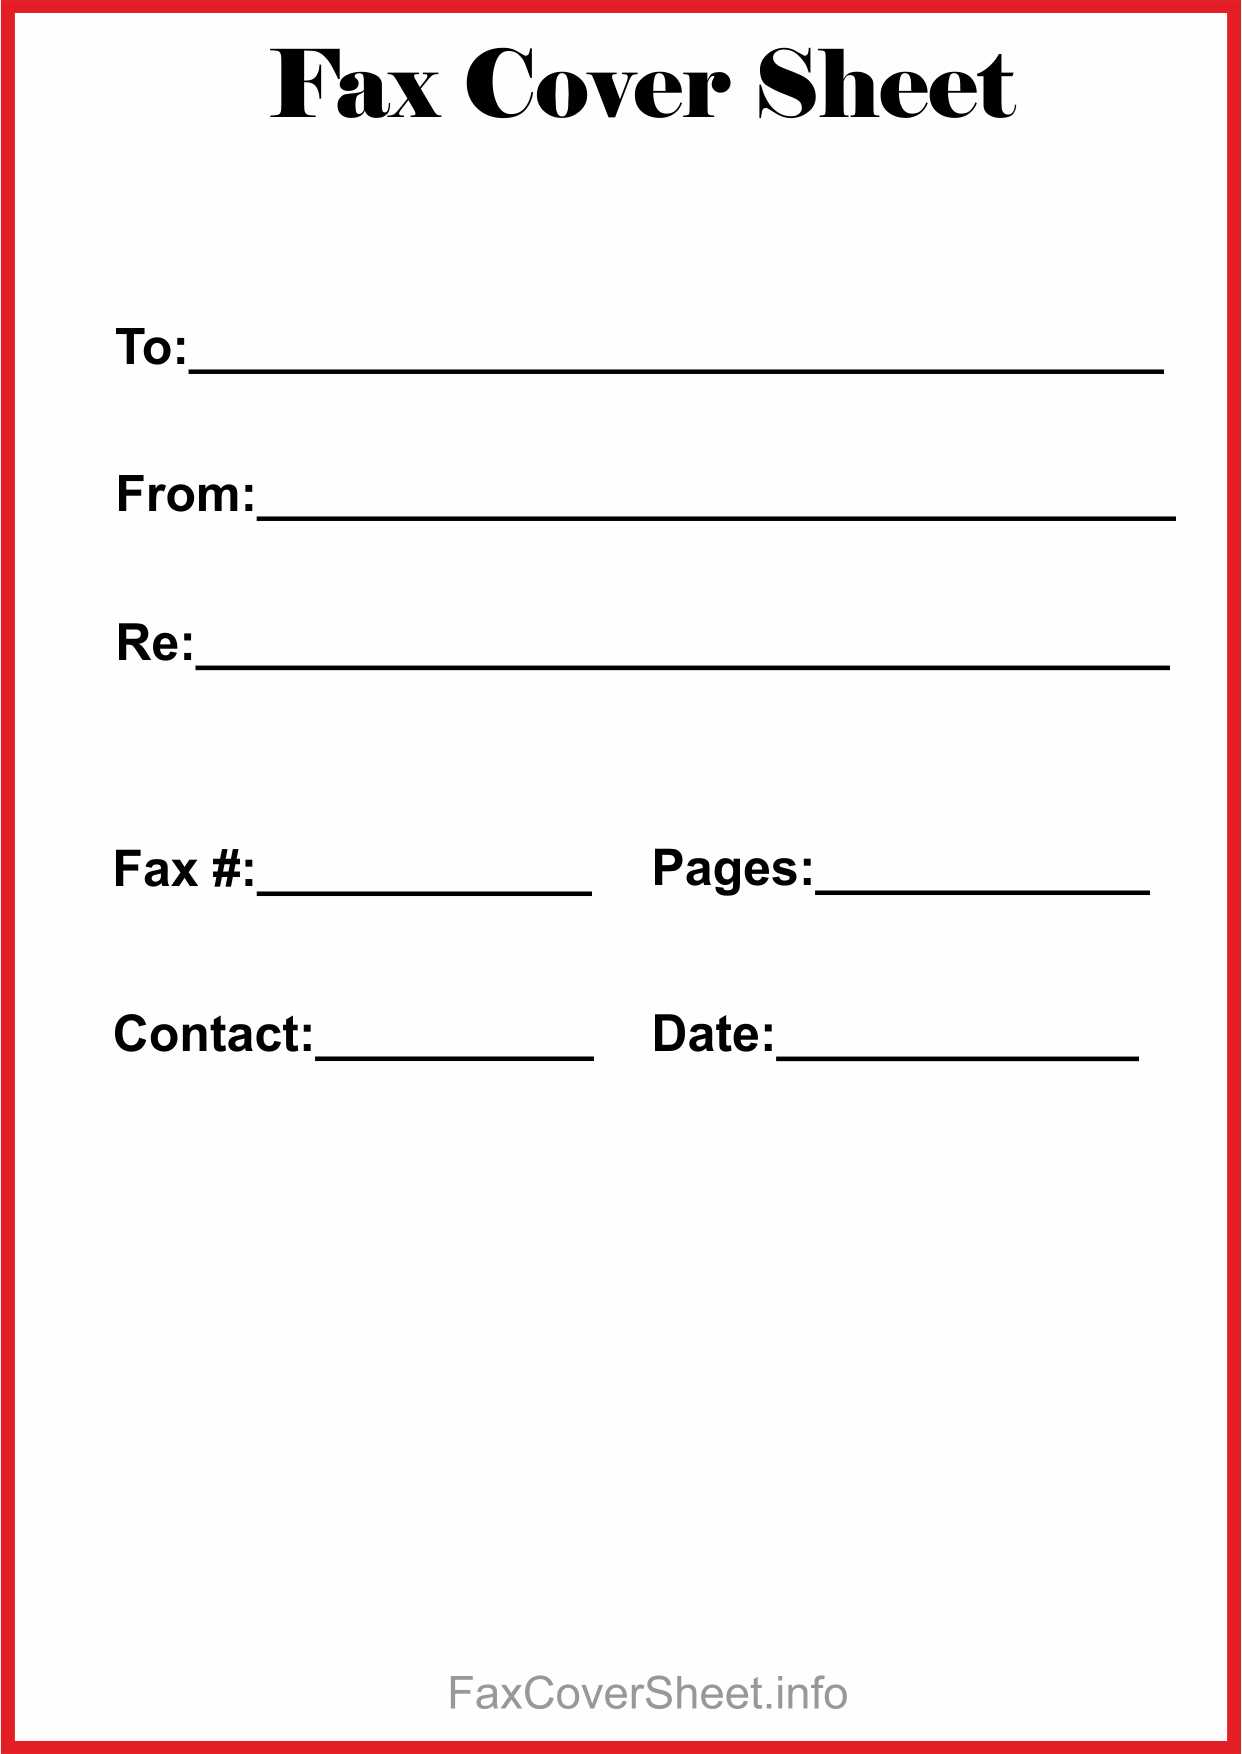
While Word 2010 offers a “Send to Fax” option, it often relies on the printer driver. To guarantee fidelity, print the cover sheet on plain paper first, then scan and fax the combined document. This two‑step process ensures the faxed copy matches the original layout exactly.
Quality Checks Before Sending
Always proofread the cover sheet for typos, correct fax numbers, and proper alignment. Run a test fax to a colleague to confirm that the document prints legibly and that no fields appear cut off.
Document Size Limits
Most fax machines have a page limit of 30–50 pages per transmission. If you’re attaching multiple pages, place a note on the cover sheet: “Attached pages: 1–10” to help the recipient track the entire fax set.
Troubleshooting Common Issues

Misaligned Text
Misalignment often occurs when the fax machine cuts off margins. Verify that the margins in Word are set to 0.75 inches on all sides. Additionally, avoid using page breaks within tables; instead, let tables flow naturally through the document.
Fax Errors
Common fax errors like “Out of Paper” or “Line Error” are usually caused by paper jams or incorrect paper size. Ensure the fax machine is fed with standard 8.5″ × 11″ paper and that the paper tray is properly adjusted.
Alternatives and Enhancements
Other Microsoft Office Versions
Word 2013 and later versions provide more robust template features, such as better support for content controls. If you upgrade, consider migrating your template and taking advantage of newer formatting tools.
Add‑In Tools
Third‑party add‑ins like “FaxMaker” or “Print Fax” integrate directly into Word, offering one‑click faxing and automatic cover sheet generation. Evaluate these tools if your fax volume is high and you need more automation.
Conclusion

By investing the time to build a well‑structured Fax Template Word 2010, you create a repeatable, professional process that saves time, maintains brand integrity, and ensures compliance across all your faxed communications. From the initial layout to the final signature, each element of the template serves a purpose—whether it’s drawing attention to key information or simplifying your workflow. As you adopt this template across departments, you’ll notice a marked improvement in the quality of your fax transmissions and a reduction in manual errors. Embrace the template, tweak it to fit your specific needs, and enjoy the confidence that comes with a consistent, polished fax cover sheet every time you hit “Send.”