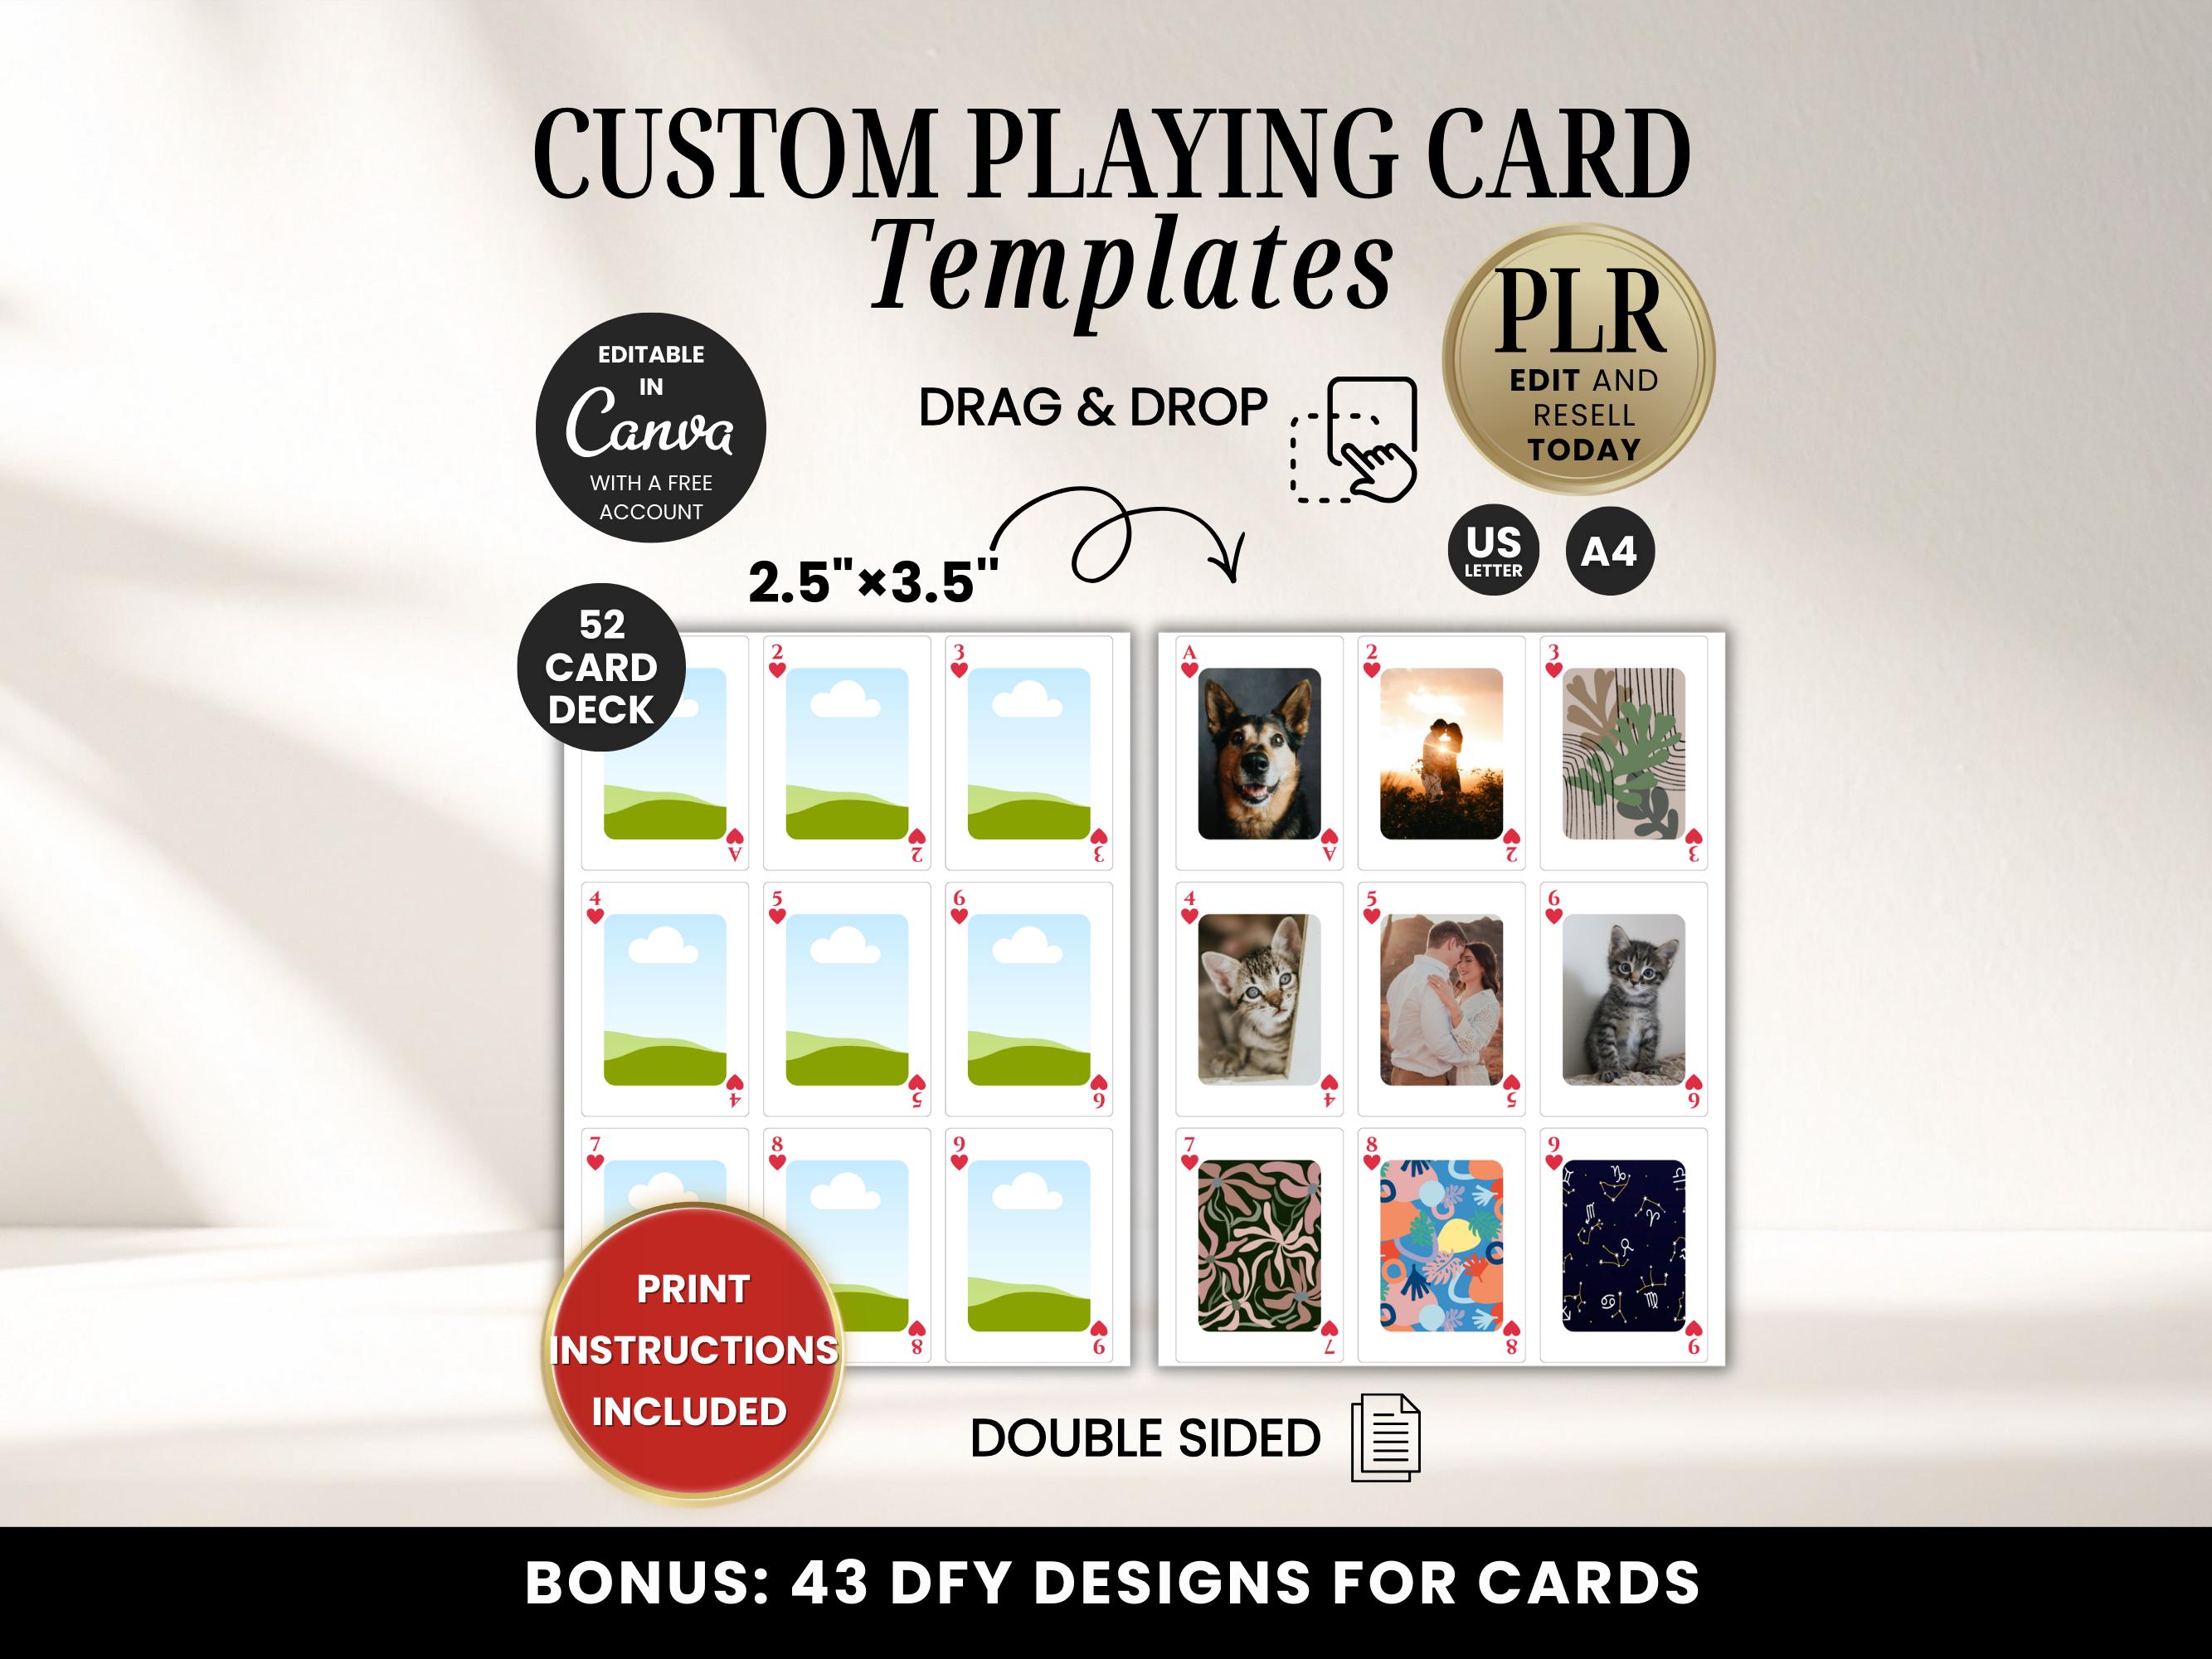
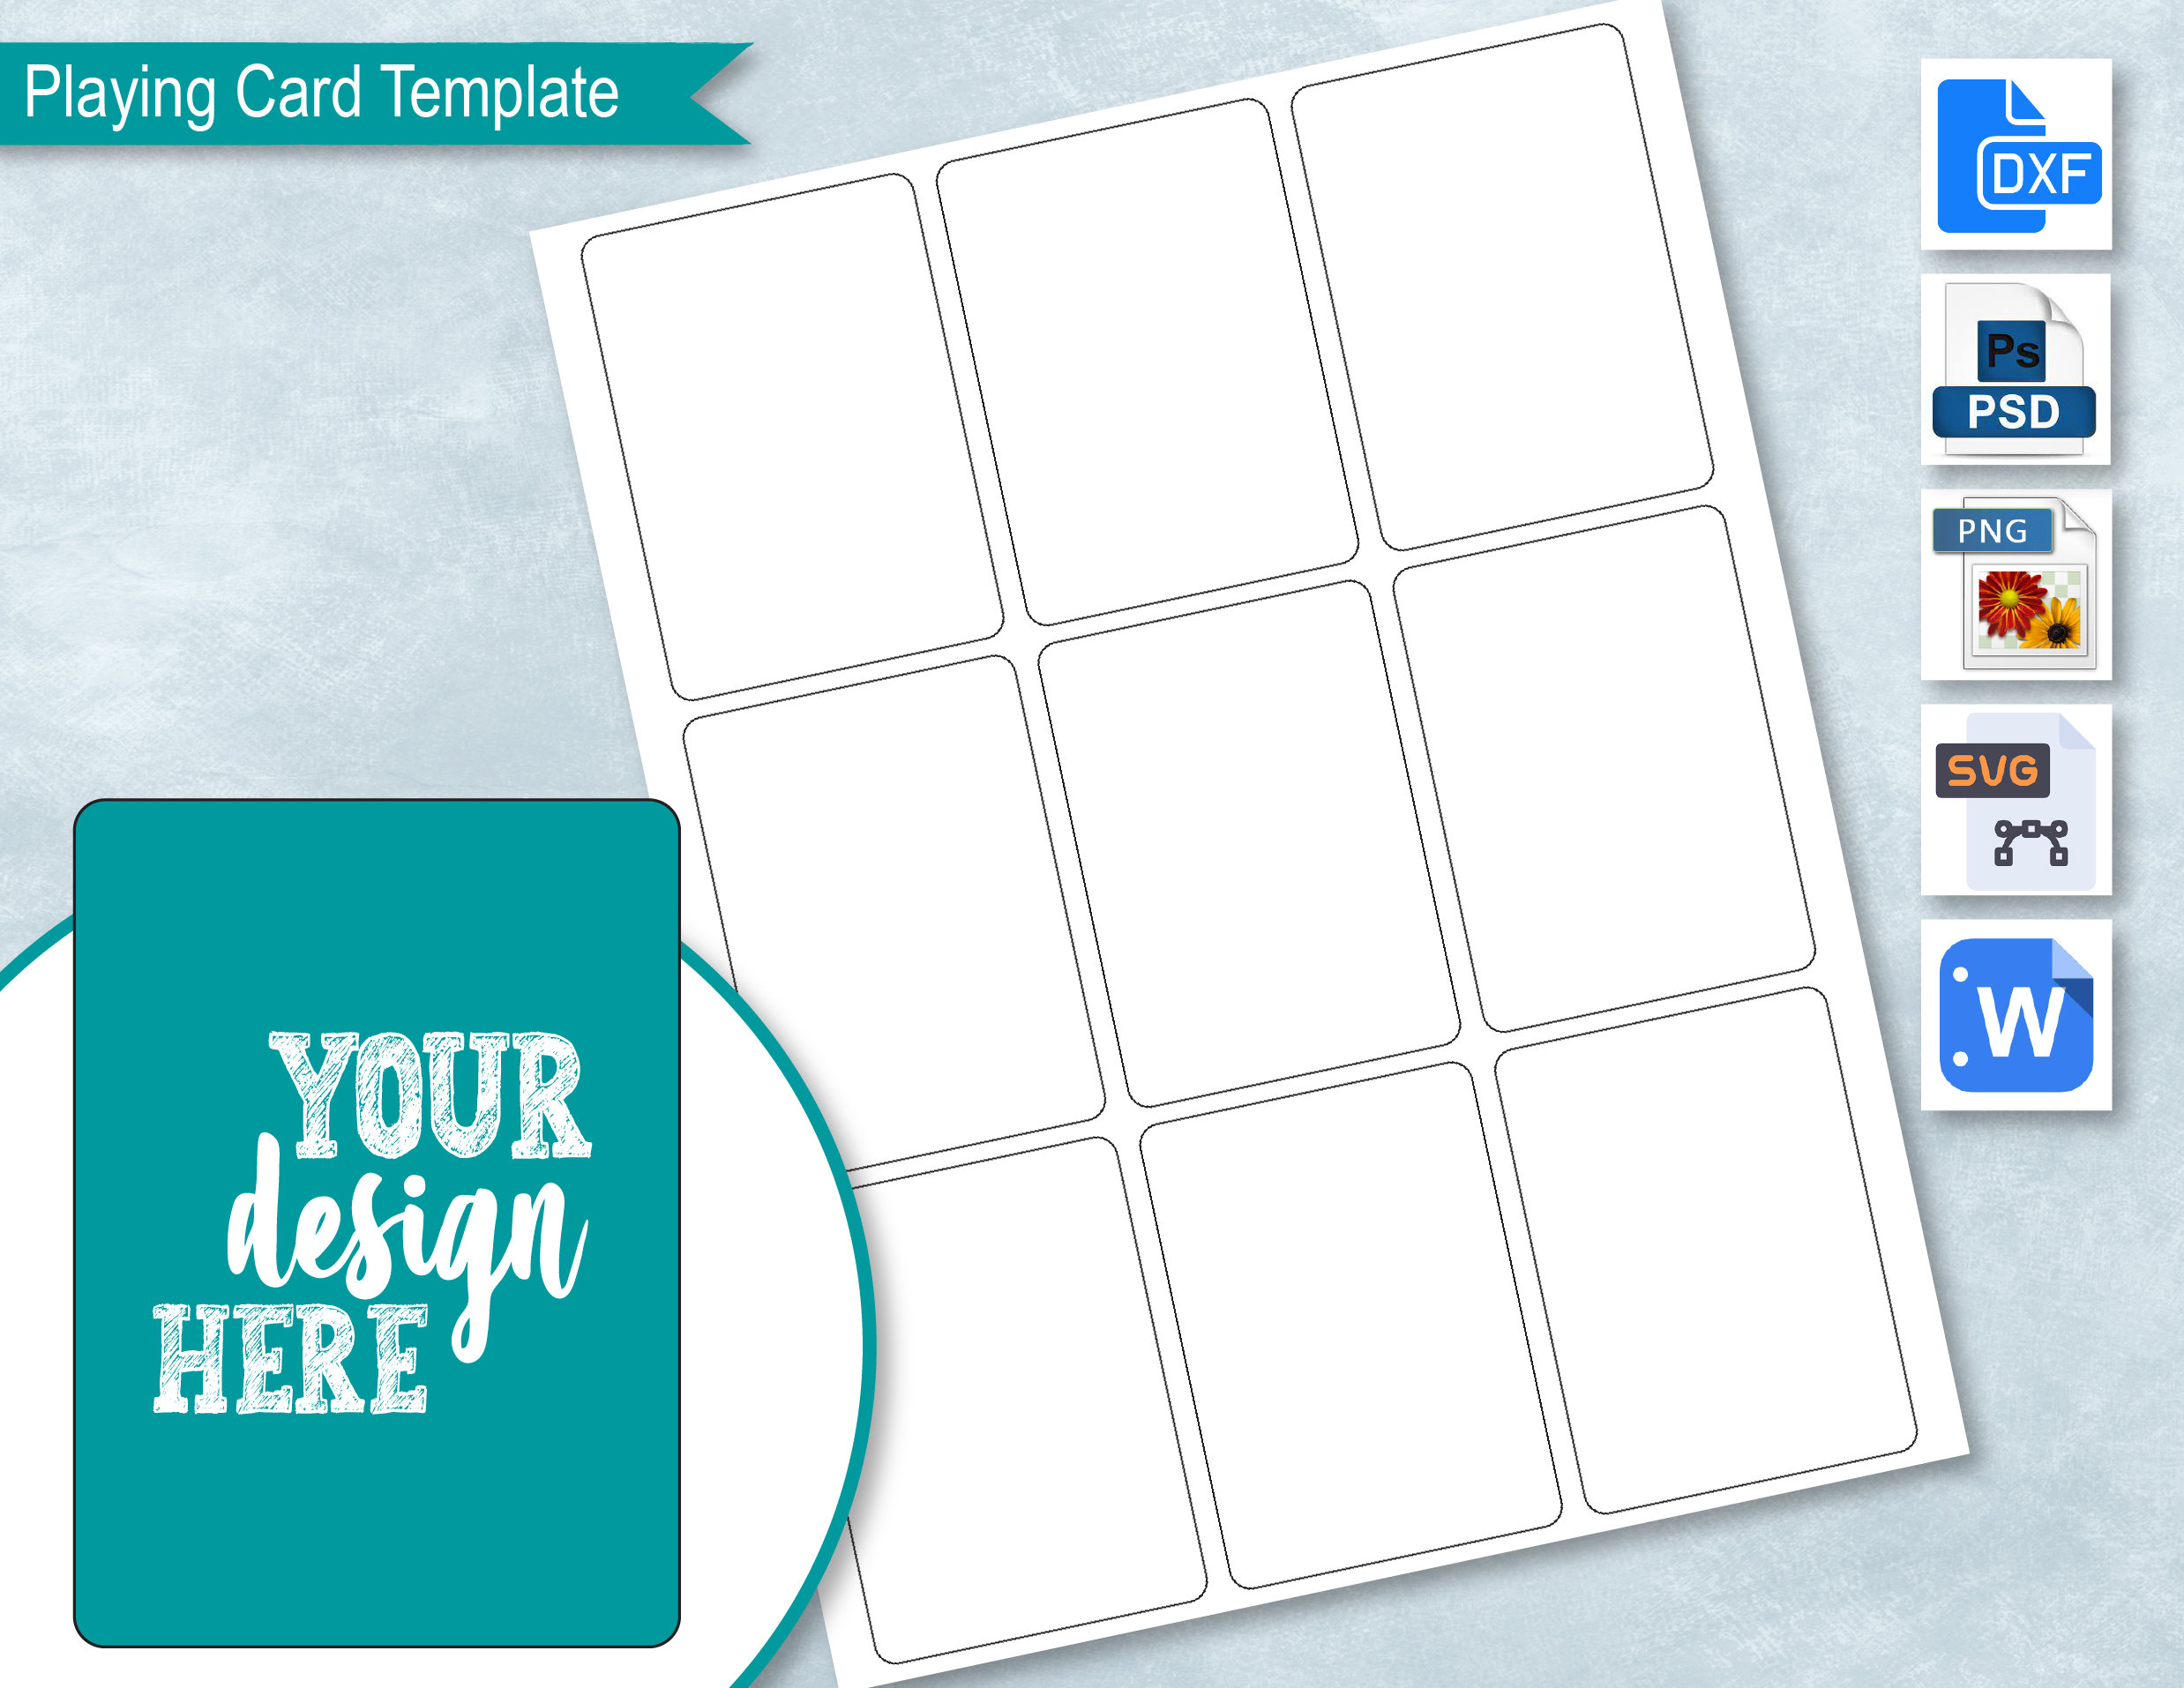
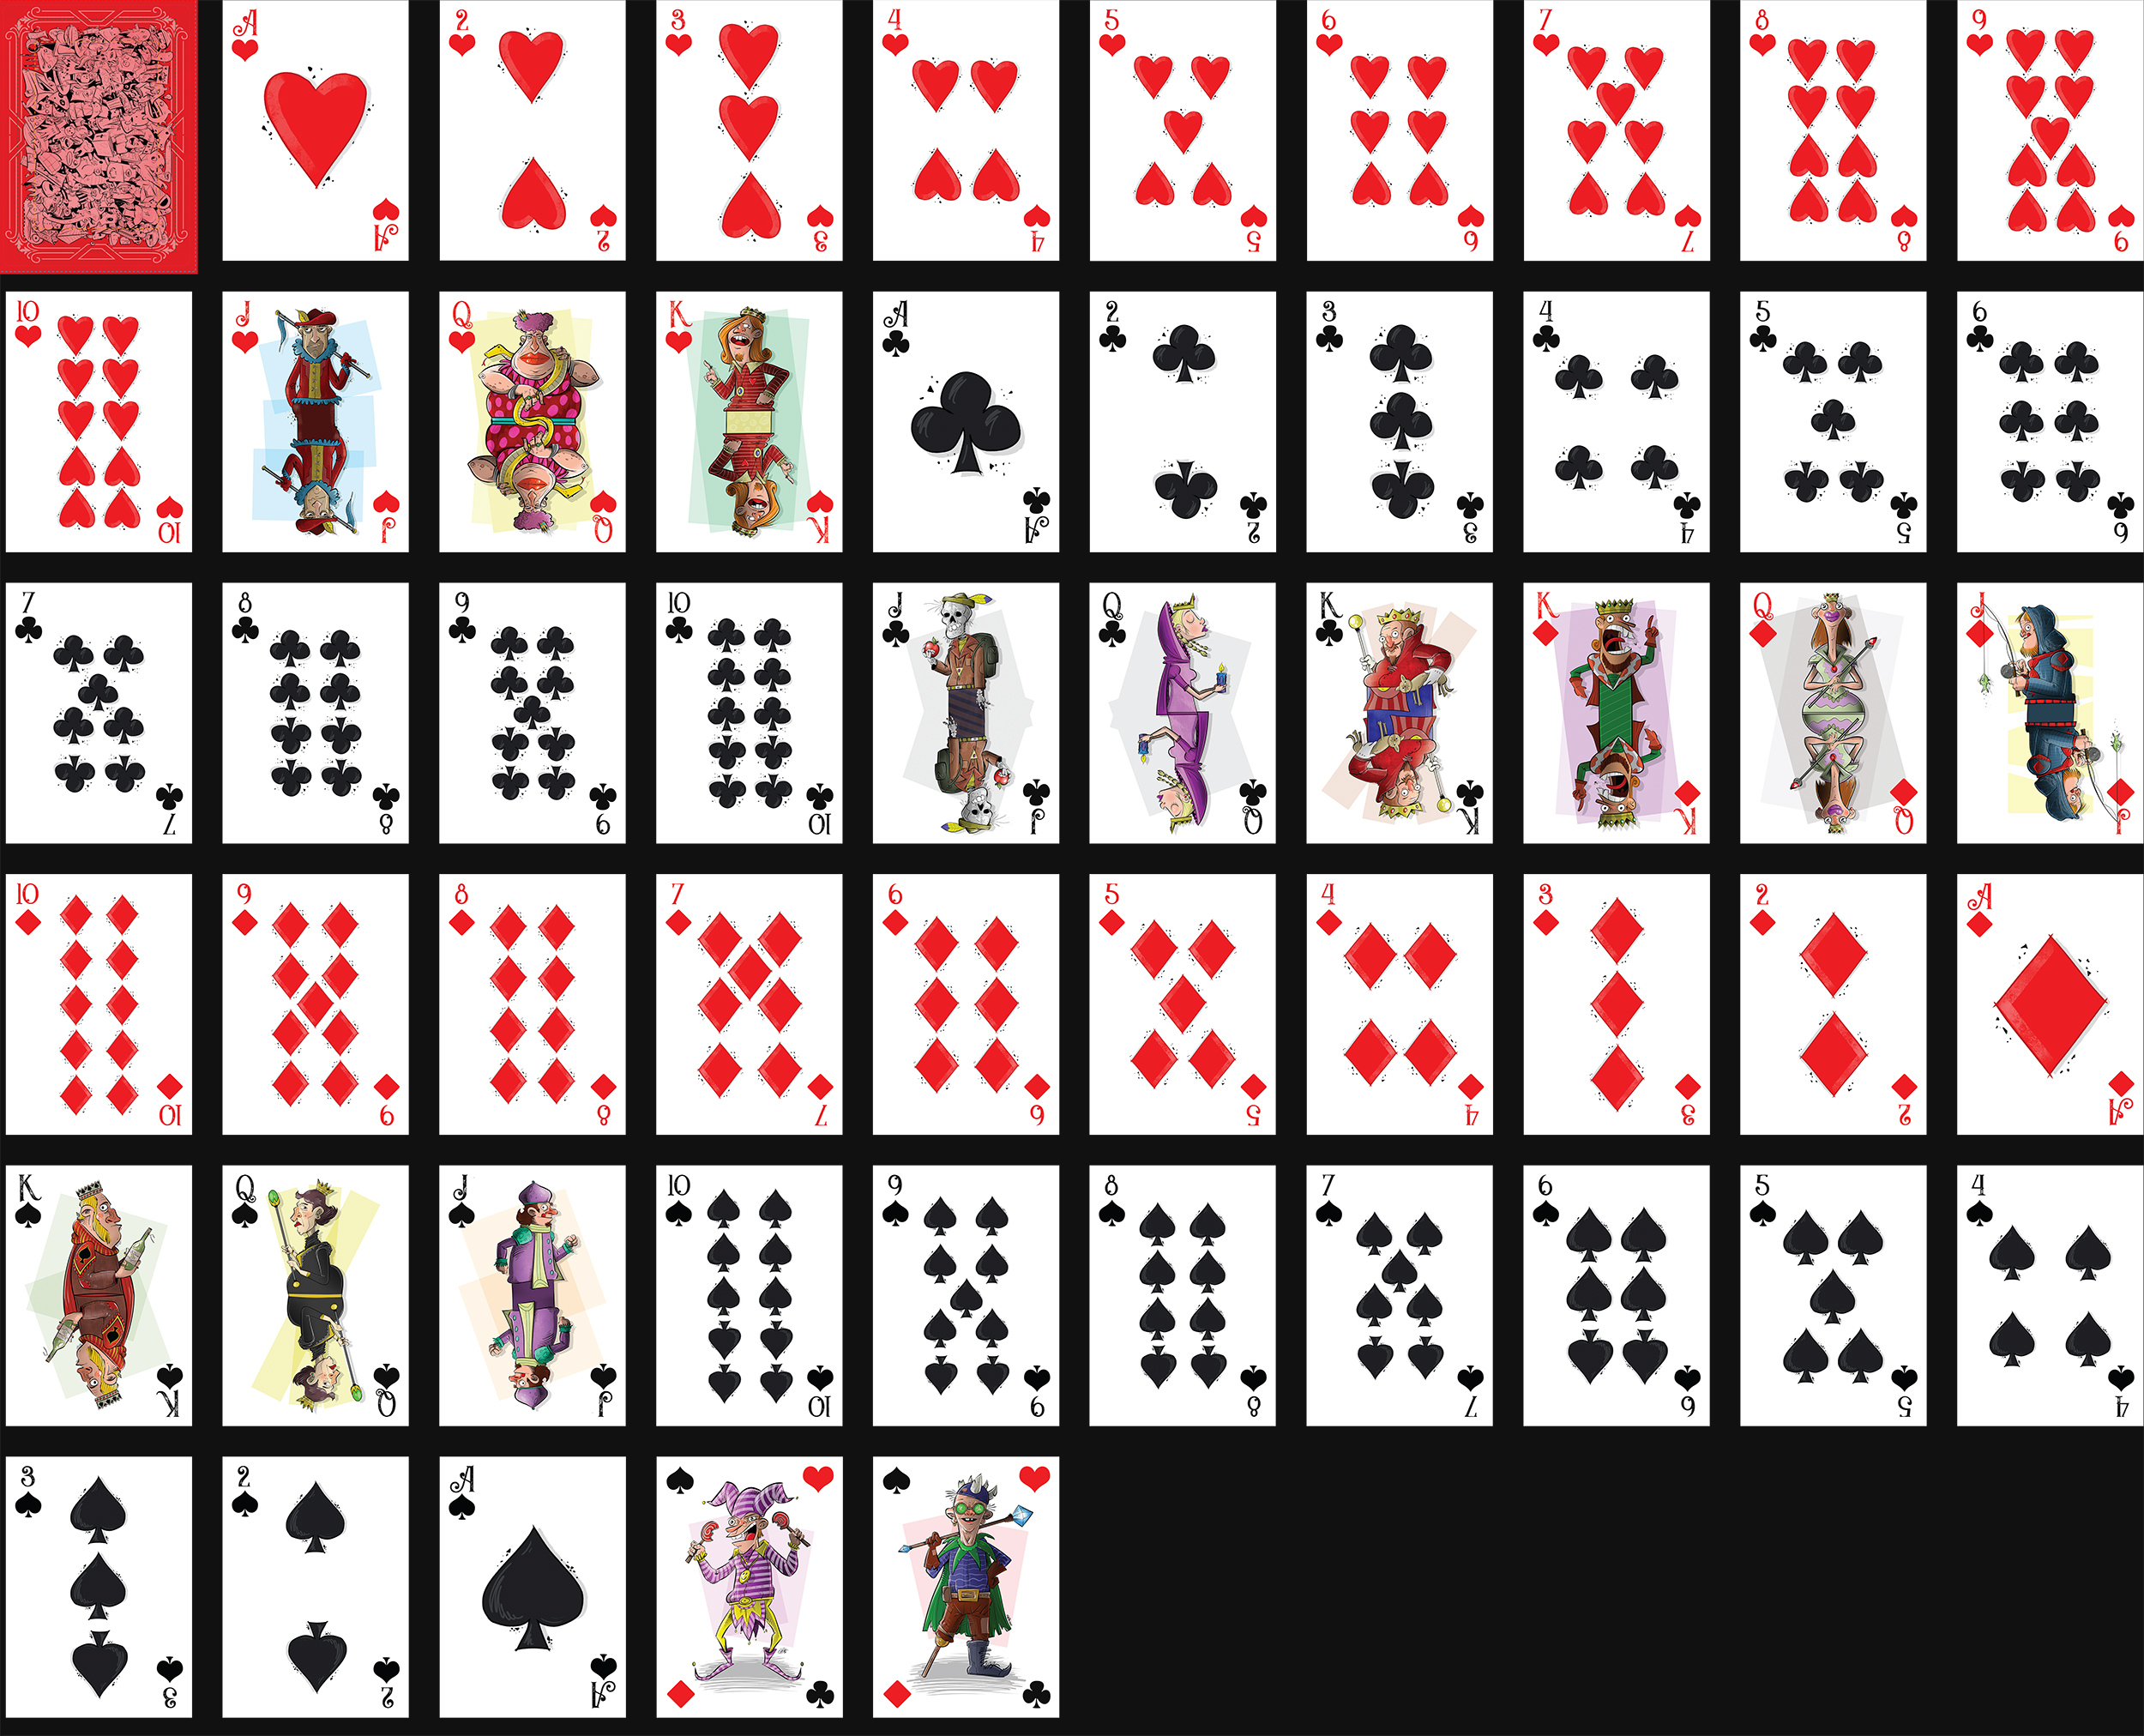
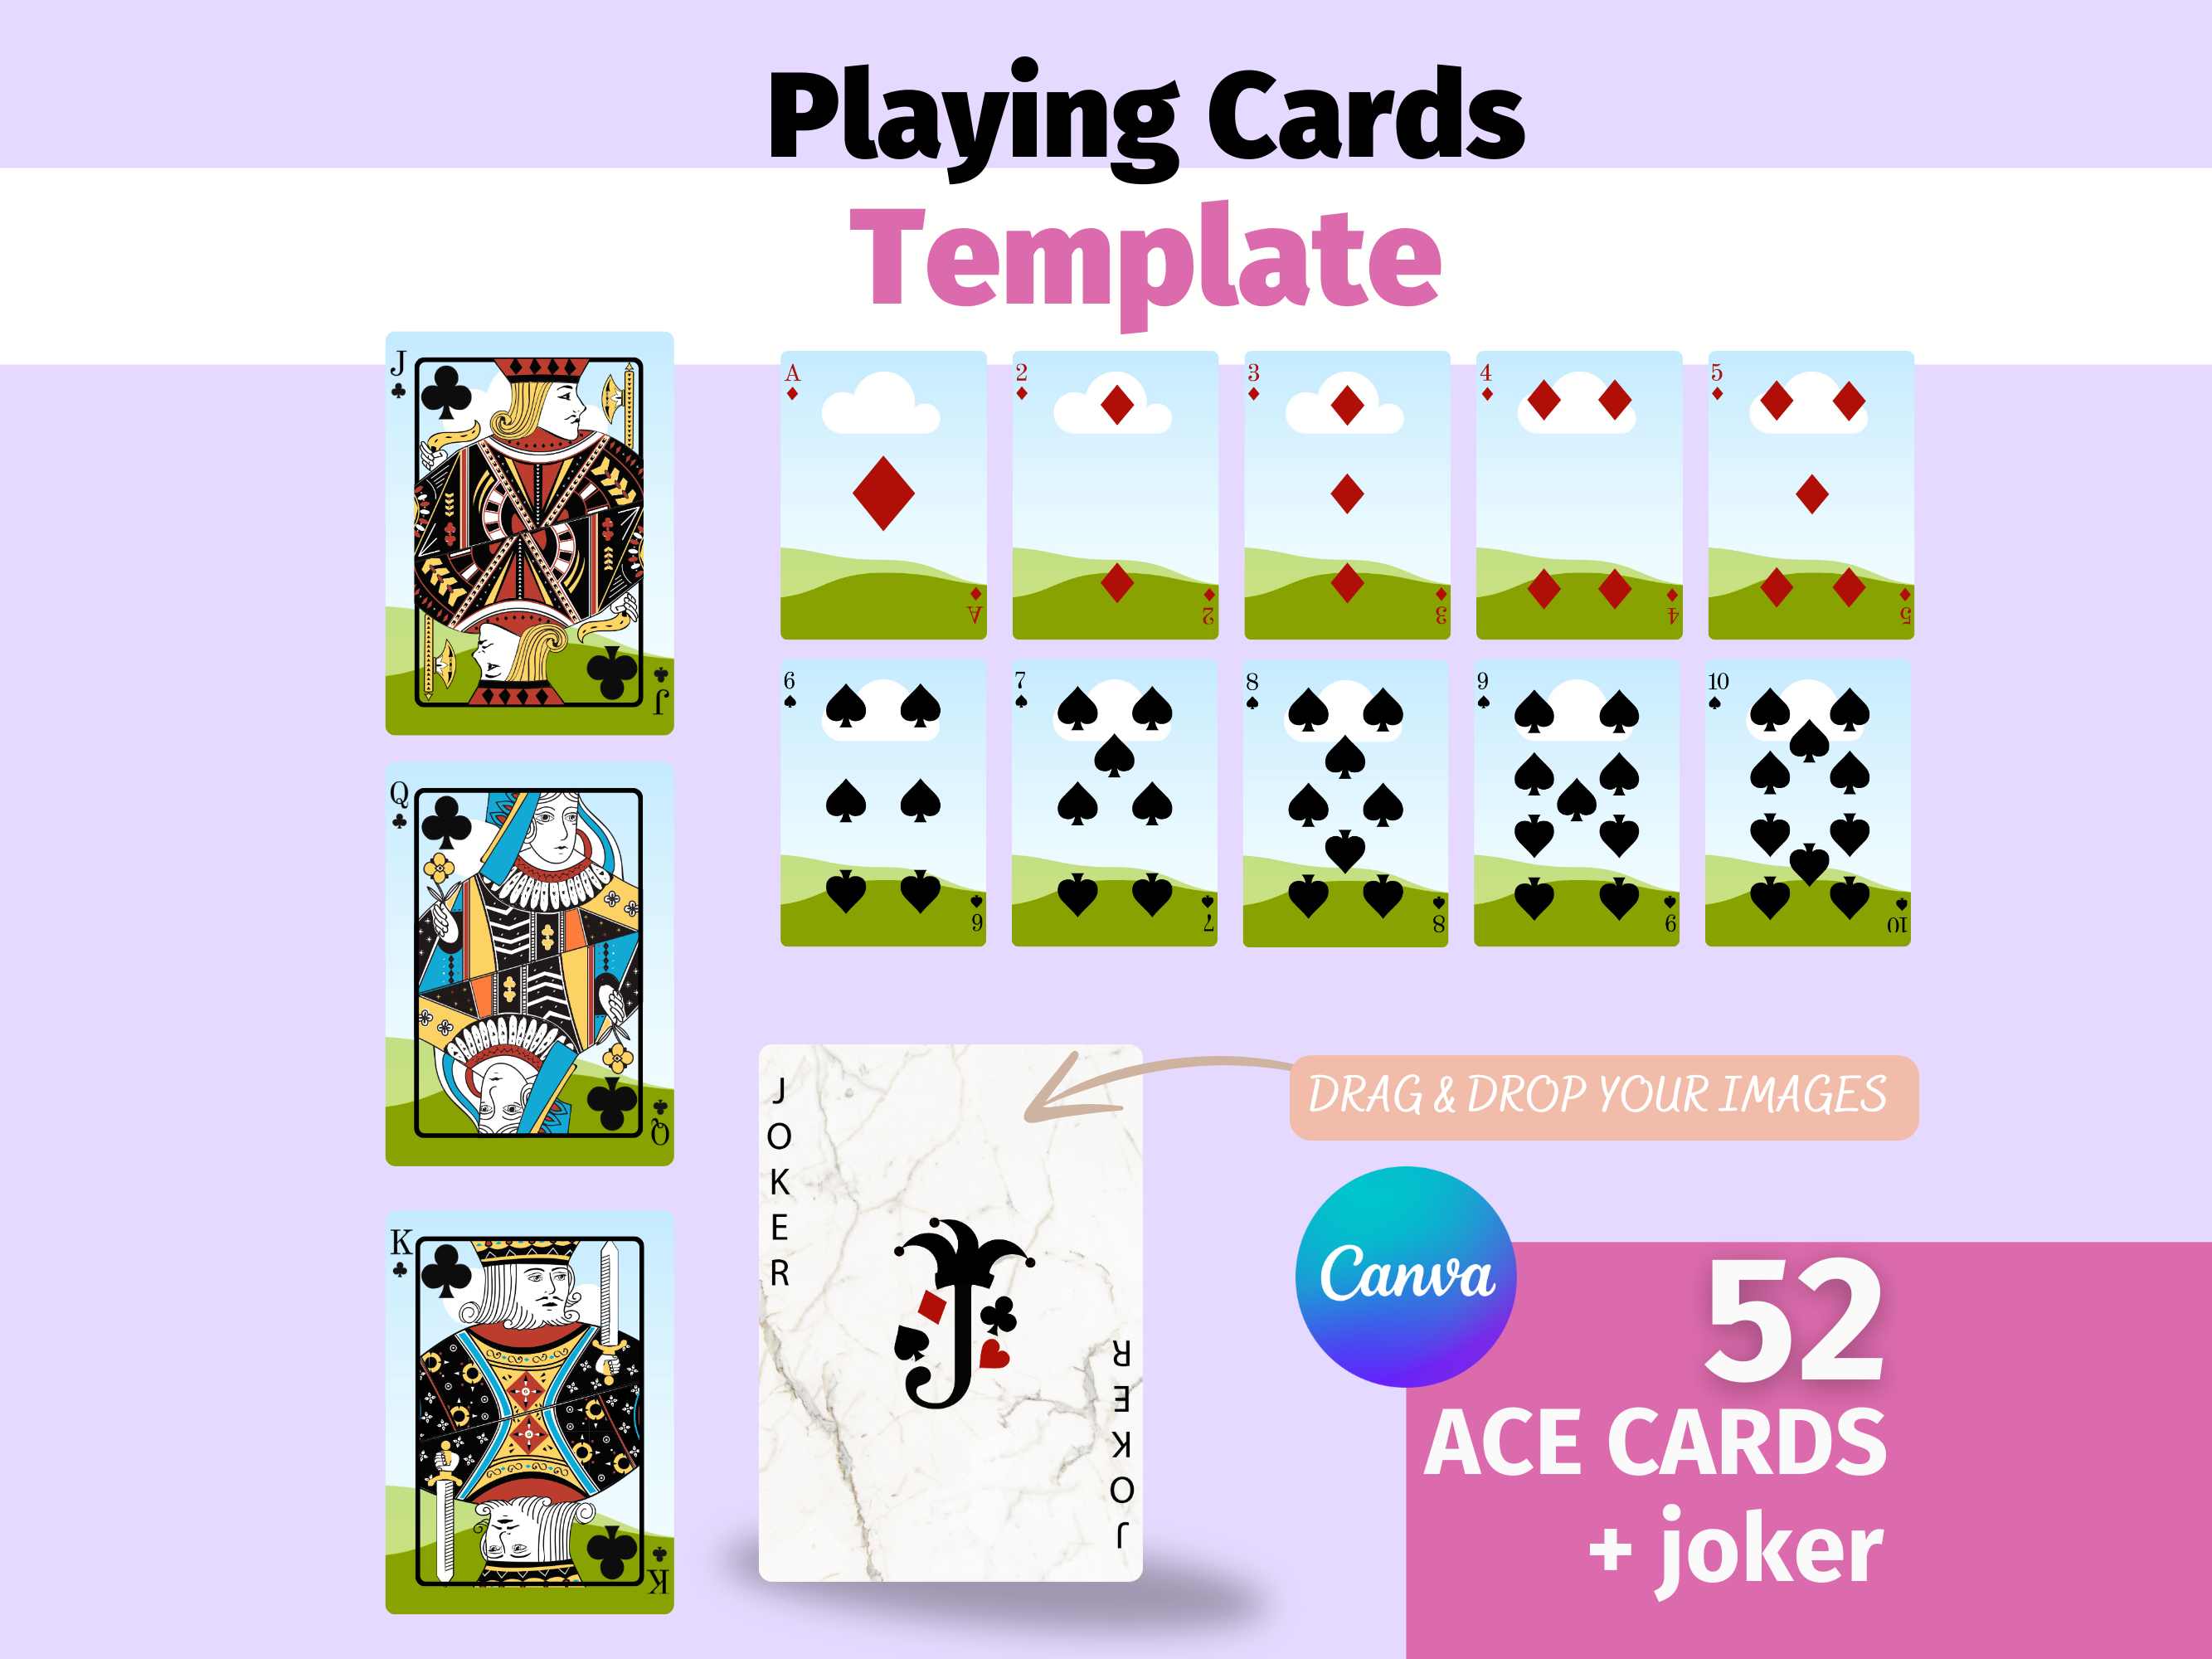
Custom Playing Card Template opens a world of creative possibilities for game designers, artists, and hobbyists who want to turn their imagination into a tangible deck that can be shuffled, dealt, and enjoyed by players around the globe.
Why Use a Custom Playing Card Template

Creating a deck from scratch can feel overwhelming, especially when you consider the precise dimensions, bleed areas, and safety margins required for professional printing. A well‑crafted template eliminates guesswork by providing a pre‑formatted canvas that aligns perfectly with industry standards, ensuring that every card you design will fit seamlessly into a standard deck box. This consistency not only saves time but also reduces costly errors that can arise from misaligned artwork or incorrect sizing.
Beyond technical convenience, a custom template empowers you to focus on what truly matters: the visual identity and gameplay experience of your deck. By handling the layout mechanics, the template lets you experiment with color palettes, typography, and illustration styles without worrying about the underlying grid. This freedom often leads to more daring and original designs that stand out on crowded retail shelves or digital marketplaces.
Finally, using a template signals professionalism to printers, retailers, and backers. When a potential client sees that you have adhered to a recognized format, they gain confidence that the final product will look polished and meet production expectations.
Key Features to Look for in a Template
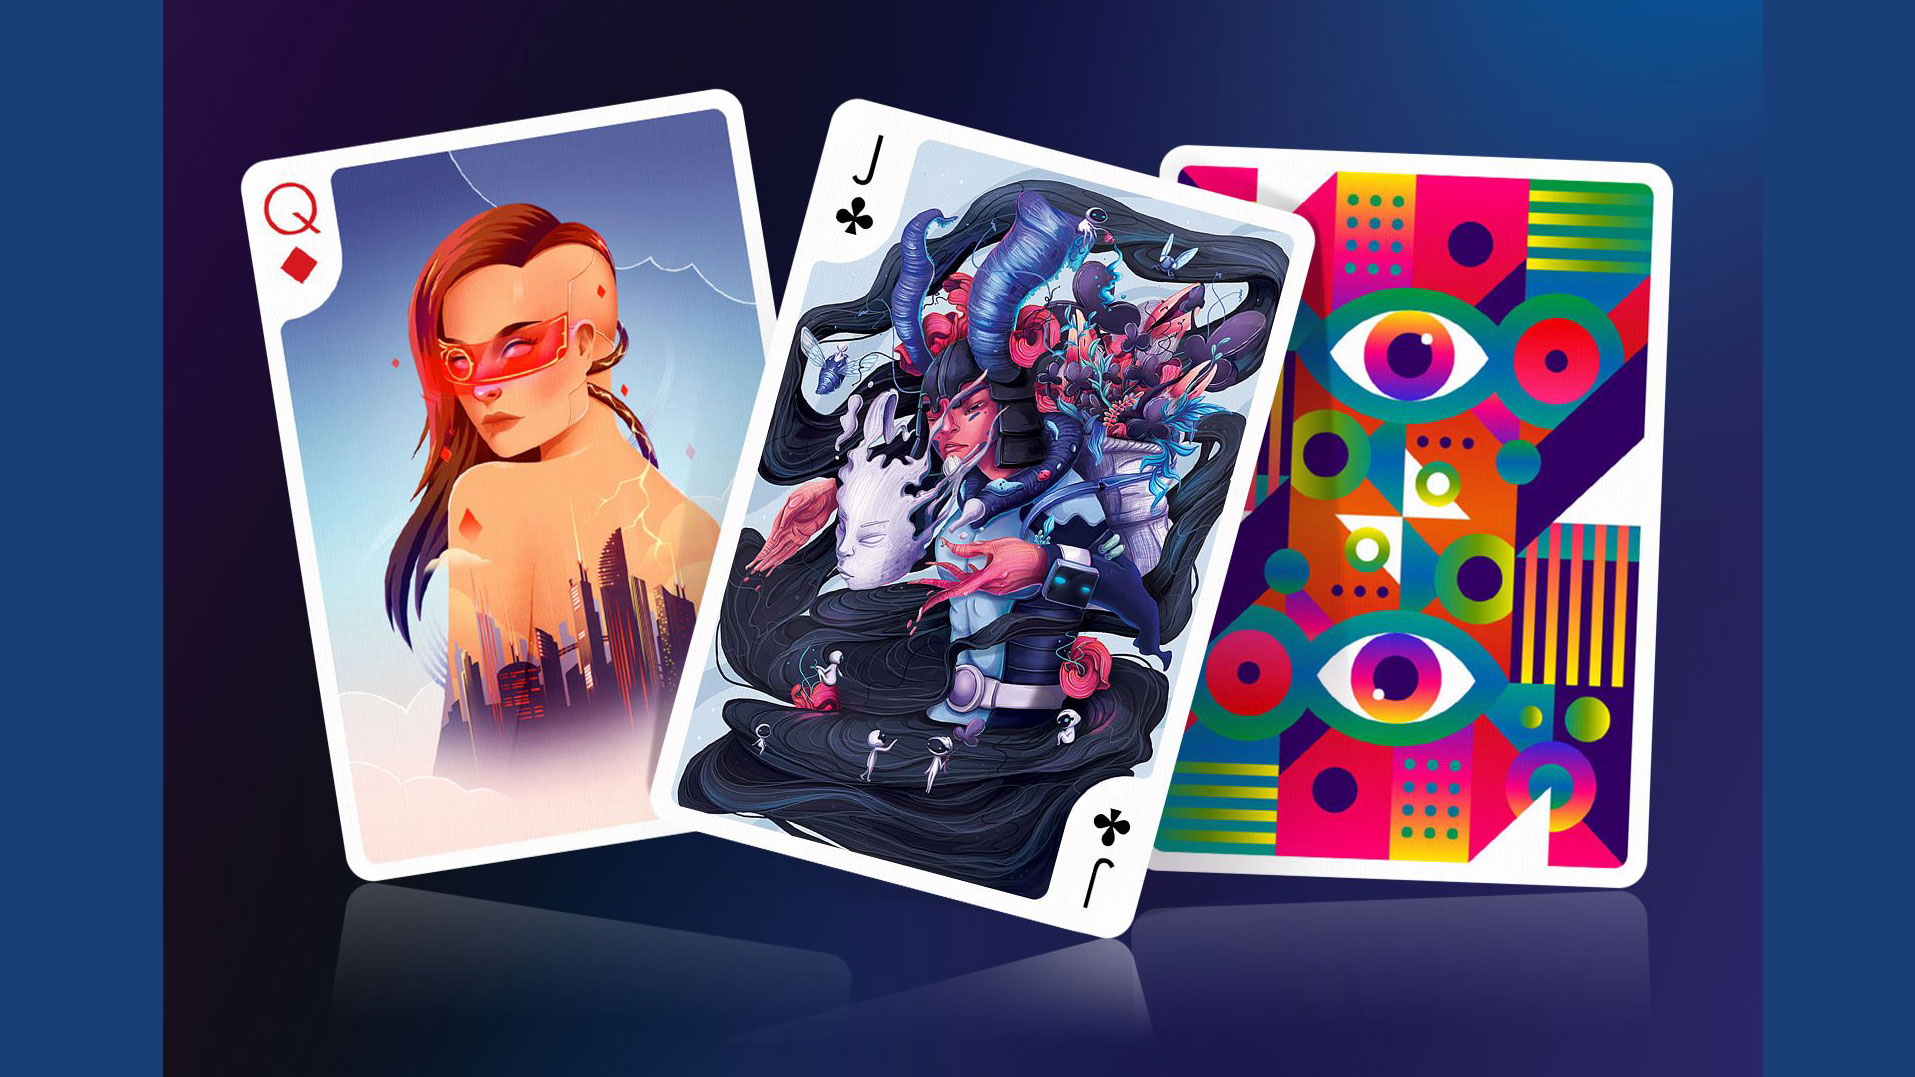
Accurate Dimensions and Bleed
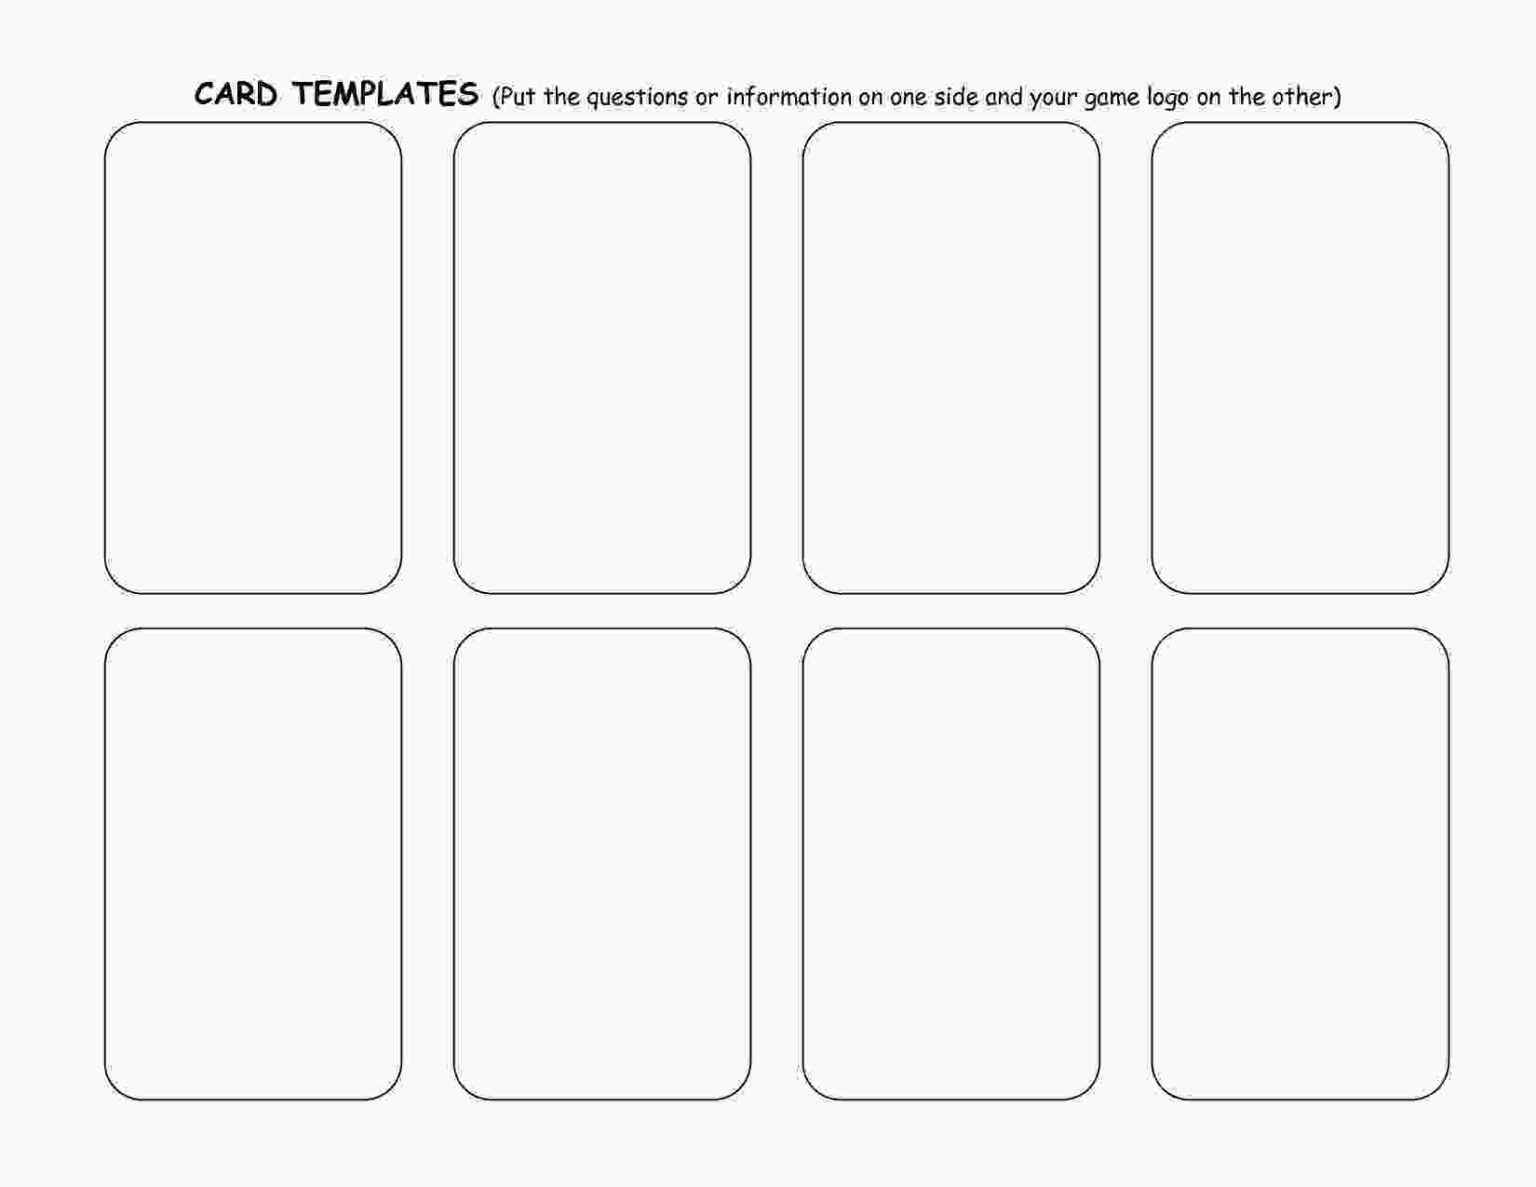
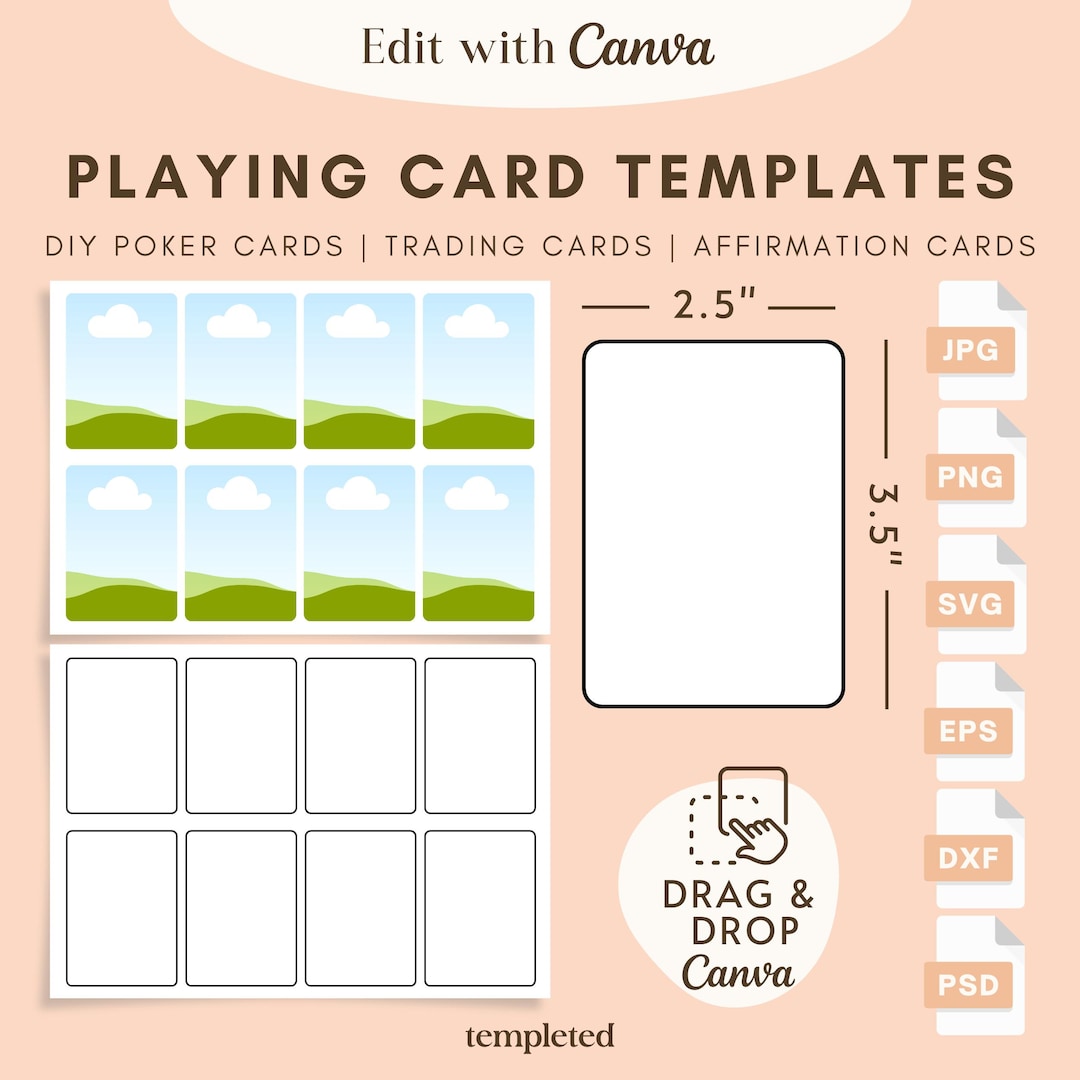
A standard playing card measures 2.5 × 3.5 inches (63.5 × 88.9 mm). The template should include a 0.125‑inch bleed on all sides, guaranteeing that colors and images extend to the edge of the card after trimming. Look for clear guides that differentiate the safe zone, where text and important graphics should stay, from the bleed area.
Layered Structure
Professional templates are organized into separate layers for background, foreground, text, and cut lines. This separation makes it easy to lock certain elements while editing others, preventing accidental changes to critical components such as the card border or suit symbols.
High‑Resolution File Formats
Whether you work in Adobe Photoshop, Illustrator, or a free alternative like GIMP or Inkscape, choose a template that’s available in PSD, AI, or SVG formats. These vector‑friendly files scale without loss of quality, ensuring crisp edges on intricate artwork.
Customizable Suit and Rank Slots
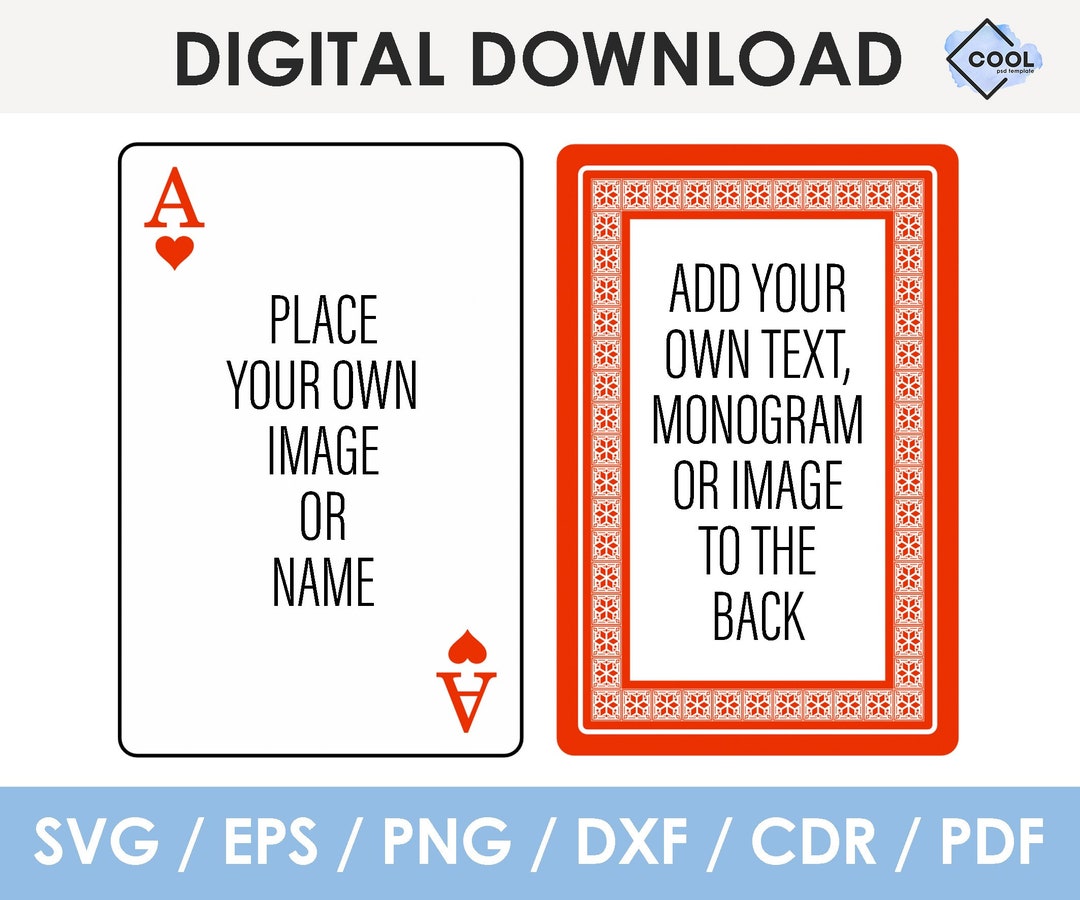
For traditional decks, the template should contain placeholders for suit icons and rank numbers. For custom decks, look for flexible slots that can be repurposed for icons, logos, or unique numbering systems.
Built‑In Typography Guides
Legible type is crucial on a card’s limited surface. Templates often include sample text boxes with recommended font sizes and line spacing, helping you maintain readability across all cards, from the ace to the joker.
How to Choose the Right Template for Your Project
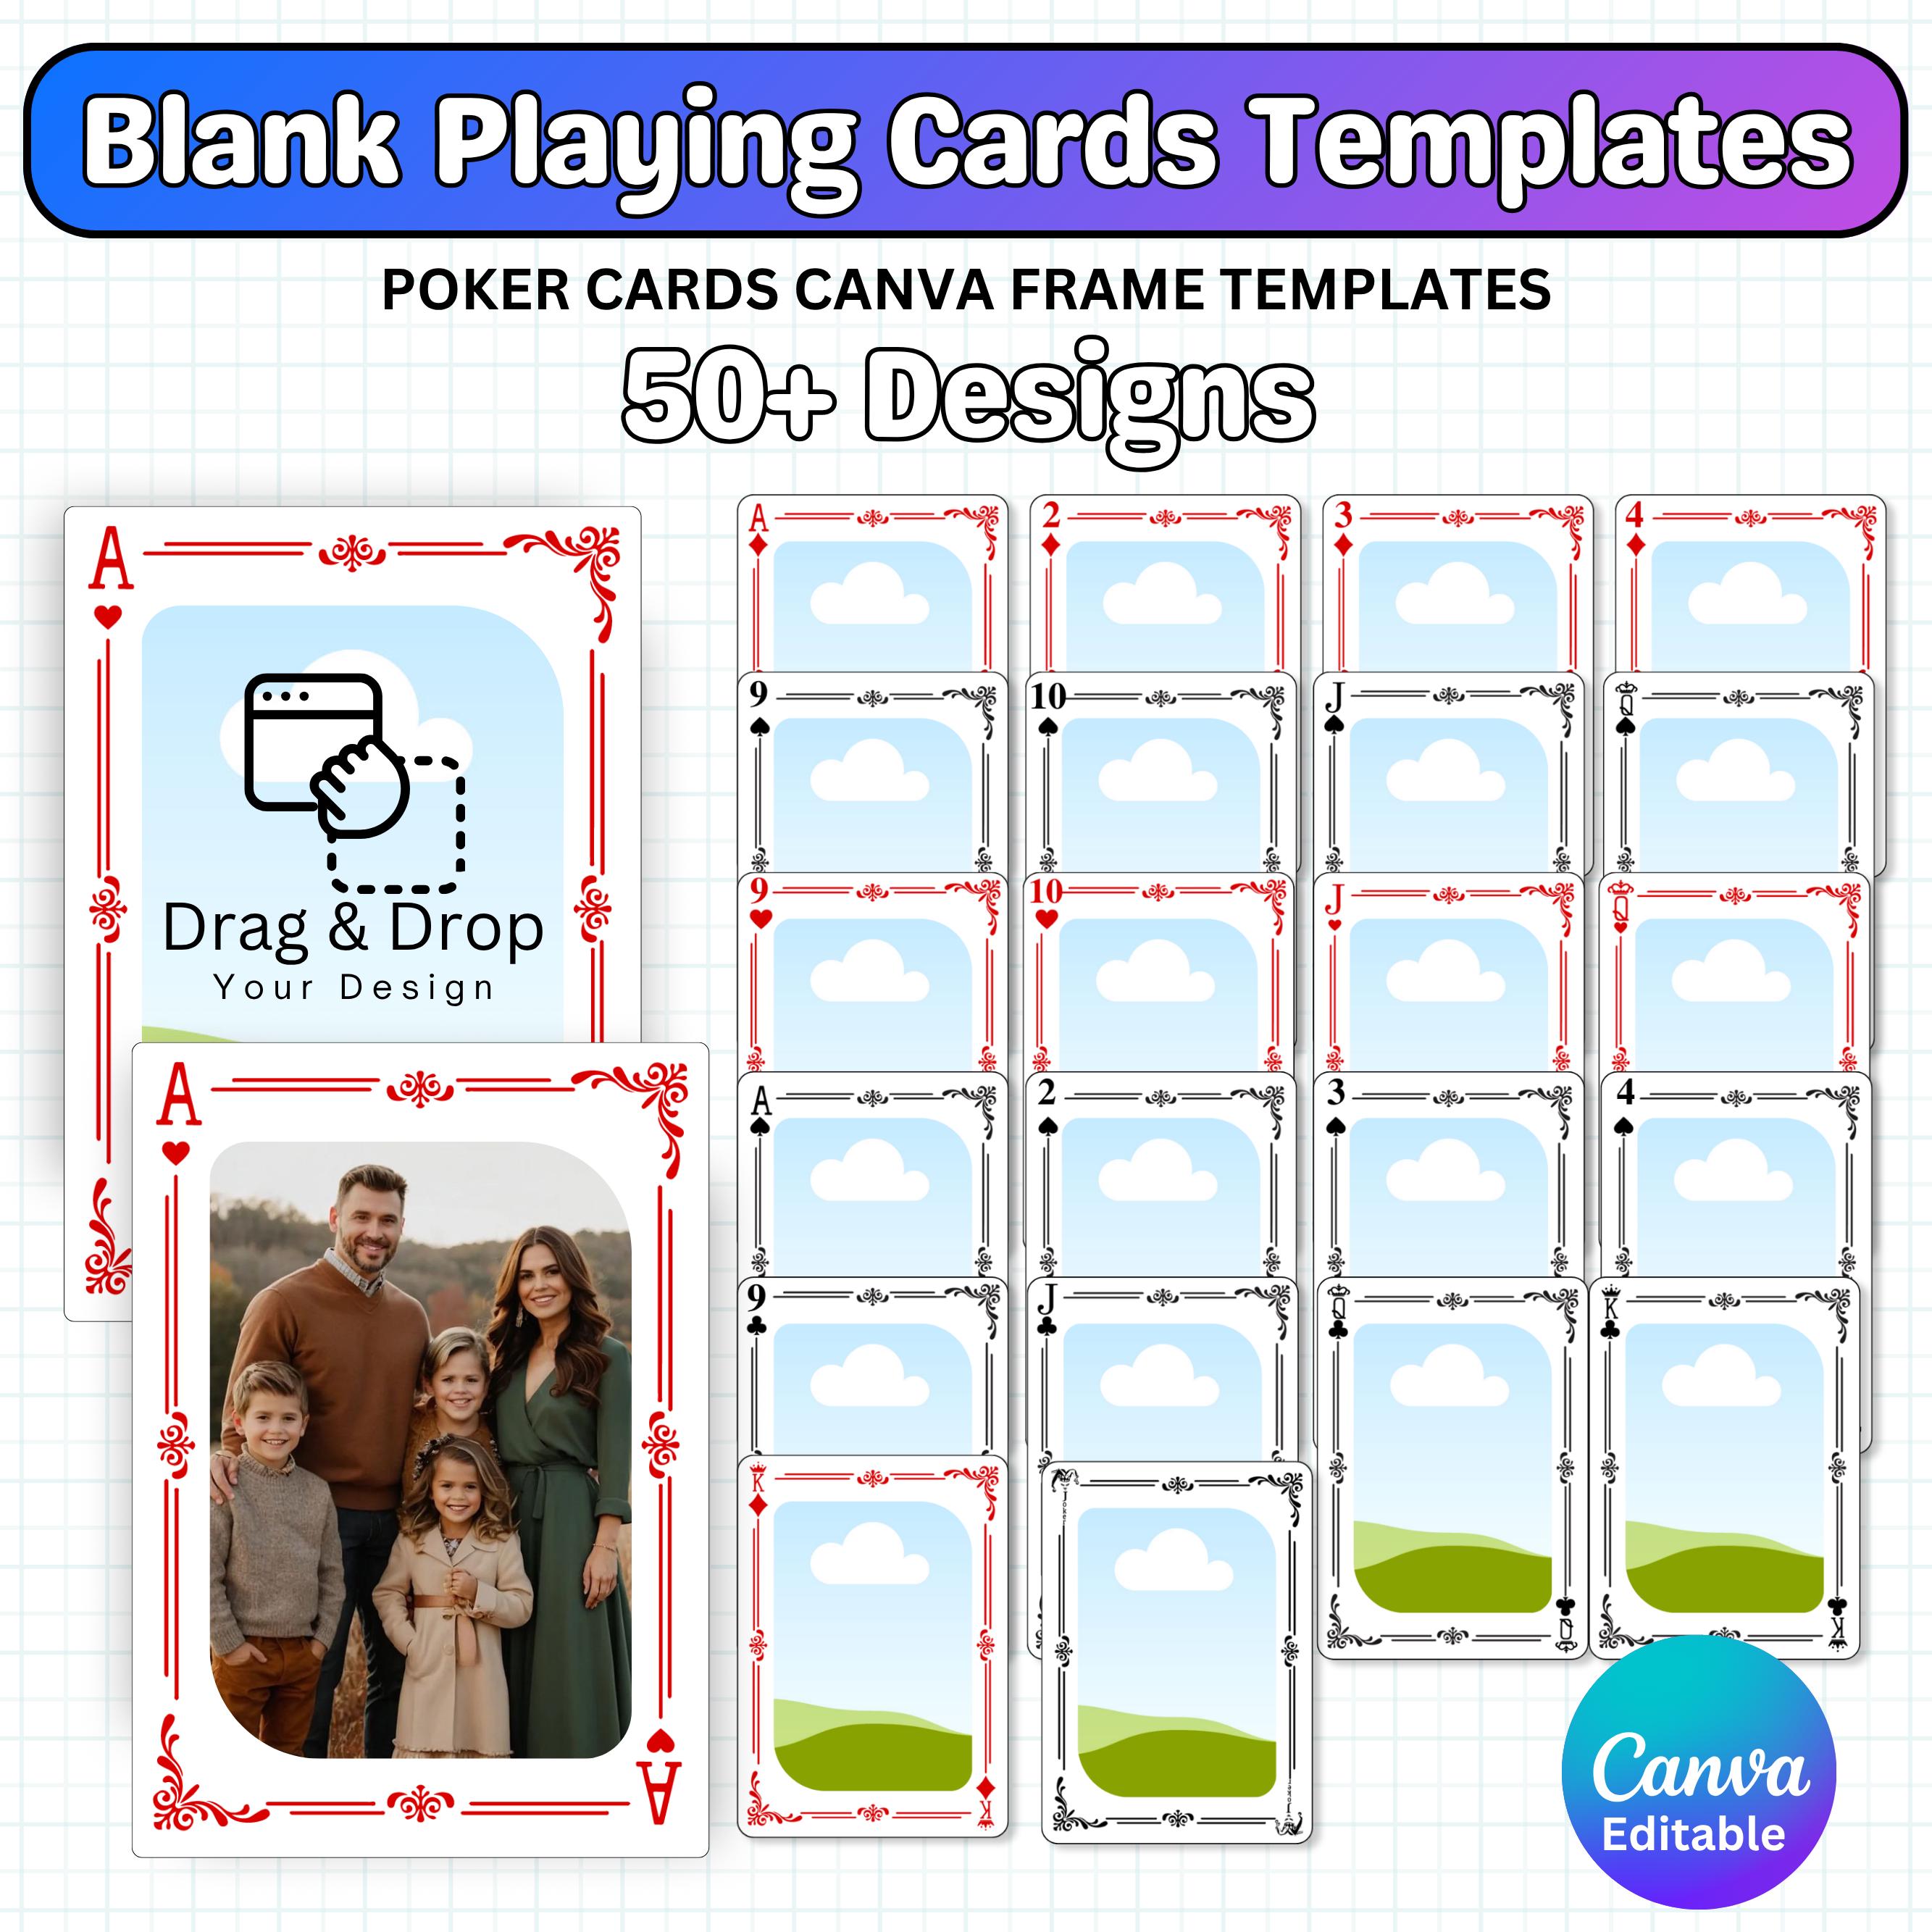
Identify Your Deck’s Purpose
Is your deck intended for a collectible card game, a party game, or a decorative novelty set? Game‑centric decks usually require additional space for ability text and stats, while novelty decks might prioritize bold imagery and minimal text. Match the template’s layout complexity to your deck’s functional needs.
Consider Your Design Software
If you’re comfortable with vector tools, an AI or SVG template will give you the most flexibility. Raster‑based designers may prefer PSD files, which support layered editing and high‑resolution image placement.
Check Compatibility with Printers
Many print‑on‑demand services provide their own templates, often tailored to their specific equipment. Verify that the template you select aligns with the printer’s file requirements, including color mode (CMYK vs. RGB), resolution (minimum 300 dpi), and file size limits.
Assess Customization Options
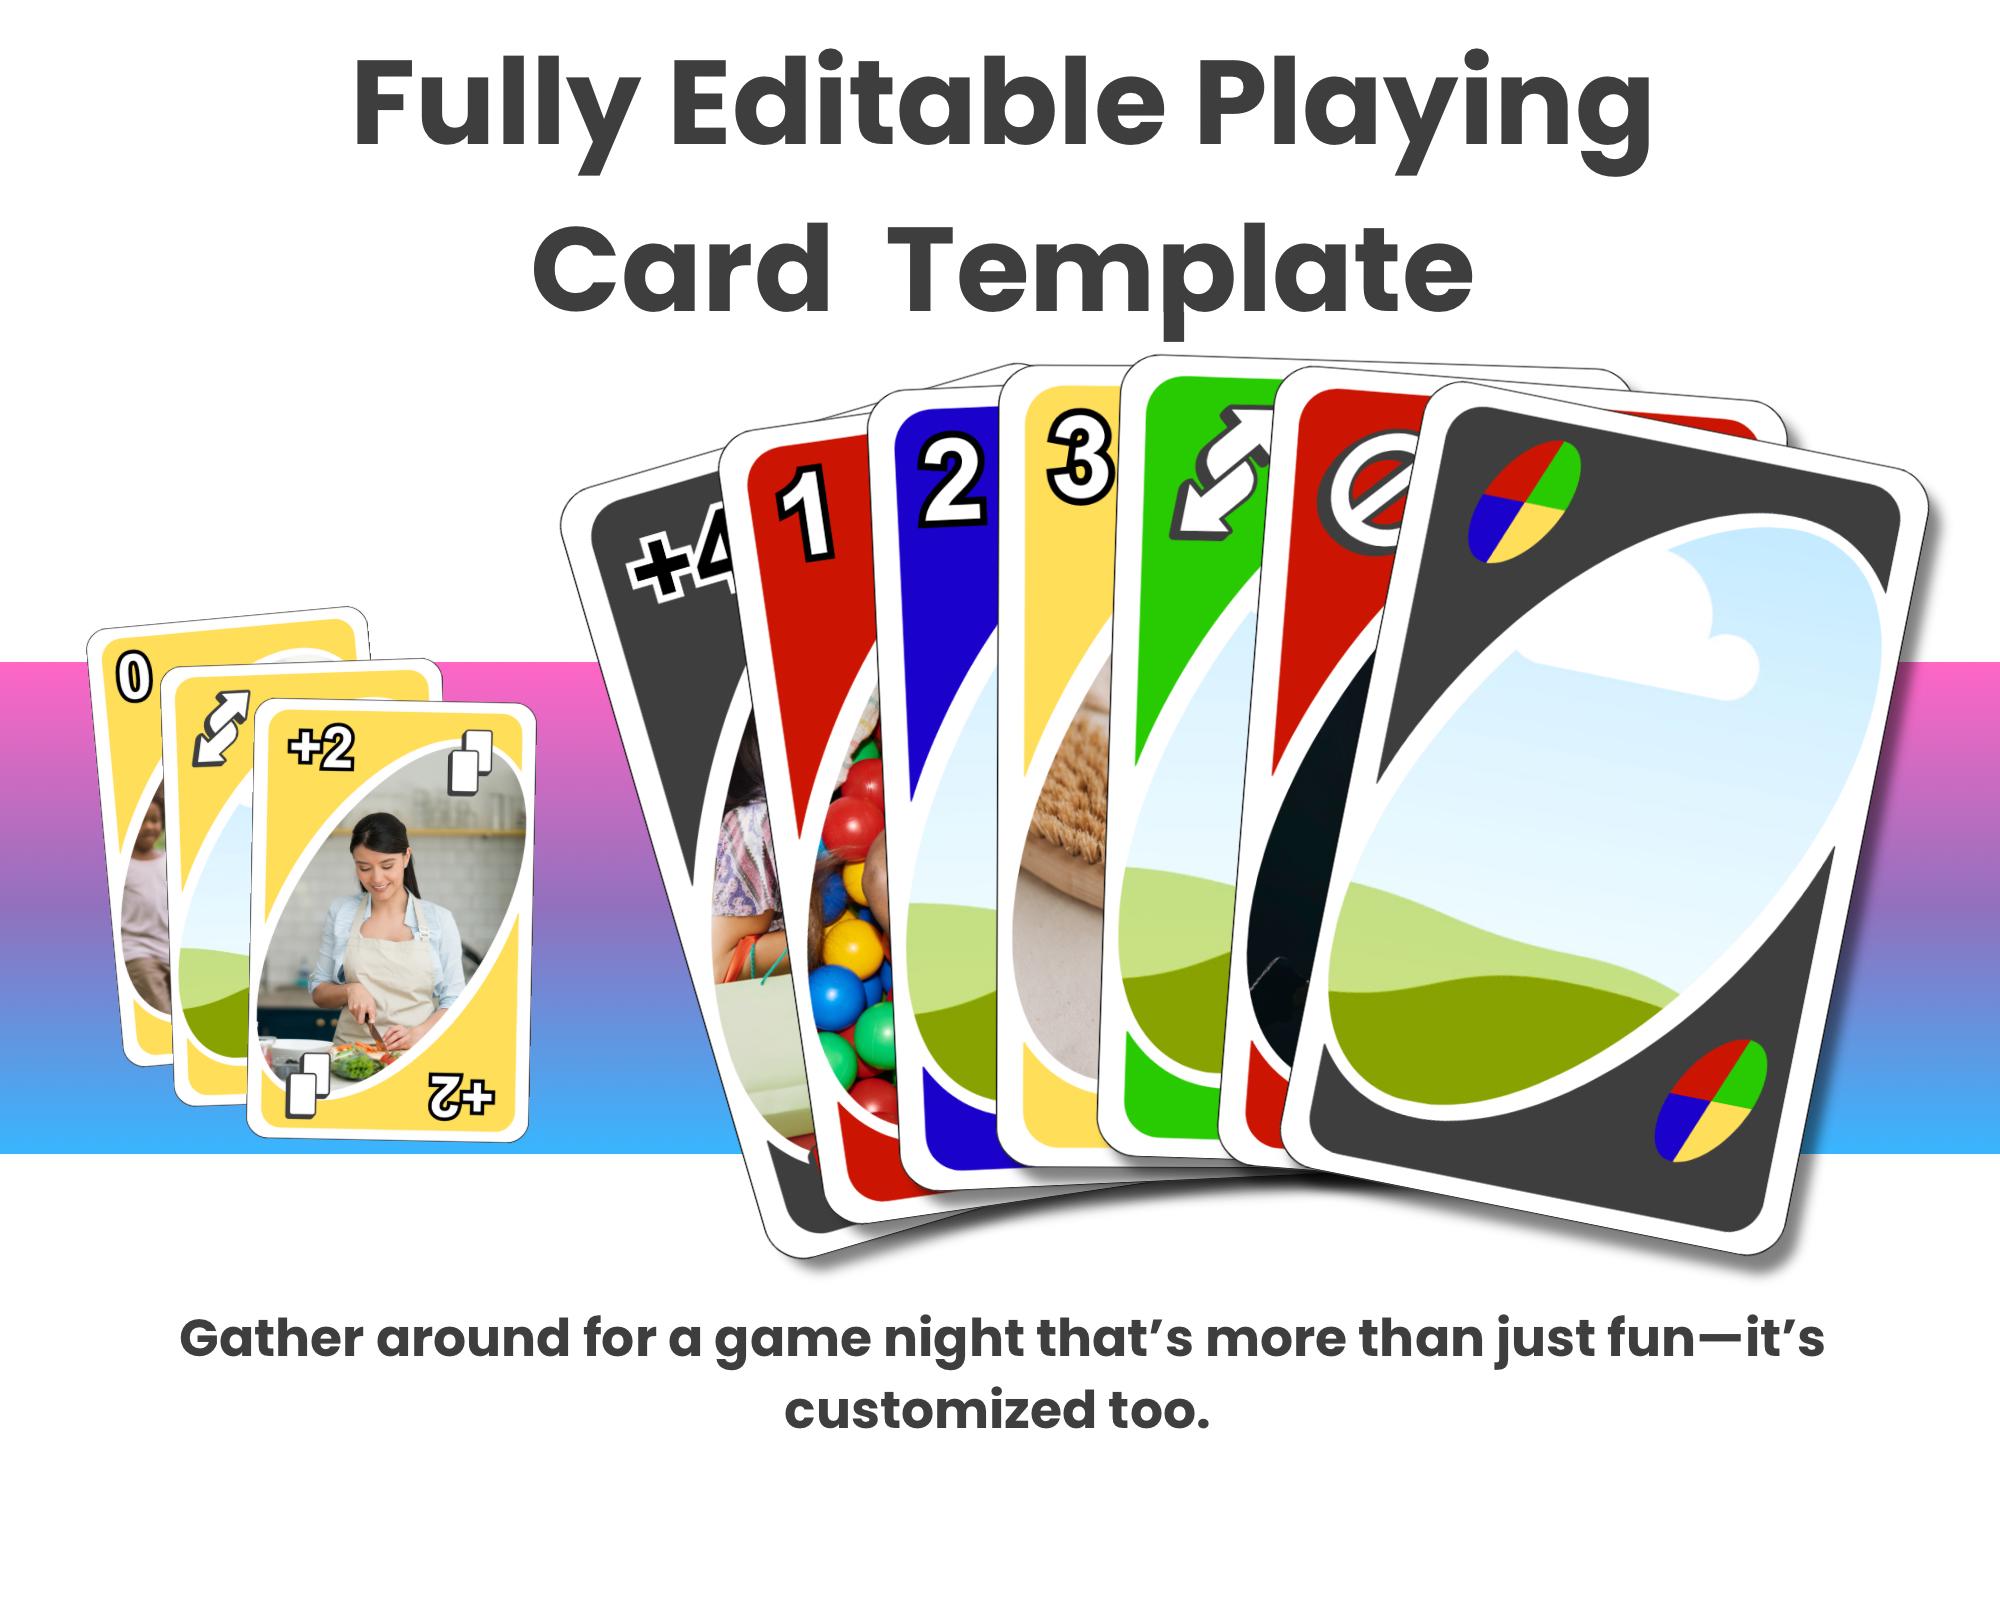
Some templates come with pre‑designed borders and suit icons that can be swapped out, while others are completely blank canvases. Choose a level of pre‑design that matches your skill set: beginners may appreciate a partially completed layout, whereas experienced designers might prefer a bare‑bones grid.
Read Reviews and Community Feedback
Templates that have been used by other creators often have reviews or forum discussions highlighting strengths and pitfalls. Look for feedback on ease of use, printer compatibility, and any hidden quirks that could affect your workflow.
Step‑by‑Step Guide to Designing Your Own Deck
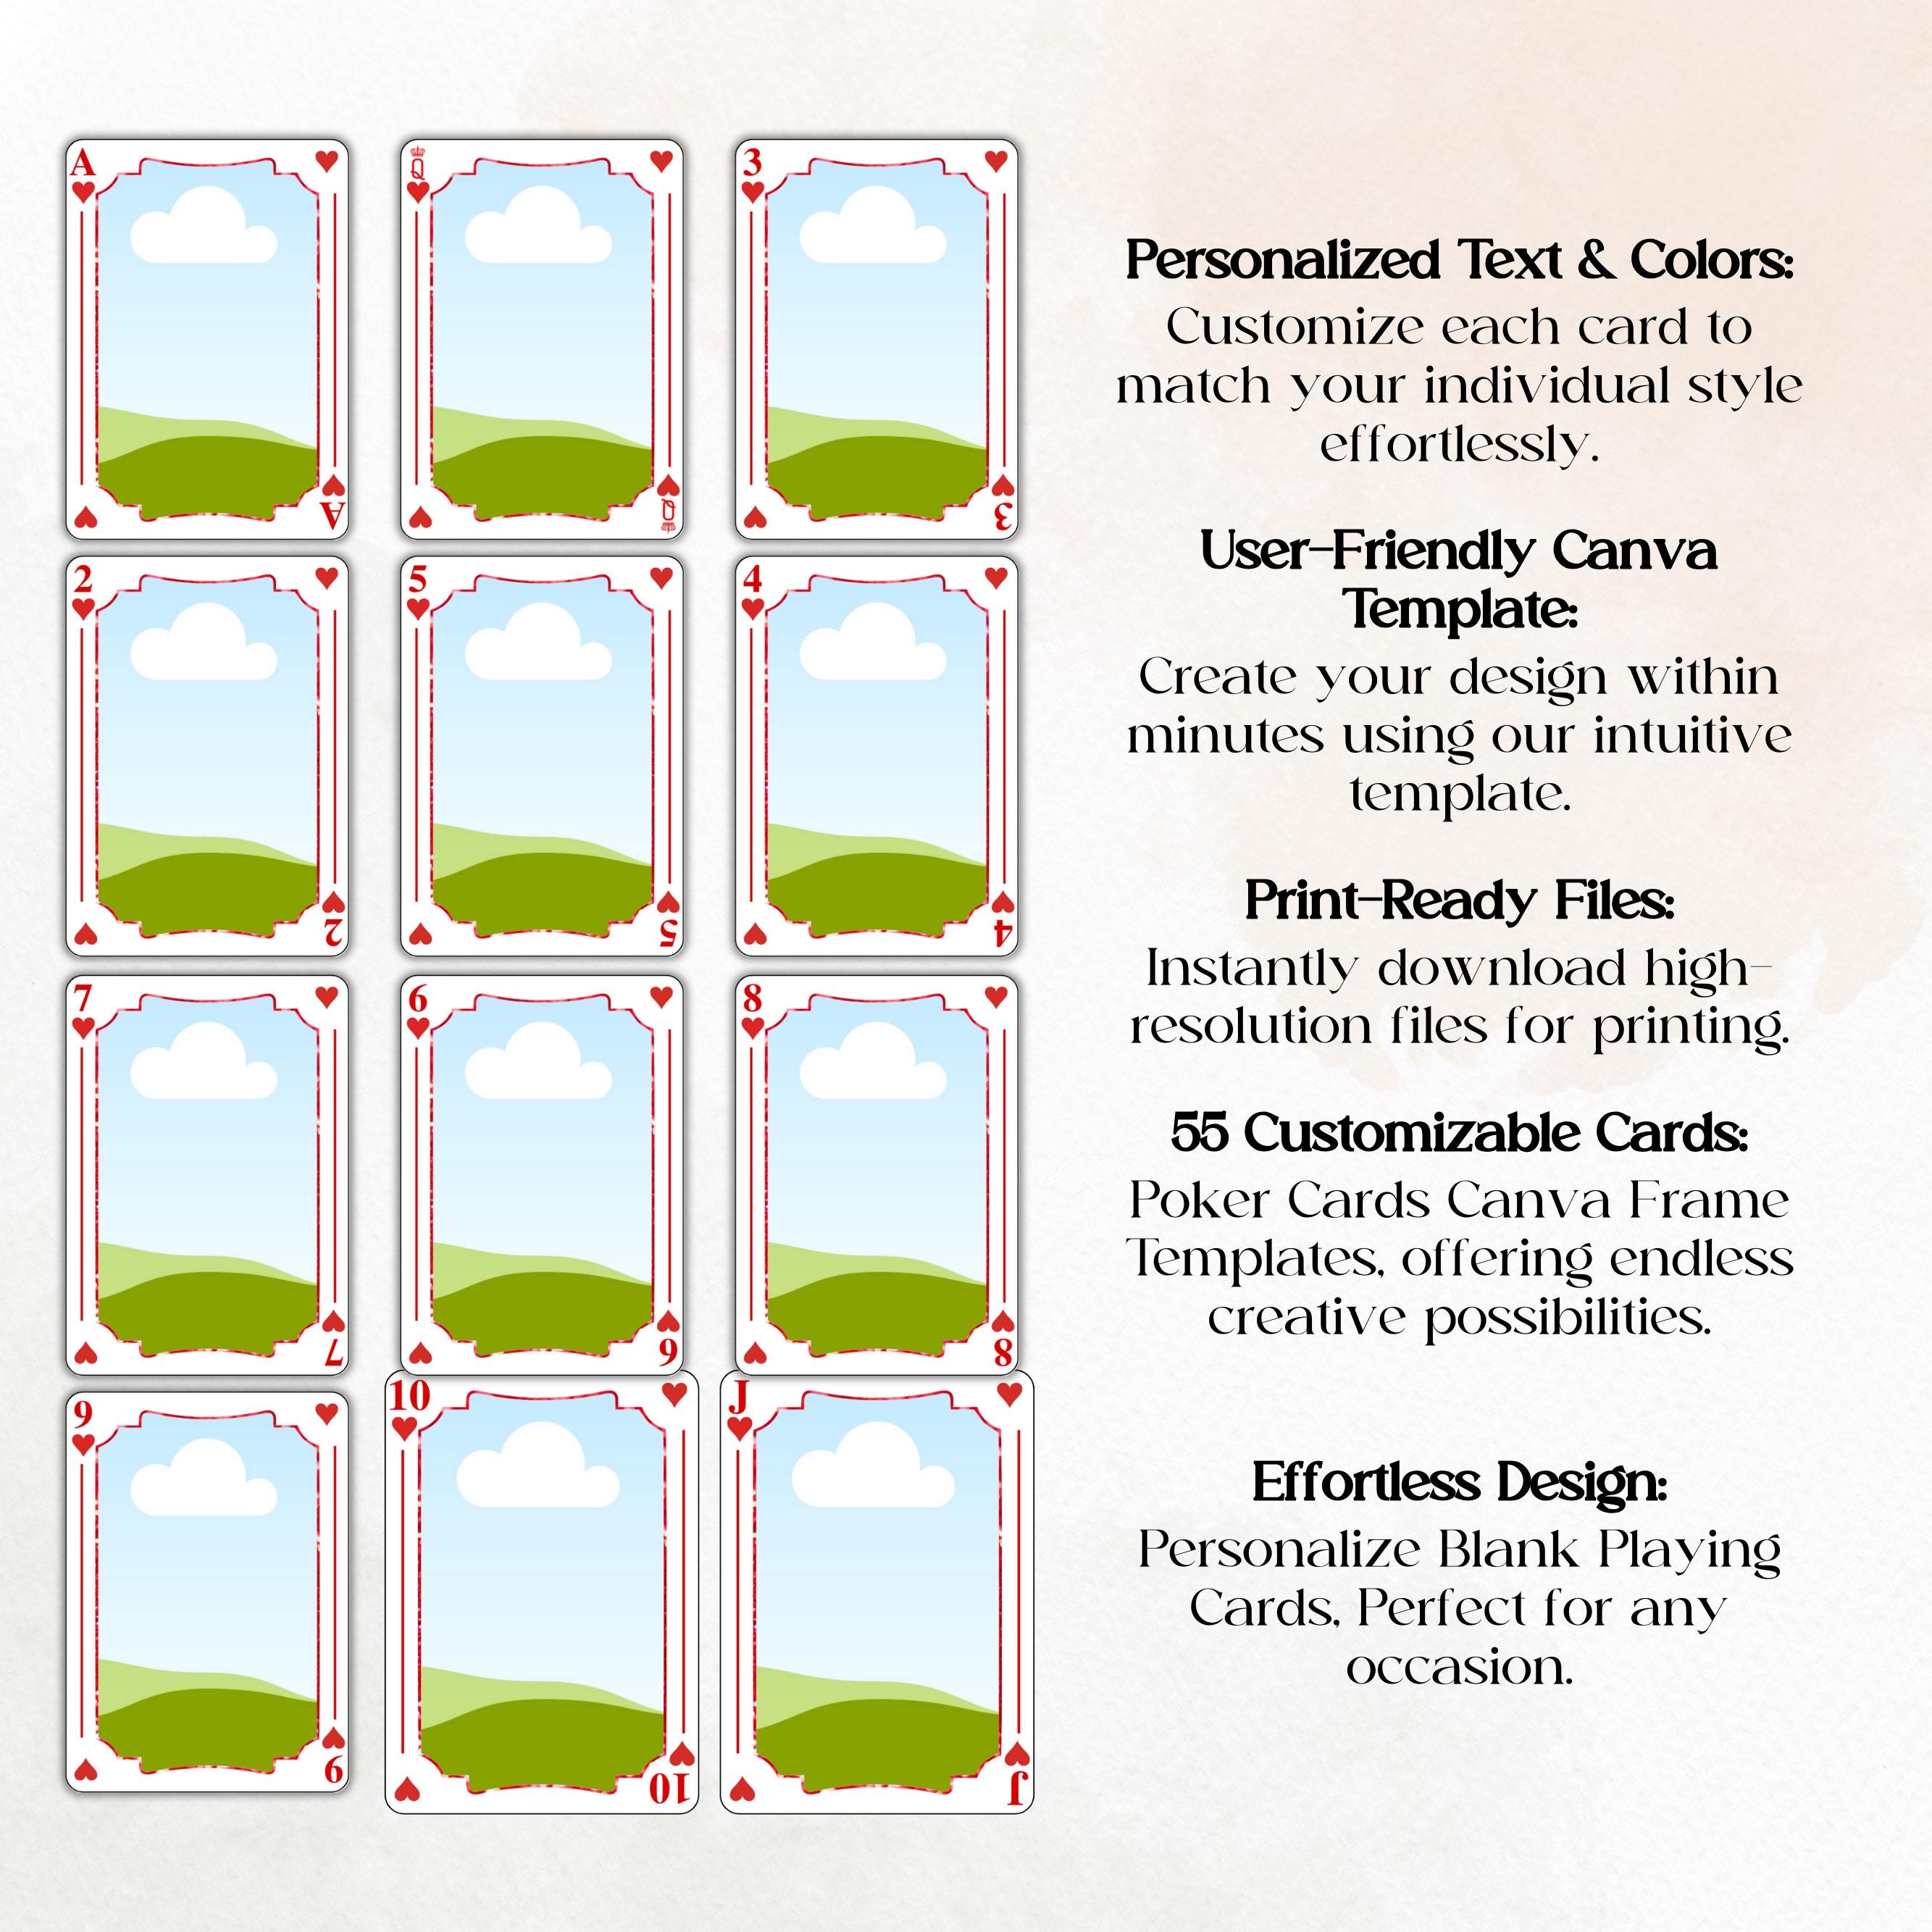
Step 1: Download and Open the Template
Start by downloading the template in the format that matches your design software. Open the file and explore the layer structure to familiarize yourself with where each element belongs.
Step 2: Set Up Your Color Mode
Switch the document to CMYK if you plan to print physically. This ensures that colors on screen translate accurately to the printed product, avoiding unexpected shifts in hue.
Step 3: Replace Placeholder Images
Import your artwork into the background layer, making sure it extends beyond the bleed lines. Use high‑resolution images (300 dpi or higher) to maintain sharpness after printing.
Step 4: Add Text and Icons
Insert card titles, rank numbers, and any special icons into the designated text layers. Keep important information within the safe zone to prevent trimming.
Step 5: Fine‑Tune Typography
Adjust font size, weight, and spacing for optimal readability. Test how the text looks at actual size by zooming to 100 % or printing a test sheet.
Step 6: Apply Consistent Styling
Use the same color palette, line thickness, and corner radius across all cards to create a cohesive look. Consistency reinforces brand identity and makes the deck feel professional.
Step 7: Review and Proofread
Check each card for spelling errors, alignment issues, and visual balance. It’s helpful to create a PDF proof that mimics the final printed layout, allowing you to spot problems before sending the file to a printer.
Step 8: Export the Final Files
Export each card or the entire deck as a high‑resolution PDF with crop marks and bleed included. Some printers prefer individual PDFs per card, while others accept a single combined file.
Printing and Production Tips

Even the most beautiful design can fall short if the printing process isn’t handled correctly. Below are essential tips to ensure your custom deck arrives in perfect condition.
- Choose the Right Paper Stock: Standard playing cards use a 300‑gsm cardstock with a smooth or linen finish. A linen texture adds a premium feel and reduces glare, while a smooth finish enhances vibrant colors.
- Consider Coating Options: A UV coating or a matte varnish protects cards from wear and moisture. UV coating adds a glossy shine, whereas matte finishes reduce fingerprints.
- Opt for Rounded Corners: Rounded corners prevent cards from catching on each other and prolong the deck’s lifespan. Most professional printers round corners to a 0.125‑inch radius by default.
- Request a Sample Print: Before committing to a full run, order a small batch or a single prototype. This allows you to assess color accuracy, cardstock quality, and overall feel.
- Confirm Bleed and Trim Marks: Ensure your exported PDF includes a 0.125‑inch bleed and clearly marked trim lines. Missing bleed can result in white edges after trimming.
Marketing Your Custom Card Deck

Creating a stunning deck is only half the battle; getting it into the hands of players requires strategic promotion.
Build a Compelling Story
Share the inspiration behind your deck—whether it’s a mythological theme, a personal hobby, or a unique game mechanic. A captivating narrative connects emotionally with potential buyers.
Leverage Social Media
Post behind‑the‑scenes snippets of your design process, teaser images of card artwork, and short videos of gameplay. Use relevant hashtags like #customcards, #carddesign, and #boardgames to reach niche audiences.
Utilize Crowdfunding Platforms
Platforms such as Kickstarter or Indiegogo allow you to gauge interest and secure pre‑orders before large‑scale production. Offer early‑bird rewards, exclusive foil cards, or signed prints to incentivize backers.
Partner with Influencers
Reach out to board‑game reviewers, streamers, or artists who can showcase your deck to their followers. Authentic reviews often translate into higher conversion rates.
Optimize Your Product Listings
Write SEO‑friendly titles and descriptions that include keywords like “custom playing card deck,” “personalized card game,” and “print‑on‑demand cards.” High‑quality product photos displaying the front, back, and boxed set improve click‑through rates.
Common Mistakes and How to Avoid Them
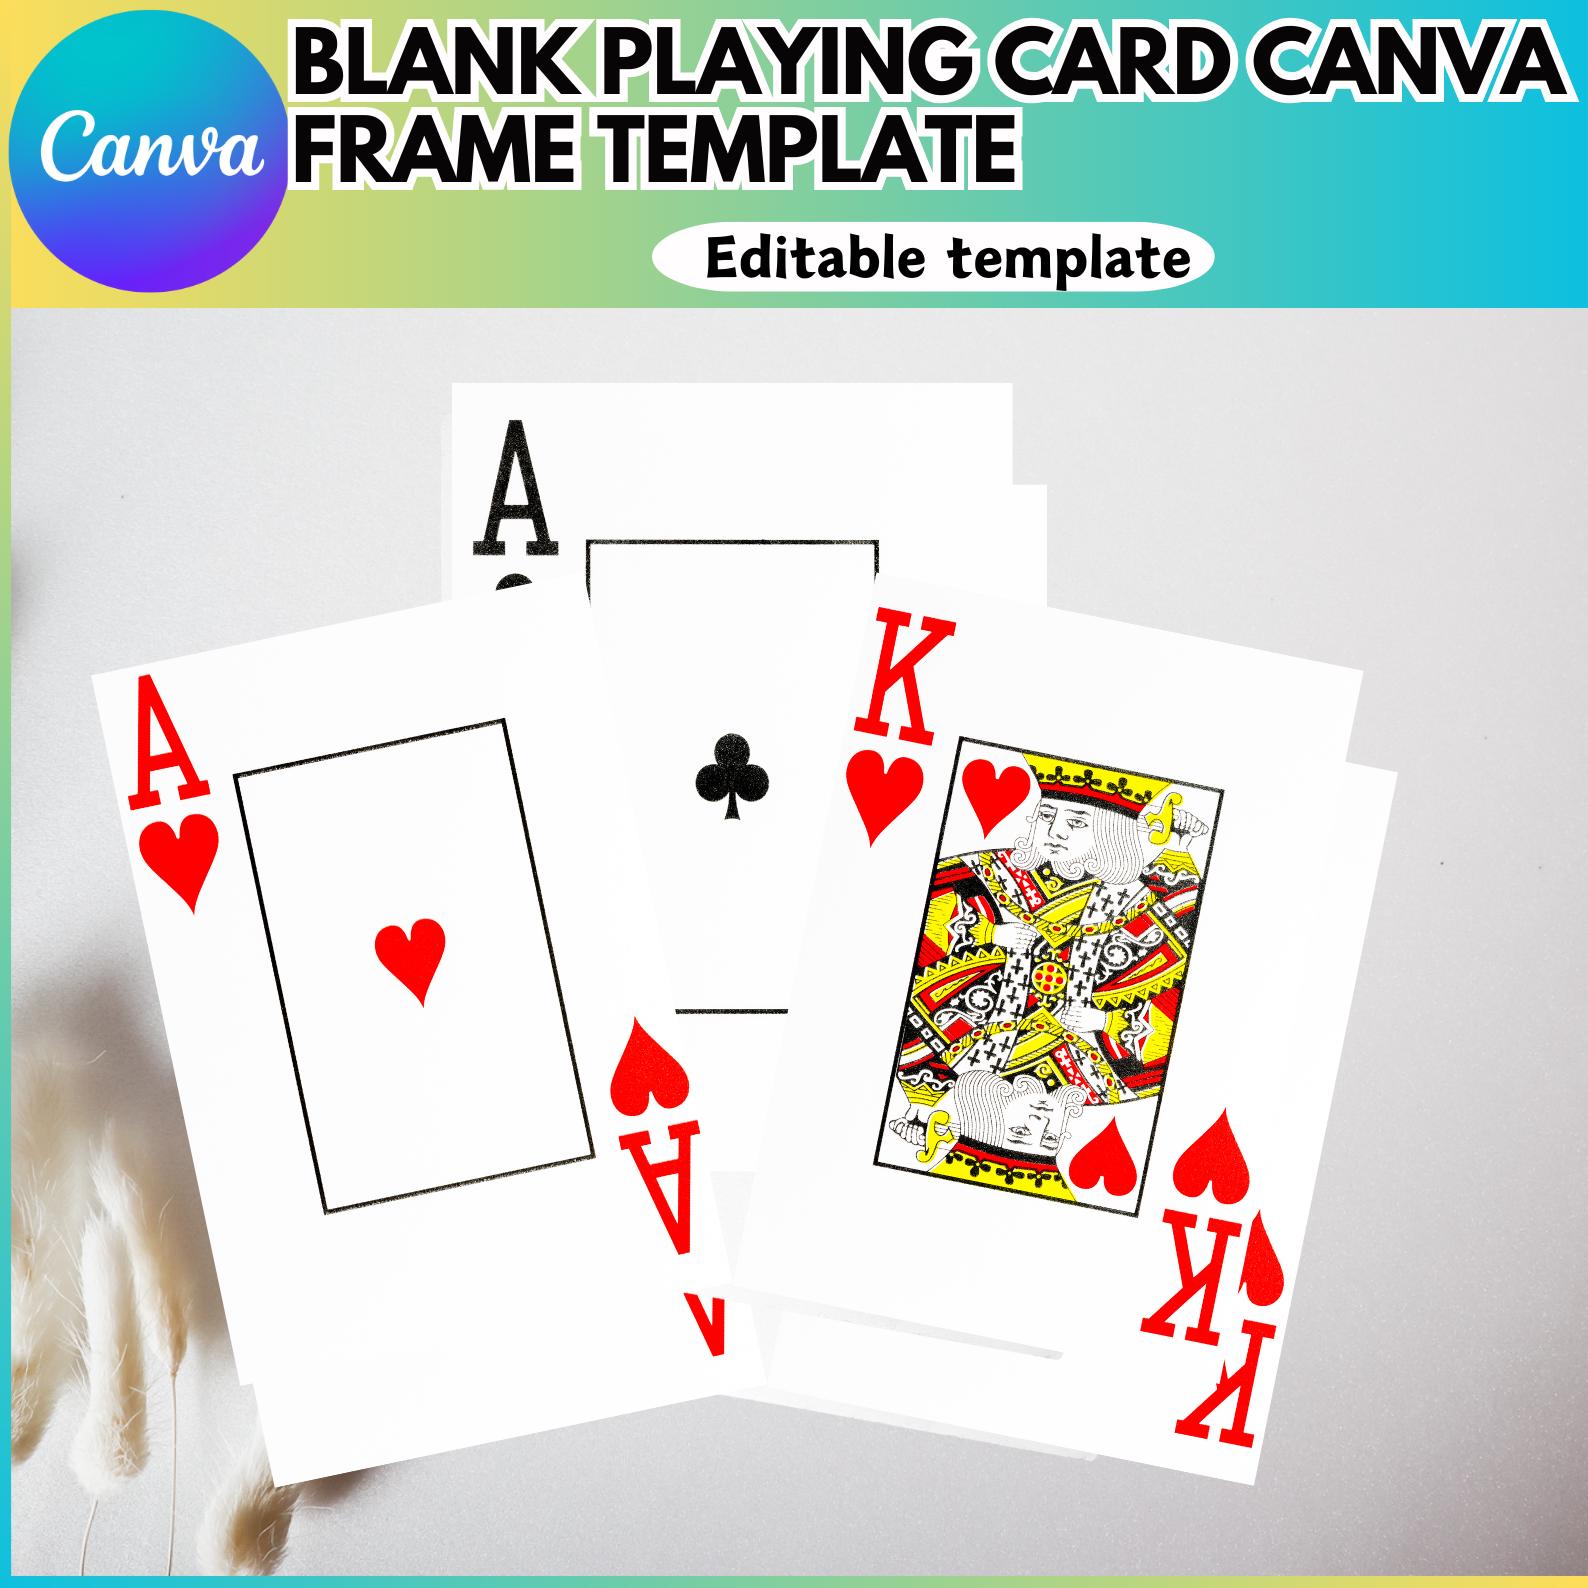
Even seasoned designers can stumble on pitfalls that affect the final product. Here are the most frequent errors and proactive solutions.
- Ignoring the Safe Zone: Placing essential elements too close to the edge leads to trimmed‑off details. Always keep text and critical graphics at least 0.125 inches inside the final card dimensions.
- Using Low‑Resolution Images: Images under 300 dpi appear pixelated after printing. Upscale or replace low‑quality graphics before finalizing the design.
- Neglecting Color Profiles: Designing in RGB and sending files directly to a CMYK printer can cause color shifts. Convert your document to CMYK early in the workflow.
- Overcrowding the Layout: Too much information crams the limited space, reducing readability. Prioritize hierarchy: rank and suit first, then ability text, then decorative elements.
- Skipping Proofs: Skipping the proof stage can result in costly reprints. Always order a physical proof to catch issues that aren’t visible on screen.
Conclusion

Embracing a Custom Playing Card Template is the smartest way to transform your creative vision into a professional, market‑ready deck. By selecting a template that matches your design tools, understanding the essential layout components, and following a meticulous production workflow, you can avoid common setbacks and deliver a product that dazzles both players and collectors. Pair your stunning design with savvy marketing strategies, and you’ll not only craft beautiful cards but also build a loyal community eager for your next deck. With the right template and a clear roadmap, the possibilities are endless—so start designing, print your prototype, and watch your imagination come alive in the shuffle of a perfectly crafted deck.