
Bug Summary Report Template is the secret weapon that keeps development teams organized, stakeholders informed, and releases on schedule. Think of it as the dashboard that turns raw error data into actionable insights, allowing you to spot trends, prioritize fixes, and communicate progress with confidence.
Why a Bug Summary Report Matters

In a fast‑moving development cycle, bug reports can quickly become a chaotic soup of screenshots, logs, and screenshots that are difficult to compare. A well‑structured summary pulls everything together, turning noise into a clear narrative. This single document offers several benefits:
- Transparency: Stakeholders can see what’s been fixed, what’s pending, and which issues are critical.
- Accountability: Assignments and deadlines are explicit, reducing the chance of bugs slipping through the cracks.
- Trend Analysis: Over time, you can spot recurring problem areas and address root causes.
- Efficient Decision‑Making: A concise view of severity, impact, and status lets product managers prioritize releases.
Key Elements of an Effective Bug Summary Report
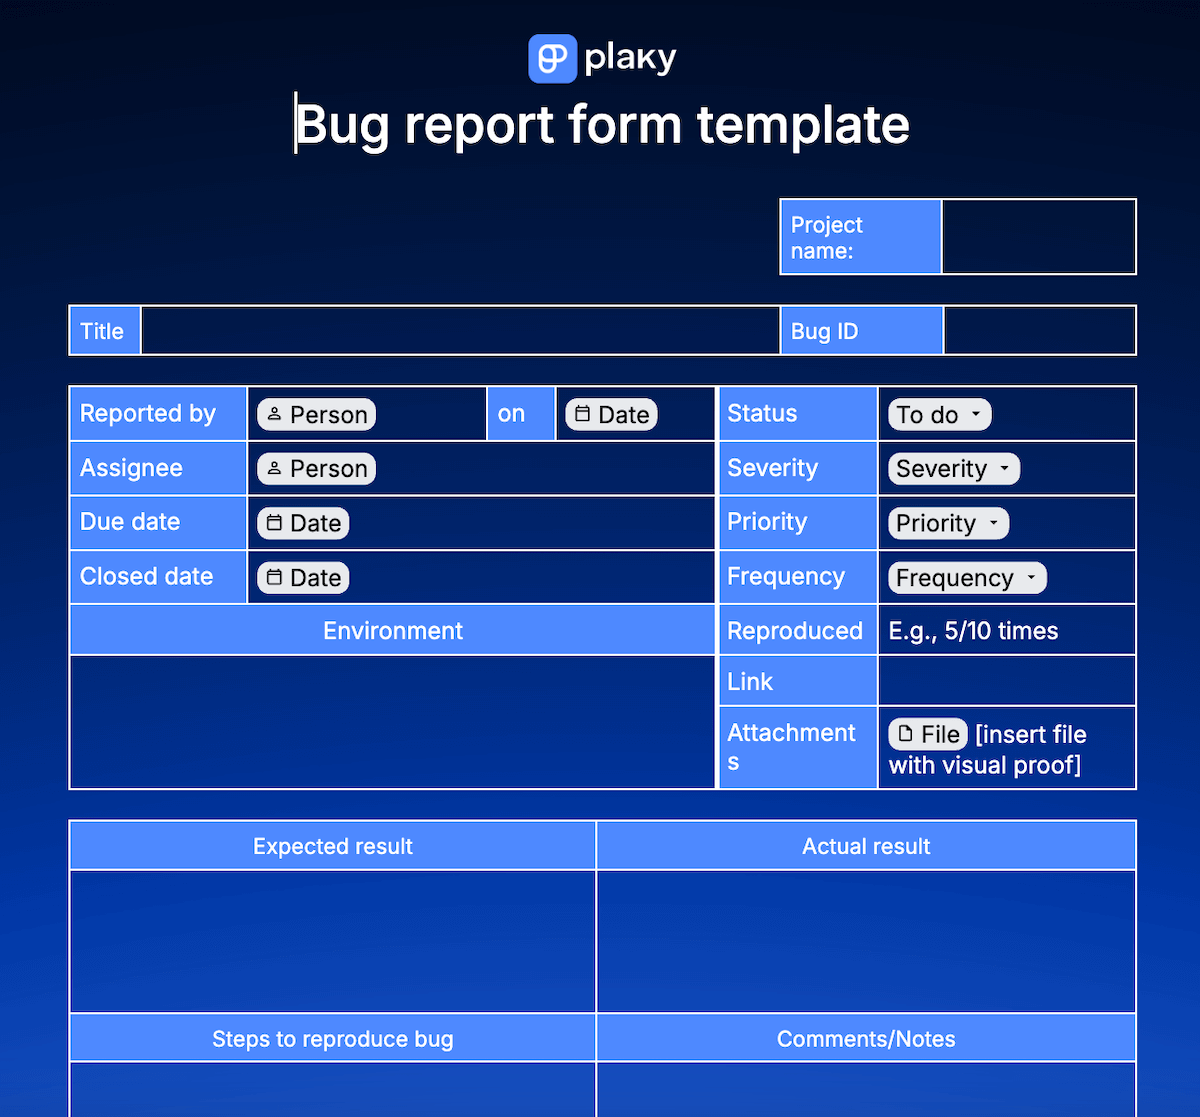
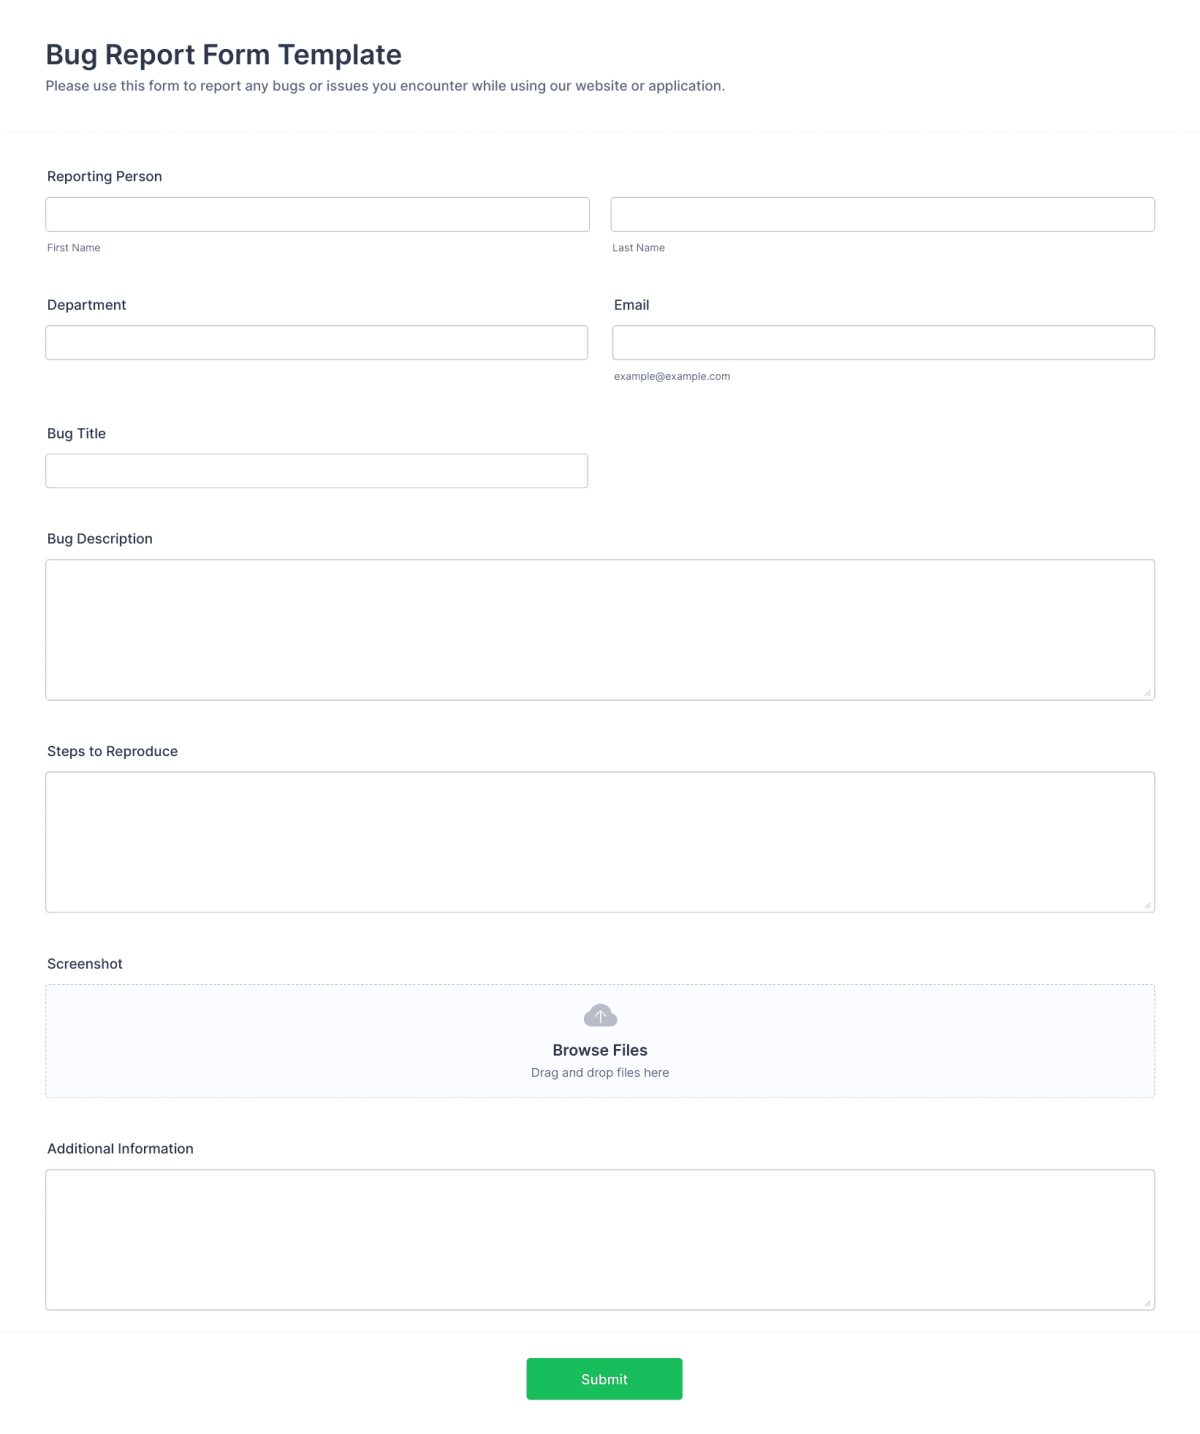
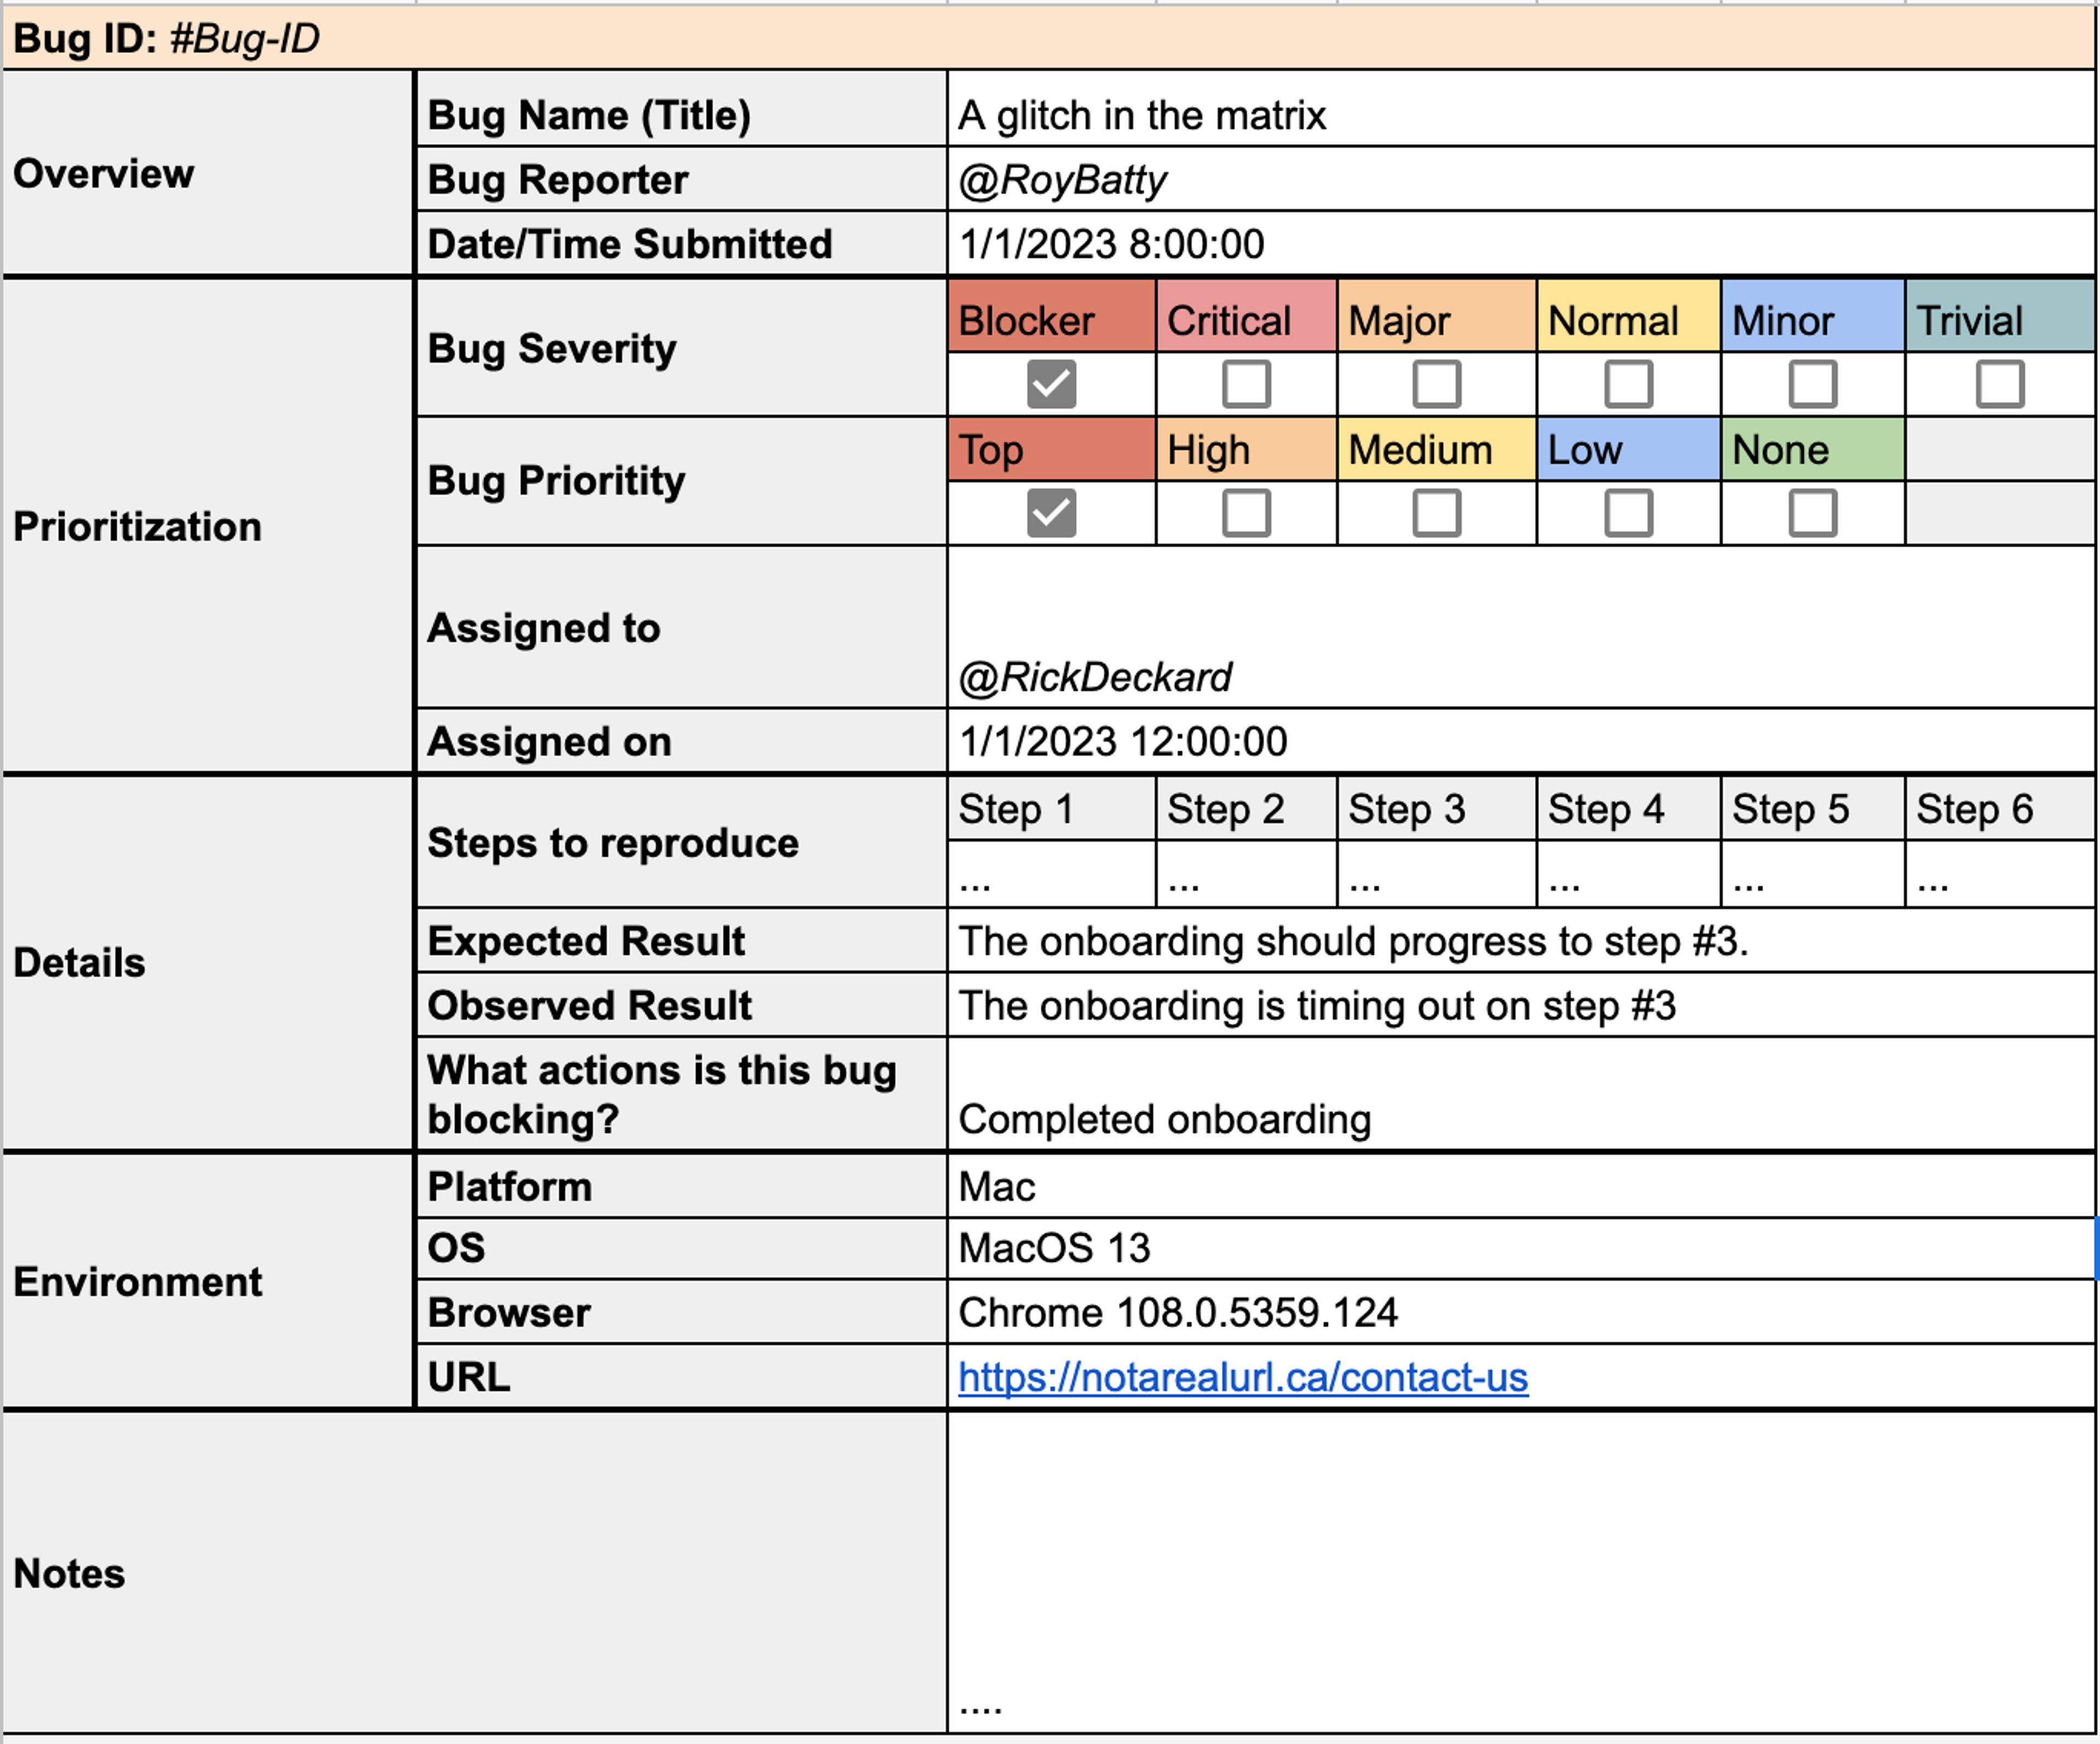
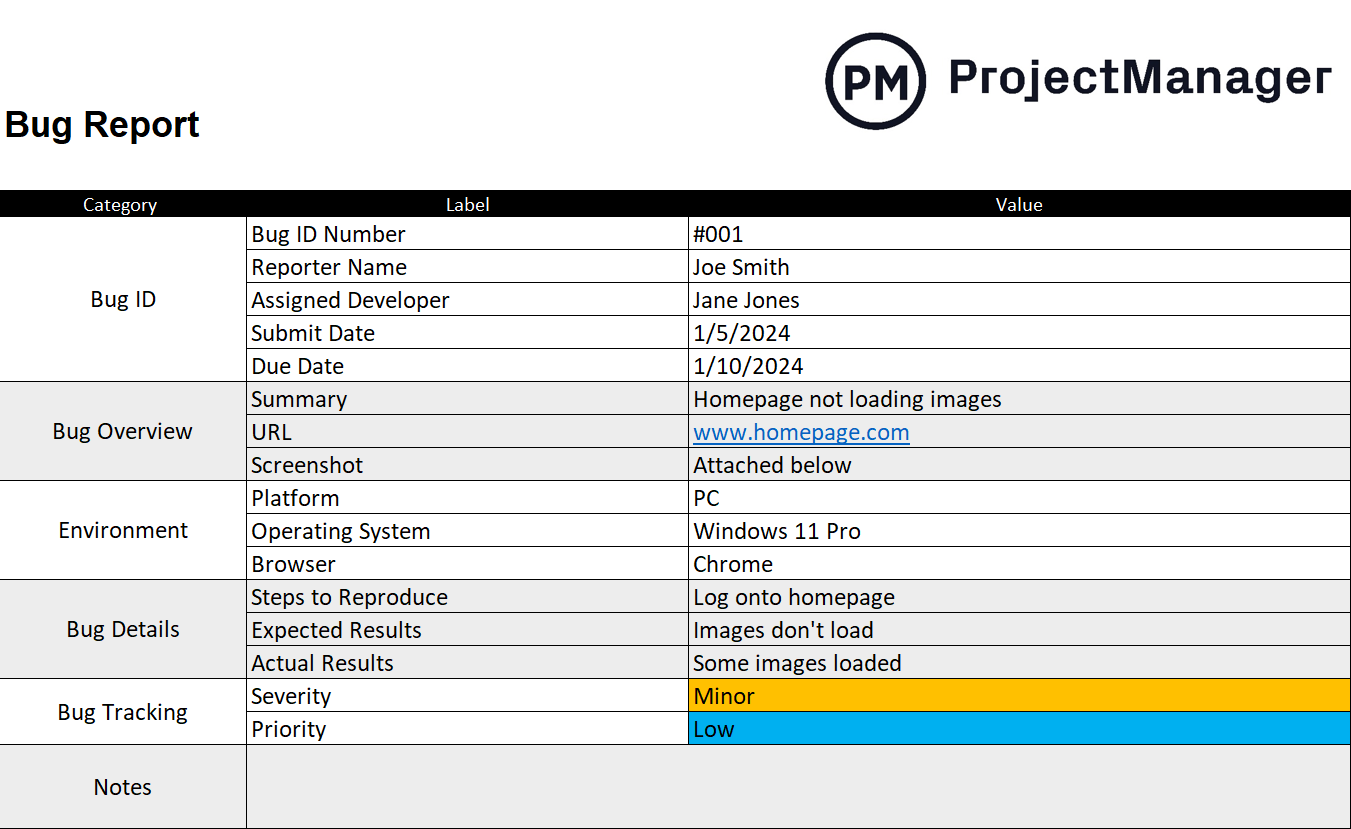
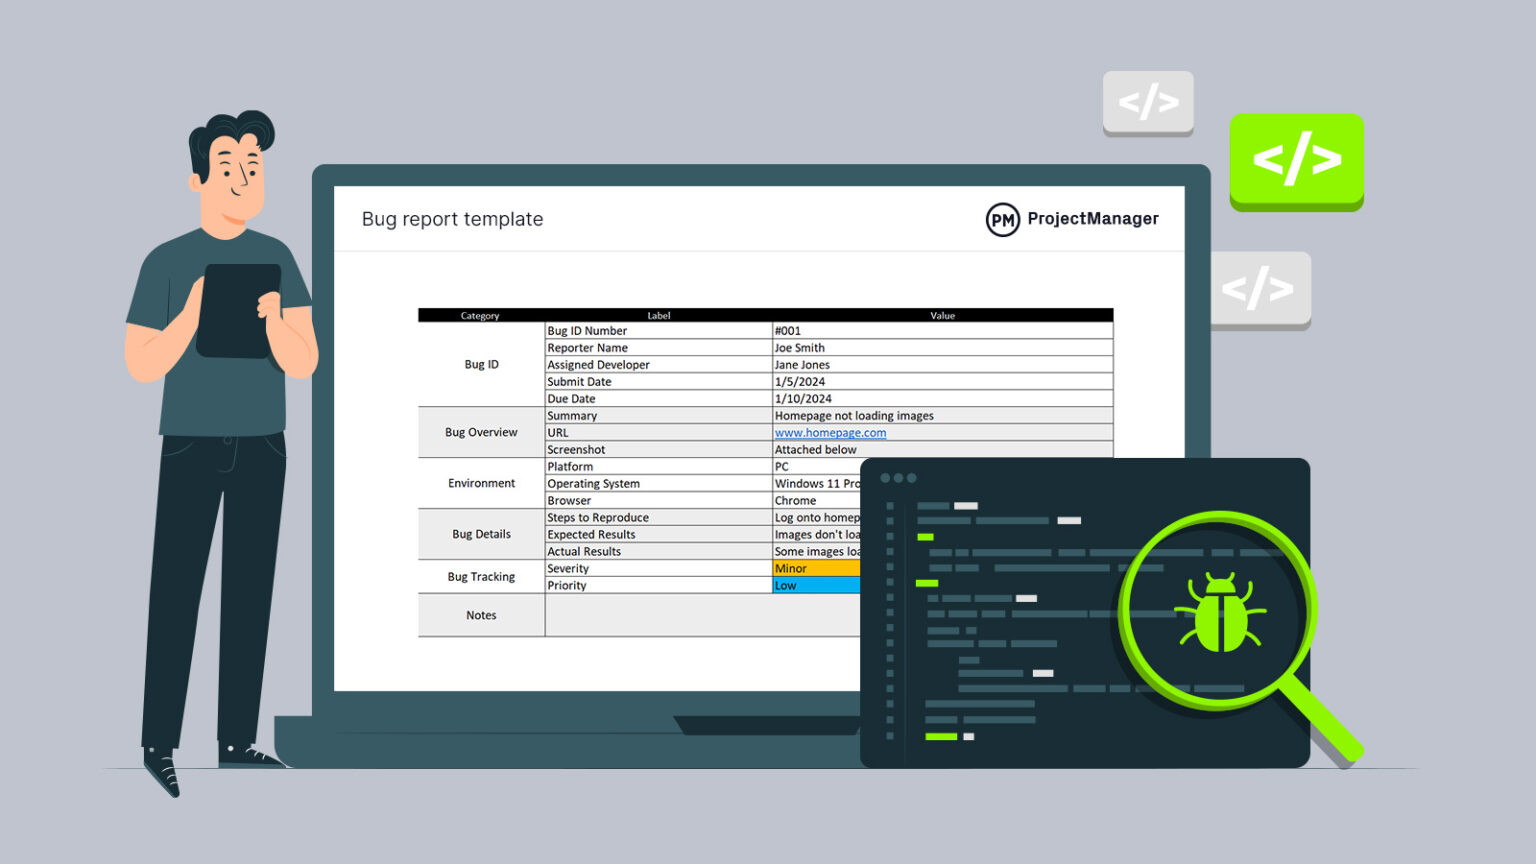
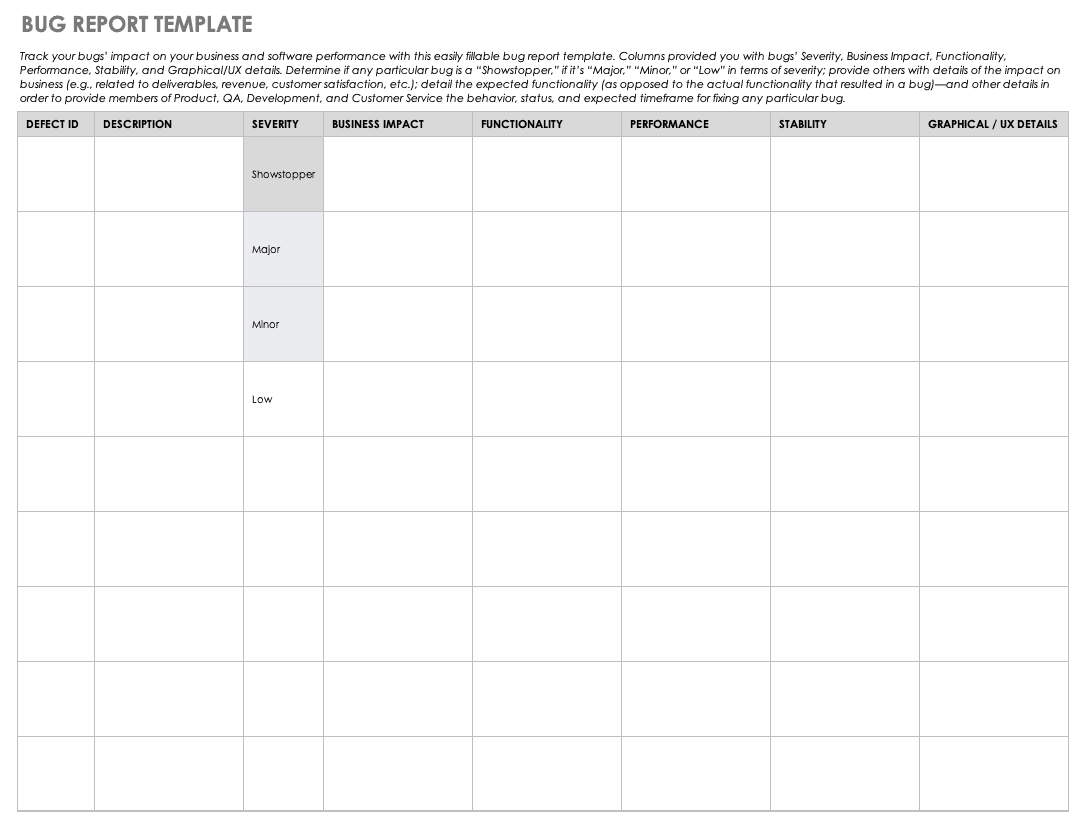
While the layout can vary based on your team’s needs, a robust template should include the following columns or fields:
Identification
- Bug ID: A unique alphanumeric code.
- Title: A one‑line description that captures the issue.
- Reporter: Who logged the bug.
Technical Details
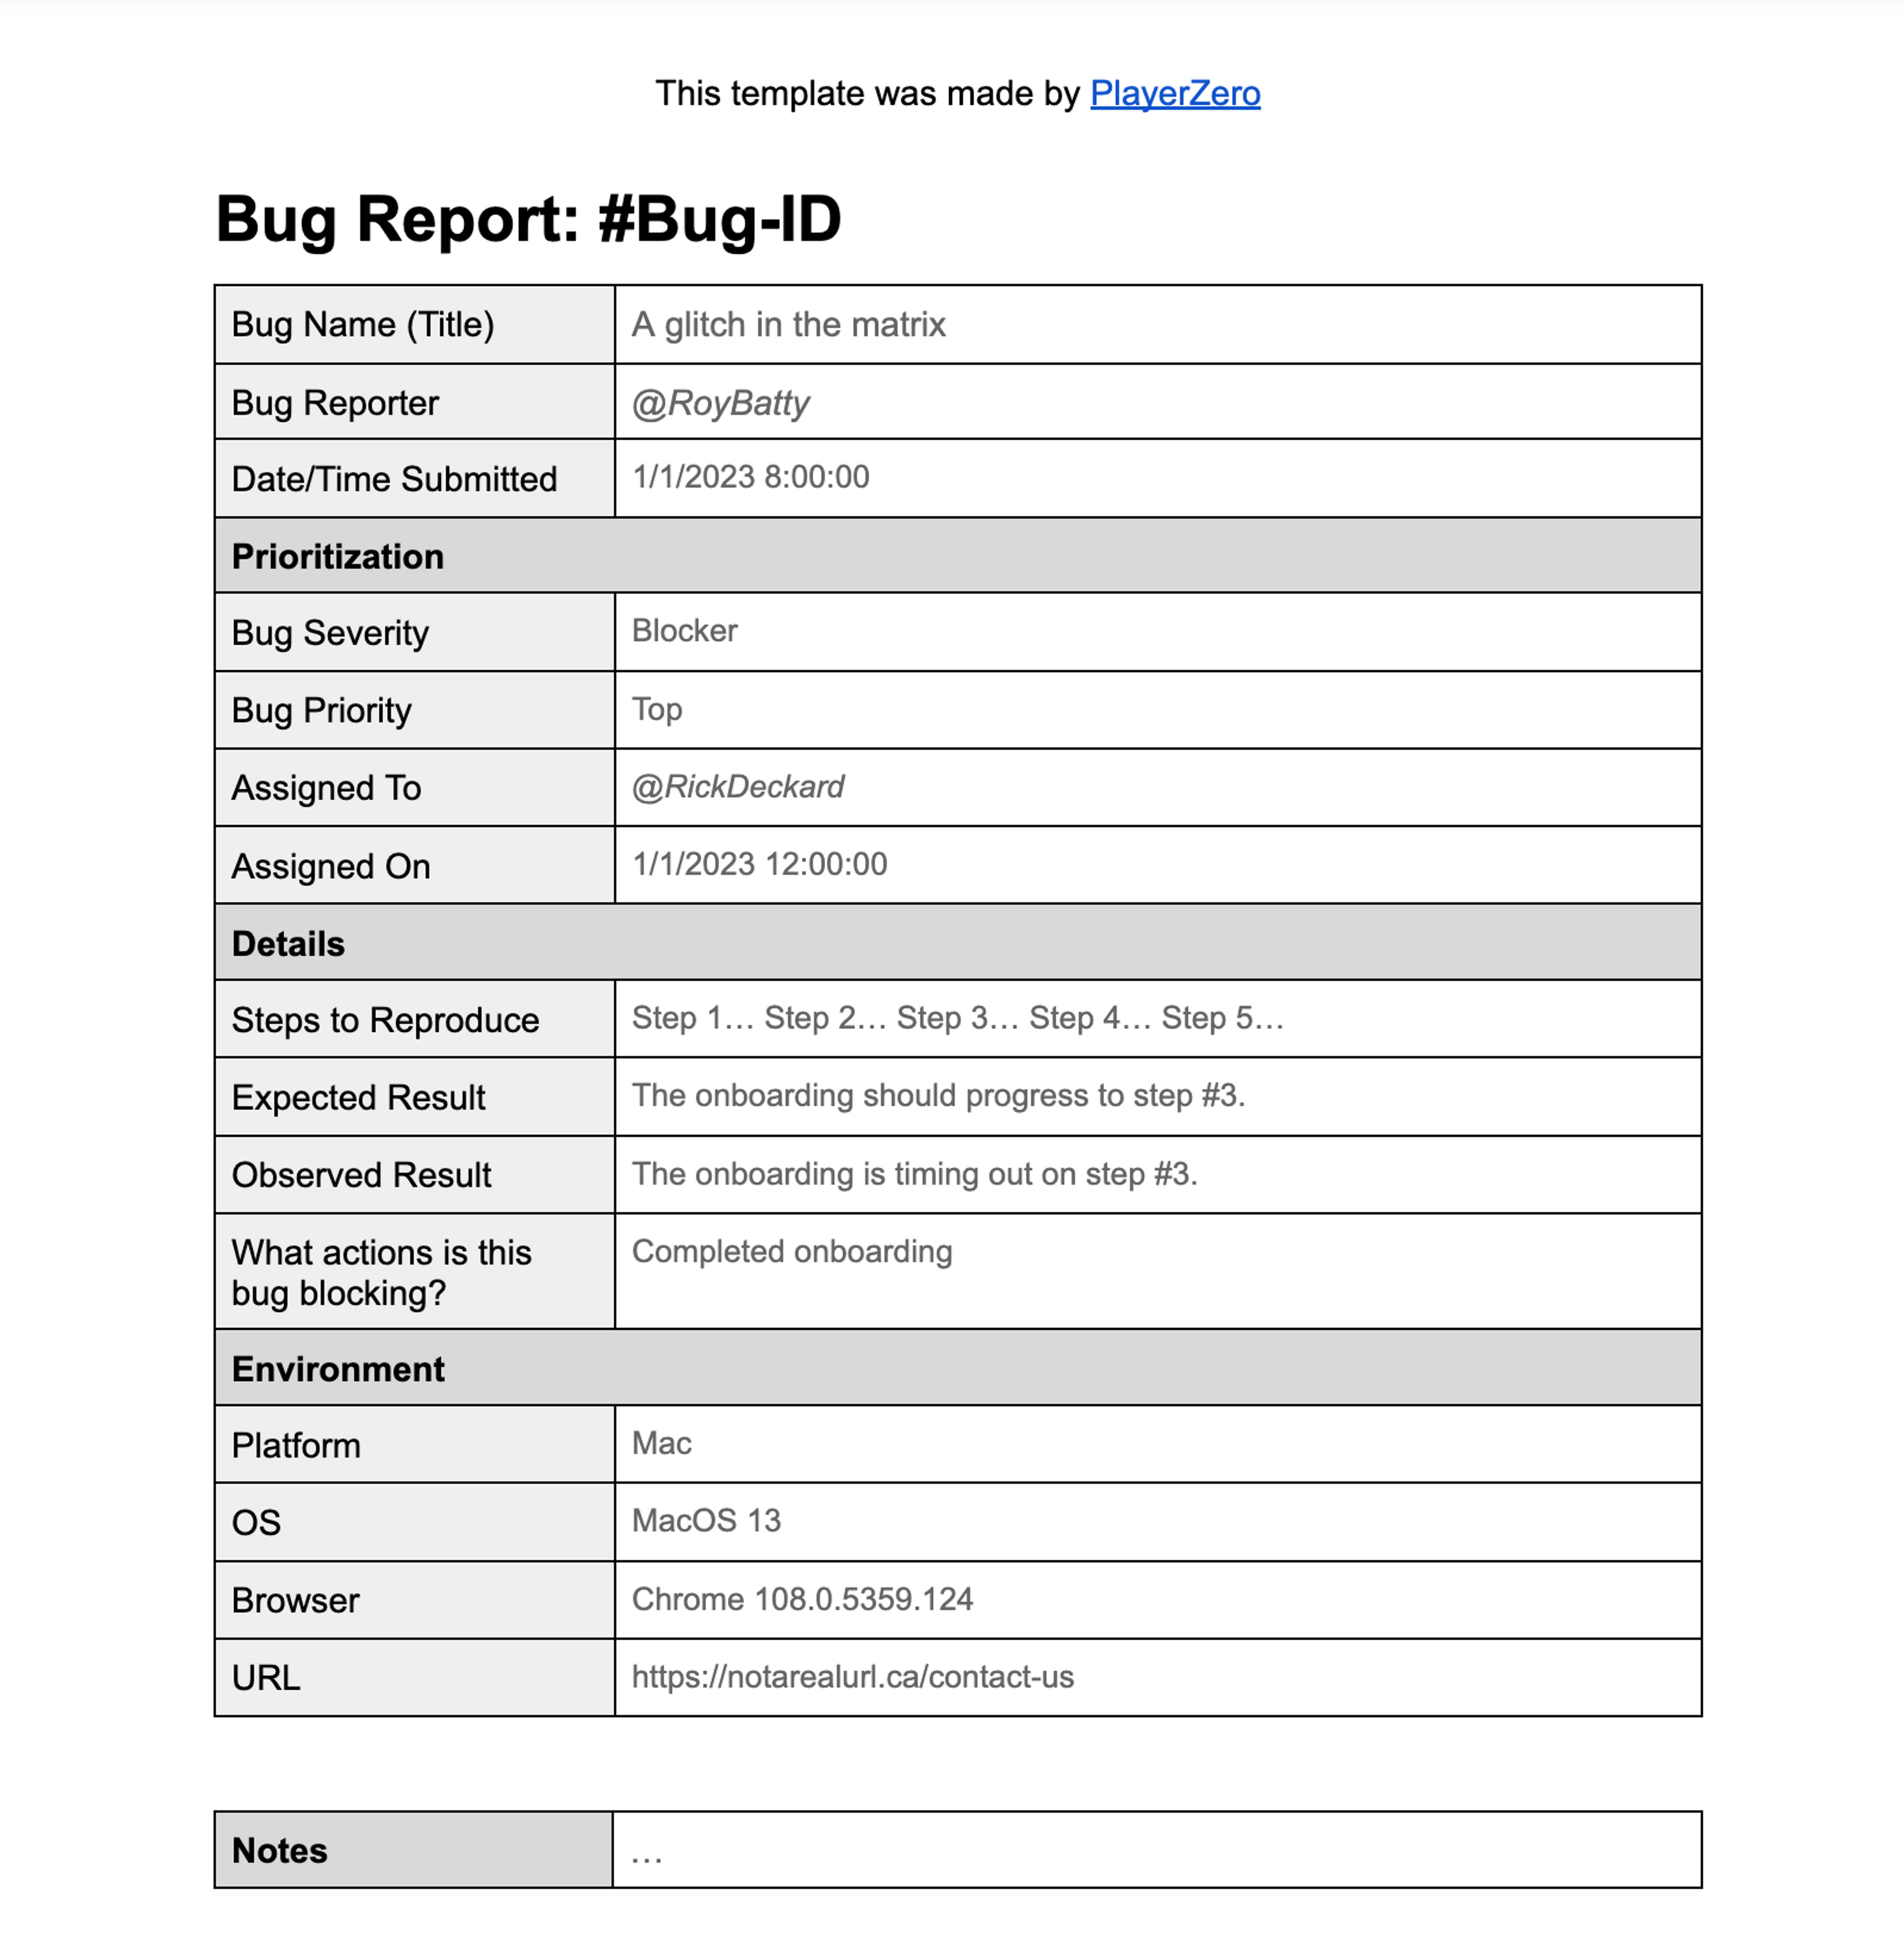
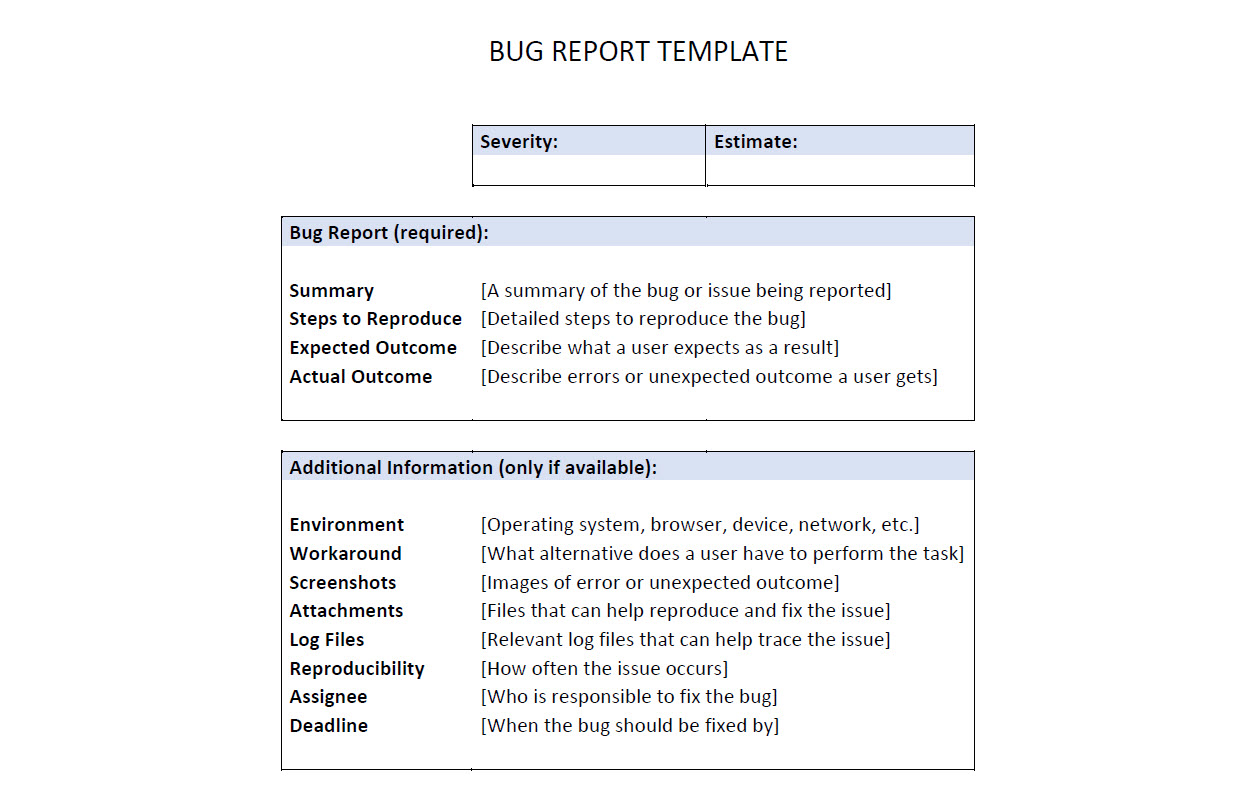
- Severity & Priority: Impact on users and urgency of fix.
- Environment: OS, browser, device, or version where the bug appeared.
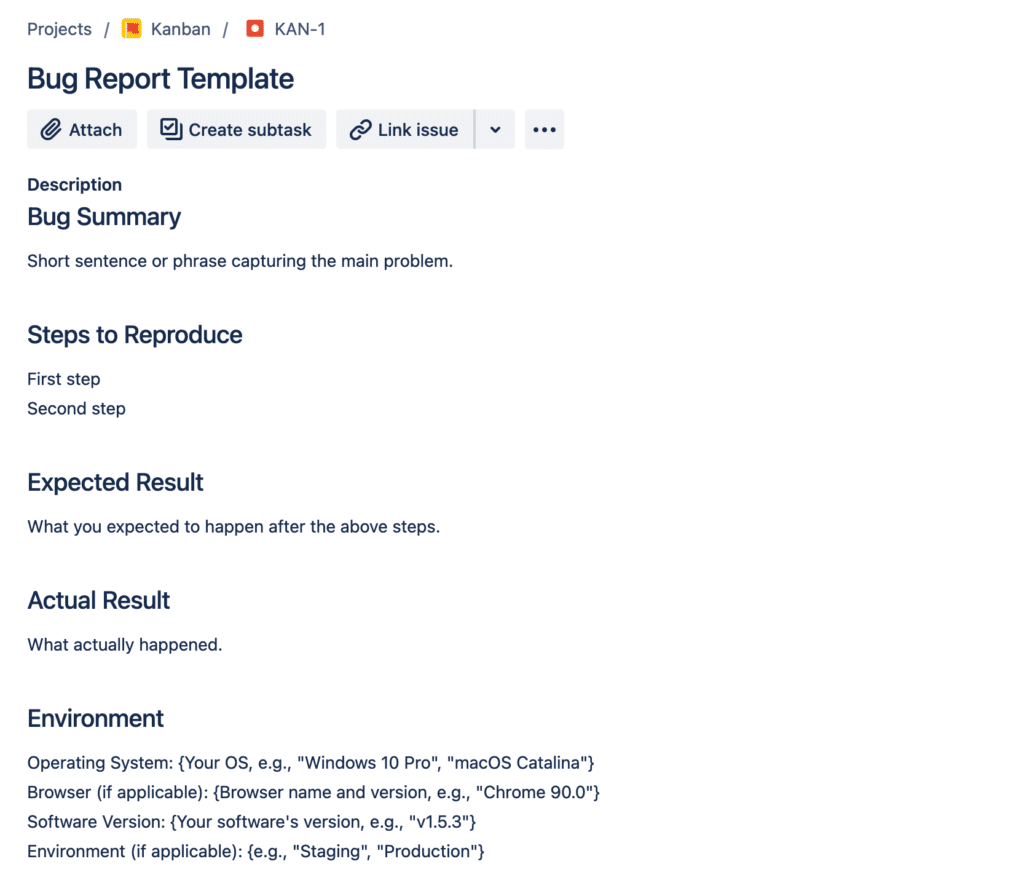
- Steps to Reproduce: A brief, reproducible sequence.
- Actual vs. Expected Result: Clear outcome differences.
Status & Timeline
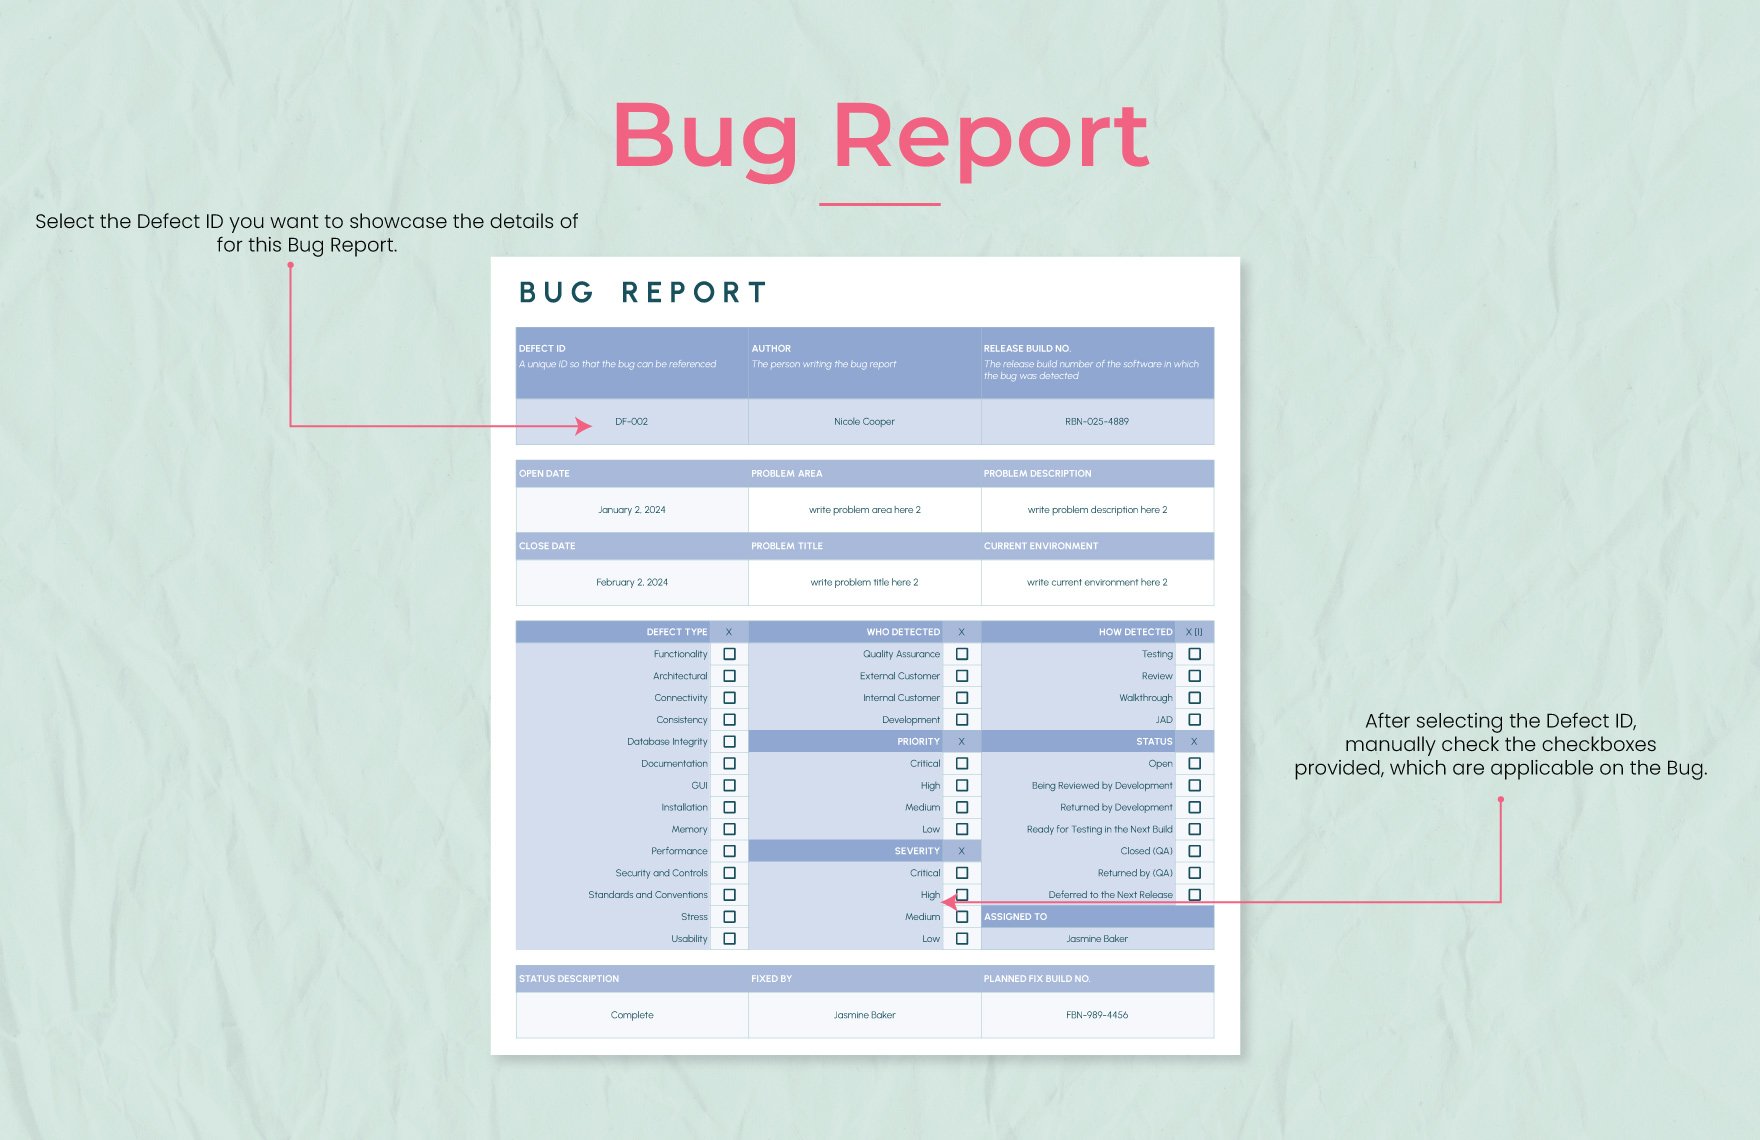
- Current Status: New, In Progress, Fixed, Re‑Open, or Closed.
- Assigned To: Developer or team responsible.
- Creation & Resolution Dates: For tracking turnaround times.
Resolution & Verification
- Fix Summary: Brief explanation of the code change.
- Verification Notes: Tester comments confirming the fix.
- Regression Test: Whether the fix introduced new problems.
Step‑by‑Step Guide to Building a Template
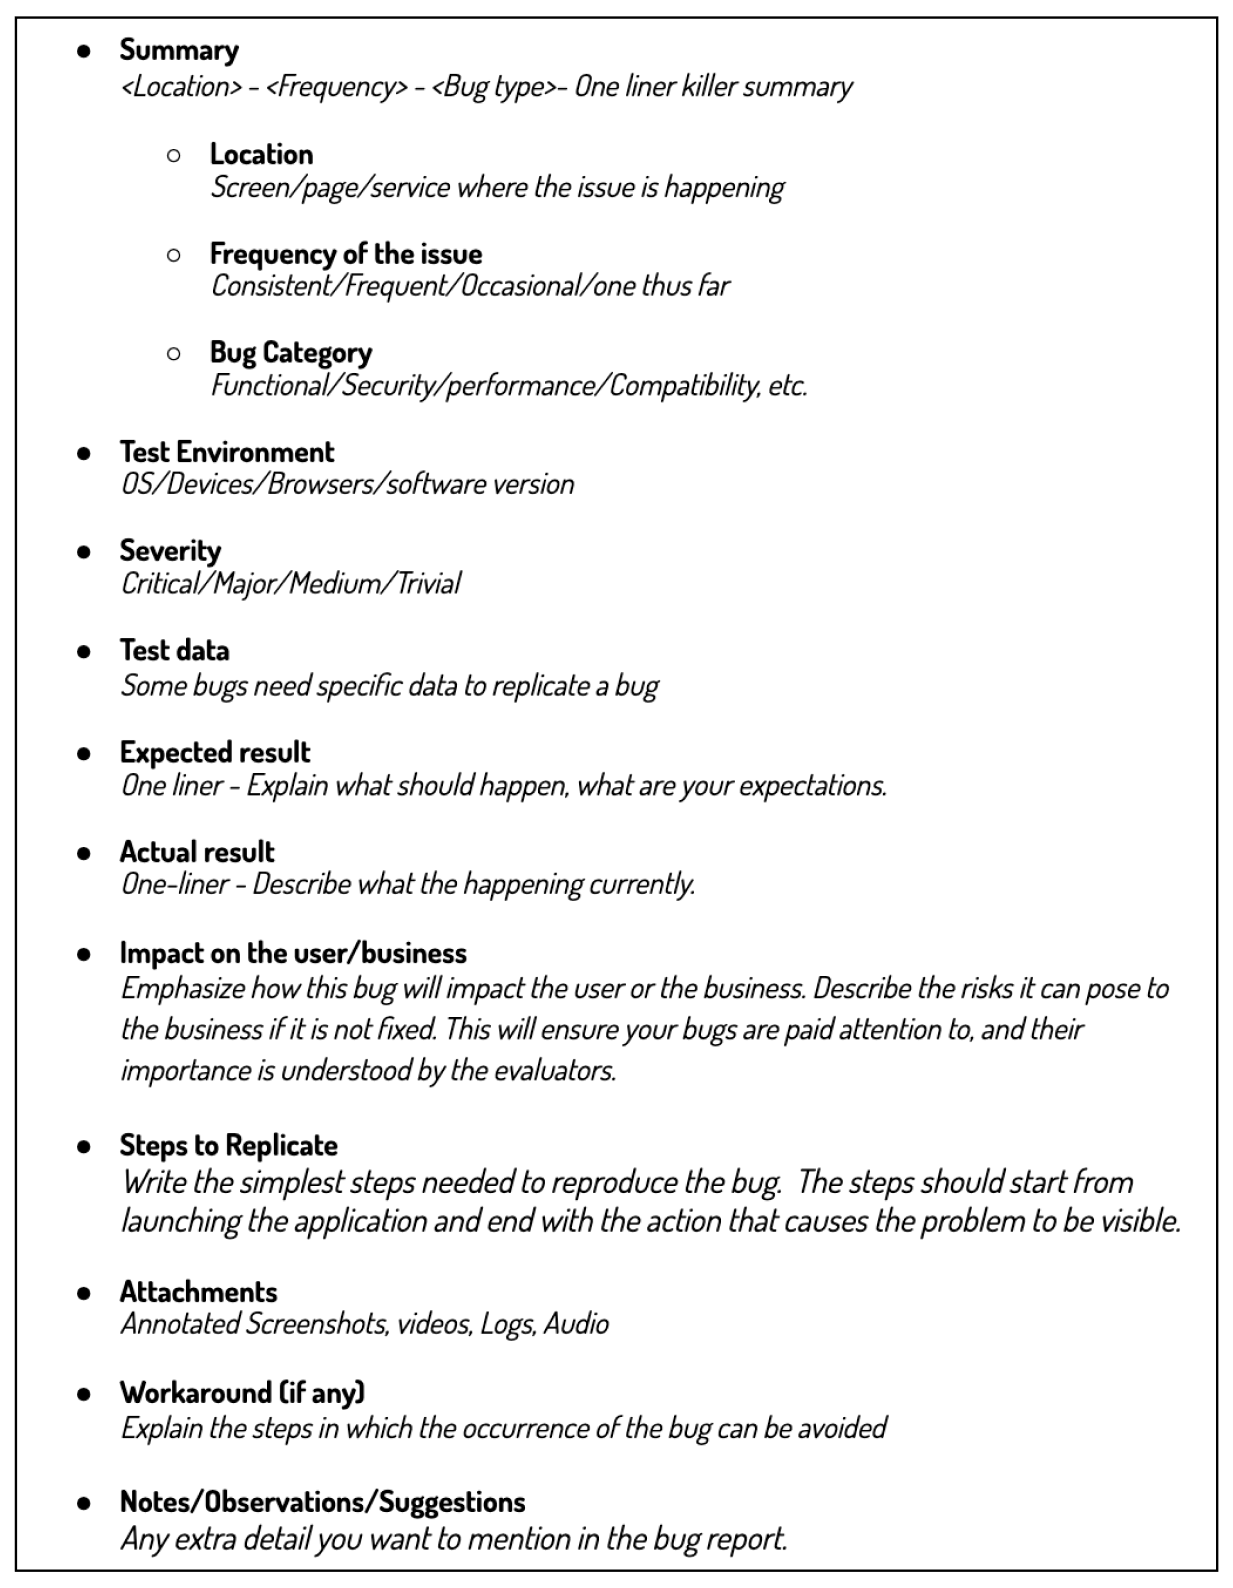
Creating a template that feels intuitive to your team starts with a simple spreadsheet or bug‑tracking tool. Below is a practical approach that can be adapted to Excel, Google Sheets, or a dedicated issue tracker.
Step 1: Define the Columns
List the essential fields as described above. Keep columns concise to avoid clutter, but add custom columns if your product requires them (e.g., “Sprint,” “Component,” or “Test Case ID”).
Step 2: Add Data Validation
Use dropdown lists for fields like Severity, Priority, and Status. This ensures consistency and makes filtering easier.
Step 3: Implement Conditional Formatting
Color‑code critical bugs in red, high‑priority ones in orange, and lower priority ones in green. This visual cue helps reviewers spot urgent items at a glance.
Step 4: Set Up Pivot Tables or Filters
For teams with a high bug volume, pivot tables can aggregate counts by component or status. Alternatively, use built‑in filters to focus on unresolved bugs.
Step 5: Share and Iterate
Publish the template in a shared drive or project management tool. Invite feedback and tweak the structure as the team evolves.
Common Mistakes to Avoid
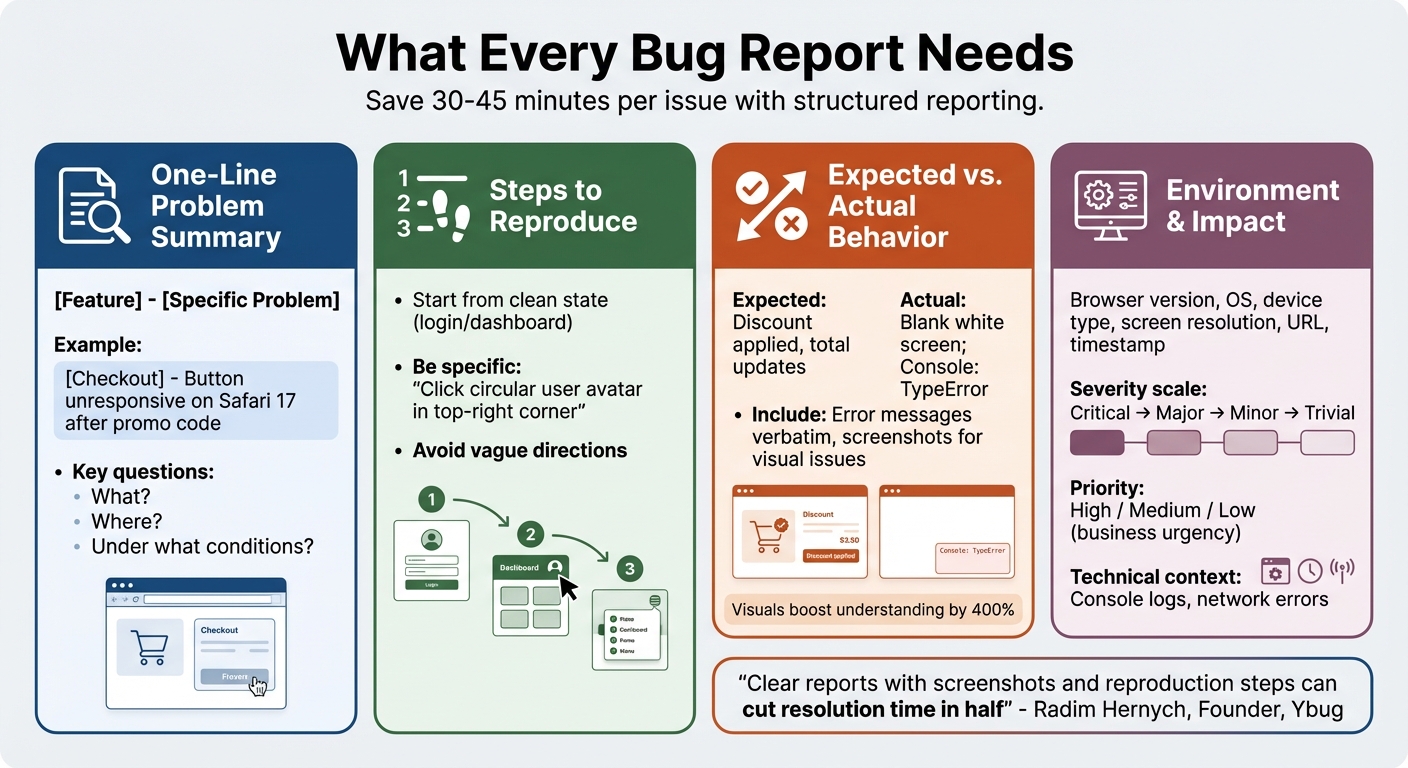
- Overloading the Sheet: Adding too many columns can make the report unwieldy.
- Neglecting Regular Updates: A static report becomes obsolete quickly; enforce a nightly or sprint‑end refresh cycle.
- Ignoring User Impact: Severity should reflect real user pain points, not just technical difficulty.
- Missing a Verification Step: Without test confirmation, you risk shipping a “fixed” bug that still lingers.
Real-World Application: How Teams Use the Template

Consider a mid‑size mobile app company that released a new feature last sprint. Their Bug Summary Report captured 27 issues, of which 12 were critical. By reviewing the report in their daily stand‑up, the QA lead re‑opened five bugs that slipped through regression tests, while the product owner re‑prioritized the rest based on user impact. The final report, shared with executives, proved that the new feature was ready for a public beta, with a 99% success rate after the fix cycle.
In another case, a SaaS startup leveraged the same template across multiple services. By adding a “Component” column, they discovered that the authentication module consistently generated the most bugs. This insight prompted a targeted code refactor, reducing future incidents by 40% over the next quarter.
Tips for Customizing the Template to Fit Your Workflow
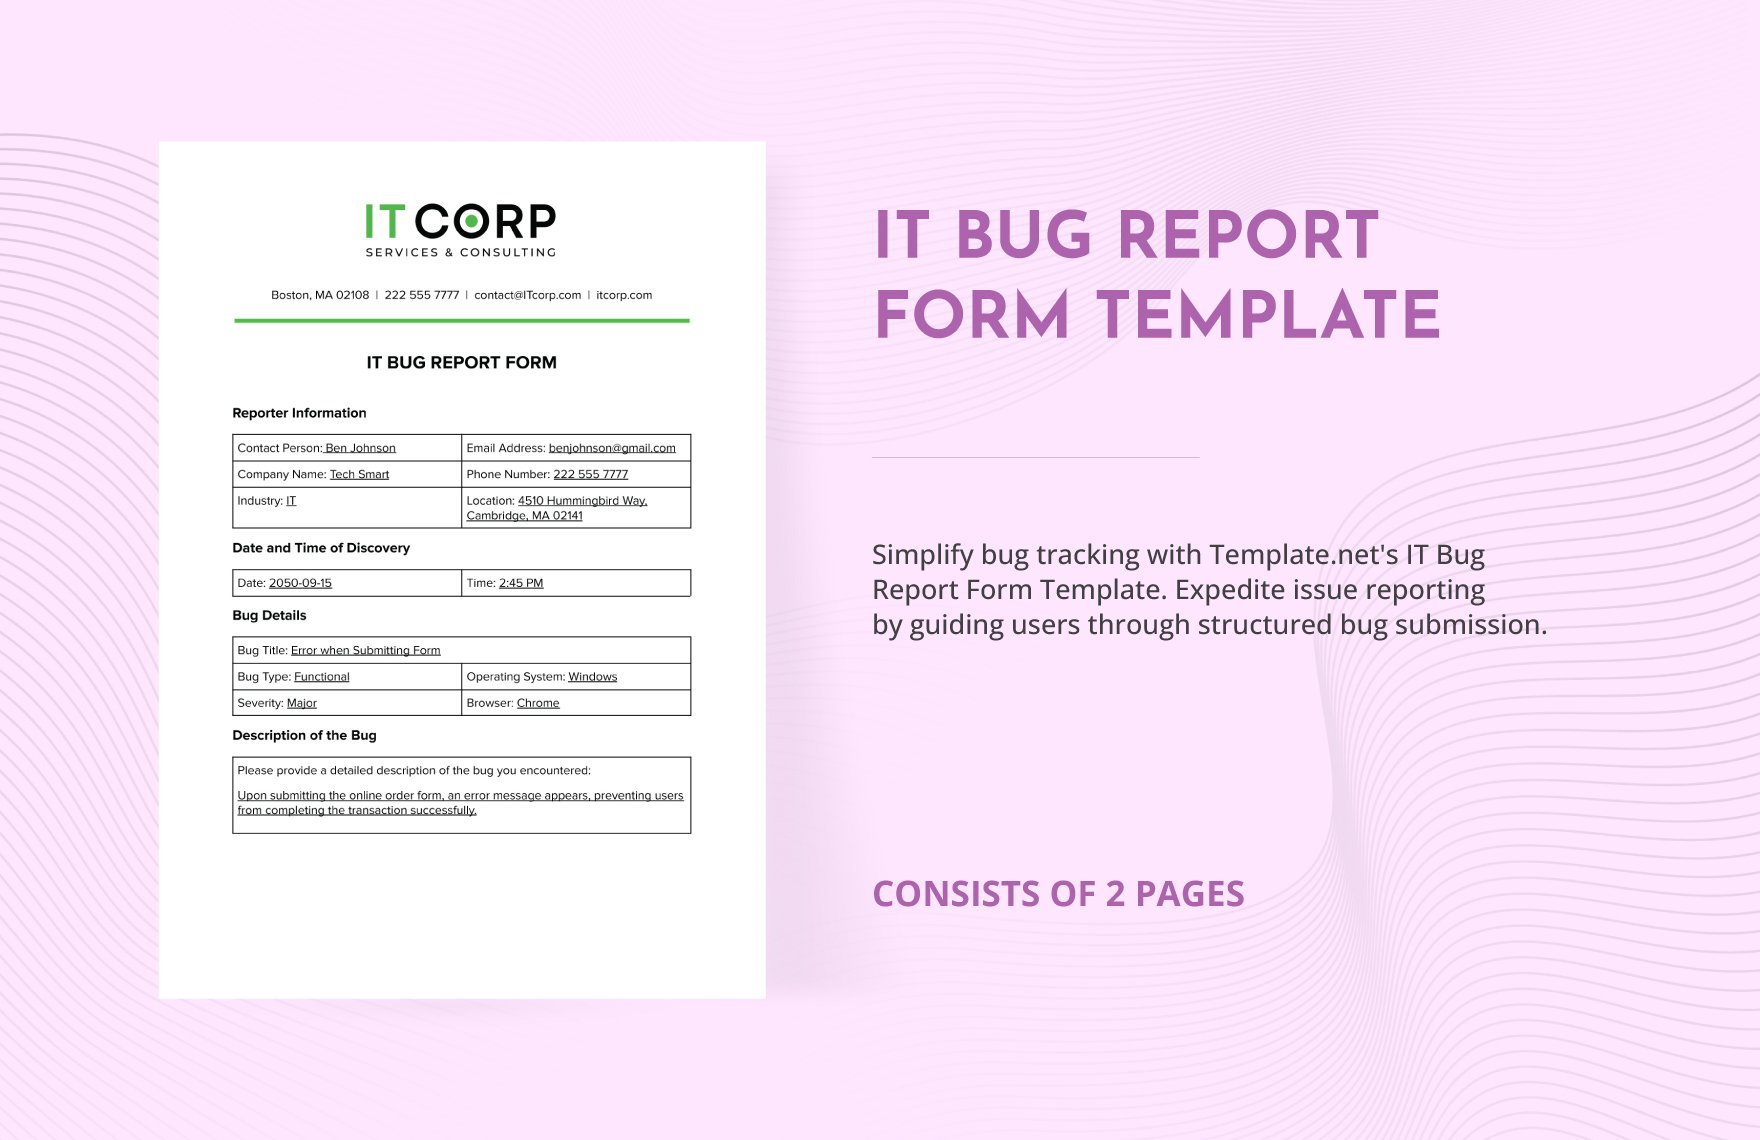
- Integrate with Agile Boards: Map Bug ID to a Jira or Trello card so updates sync automatically.
- Use Tags for Cross‑Team Visibility: Add a “Team” column to quickly see which squad owns which issue.
- Automate Alerts: Set up email or Slack notifications when a bug’s status changes from “In Progress” to “Fixed.”
- Archive Old Records: Maintain a clean working sheet by moving resolved bugs into a separate “Historical” tab.
Integrating the Bug Summary Report with Project Management Tools
Most modern teams rely on tools like Jira, Asana, or Monday.com for issue tracking. Here’s how a Bug Summary Report can be synchronized:
- Export/Import: Most tools support CSV exports; you can feed those into the template and vice versa.
- Webhooks: Connect a webhook that updates the template whenever a bug’s status changes.
- Dashboards: Embed the report within a dashboard for real‑time visibility.
- Analytics: Use Power BI or Google Data Studio to create visual reports from the same dataset.
Final Thoughts
By turning raw bug data into a clear, actionable summary, teams can reduce turnaround time, improve communication, and ultimately deliver higher quality software. A well‑crafted Bug Summary Report Template isn’t just a spreadsheet; it’s a strategic asset that drives transparency, accountability, and continuous improvement. Start building your own template today, and watch your bug‑handling process transform from chaotic to streamlined.



Related posts of "Bug Summary Report Template"
