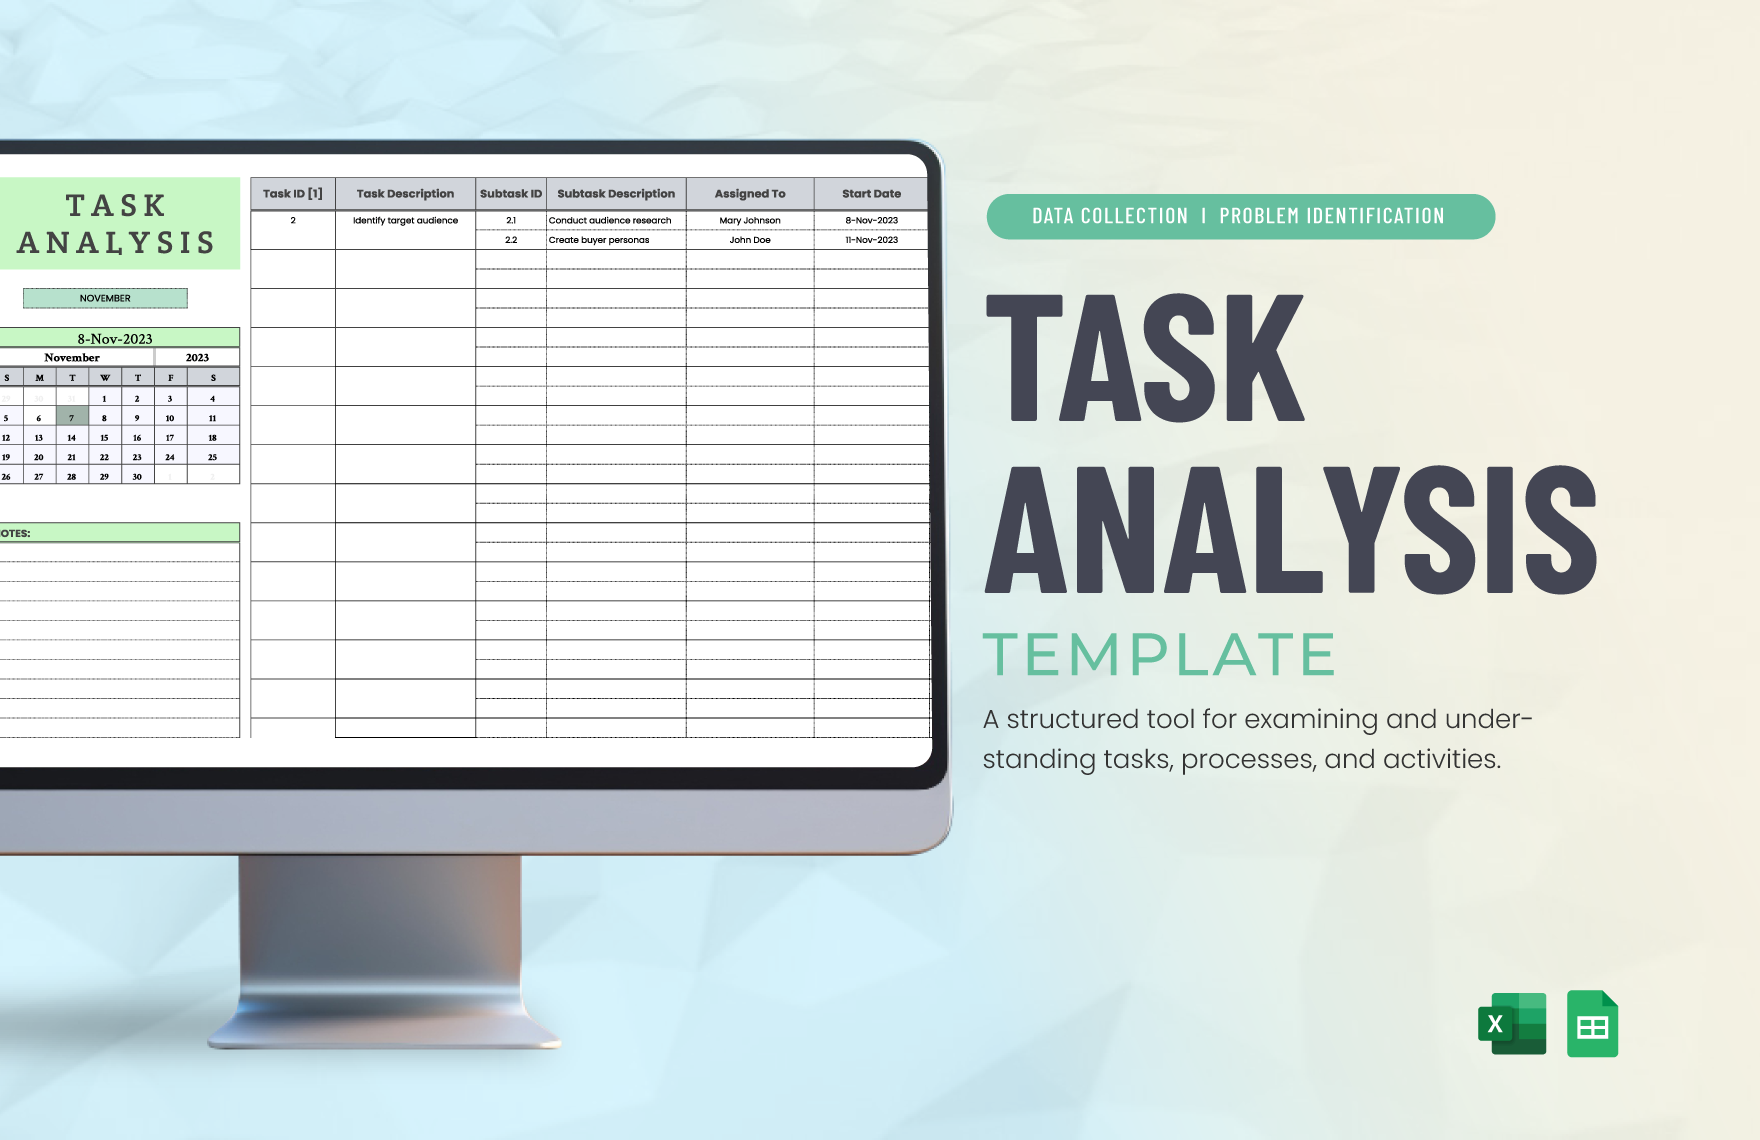
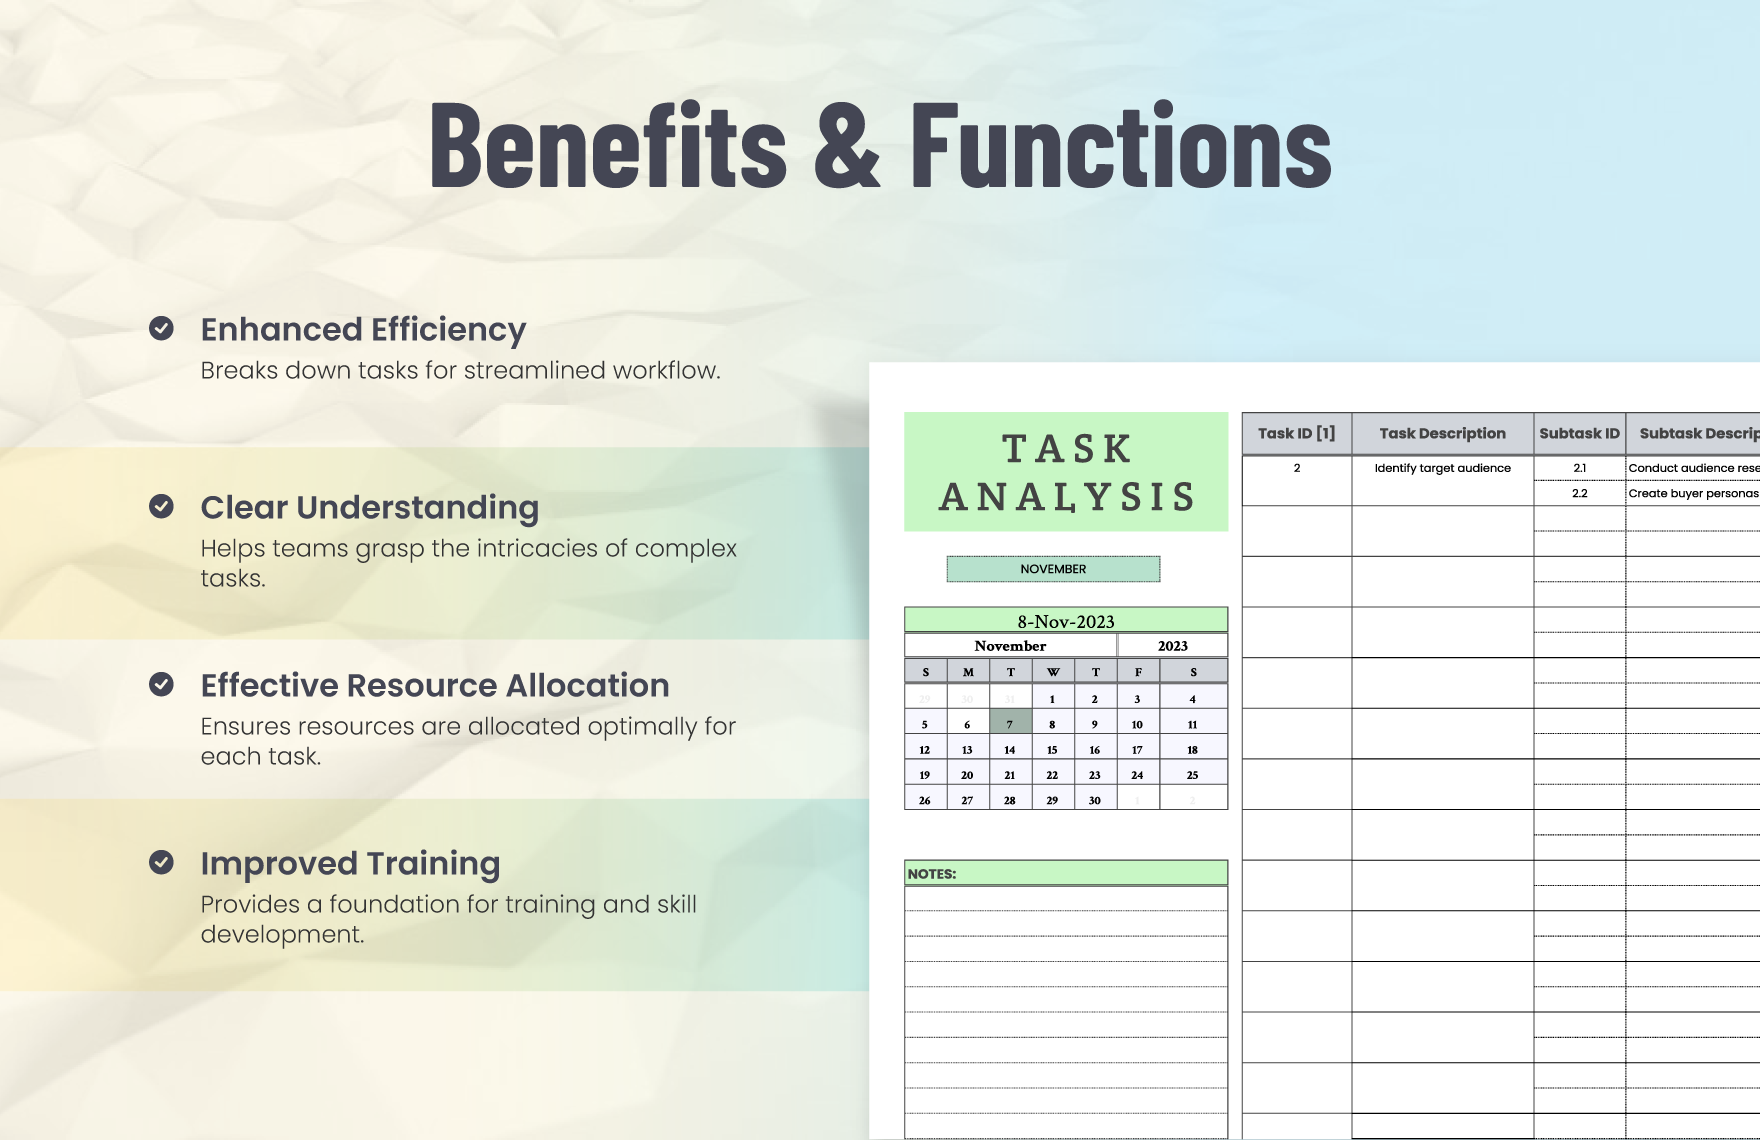
Task Analysis Template Special Education is the secret sauce that turns chaos into a well‑structured dance of steps, especially when working with learners who thrive on clear routines. Think of it like a recipe for success: every ingredient—whether it’s a sentence, a diagram, or a visual cue—is measured and served in a way that’s easy to follow, leaving both teachers and students feeling like culinary maestros rather than culinary disasters.
What Is Task Analysis?
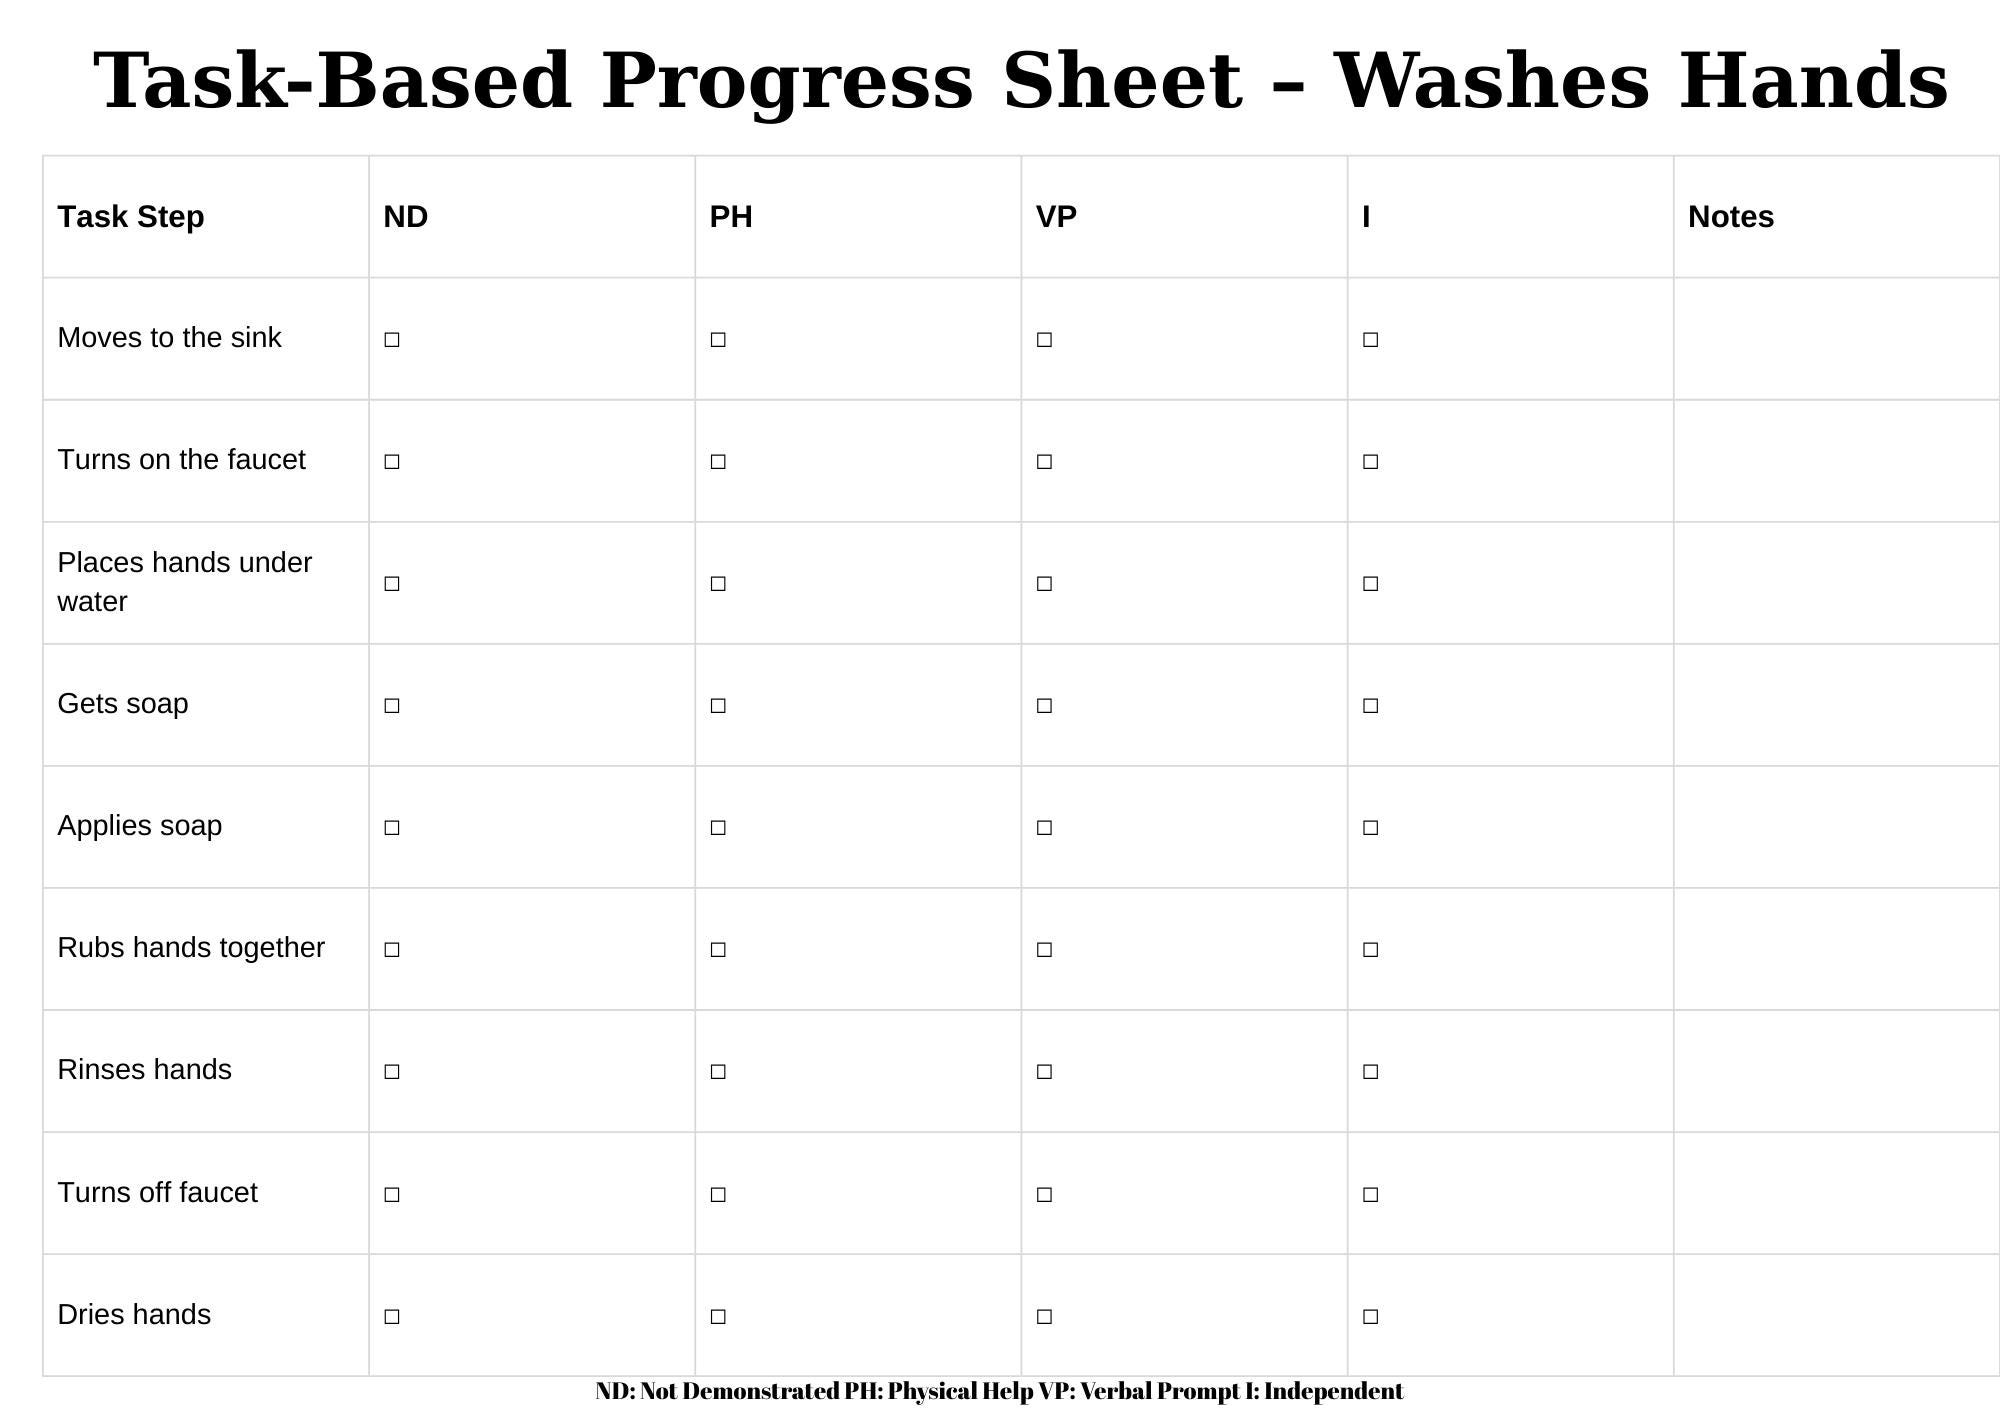
Definition
Task analysis is a systematic method of breaking down complex activities into simple, sequential steps. In special education, it’s the backbone of individualized instruction, allowing teachers to design lessons that accommodate diverse learning styles and cognitive levels.
Why It Matters
When a student can see each step on a clear path, the anxiety that often accompanies unfamiliar tasks evaporates. Instead, the learner can focus on mastering one piece at a time—much like learning to juggle before attempting to juggle five balls.
Why a Template? Benefits for Special Education
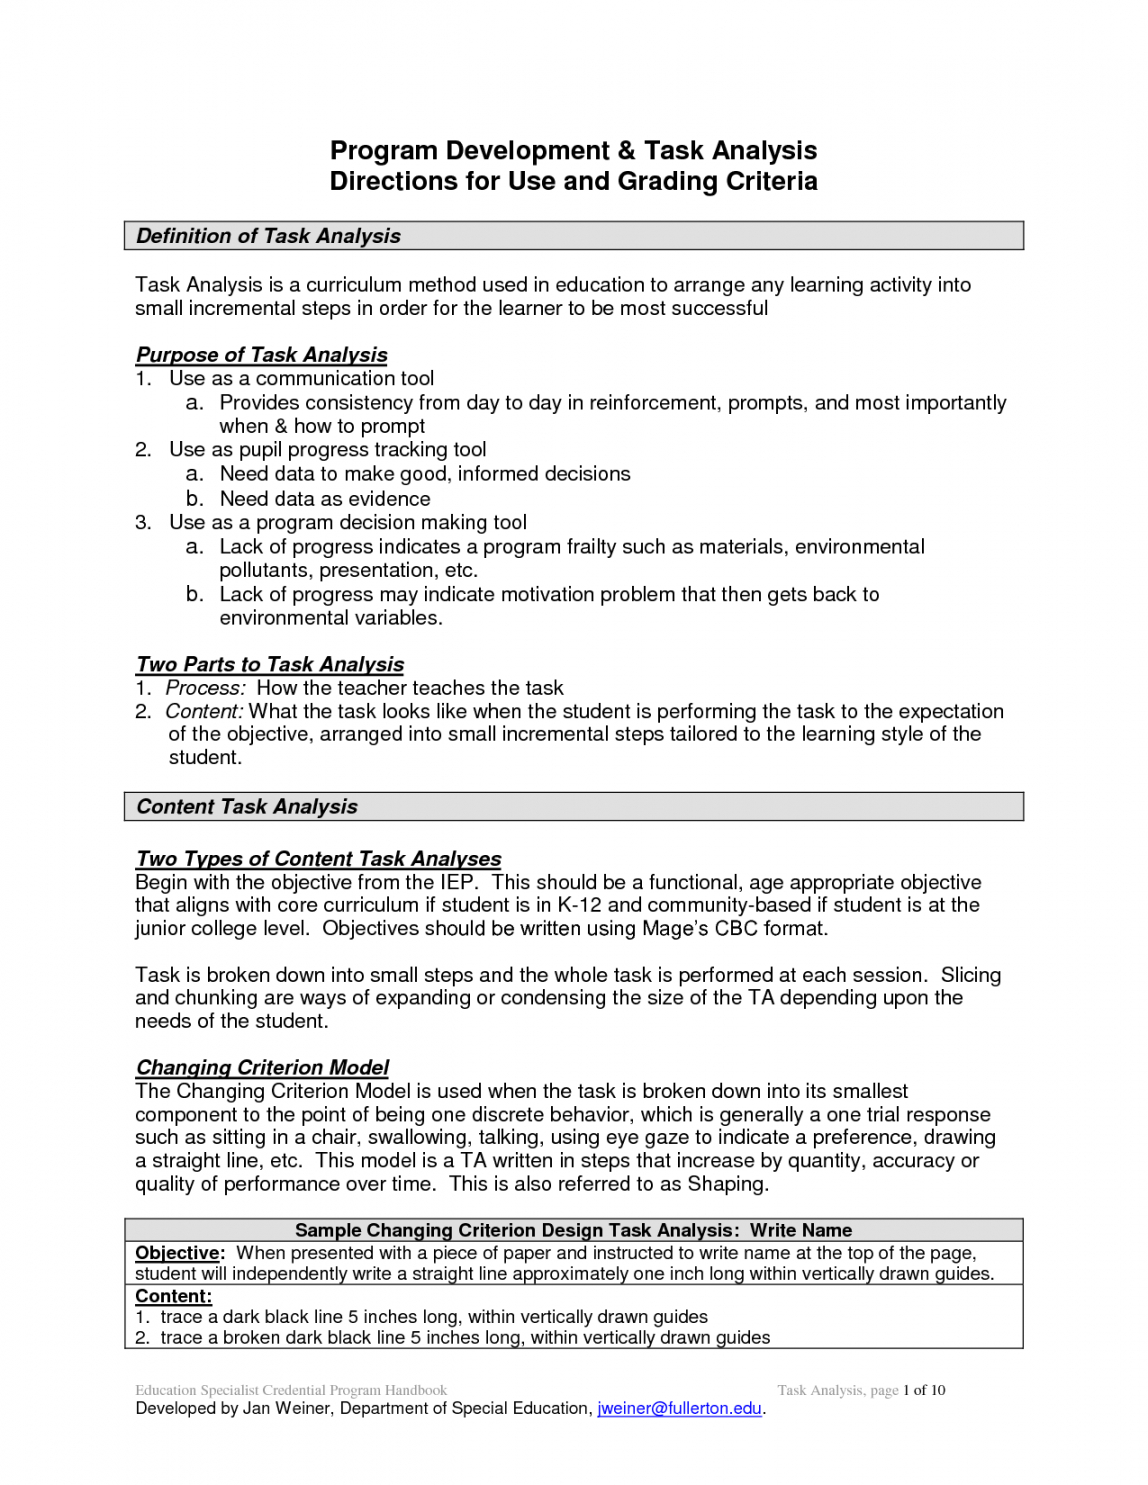
Consistency Across Classes
A ready‑made template ensures every lesson follows the same structure. Teachers save time on formatting, and students build a reliable mental model that can be transferred from math to music to classroom cleanup.
Scalability
Once you’ve perfected a template, you can copy and tweak it for new subjects or varying difficulty levels. This scalability keeps your curriculum agile and your teachers’ sanity intact.
How to Build a Task Analysis Template
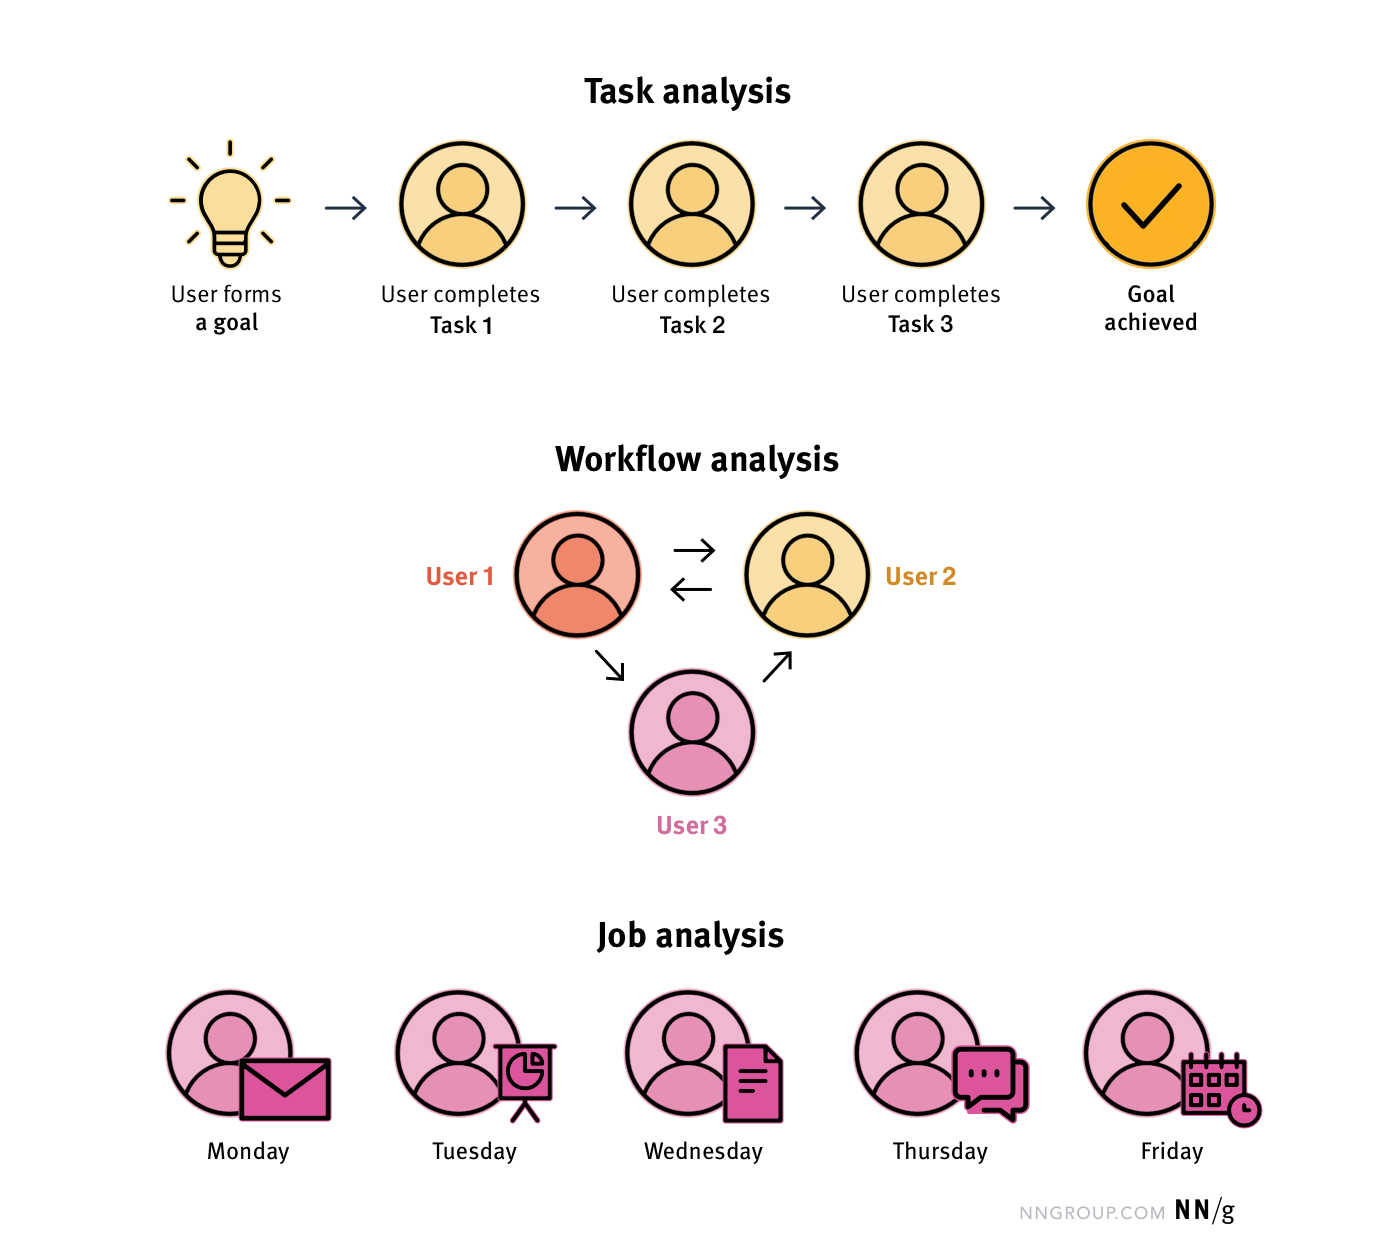
Step 1: Identify the Goal
Start by writing a single, clear objective. For example: “Students will be able to create a simple email.” Keep the goal visible in the template header so the focus never drifts.
Step 2: Break It Down
List every micro‑step needed to reach the goal. Use short, declarative verbs: Open the email program, click “New Email,” type the subject line, etc. Each step should be achievable within 10–15 seconds to avoid cognitive overload.
Step 3: Add Supportive Elements
Include icons, color codes, or brief annotations that cue students. For instance, a green checkmark for “completed,” a red exclamation mark for “help needed,” or a tiny illustration of a paperclip for “attach files.” These visual cues act like traffic lights—easy for all brains to interpret.
Step 4: Review & Revise
Run a pilot with a small group of students. Ask them to complete the task using the template, noting any confusion or steps that feel rushed. Revise accordingly—this iterative loop is where the template turns from a draft into a masterpiece.
Sample Template Layout

Header
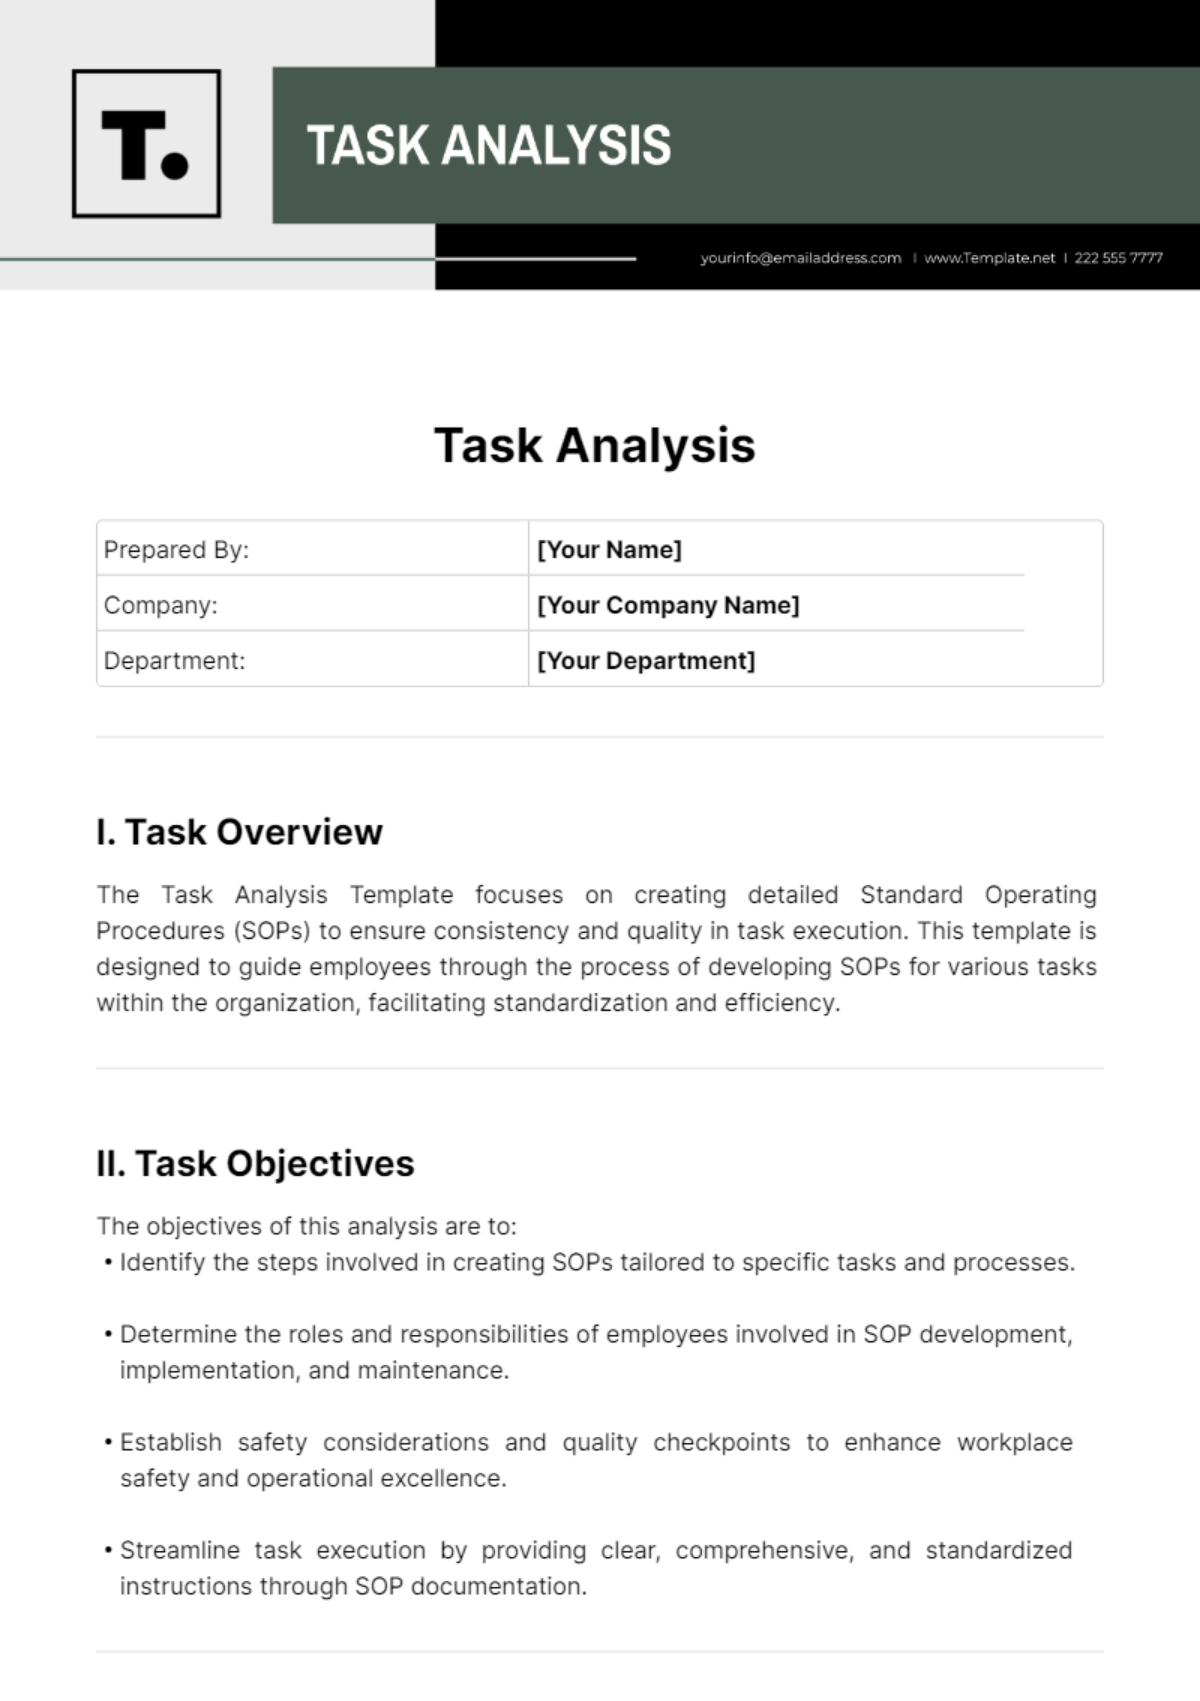
Include: Title of Task, Objective, Materials Needed, and Estimated Time. A clean header lets both teacher and student know exactly what’s expected.
Step List
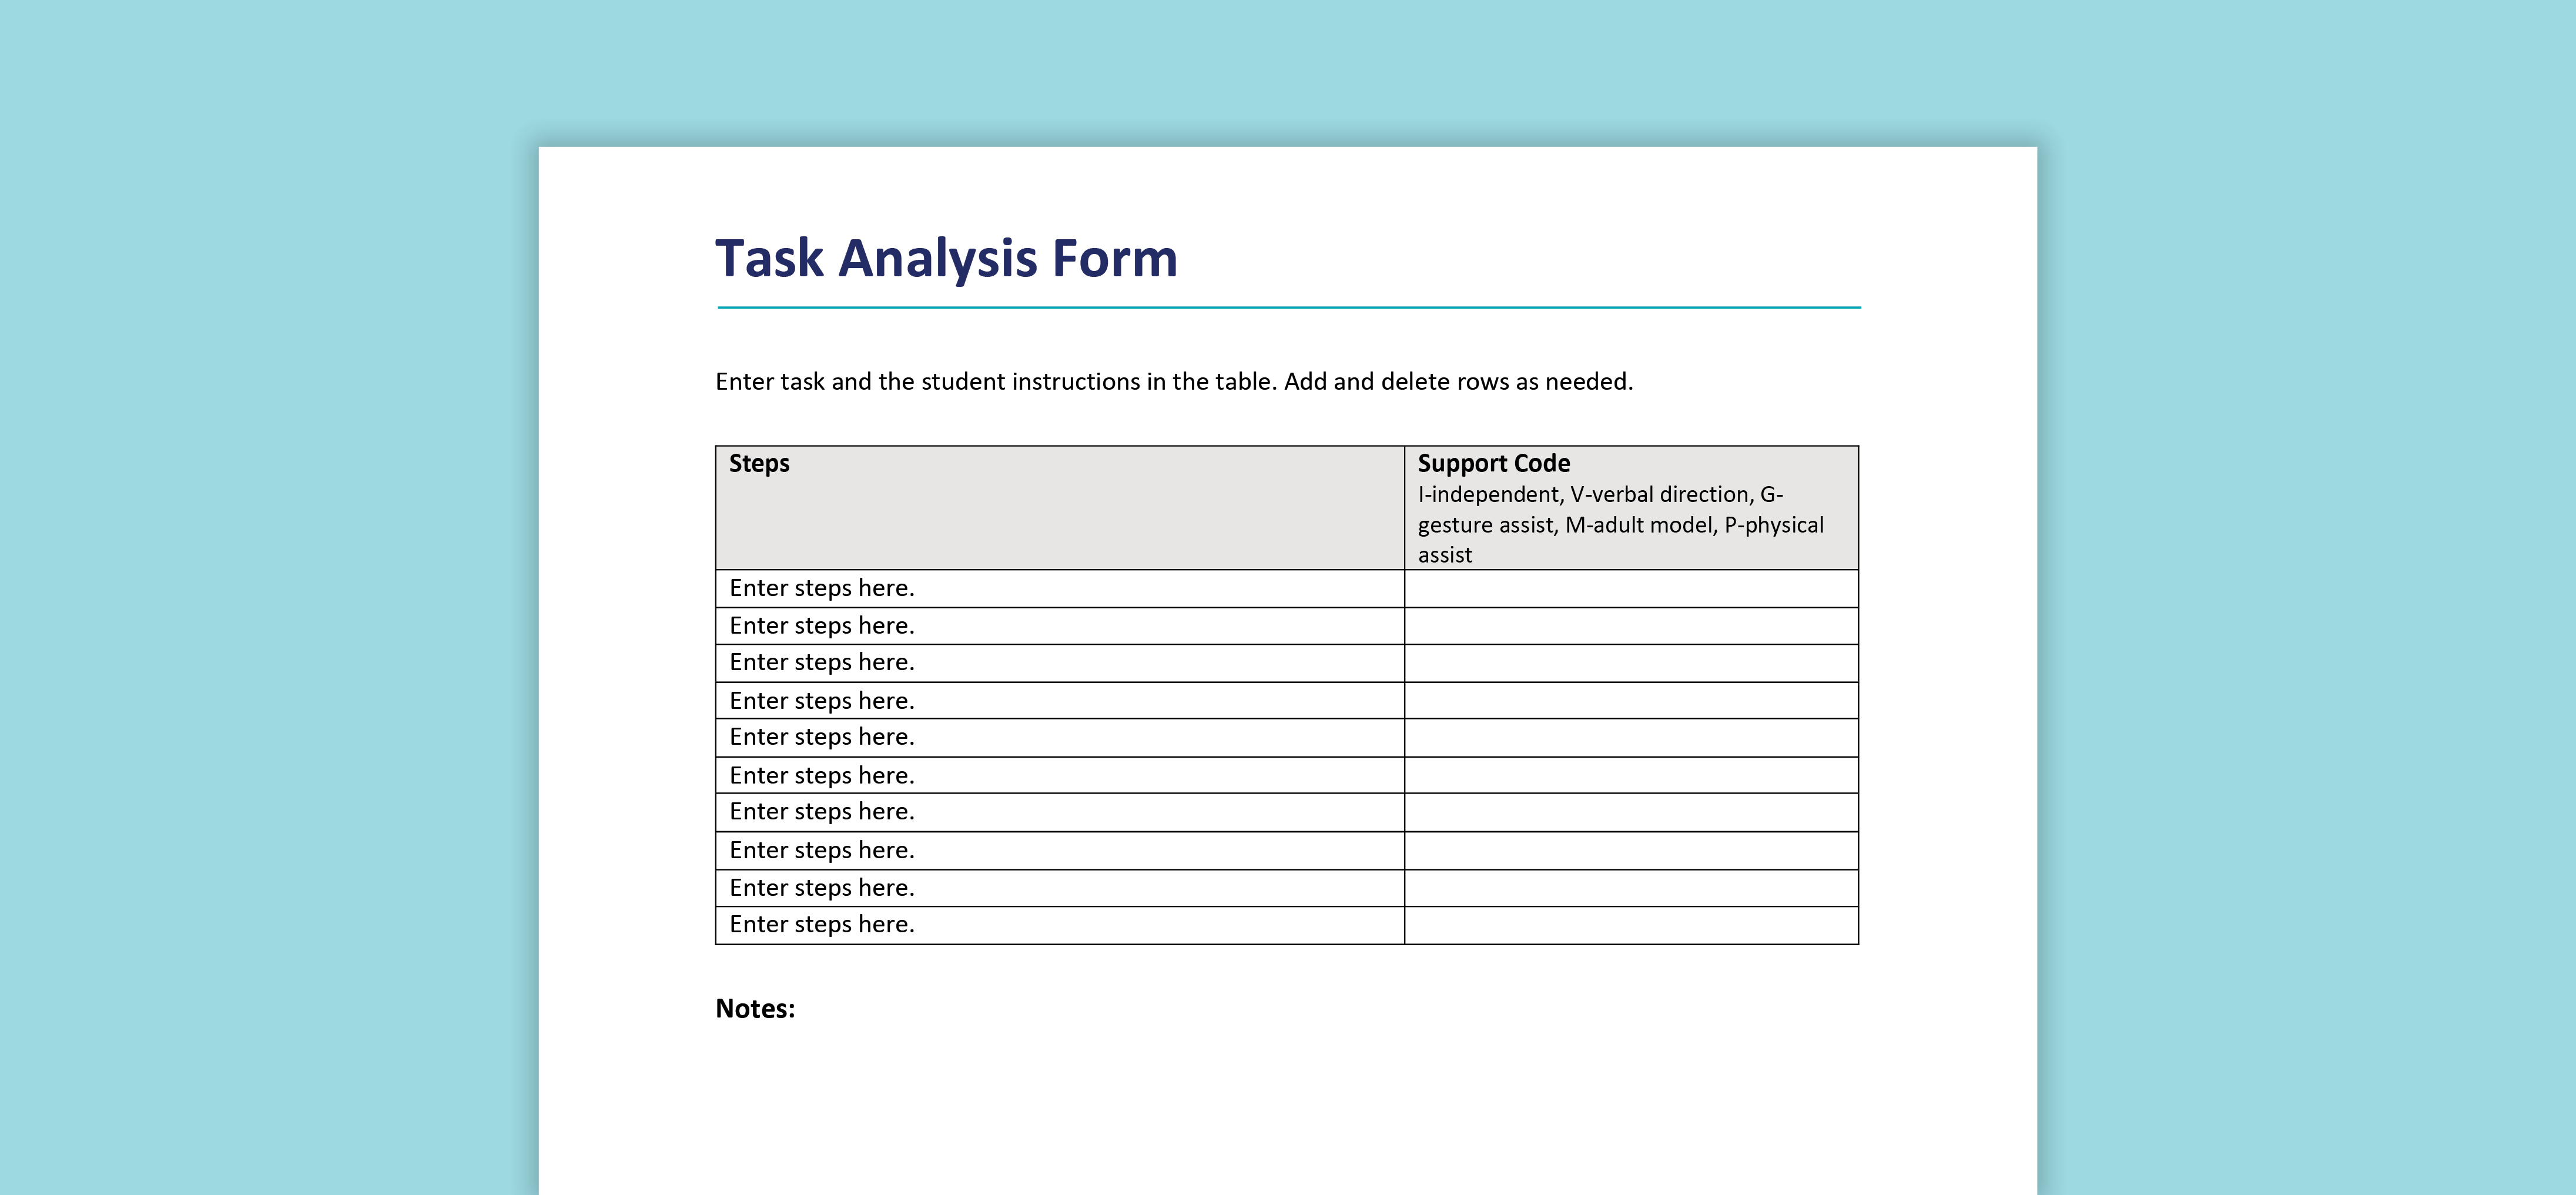
Number the steps or use bullet points. Each line should start with a verb, followed by a concise explanation. Example: 1. “Locate the ‘Compose’ button.” 2. “Enter the recipient’s email address.” 3. “Type your message.”
Visual Aids
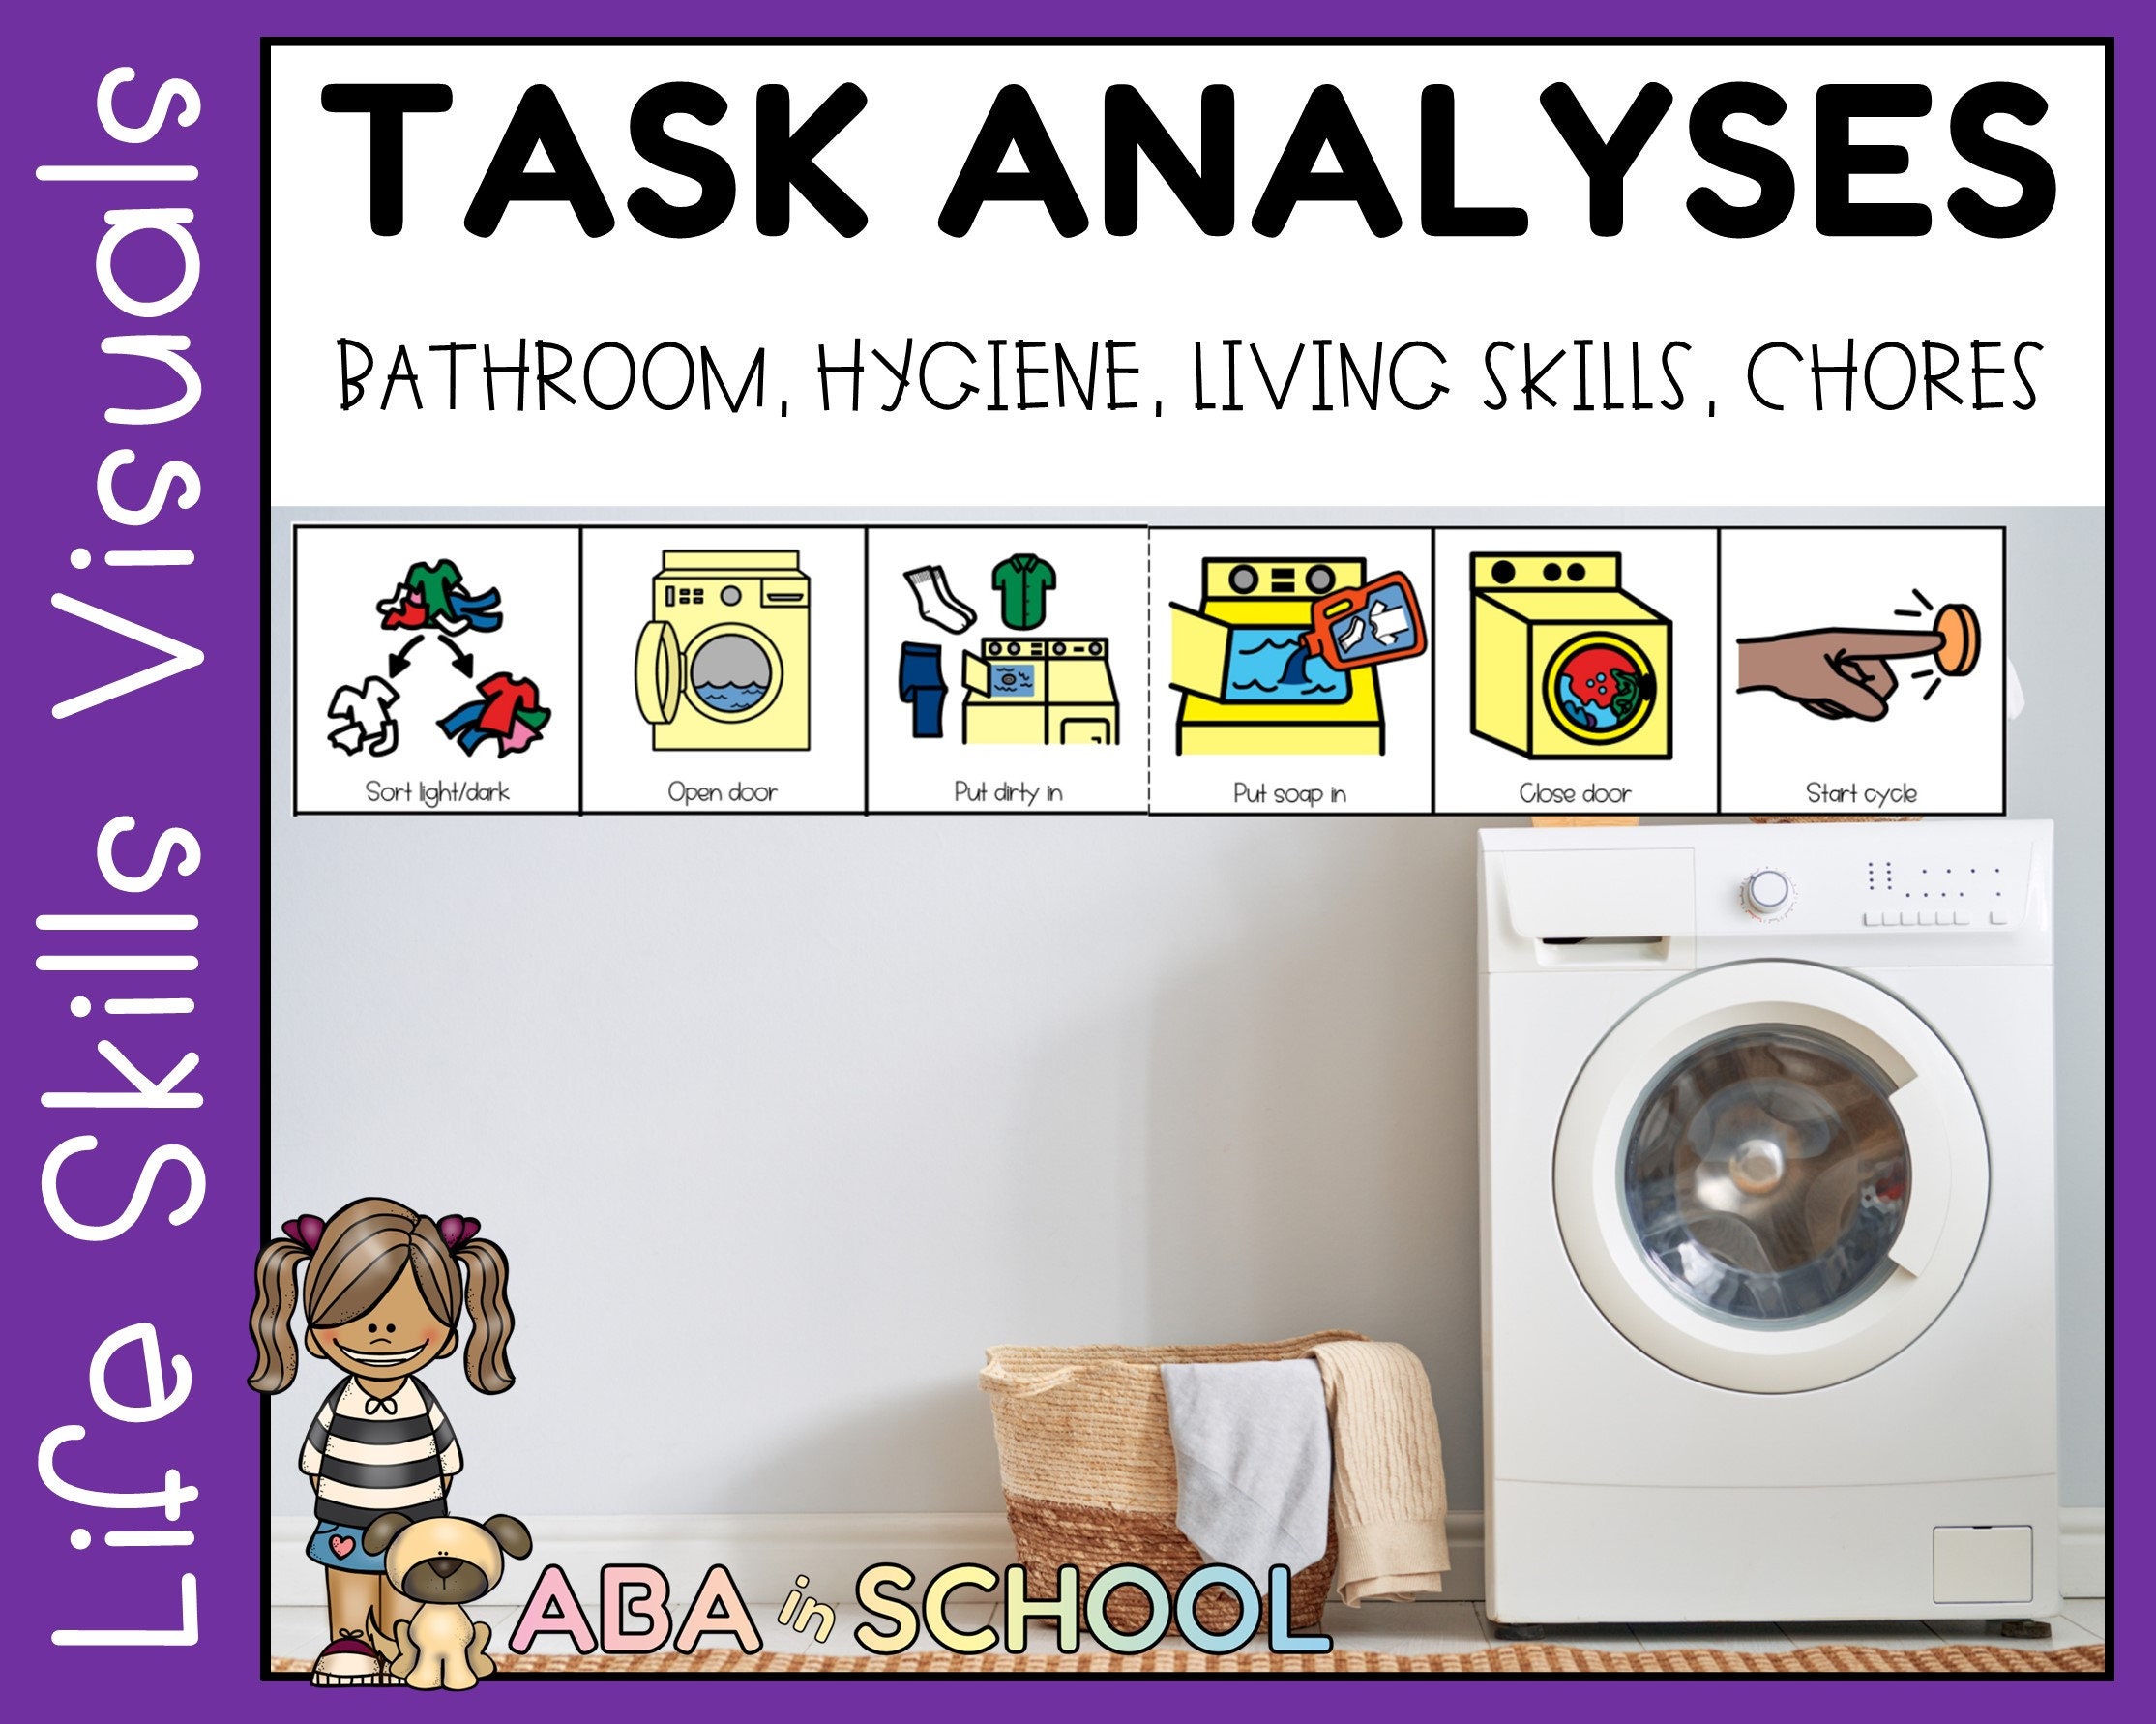
Integrate icons or small photos next to each step. For a lesson on making a sandwich, a loaf of bread image next to step one, a knife image for step two, and a plate for step three. These images break up text and reinforce memory.
Practical Classroom Examples

Lesson Plan: Making a Sandwich
1. Gather ingredients. 2. Spread mustard on bread. 3. Layer turkey, cheese, lettuce. 4. Close the sandwich. 5. Cut in half. 6. Clean up. Each step is paired with a cartoon sandwich to keep things light.
Lesson Plan: Writing an Email
1. Log on to the computer. 2. Click “New Email.” 3. Fill in the “To” field. 4. Add a subject. 5. Draft the message. 6. Attach a file (if needed). 7. Hit “Send.” The template includes a checklist that students tick off, fostering independence.
Lesson Plan: Using a Calculator
1. Turn on the device. 2. Enter the first number. 3. Choose the operation (+, −, ×, ÷). 4. Enter the second number. 5. Press “=” to see the result. 6. Verify the calculation by re‑entering numbers. Visual prompts resemble a calculator’s layout.
Common Pitfalls and How to Avoid Them

Overcomplication
Too many steps can overwhelm. Keep the number of steps to a maximum of 10 for most tasks, and combine related actions into single points where possible.
Inconsistent Symbols
Using different icons for the same action across lessons erodes trust. Create a symbol guide at the start of the template and stick to it.
Neglecting Student Input
Templates designed by teachers alone may miss practical insights. Invite students to suggest shortcuts or alternative wording—this not only improves the template but boosts engagement.
Tips for Teachers to Make It Fun

Gamify the Steps
Turn the checklist into a game board: every completed step earns a sticker or a virtual gold star. Rewards create a positive loop of motivation.
Use Comic Strips
Illustrate each step as a comic panel. Humor is a powerful tool that reduces anxiety and keeps the content memorable.
Keep the Language Simple
Avoid jargon. If a student must learn a new term, explain it once and then use it consistently. Over time, the vocabulary will become second nature.
Conclusion

When you wield a Task Analysis Template Special Education like a magician’s wand, every lesson turns from a daunting puzzle into a step‑by‑step adventure. By keeping the template consistent, concise, and visually engaging, teachers empower students to take ownership of their learning while reducing frustration. Remember: the goal isn’t to create an overly rigid protocol but to provide a flexible scaffold that adapts to each student’s rhythm. With a well‑crafted template, the classroom becomes a place where success is not a mystery, but a clear path—step after delightful step.