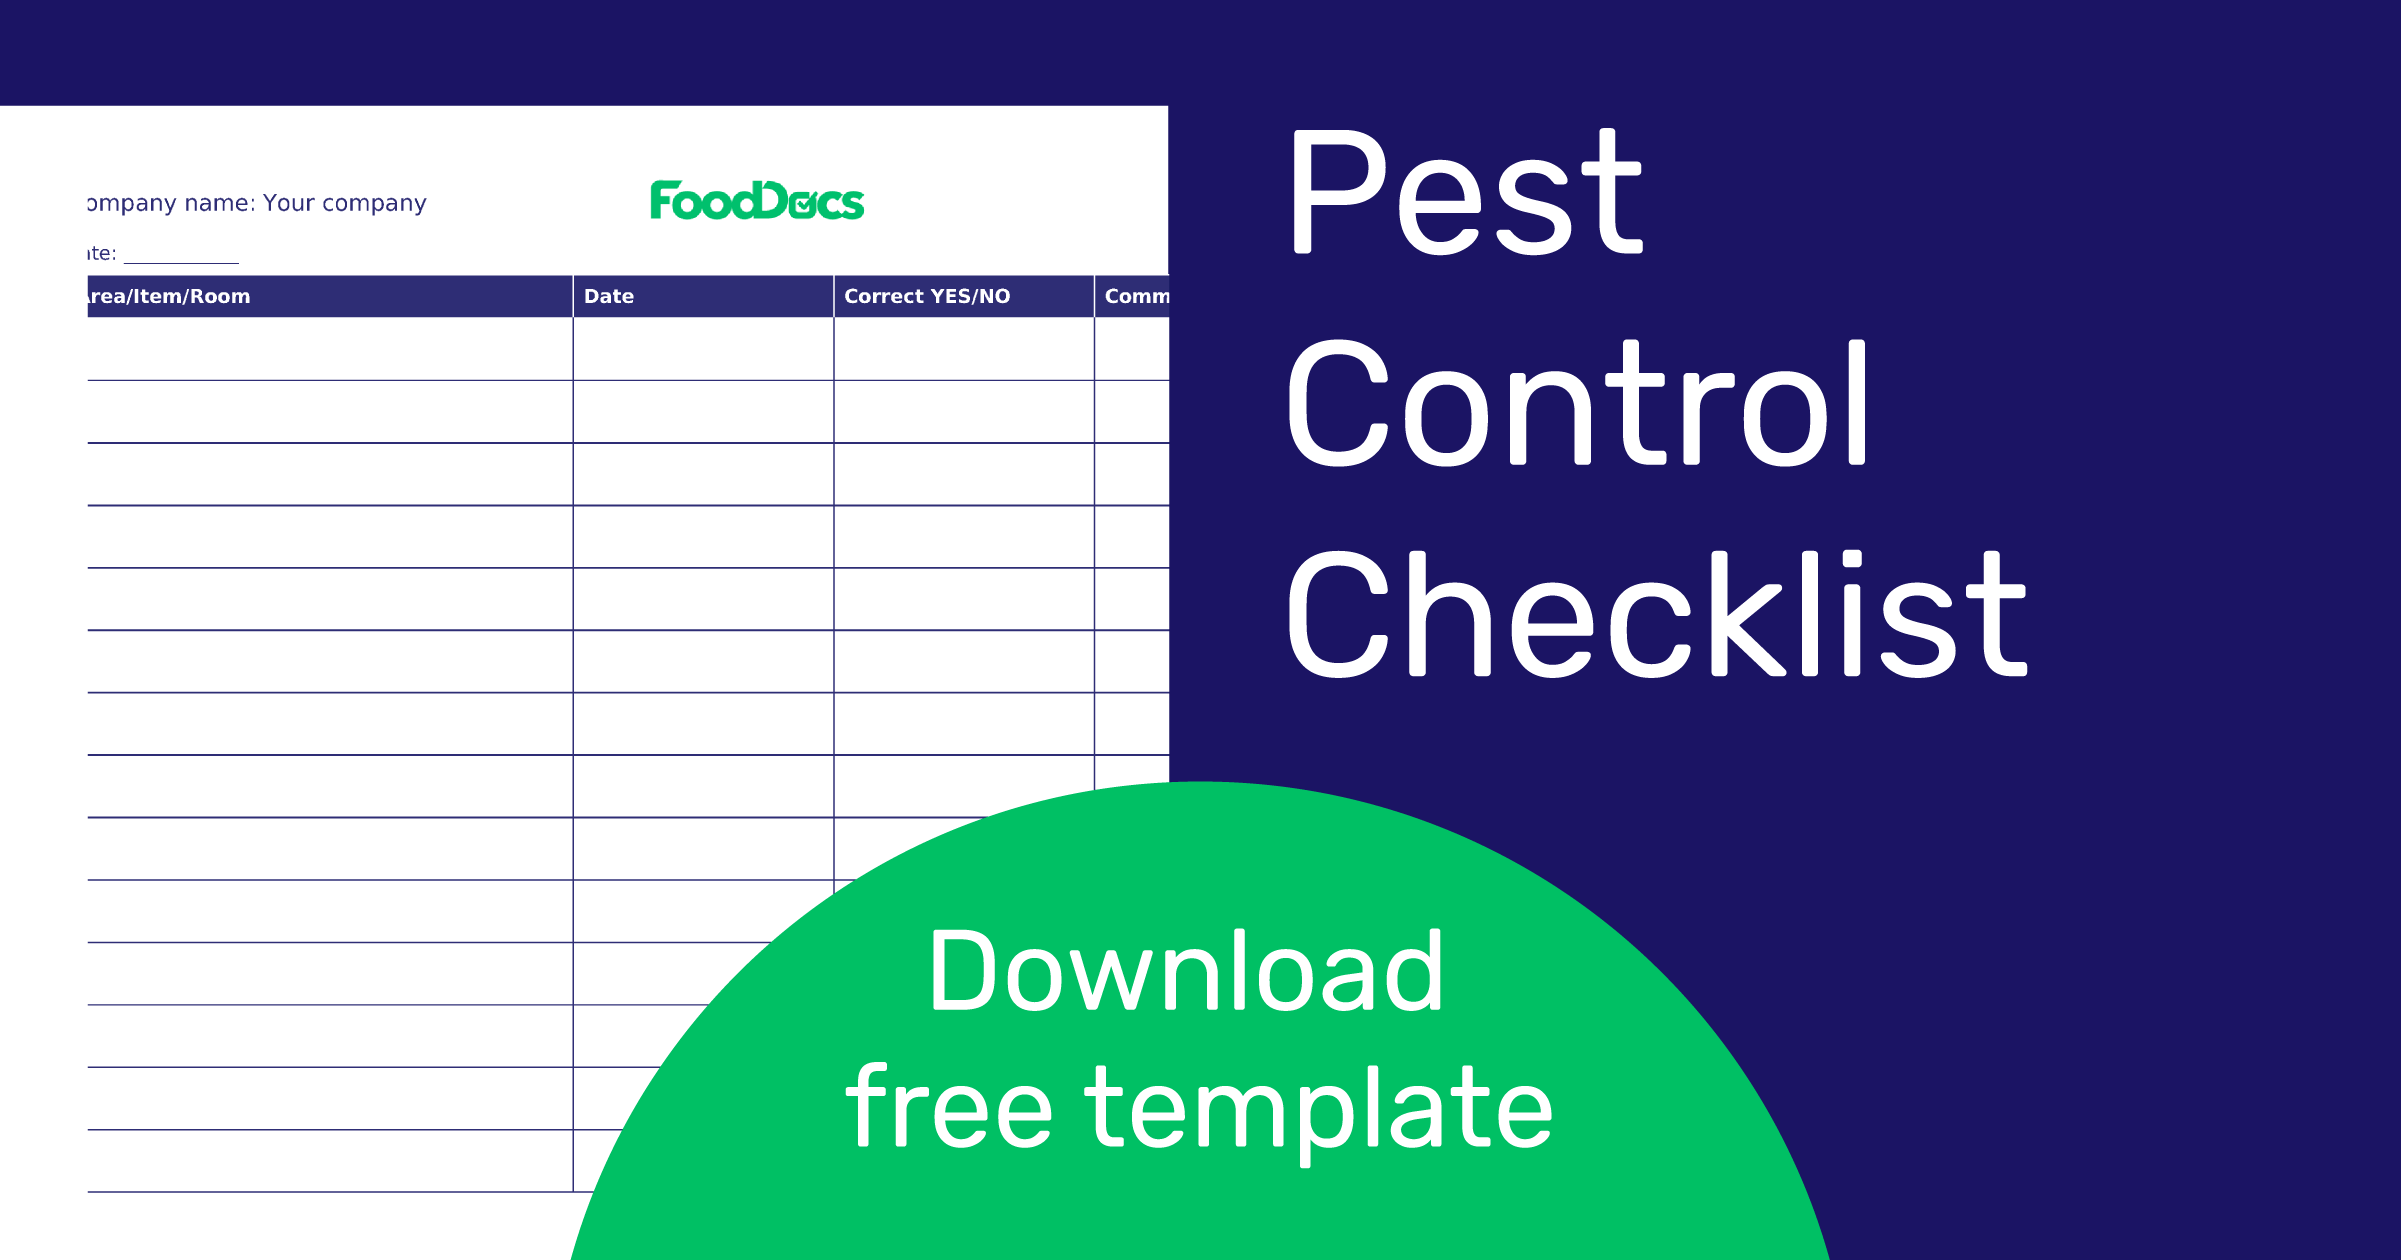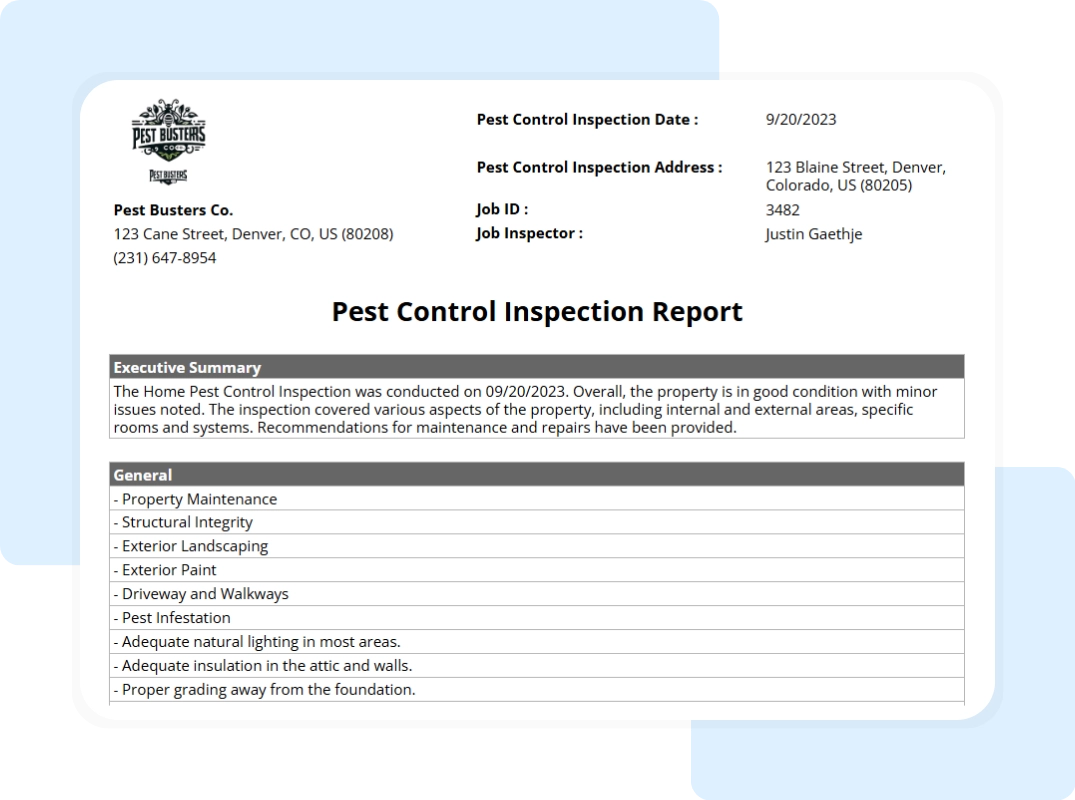
Pest Control Inspection Report Template is the silent backbone of every professional exterminator’s day, the unseen ledger that transforms chaotic field observations into actionable, billable intelligence. In a world where homeowners demand swift eradication and regulators demand documented proof, the report template is the thin line between credibility and chaos, between a paid job and a complaint. This article dissects the anatomy of a killer template, shows you how to wield it like a scalpel, and explains why mastering it will keep your business thriving in the dark alleys of the pest‑control market.
Why a Pest Control Inspection Report Template Matters
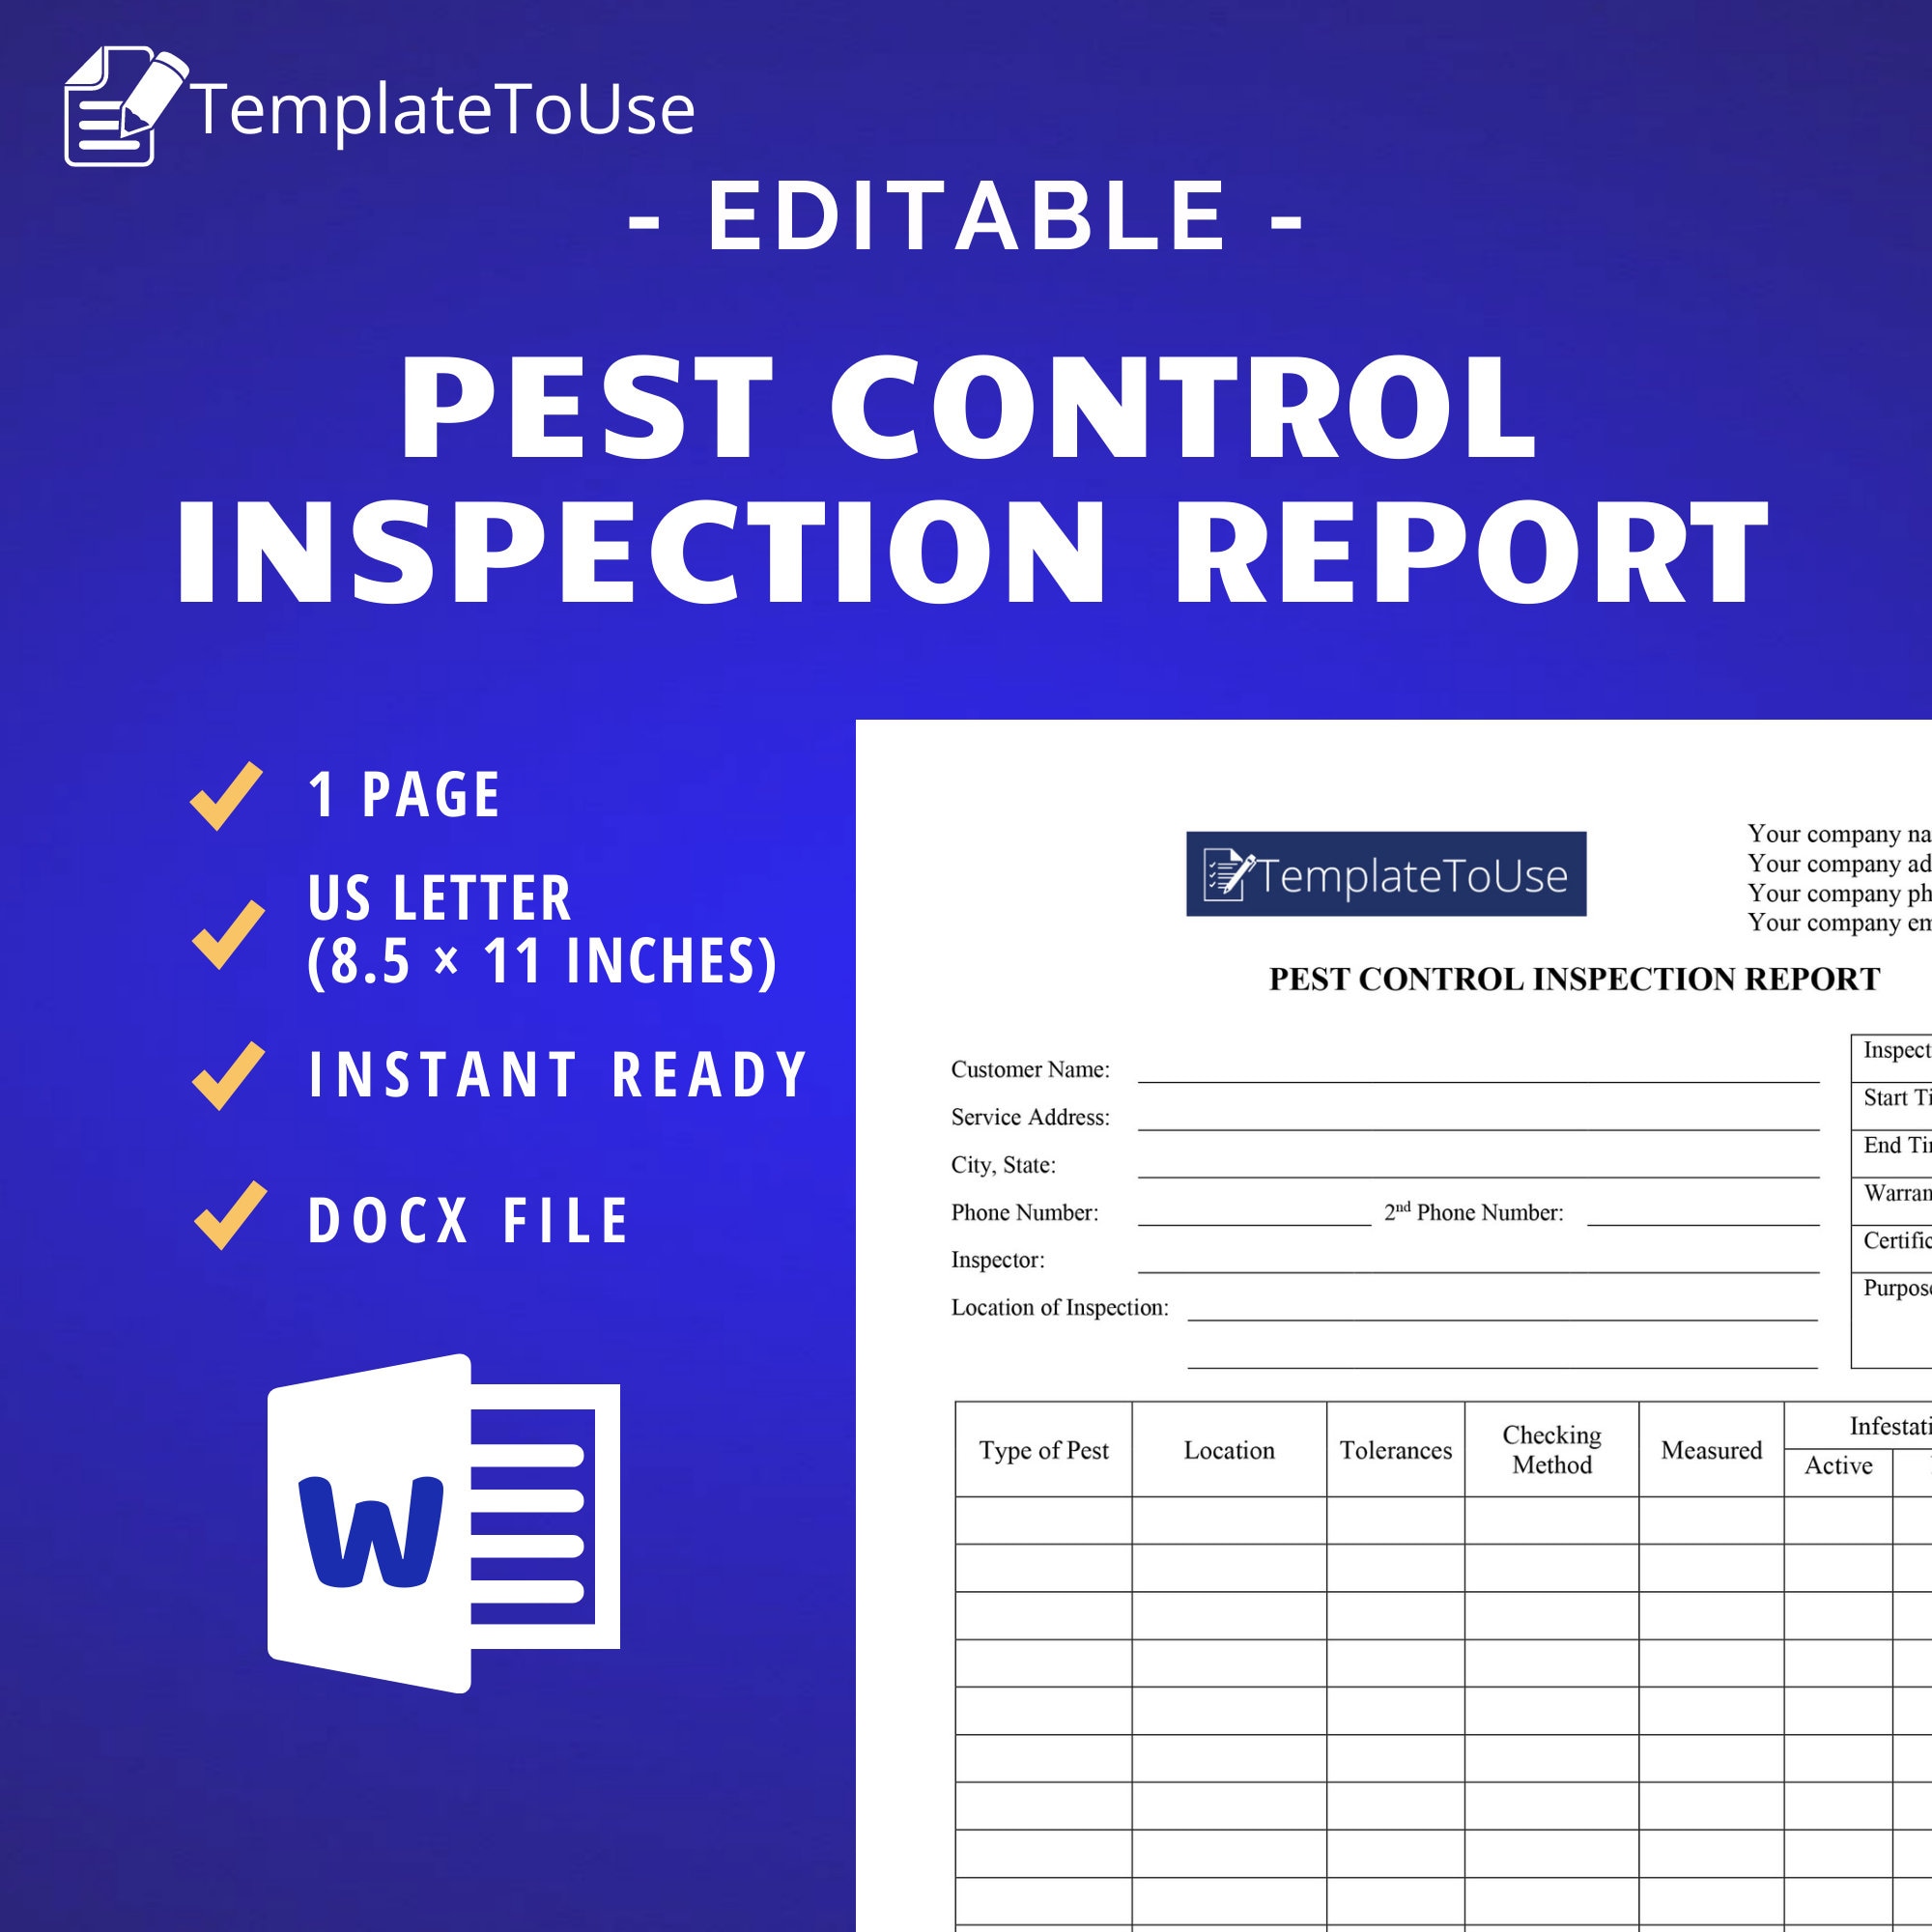
Without a structured template, technicians drift into a free‑form note‑taking habit that looks more like a personal diary than a professional record. That drift leads to missed details, ambiguous recommendations, and, ultimately, liability. A well‑crafted template forces consistency, ensures compliance with local health codes, and provides the data needed for future trend analysis. When a client asks, “Did you see the evidence?” the answer lies in the ink (or pixels) of the report, not in the technician’s memory.
Beyond legal protection, the template is a marketing weapon. Search‑engine algorithms love the predictable, keyword‑rich structure of inspection reports when they’re posted online as case studies or client portals. Each completed report becomes a micro‑content asset that can be indexed, boosting organic visibility for terms like “bed bug inspection” or “termite damage assessment.” In short, the template is both a shield and a sword.
Core Components of an Effective Template
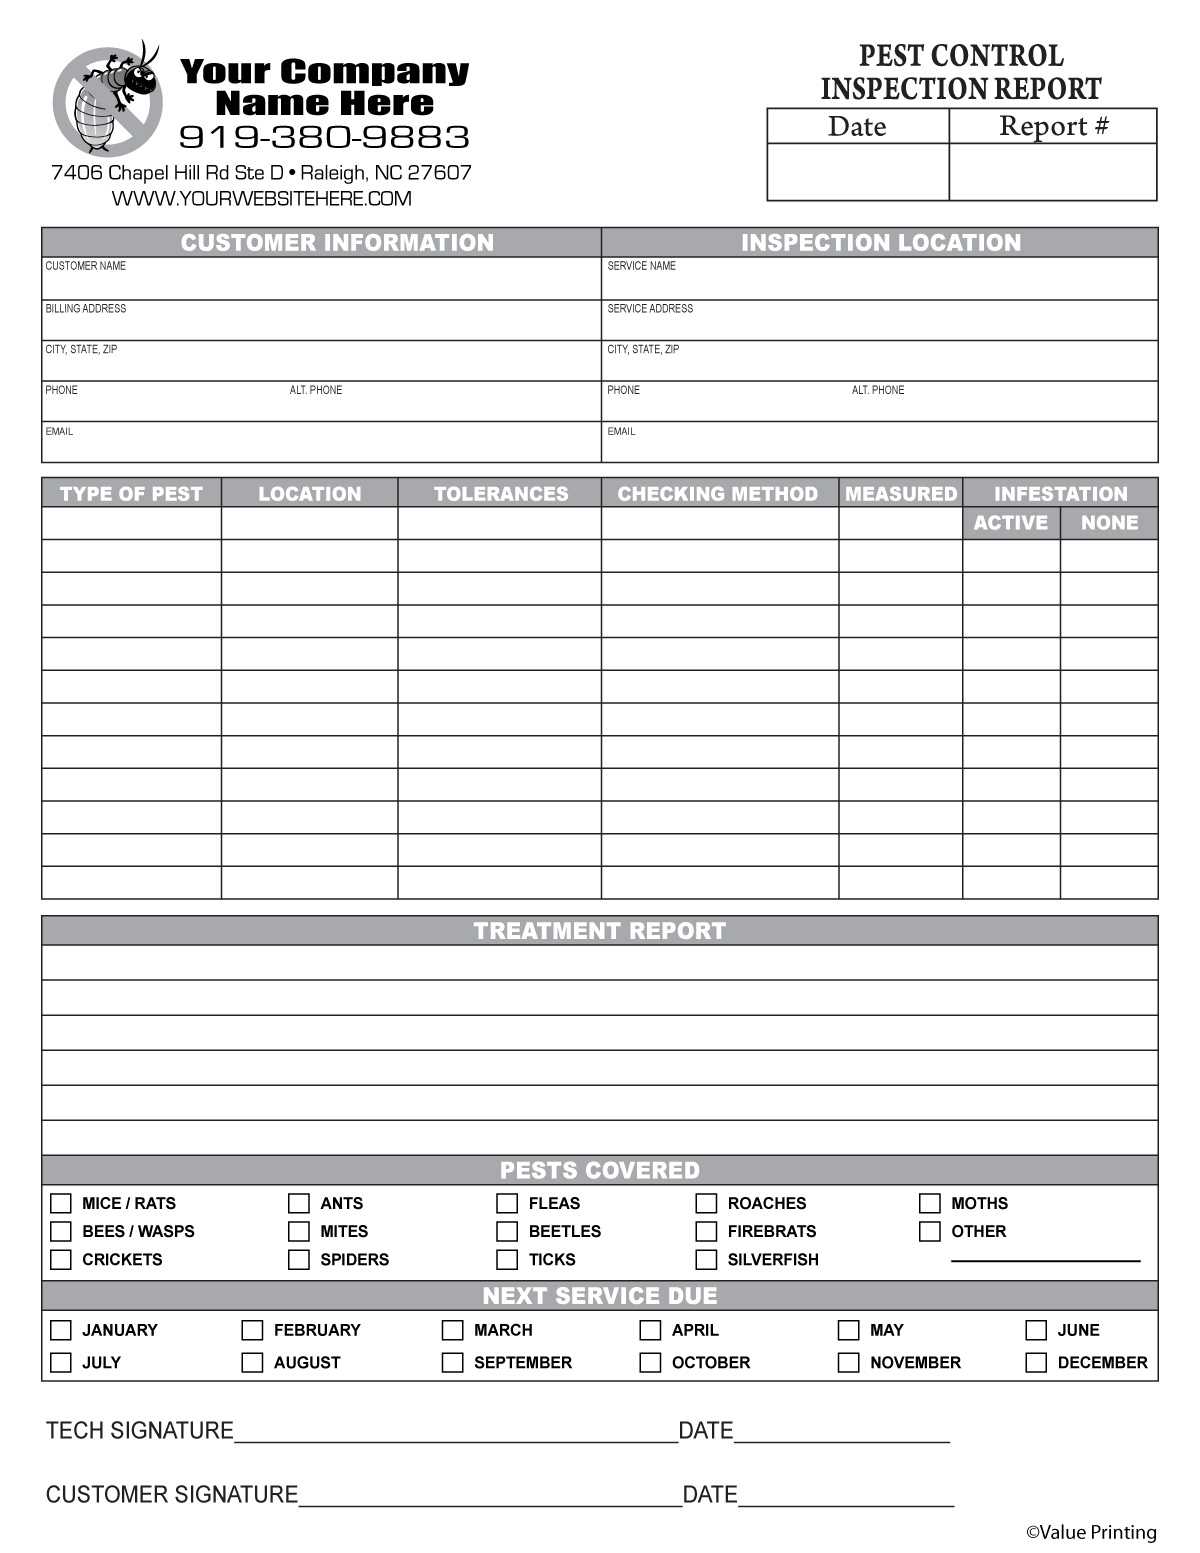
Every successful template shares a handful of core sections. Skipping any of these creates blind spots that can cost you time, money, and reputation.
Header Information
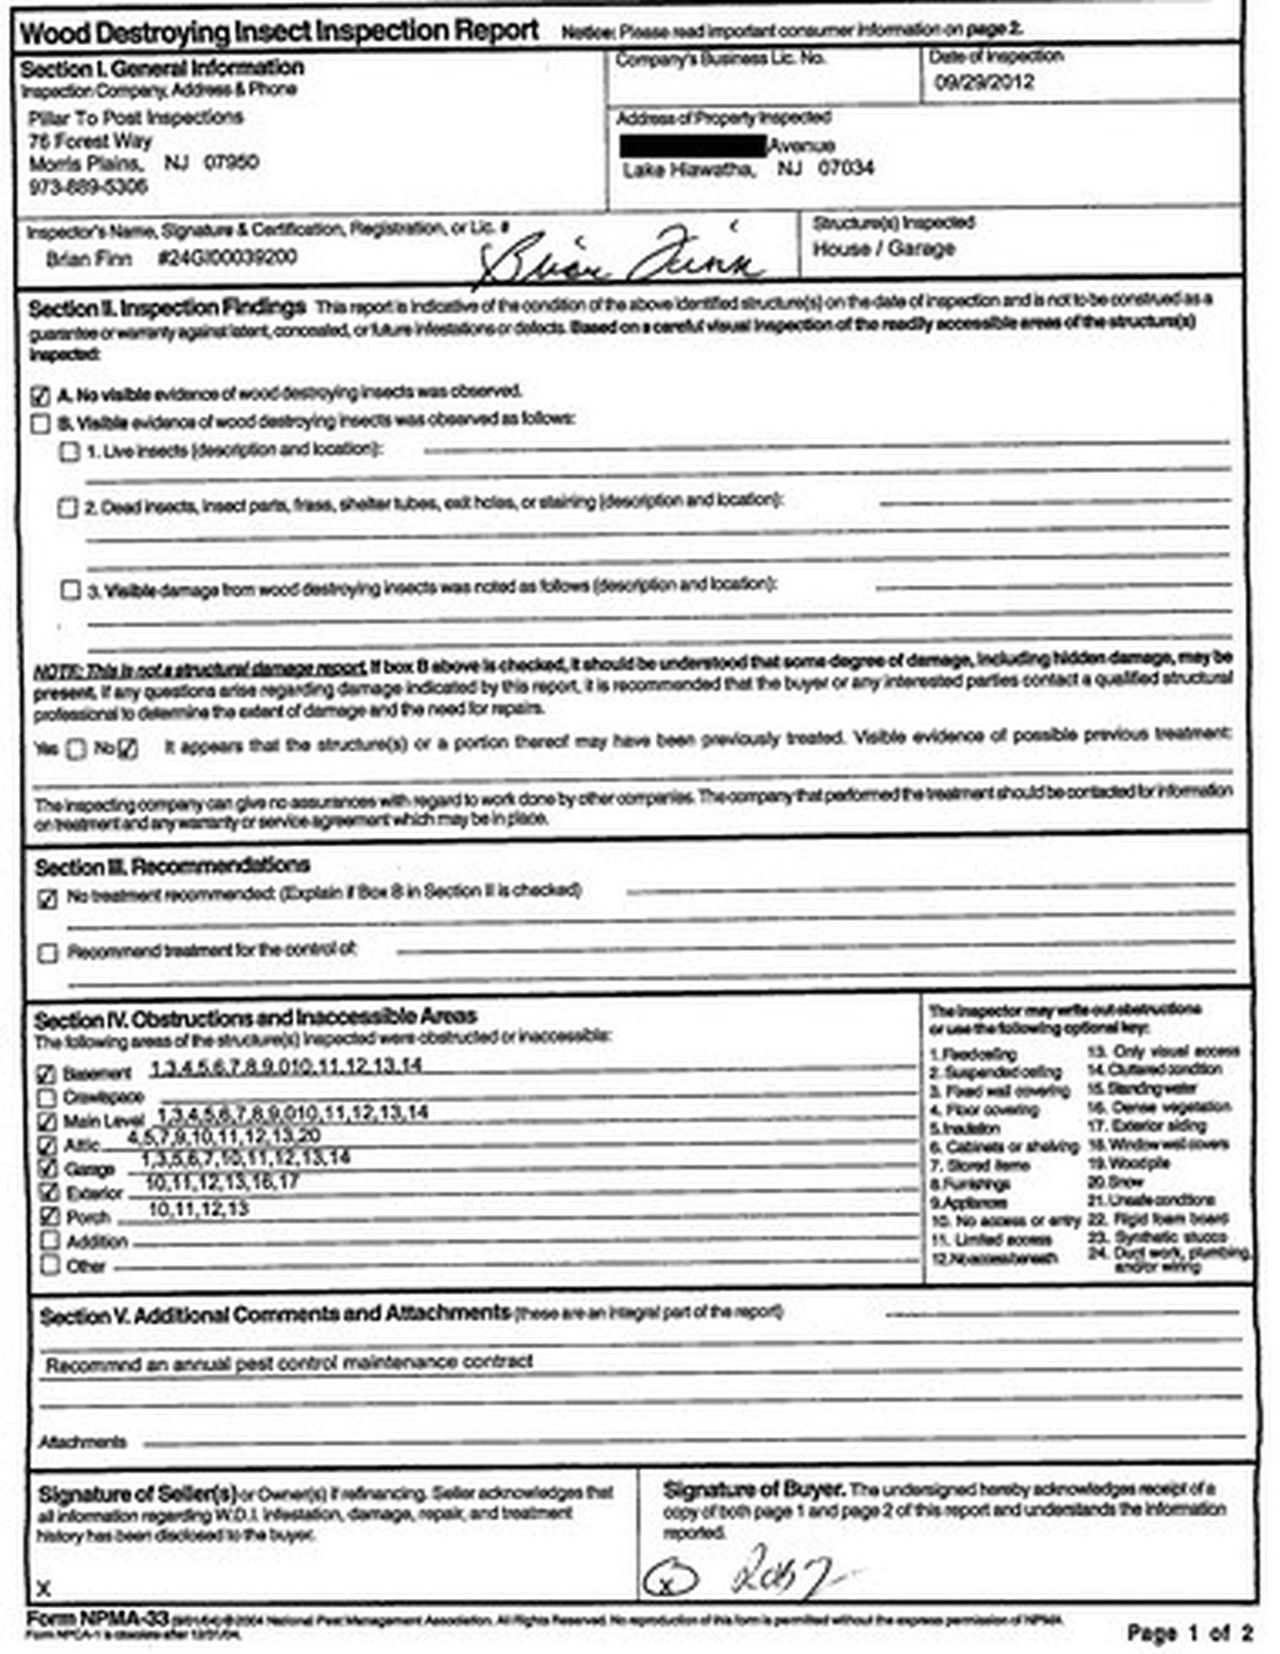
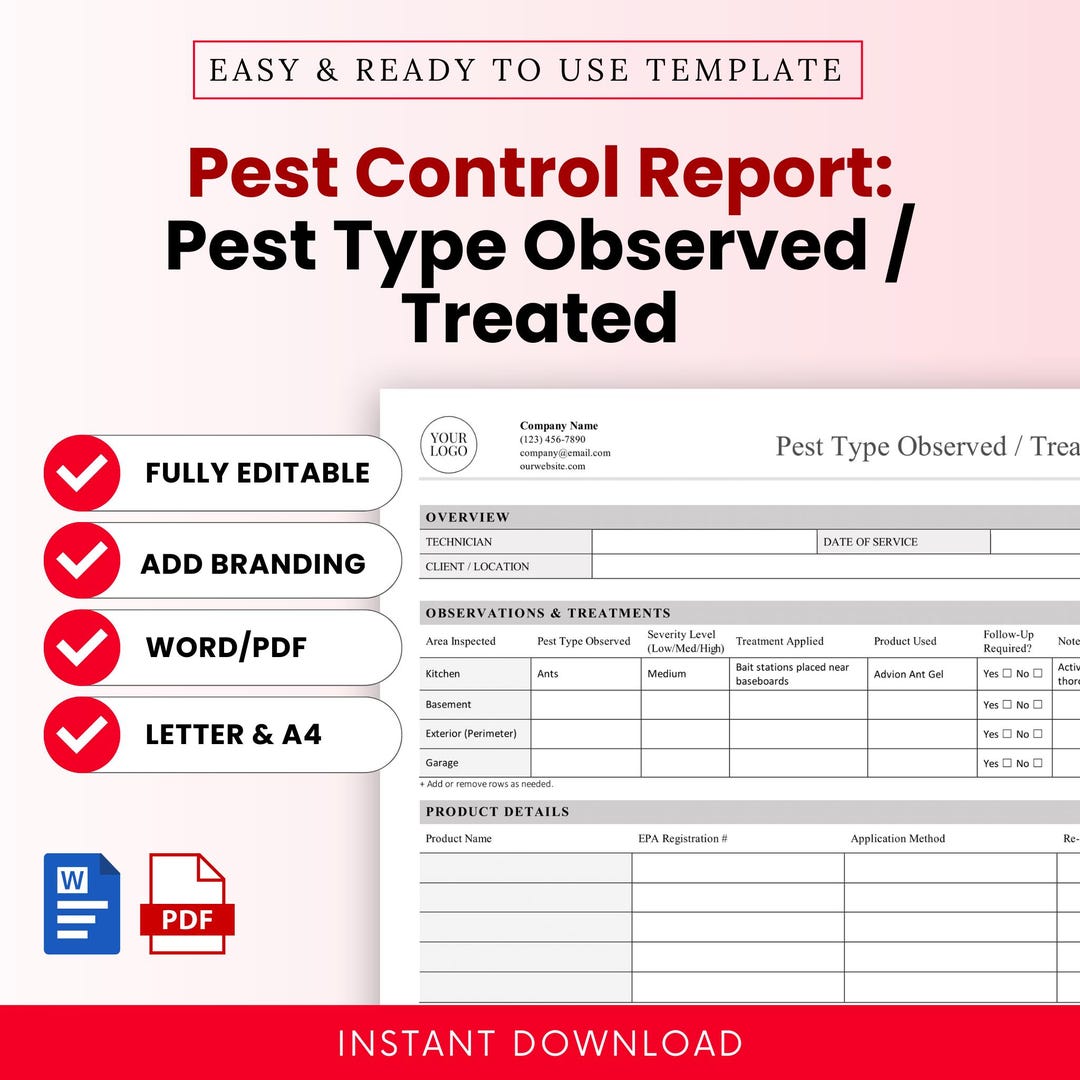
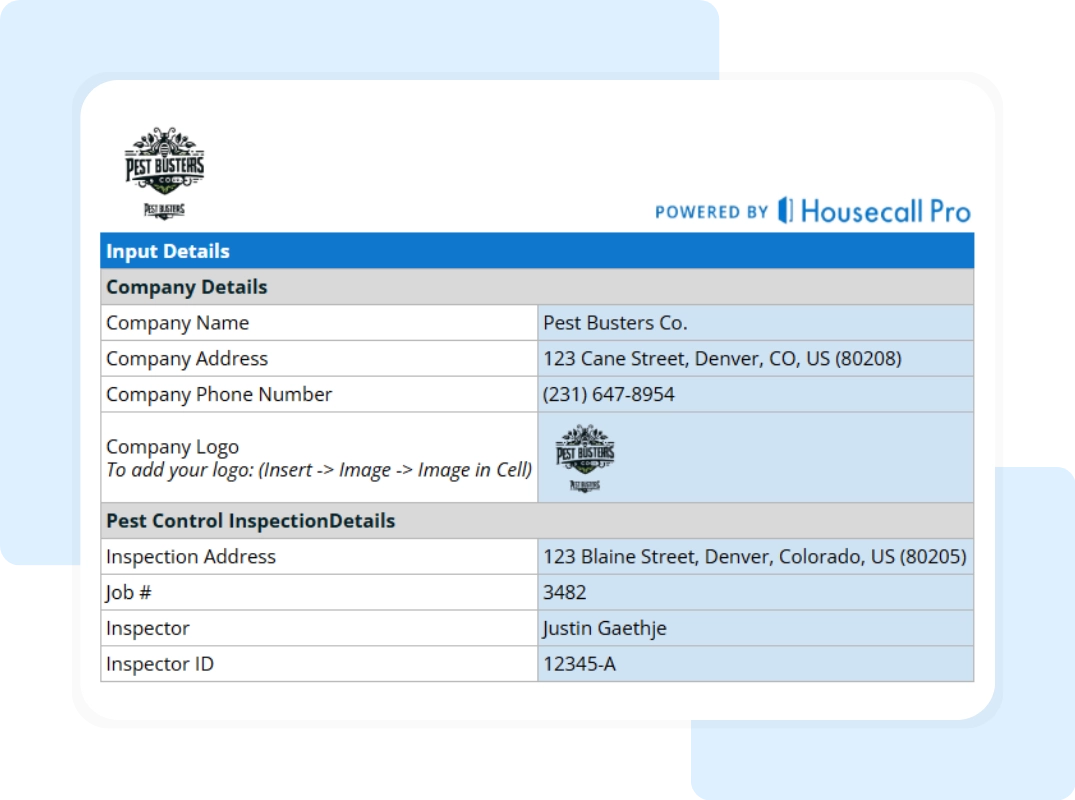
The header is the report’s identity card. It should include the company logo, technician’s name, certification numbers, date and time of inspection, and the client’s full address. Adding a unique report ID helps with internal tracking and client retrieval.
Property Overview
Document the type of property (single‑family, multi‑unit, commercial), square footage, construction materials, and any recent renovations. This context frames the pest activity and informs the treatment plan.
Inspection Findings
Here is the meat of the report. Use a table or bullet list to capture:
- Location of evidence (e.g., “kitchen cabinet under sink”)
- Type of evidence (live insects, droppings, damage)
- Severity rating (low, medium, high)
- Photographic evidence references (photo IDs linked to attached images)
Risk Assessment
Translate raw findings into a risk score. Explain why a low‑level roach presence could spiral into a health violation if left unchecked. This section justifies the recommended treatment and helps the client understand the urgency.
Recommended Treatment Plan
Lay out the proposed actions step‑by‑step. Include product names, application methods, safety precautions, and a timeline. If multiple visits are needed, outline each phase clearly.
Signature and Authorization
Both technician and client signatures seal the deal. In digital formats, use e‑signature fields that comply with electronic record‑keeping laws.
Designing the Template for Clarity
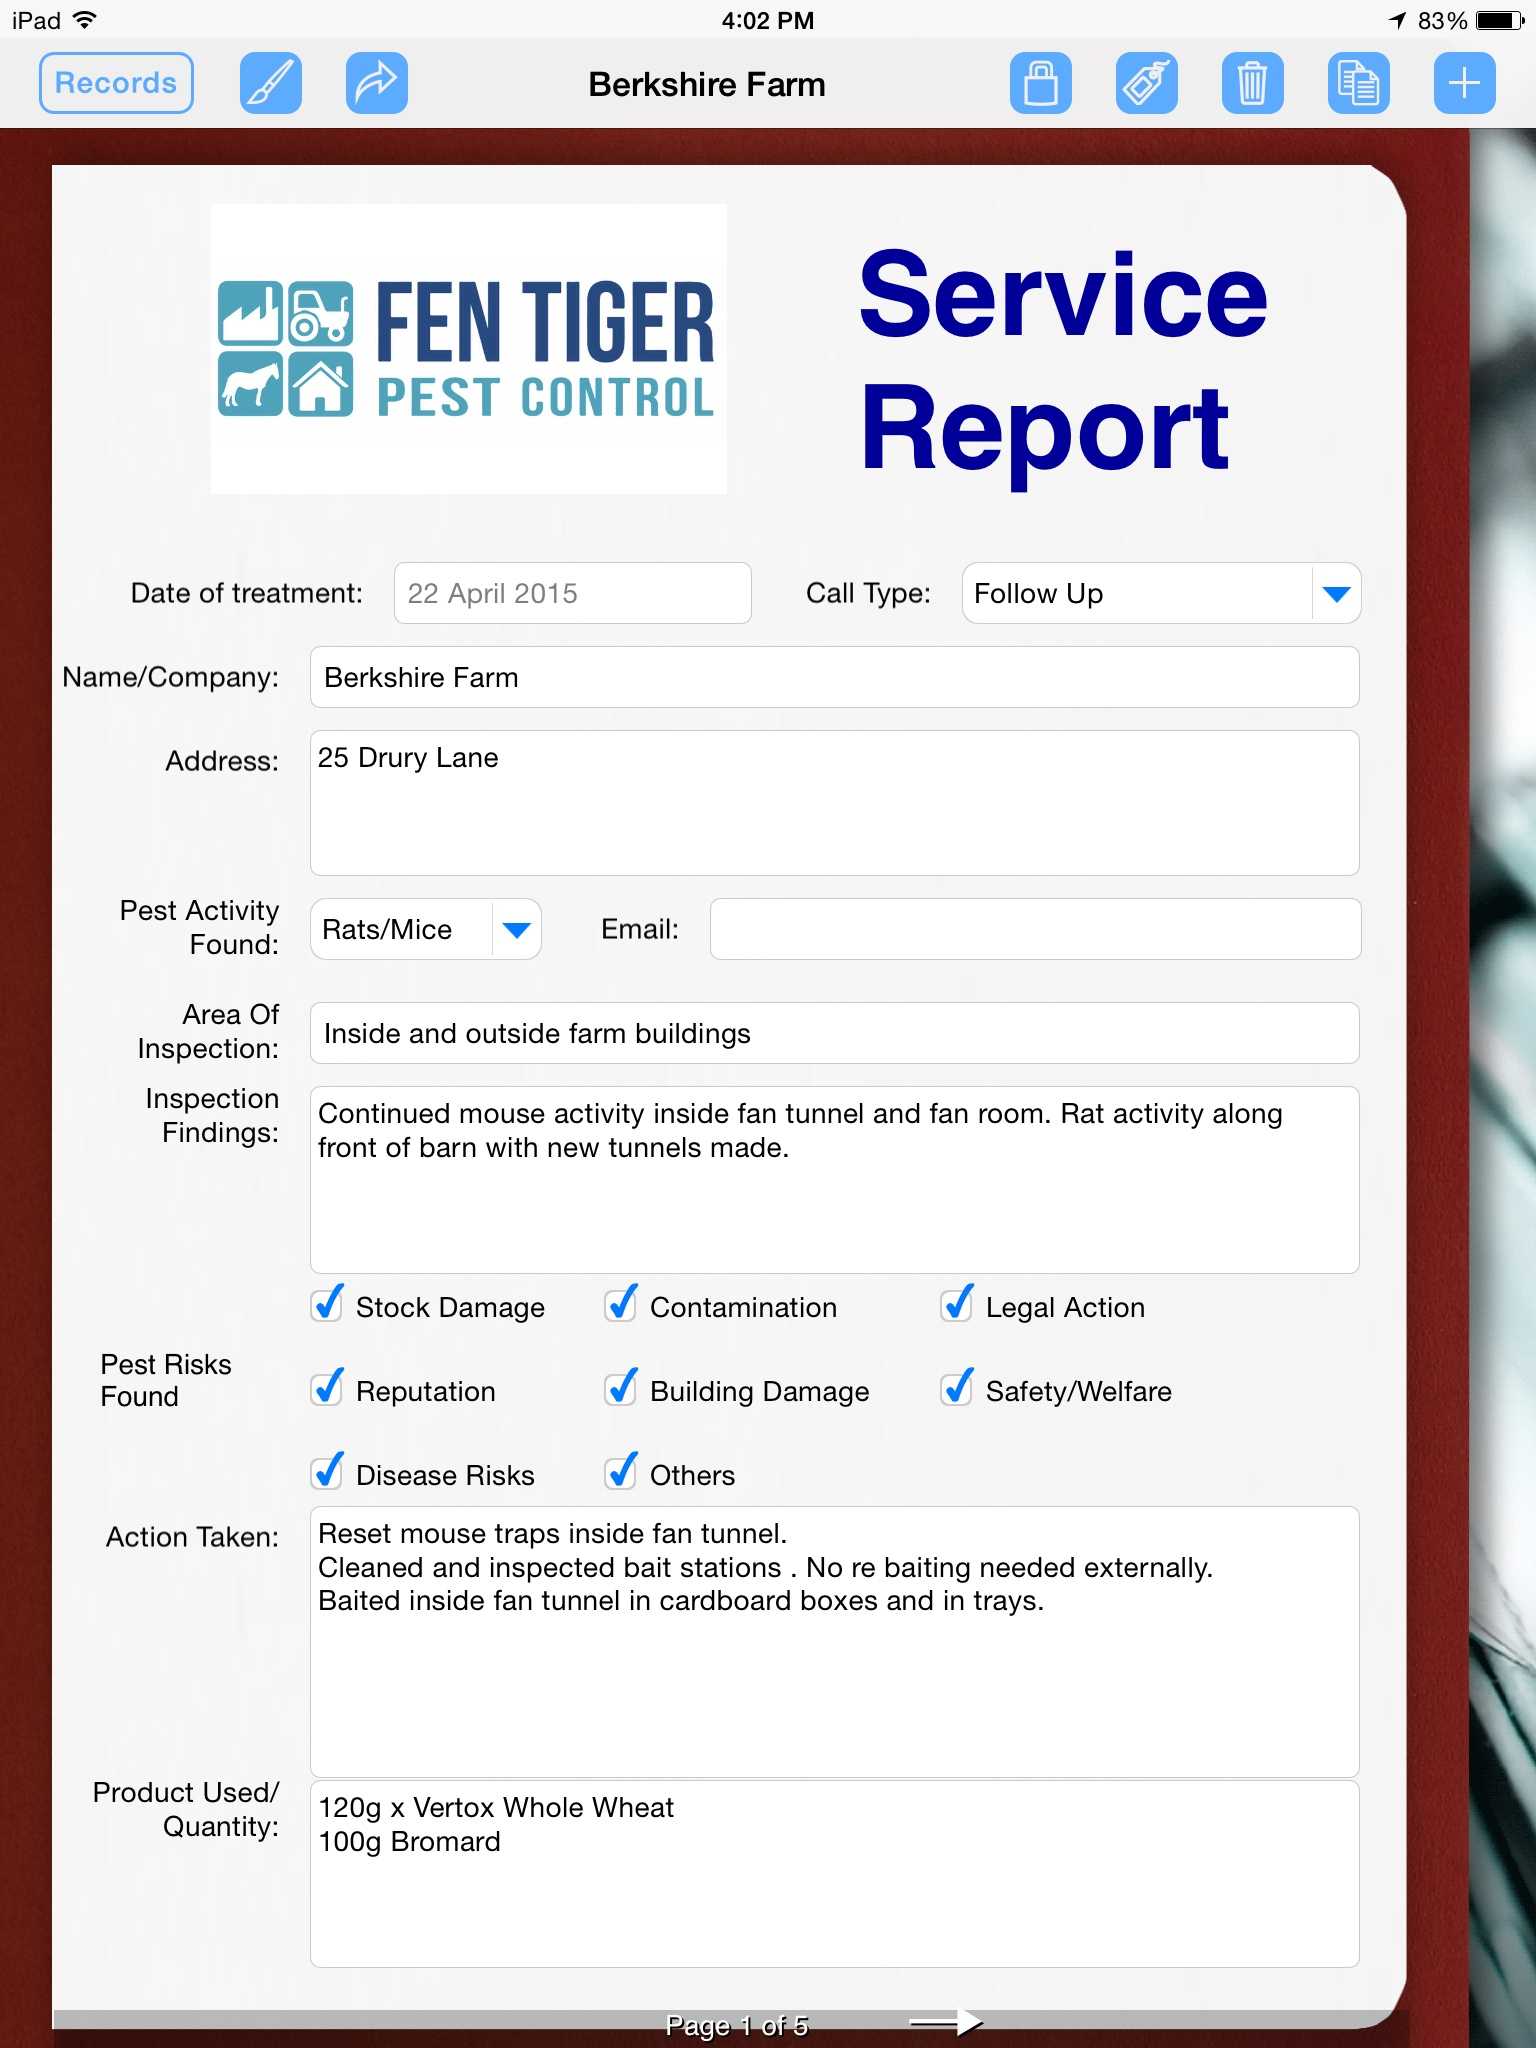
Clarity is not a luxury; it is a requirement. A cluttered template forces technicians to hunt for fields, increasing the chance of errors.
Use Visual Hierarchy
Employ bold headings for each major section, and keep font sizes consistent. White space is your ally—group related fields together and separate them with thin lines or shading.
Standardize Terminology
Choose a controlled vocabulary for pest types, evidence, and severity levels. For example, always use “Fumigation” instead of “Gas Treatment” to avoid confusion. Consistent terminology also improves SEO when reports are published online.
Incorporate Checkboxes and Drop‑Downs
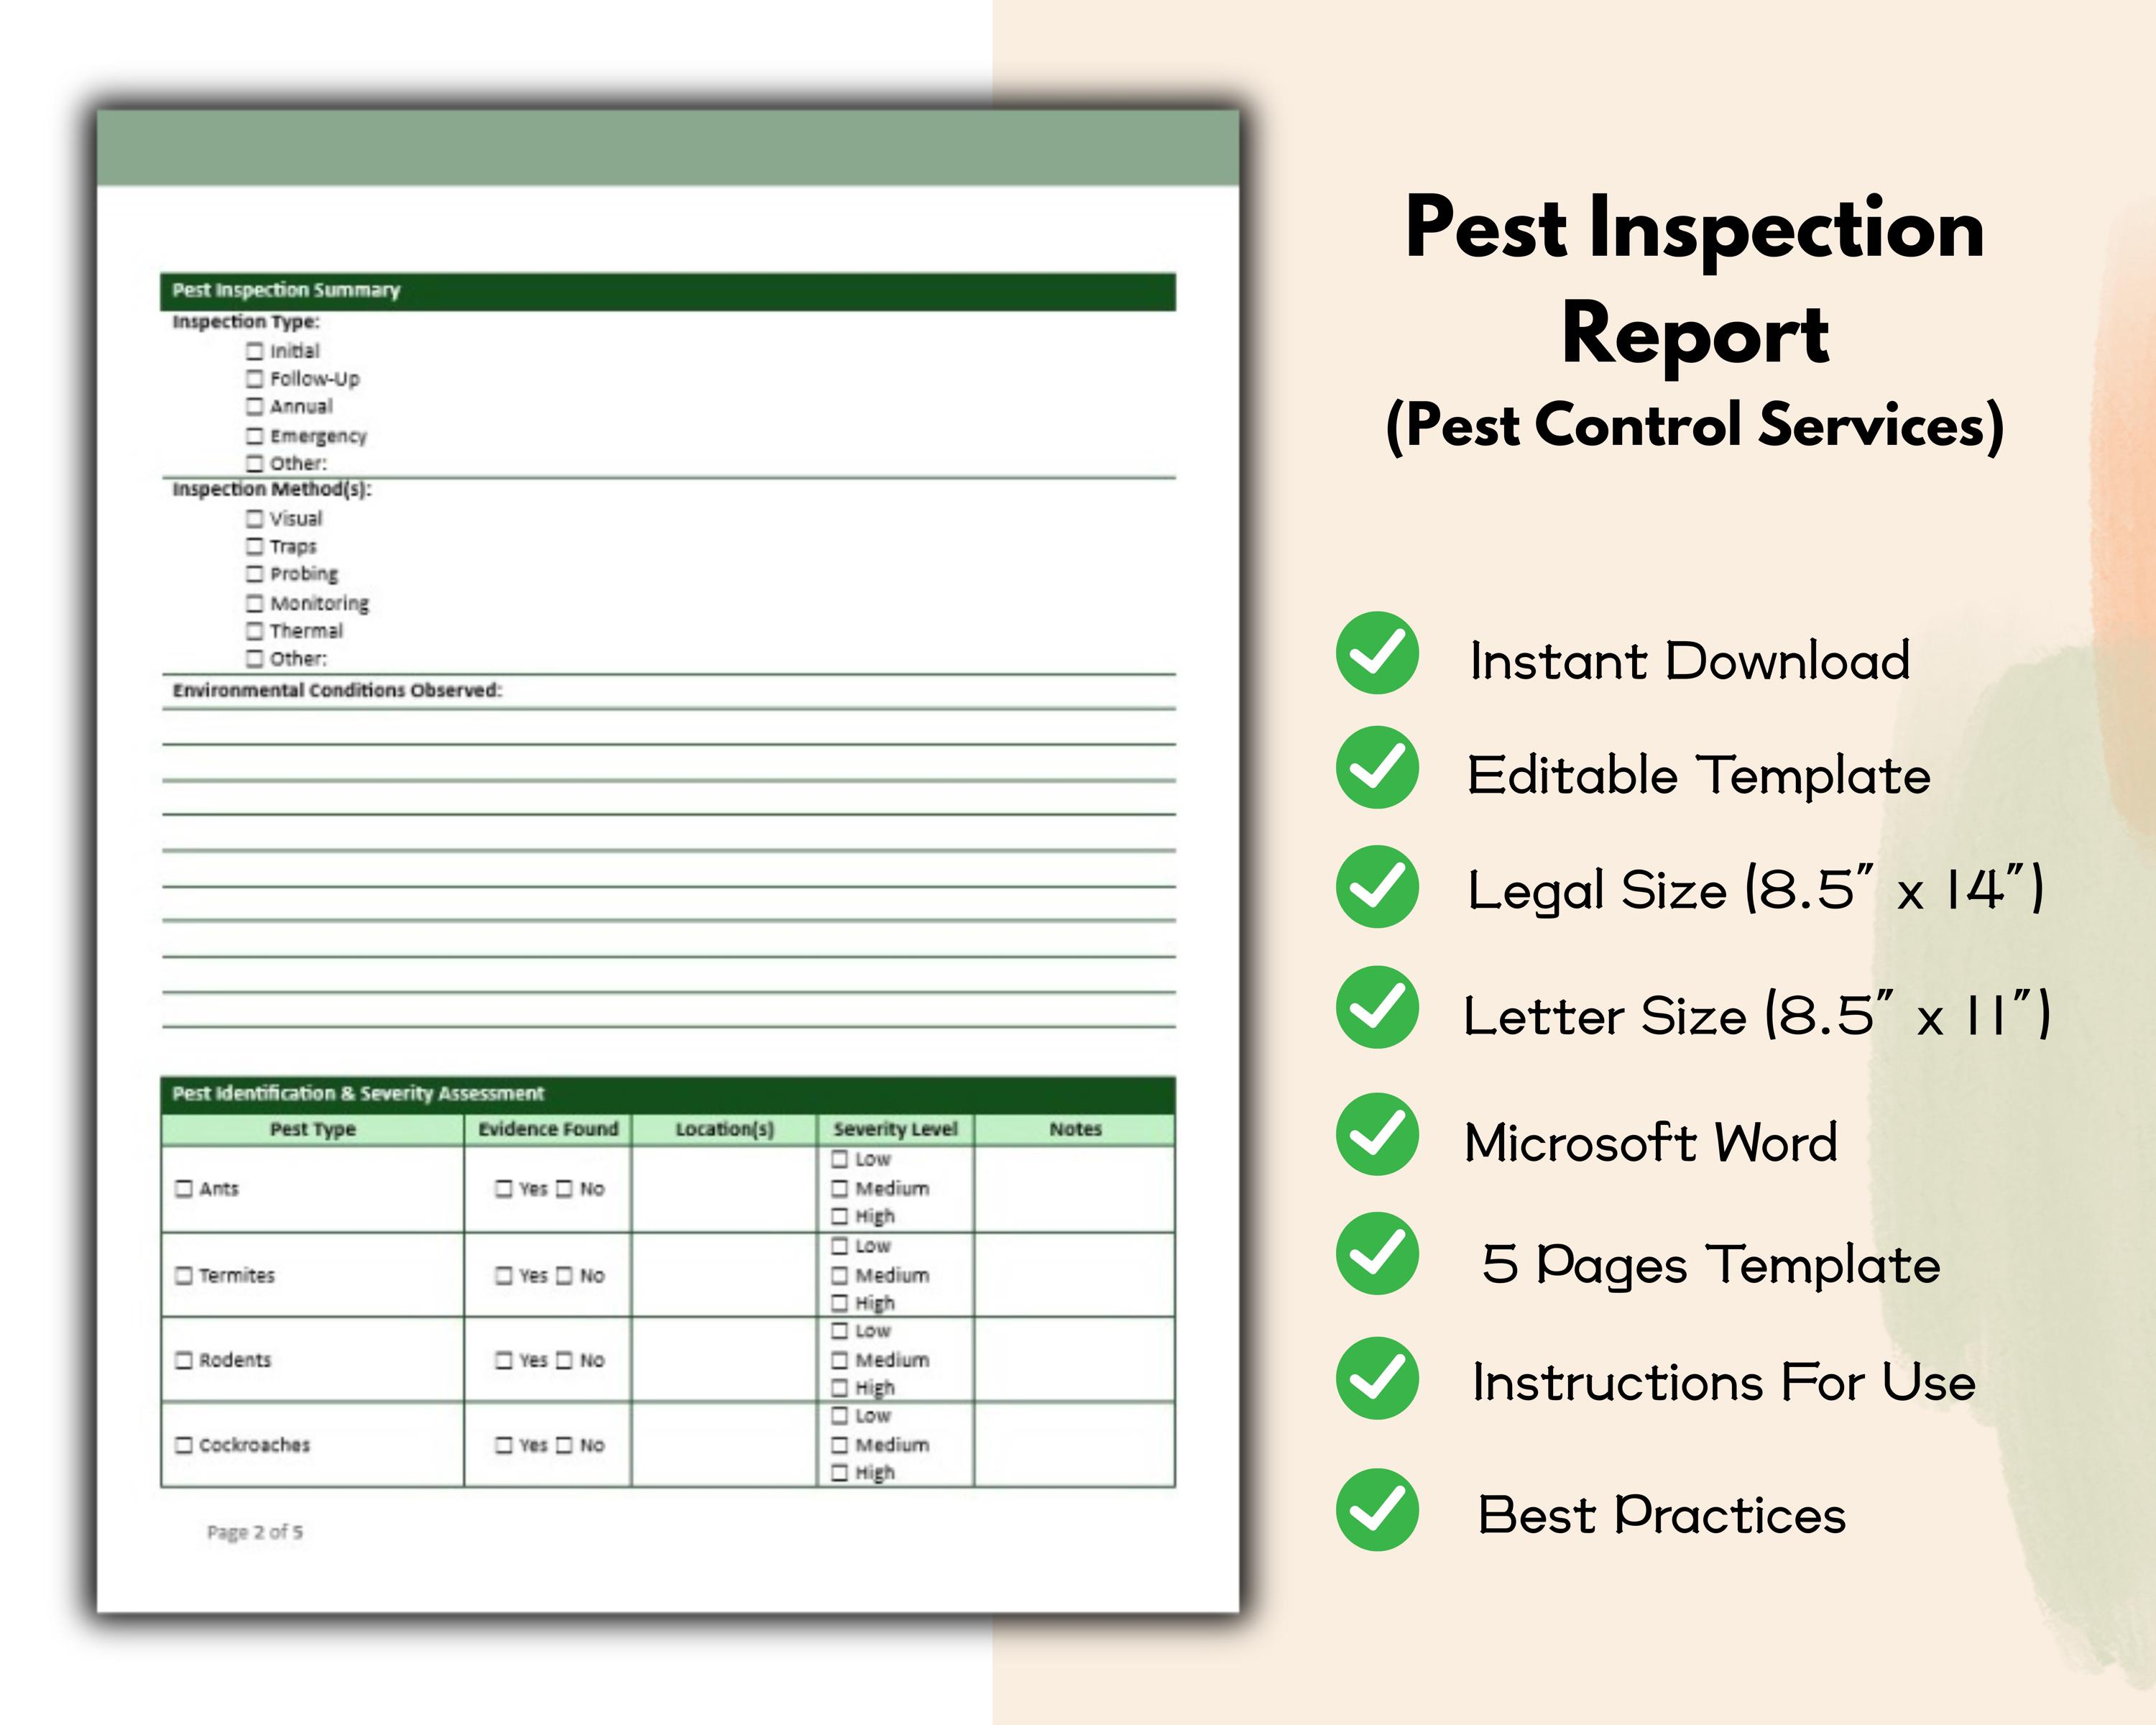
Interactive fields reduce typing errors. A dropdown for “Pest Type” (e.g., “Carpenter Ant,” “German Cockroach”) ensures uniform data entry, which later feeds into analytics dashboards without extra cleaning.
Include Conditional Sections
Use logic to reveal extra fields only when needed. If the technician marks “Termite Activity” as “High,” a hidden section appears asking for “Wood Damage Measurements.” This dynamic approach keeps the form lean while still capturing depth when required.
Customizing for Different Service Offerings
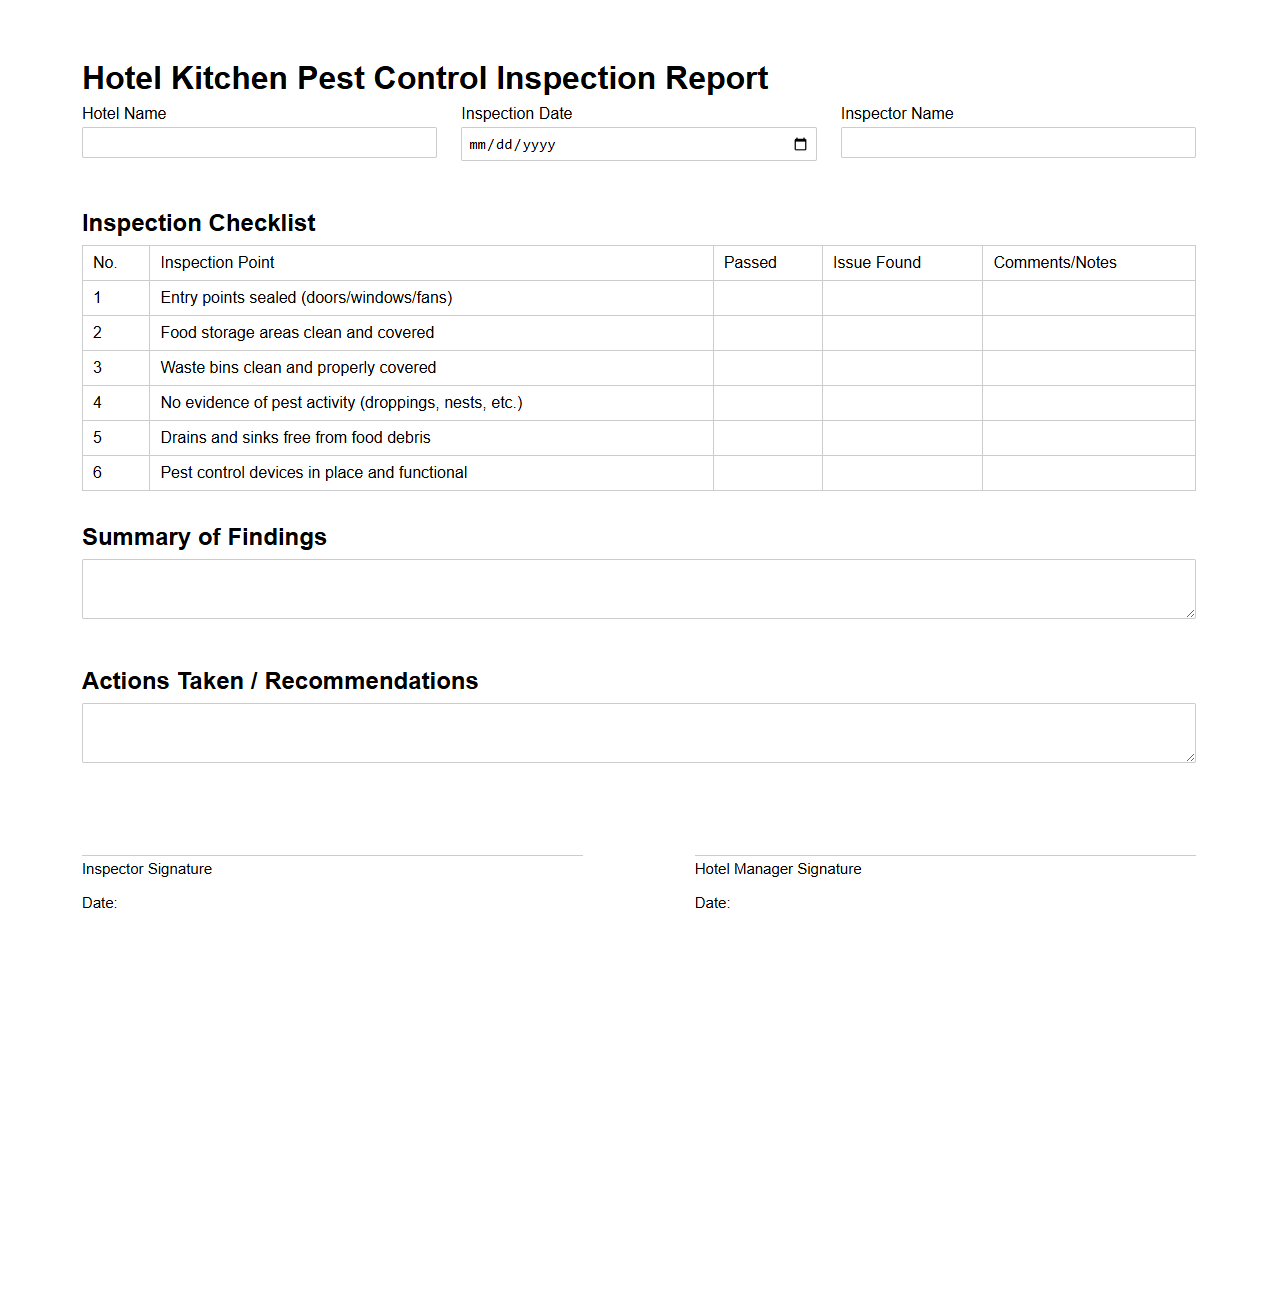
A one‑size‑fits‑all template looks like a Swiss army knife that tries to do everything and ends up being unwieldy. Tailor your template to each service line.
Residential Inspections
Focus on common household pests—ants, roaches, rodents, and bed bugs. Emphasize entry points (foundation cracks, window screens) and provide homeowner education tips directly in the report.
Commercial Property Audits
Commercial clients demand detailed compliance sections. Add fields for “Regulatory Standard” (e.g., FDA, OSHA) and “Compliance Status.” Include a cost‑benefit analysis for ongoing monitoring contracts.
Specialized Treatments
For high‑risk scenarios like termite fumigation or bird control, embed safety checklists, required permits, and post‑treatment monitoring schedules. This shows professionalism and protects you from liability.
Digital Versus Paper Formats
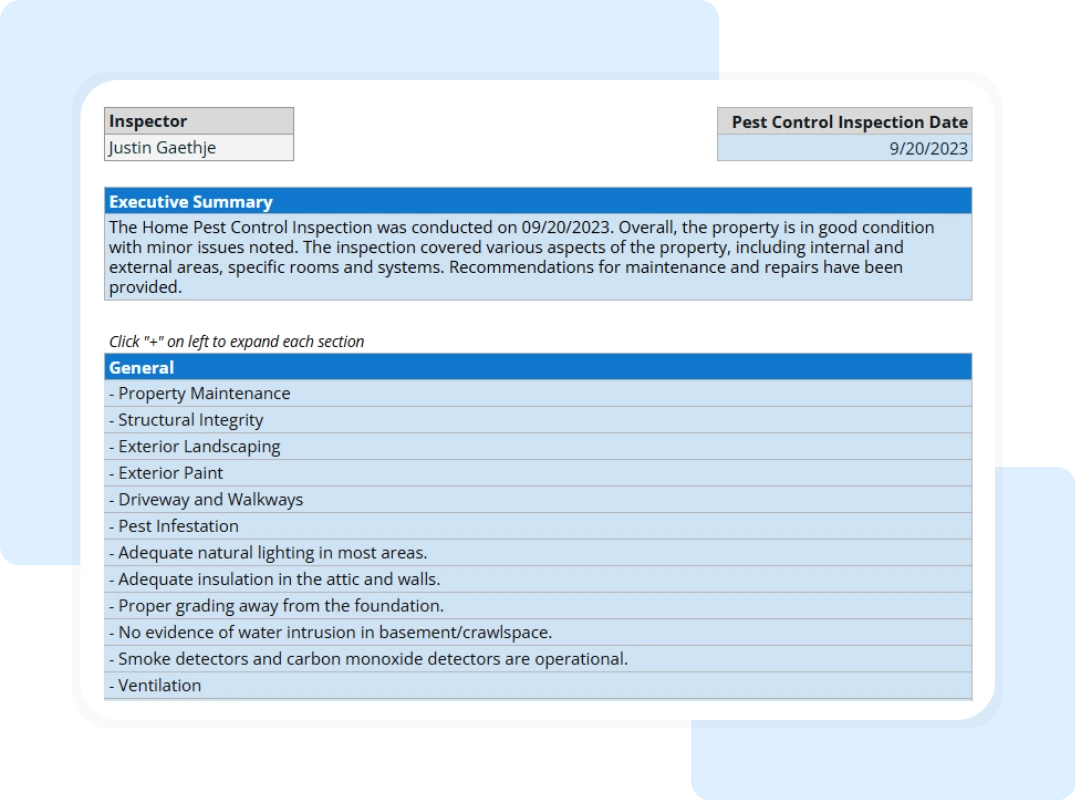
The debate between digital and paper has been settled for most modern pest‑control firms: go digital, but keep a paper backup for the occasional client who insists.
Advantages of Digital
- Instant syncing with cloud‑based CRM systems.
- Embedded photos and GPS coordinates.
- Automated PDF generation for client delivery.
- Searchable archives that power business intelligence.
Paper Still Has a Role
Some rural customers lack reliable internet, and certain jurisdictions still require hard‑copy signatures. Keep a printable version that mirrors the digital layout exactly, so data entry errors do not creep in when transcribing.
Choosing the Right Tool
Popular options range from custom‑built web apps to off‑the‑shelf solutions like Microsoft Forms paired with Power Automate. When evaluating, ask: Does it integrate with my scheduling software? Can it handle offline data capture? Does it support secure e‑signatures?
How to Use the Template in the Field

A template is only as good as the technician’s discipline in using it.
Pre‑Inspection Preparation
Load the client’s record onto the tablet before arrival. Review past reports to spot recurring problem areas. Fill in static fields (address, client name) ahead of time to reduce on‑site friction.
During Inspection
Capture photos immediately after spotting evidence. Use the app’s voice‑to‑text feature for quick notes, but edit for clarity before finalizing. Mark each finding on the property map if the software supports it.
Post‑Inspection Follow‑Up
Generate the PDF within five minutes of leaving the site. Attach photos, double‑check the risk assessment, and send the report to the client’s email with a clear call‑to‑action (“Schedule treatment within 48 hours”). Archive the report automatically in the client folder.
Common Mistakes to Avoid
Even seasoned pros stumble when the template is misused. Here are the pitfalls that erode credibility.
Over‑Complicating the Layout
If technicians spend more time hunting for fields than inspecting, the report becomes a liability. Keep the form lean, and move optional details to expandable sections.
Neglecting Photo Documentation
A written description without visual proof is a weak defense in disputes. Make photo capture mandatory for any “high” severity rating.
Skipping the Signature
Electronic signatures must be captured before the report is considered final. A missing signature invalidates the contract in many jurisdictions.
Failing to Update the Template
Pest behavior evolves, regulations change, and new treatment products emerge. Schedule quarterly reviews of the template to incorporate the latest best practices.
Real‑World Example Walkthrough
Imagine a suburban home in the Midwest plagued by German cockroaches. The technician arrives with a tablet pre‑loaded with the client’s history: two prior roach sightings, last treated six months ago.
Step 1: Header Completion
Technician John Doe fills out his name, certification ID, date, and the property address. The report auto‑generates a unique ID: RC‑2026‑09‑00457.
Step 2: Property Overview
John notes the house is a 2,300‑sq‑ft, single‑family, built in 1998, with a recent kitchen remodel. He checks the “Recent Renovations” box, prompting an extra field for “New Installations” where he records “Dishwasher under counter.”
Step 3: Inspection Findings
In the kitchen, John finds live roaches near the dishwasher drain. He selects “German Cockroach” from the dropdown, rates severity as “High,” and snaps three photos that auto‑link to the entry. He repeats the process in the pantry, marking a “Medium” severity.
Step 4: Risk Assessment
Based on the high severity in a food‑preparation area, John assigns a risk score of 8/10, noting the potential for food contamination and possible health department fines.
Step 5: Treatment Recommendation
John proposes a two‑step treatment: a gel bait program for immediate knockdown, followed by a monthly monitoring schedule. He lists the exact product (e.g., “Advion Cockroach Gel”) and application points.
Step 6: Signature Capture
The client signs electronically on the tablet, and the report locks for editing.
Step 7: Delivery and Follow‑Up
Within minutes, the PDF is emailed to the homeowner with a clear subject line: “Urgent: Cockroach Treatment Plan – Action Required.” The CRM logs the open rate, and a reminder is set for a follow‑up call in two days.
This example showcases how a disciplined template transforms a chaotic field encounter into a clear, defensible, and revenue‑generating document.
SEO Benefits of Using a Structured Report Template

When you publish case studies, blog posts, or client portals that include excerpts from your inspection reports, the structured data gives search engines a roadmap. Consistent headings, bullet points, and keyword‑rich descriptions improve on‑page relevance for queries like “pest inspection report sample” or “how to read a termite report.”
Embedding schema markup for “Report” or “Inspection” (using JSON‑LD) can further signal to Google that your content is authoritative, potentially earning rich snippets in SERPs. The result: higher organic traffic, more qualified leads, and a reputation boost that echoes throughout the industry.
Conclusion
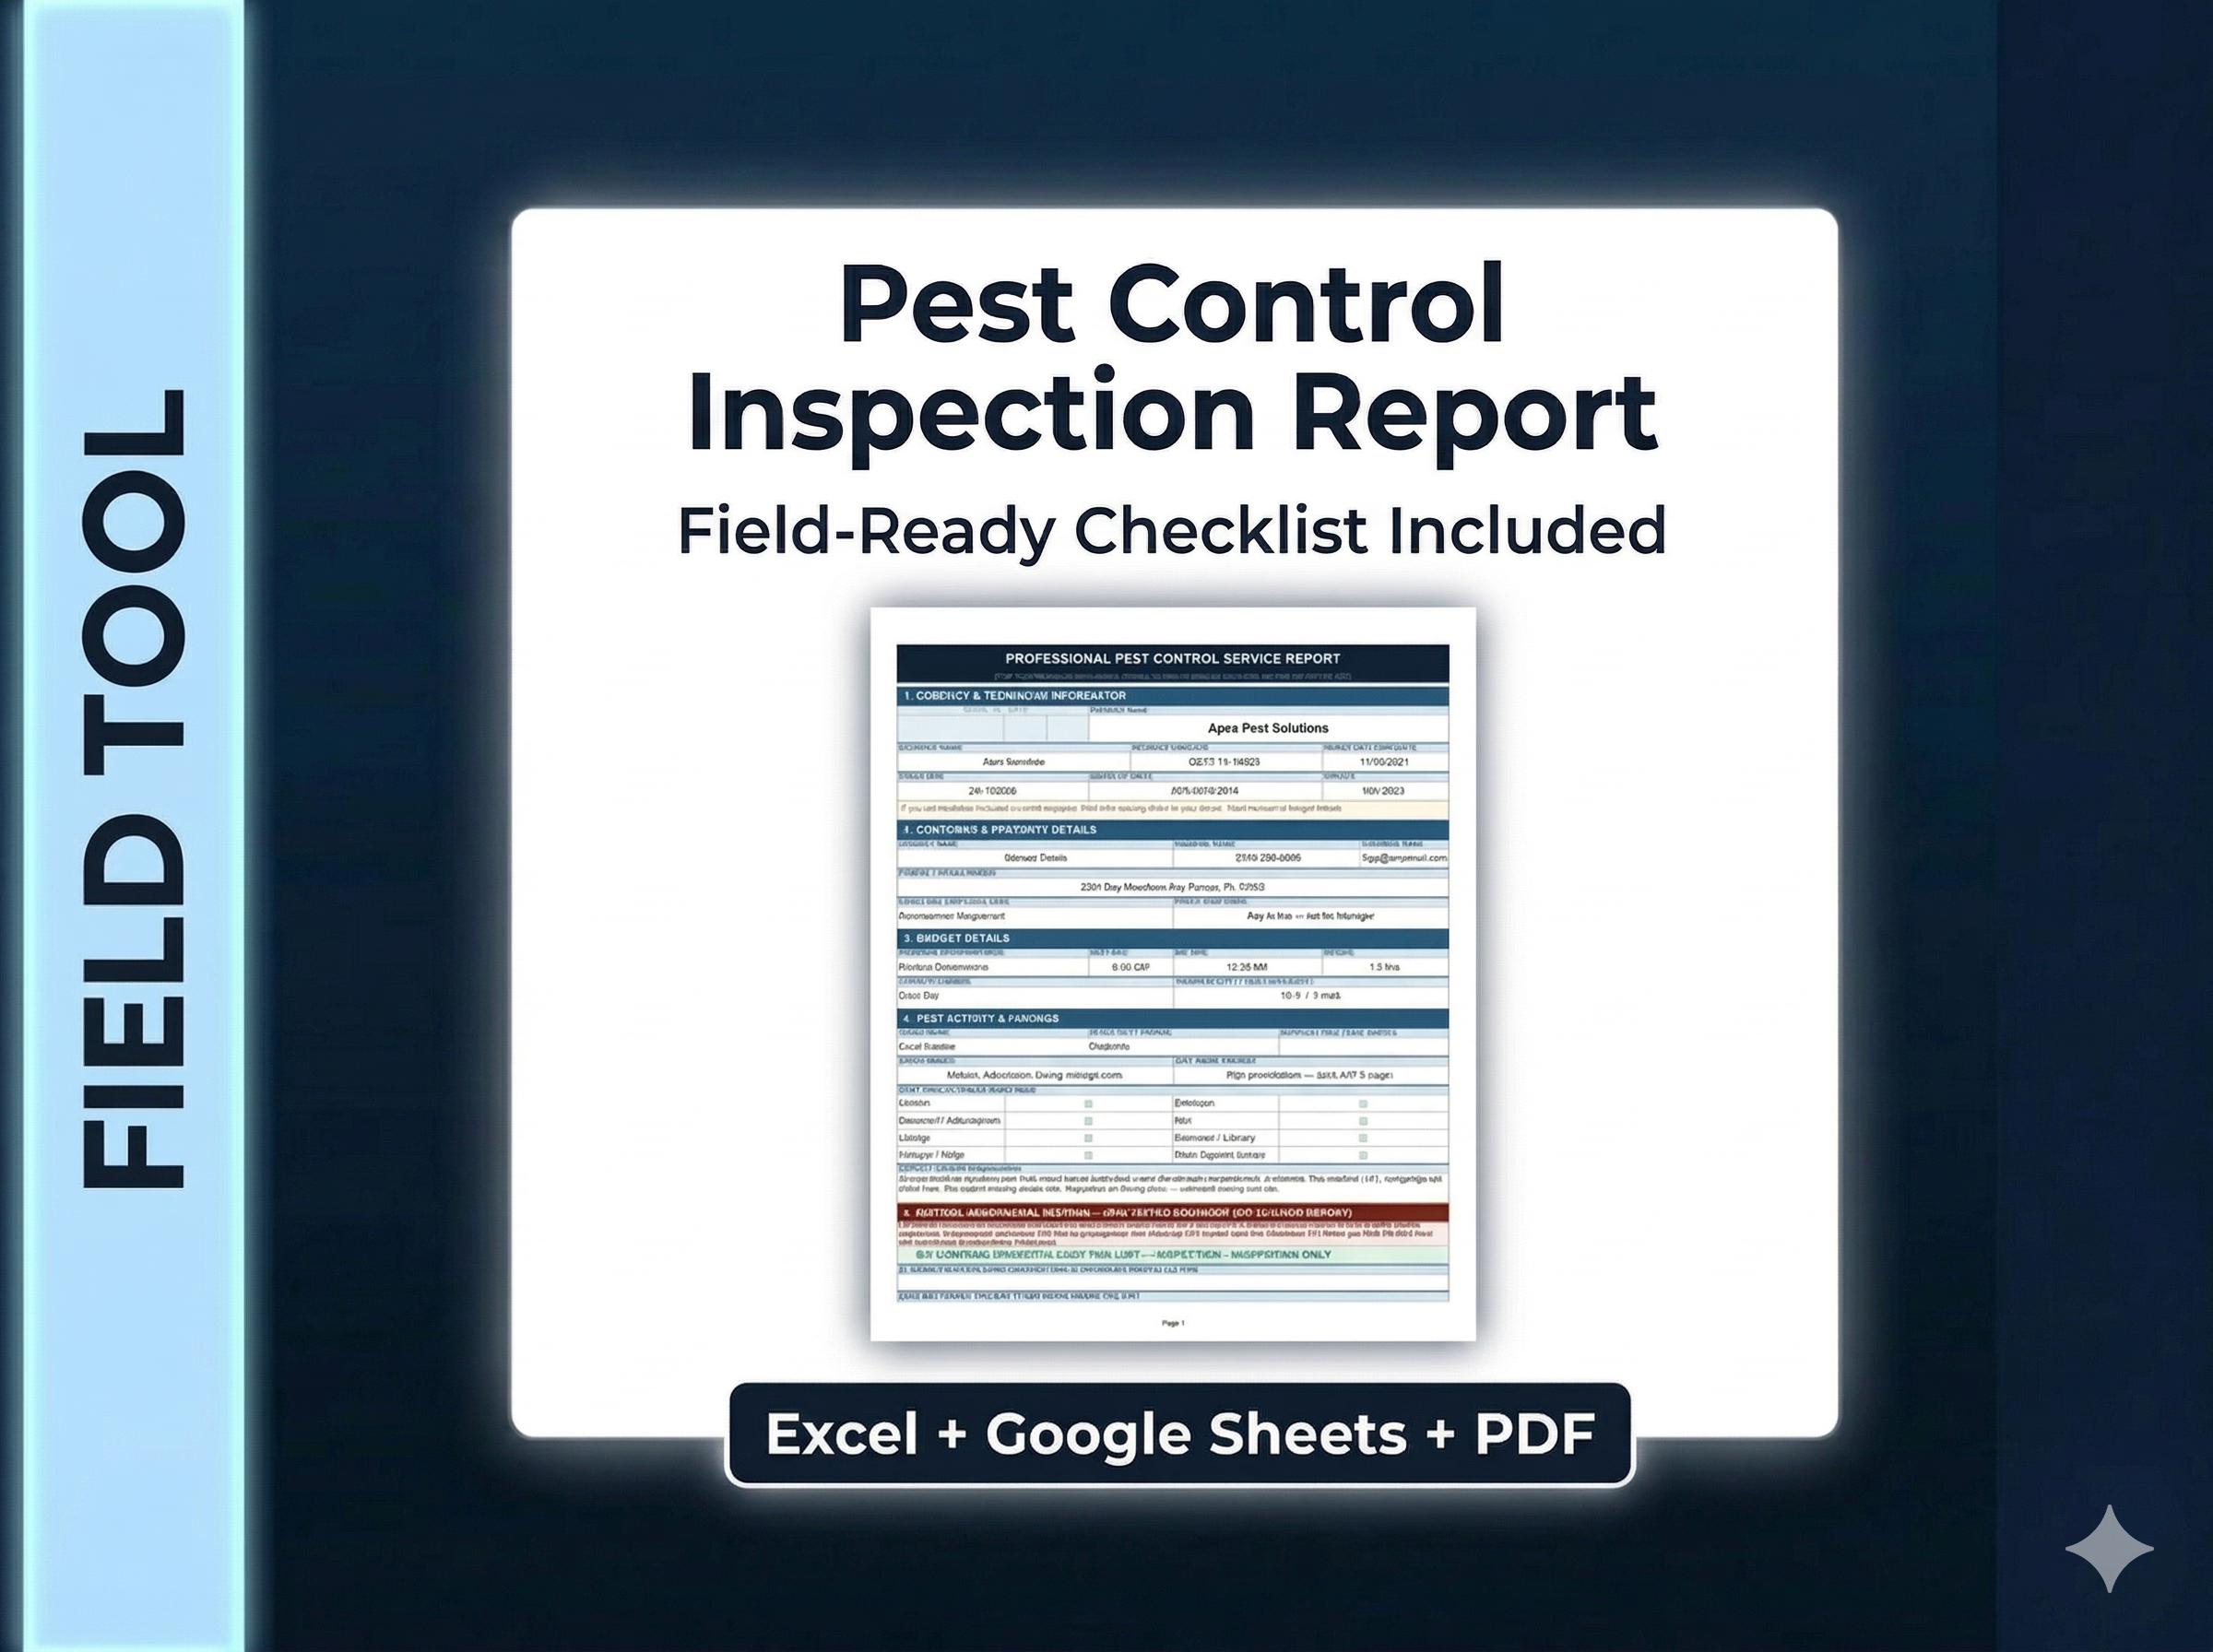
The Pest Control Inspection Report Template is not merely a form; it is the operational heart of a pest‑control business that demands precision, compliance, and marketability. By mastering its core components, designing for clarity, customizing for service lines, and leveraging digital tools, you turn every inspection into a data‑driven asset. Avoid common pitfalls, keep the template alive with regular updates, and harness the SEO power of structured reports to attract new clients. In the unforgiving darkness of pest battles, a flawless report is the torch that guides you to victory, client trust, and sustainable growth.