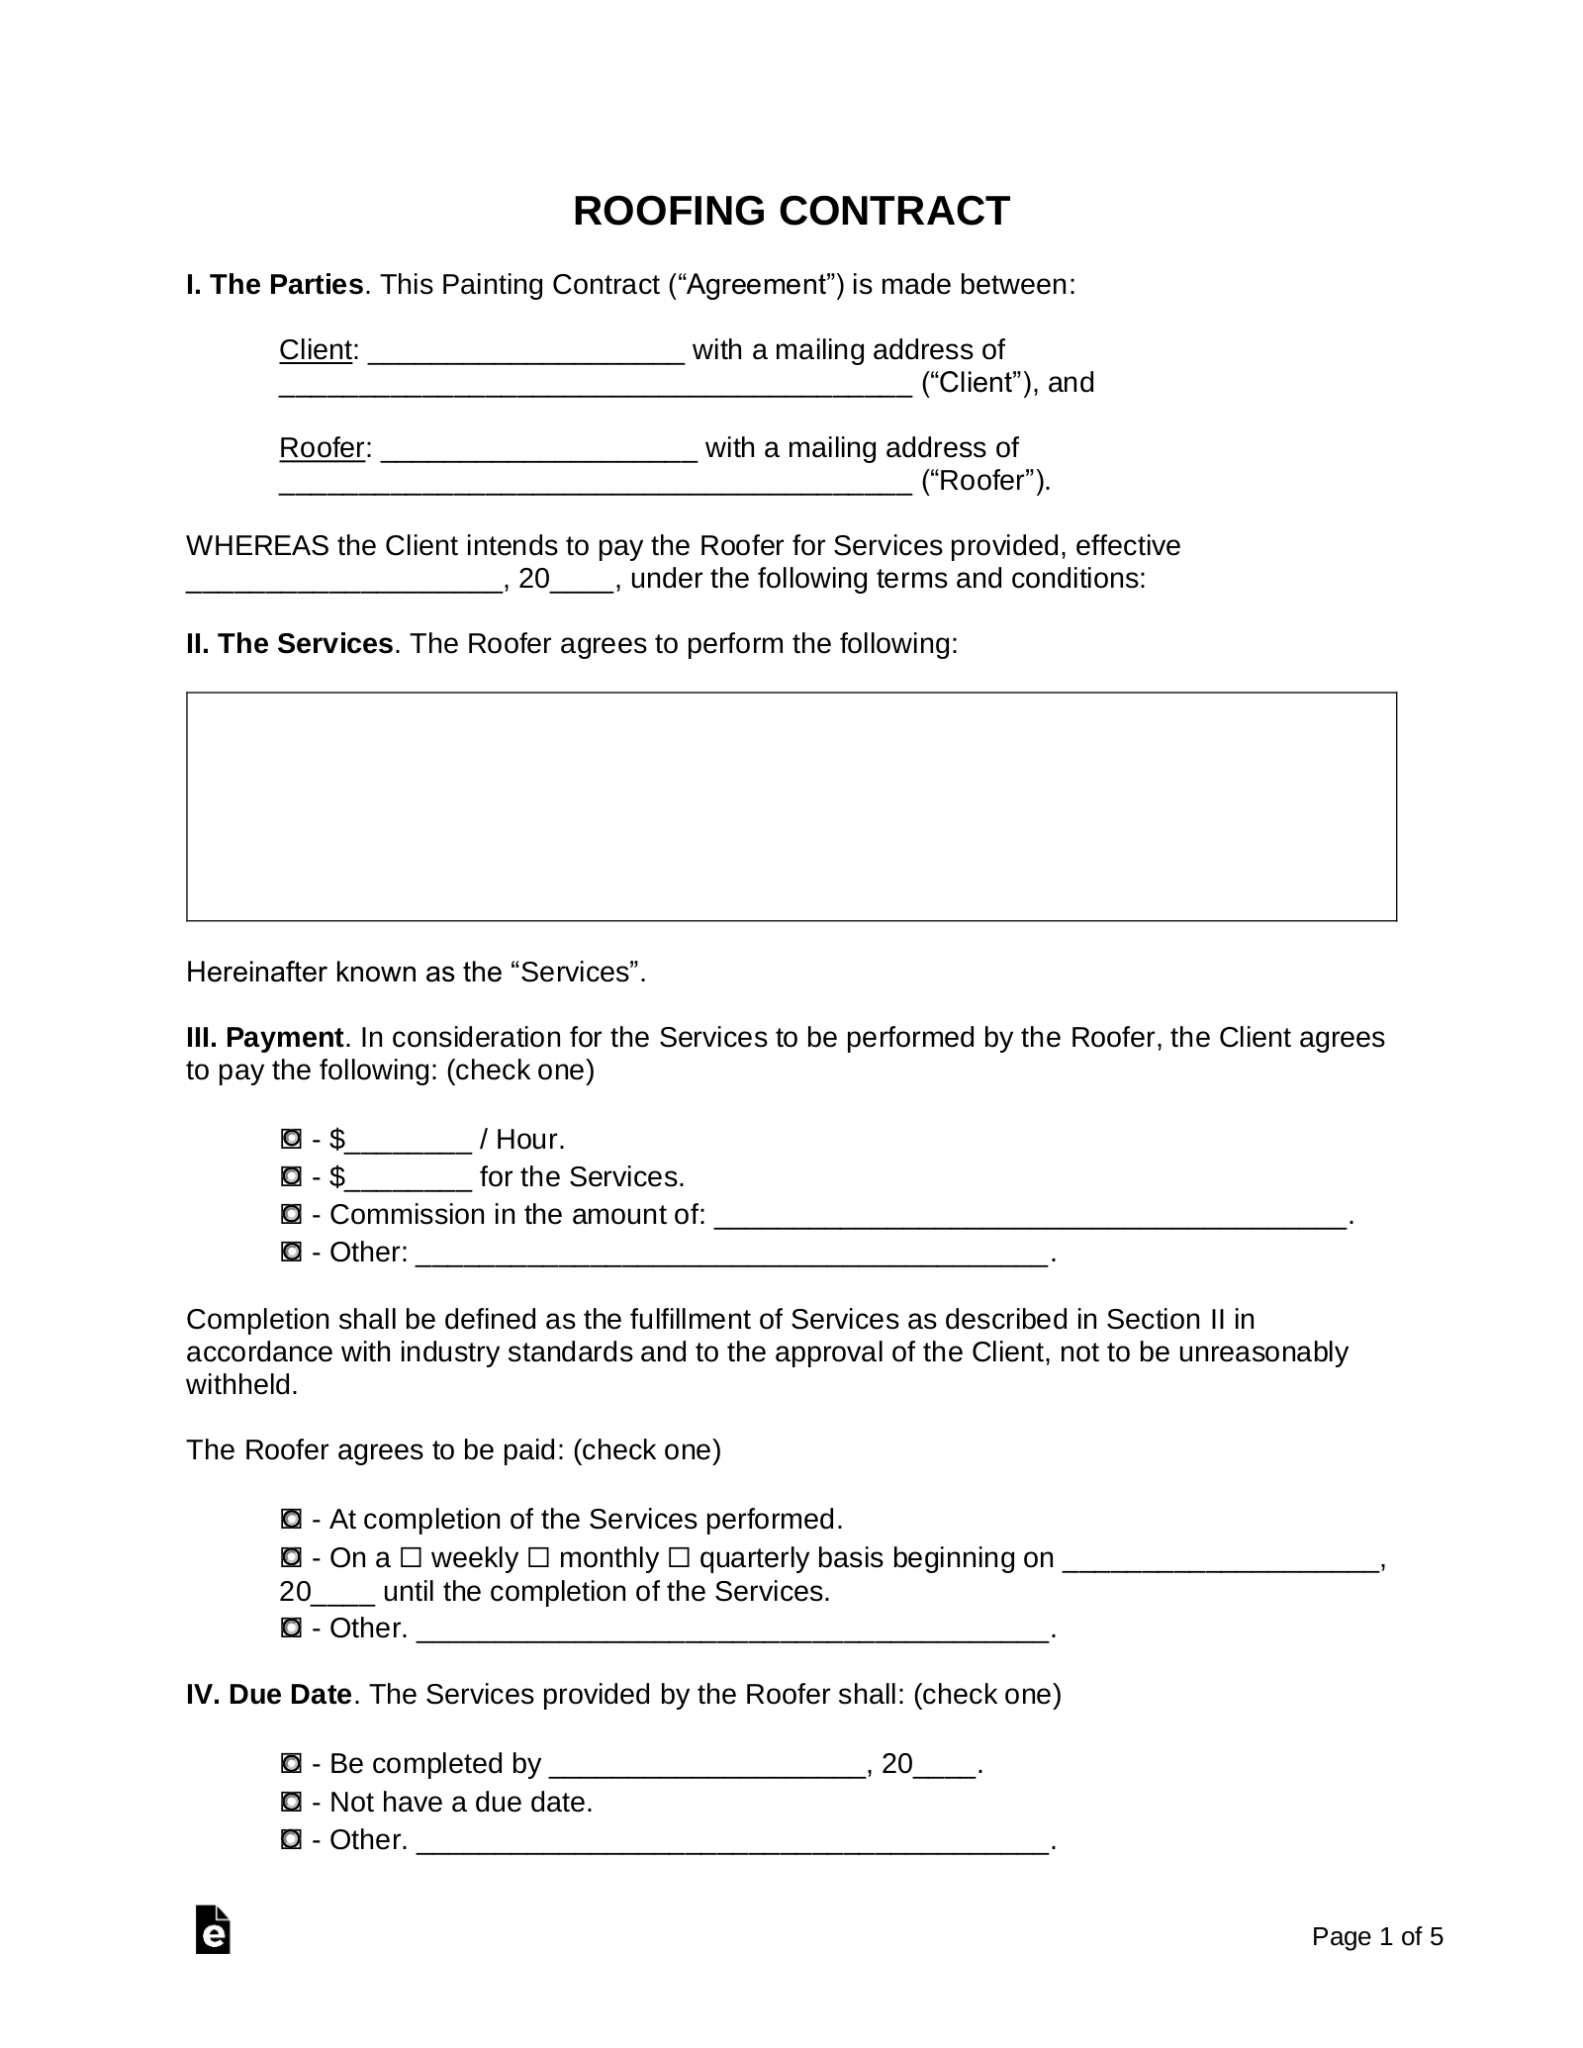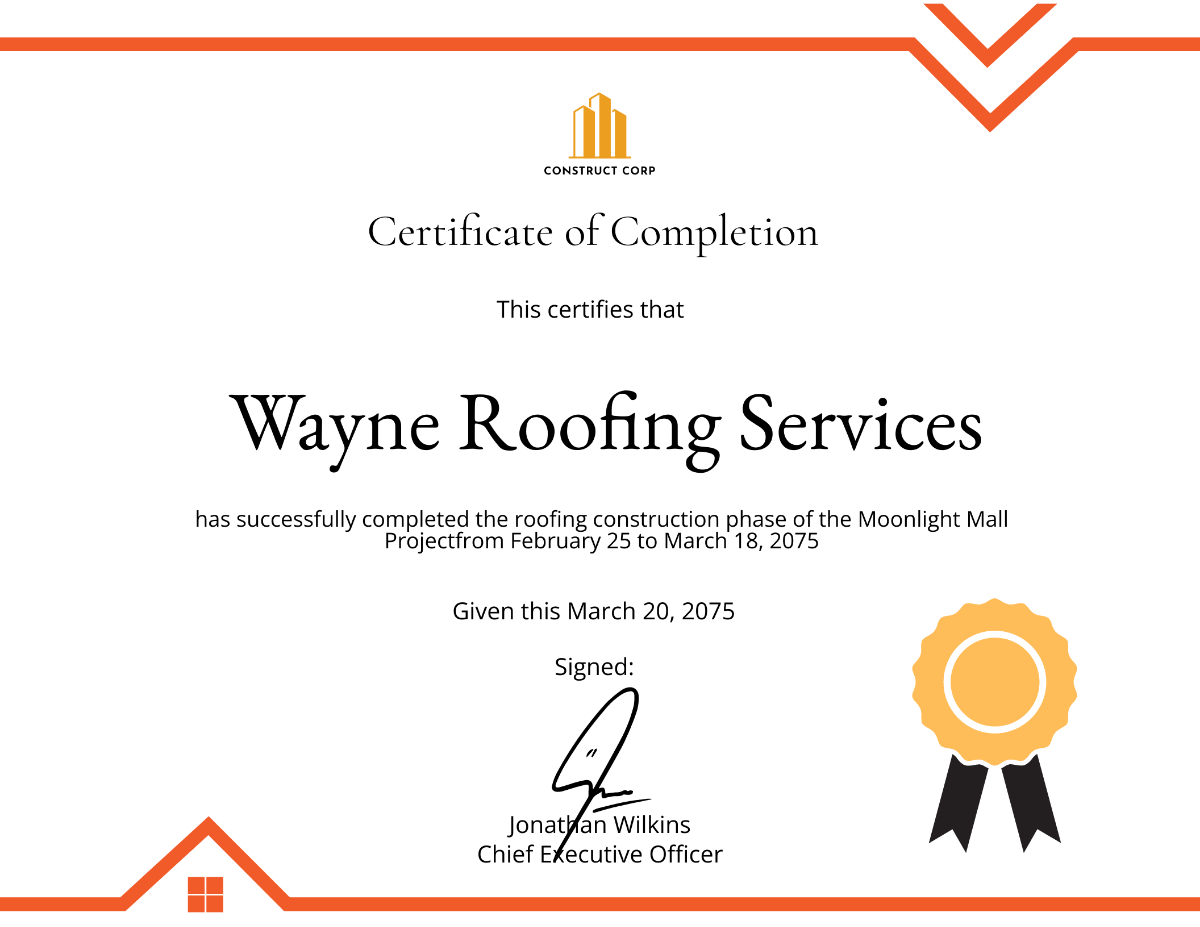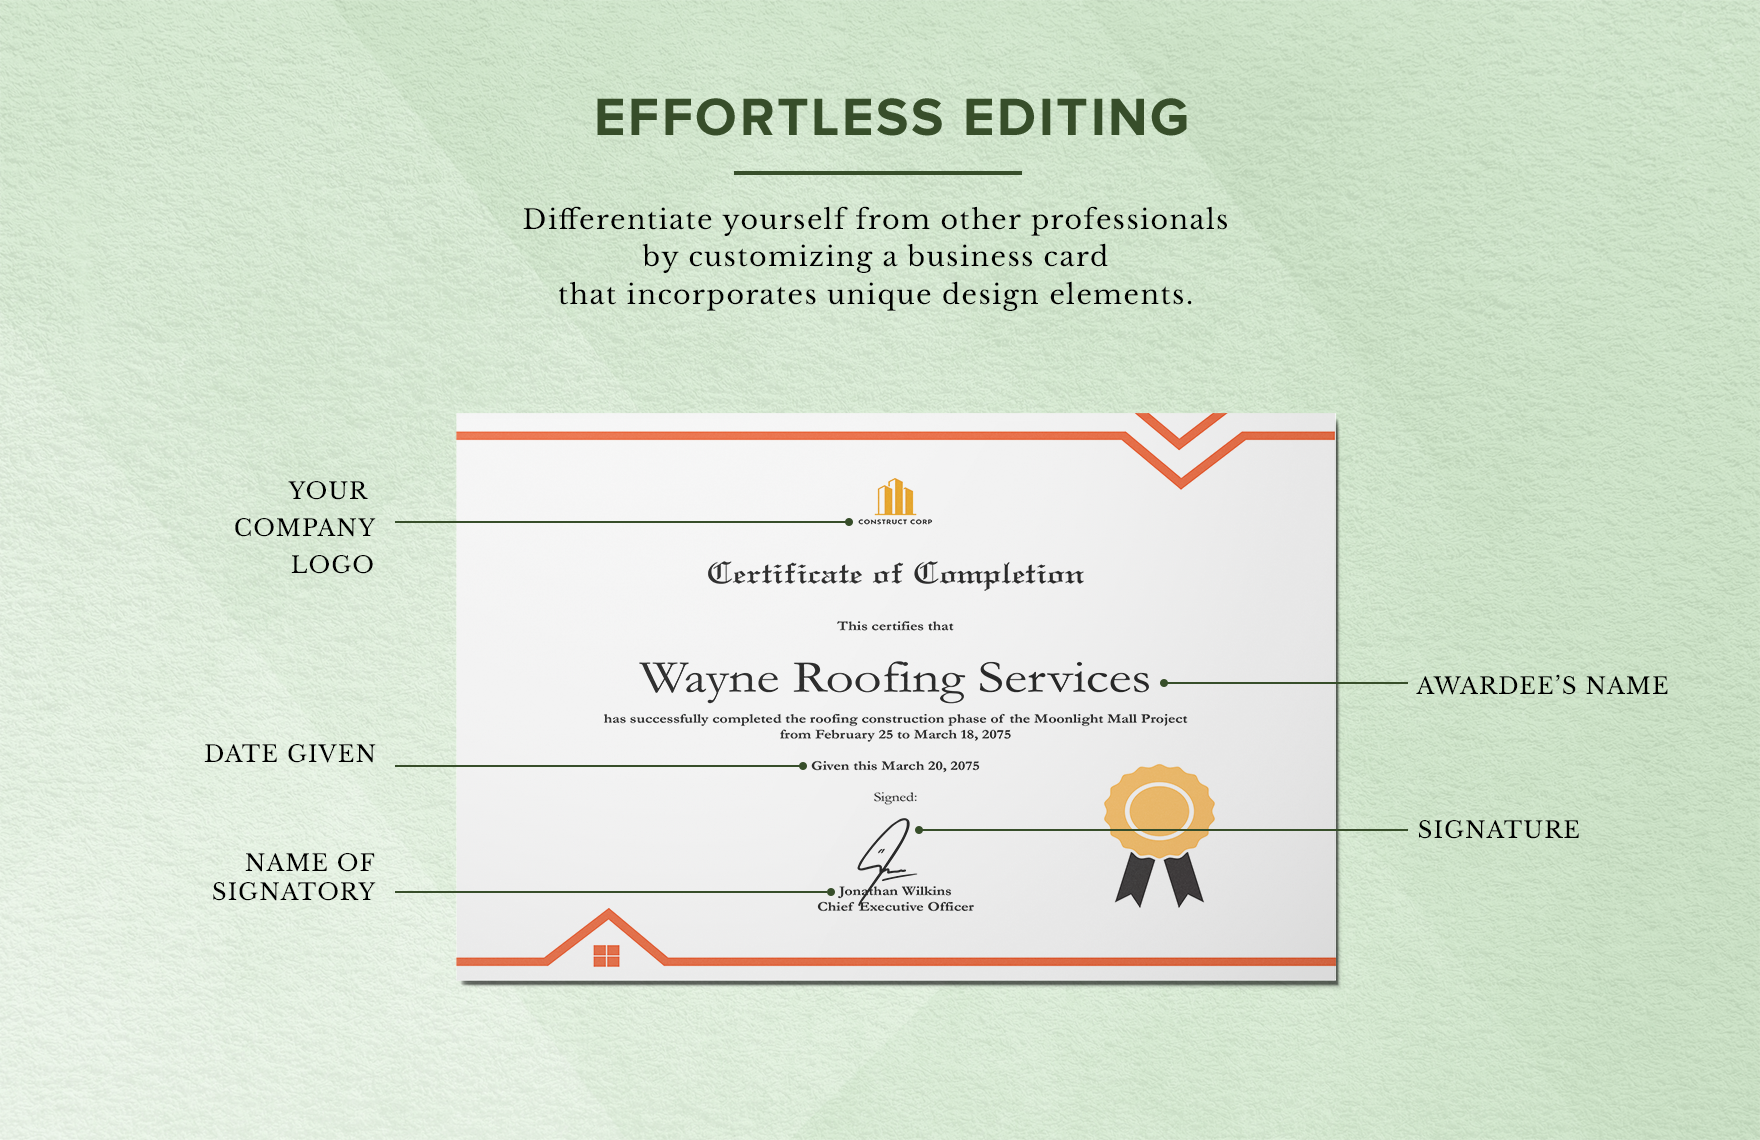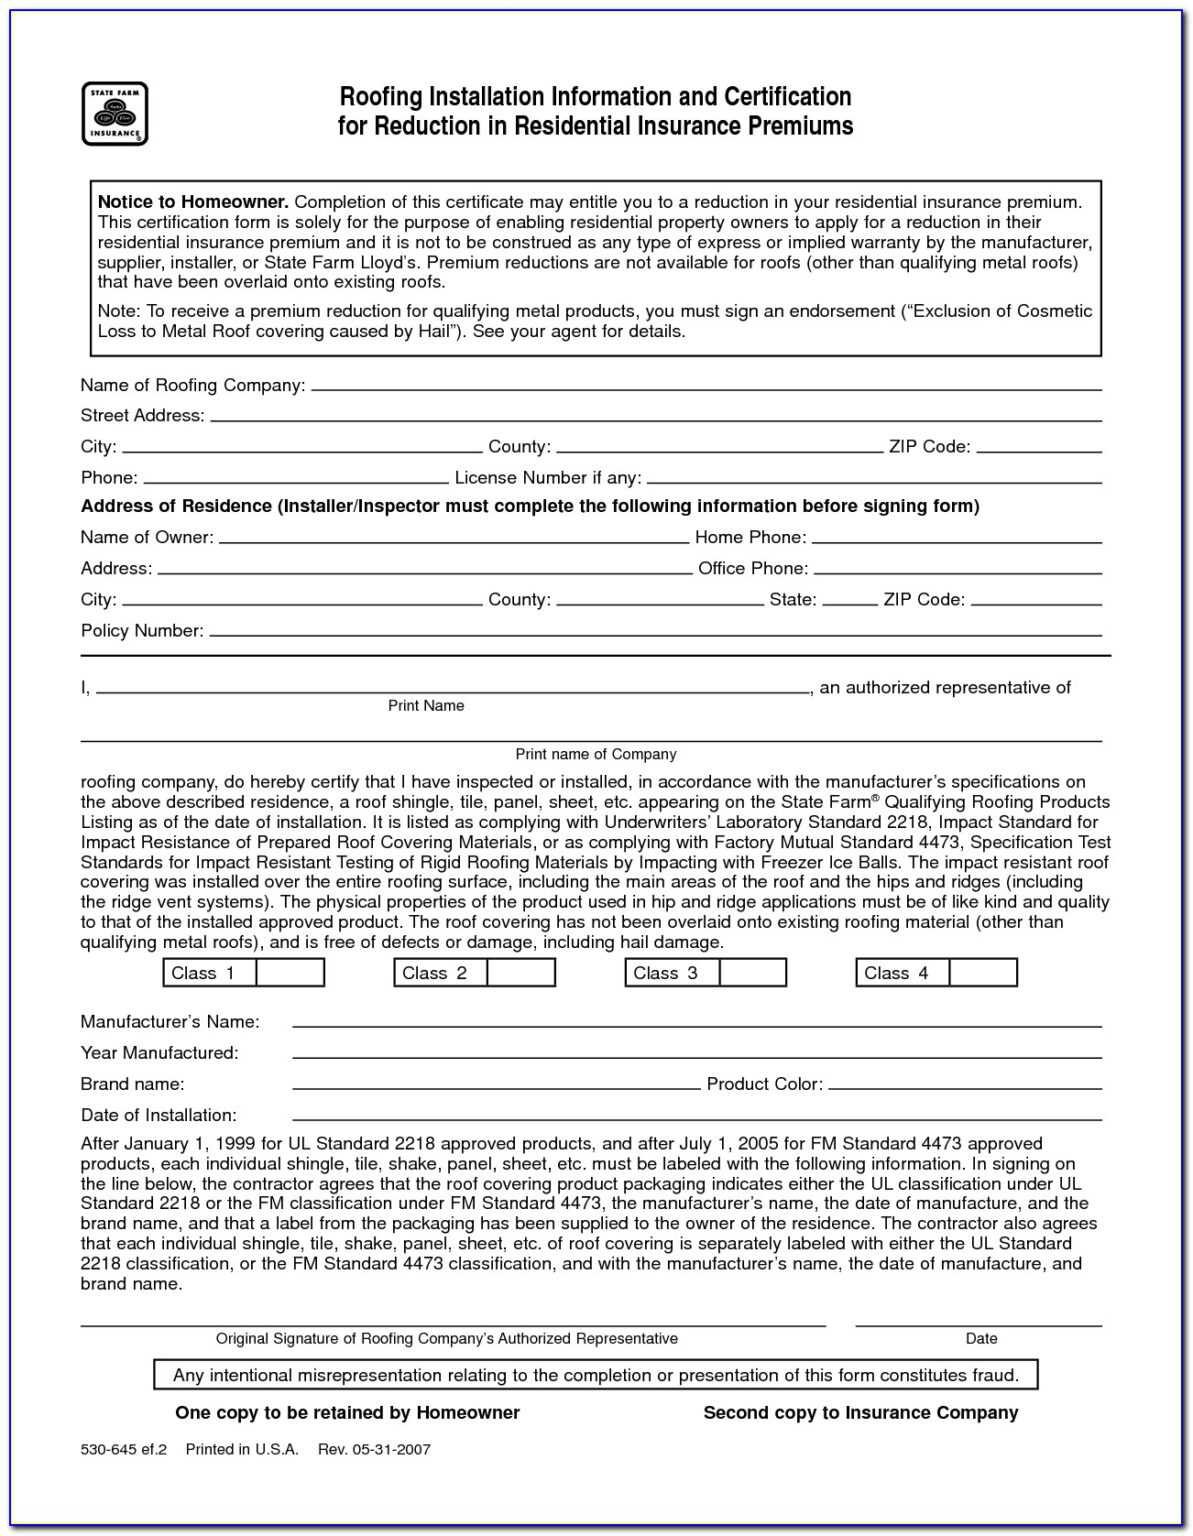
Roof Certification Template is the cornerstone for ensuring that your roofing projects meet industry standards, insurance requirements, and local regulations. Whether you’re a seasoned contractor, a homeowner tackling a remodel, or a project manager overseeing multiple jobs, a well‑crafted template streamlines inspections, documentation, and compliance. This article dives into every detail—from the essential sections of a template to step‑by‑step instructions on tailoring it to your specific needs. By the end, you’ll be equipped to create a professional, legally sound roof certification that saves time and avoids costly penalties.
The Purpose of a Roof Certification Template
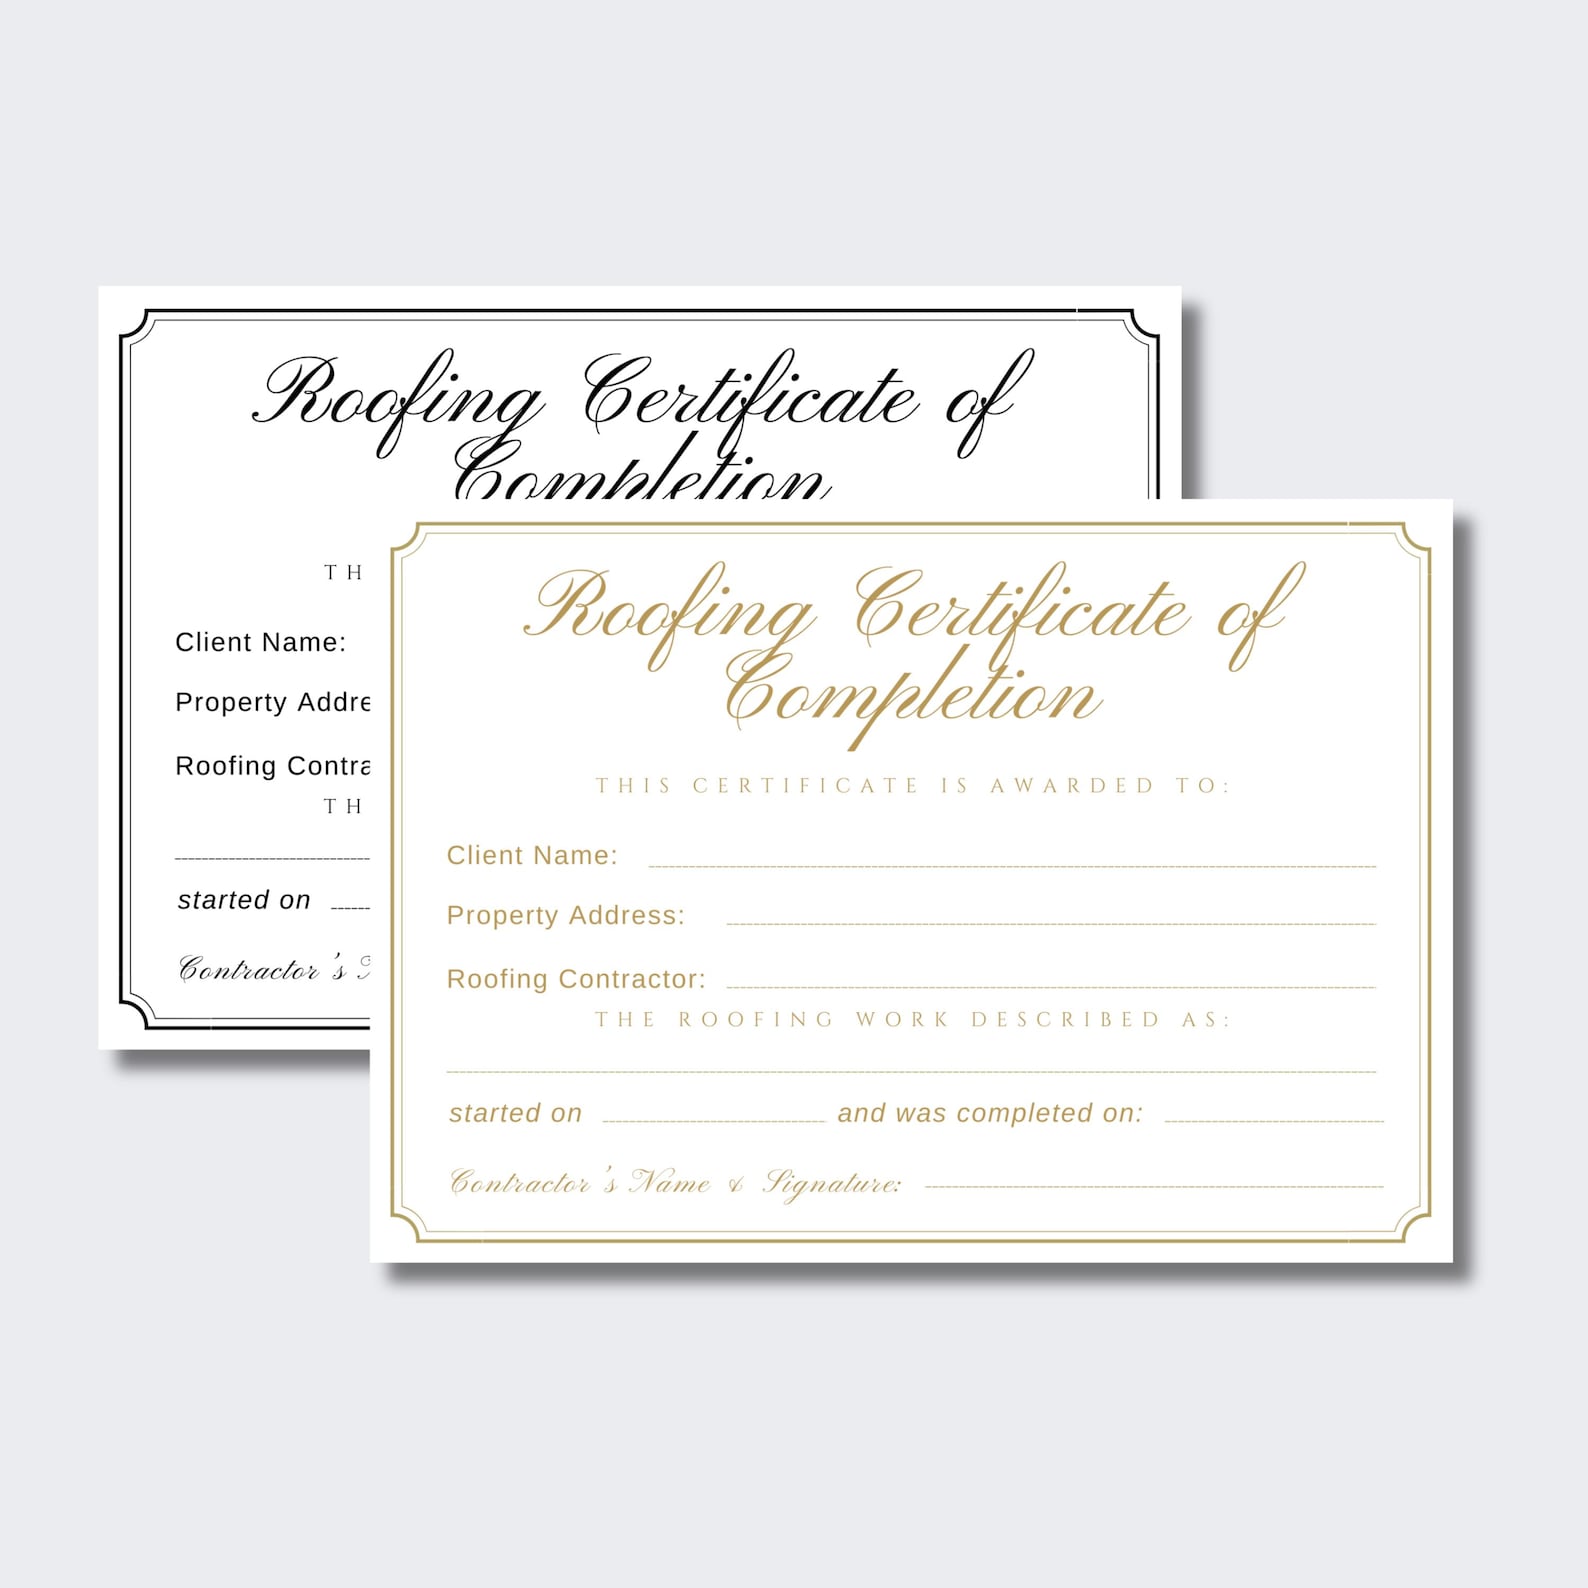
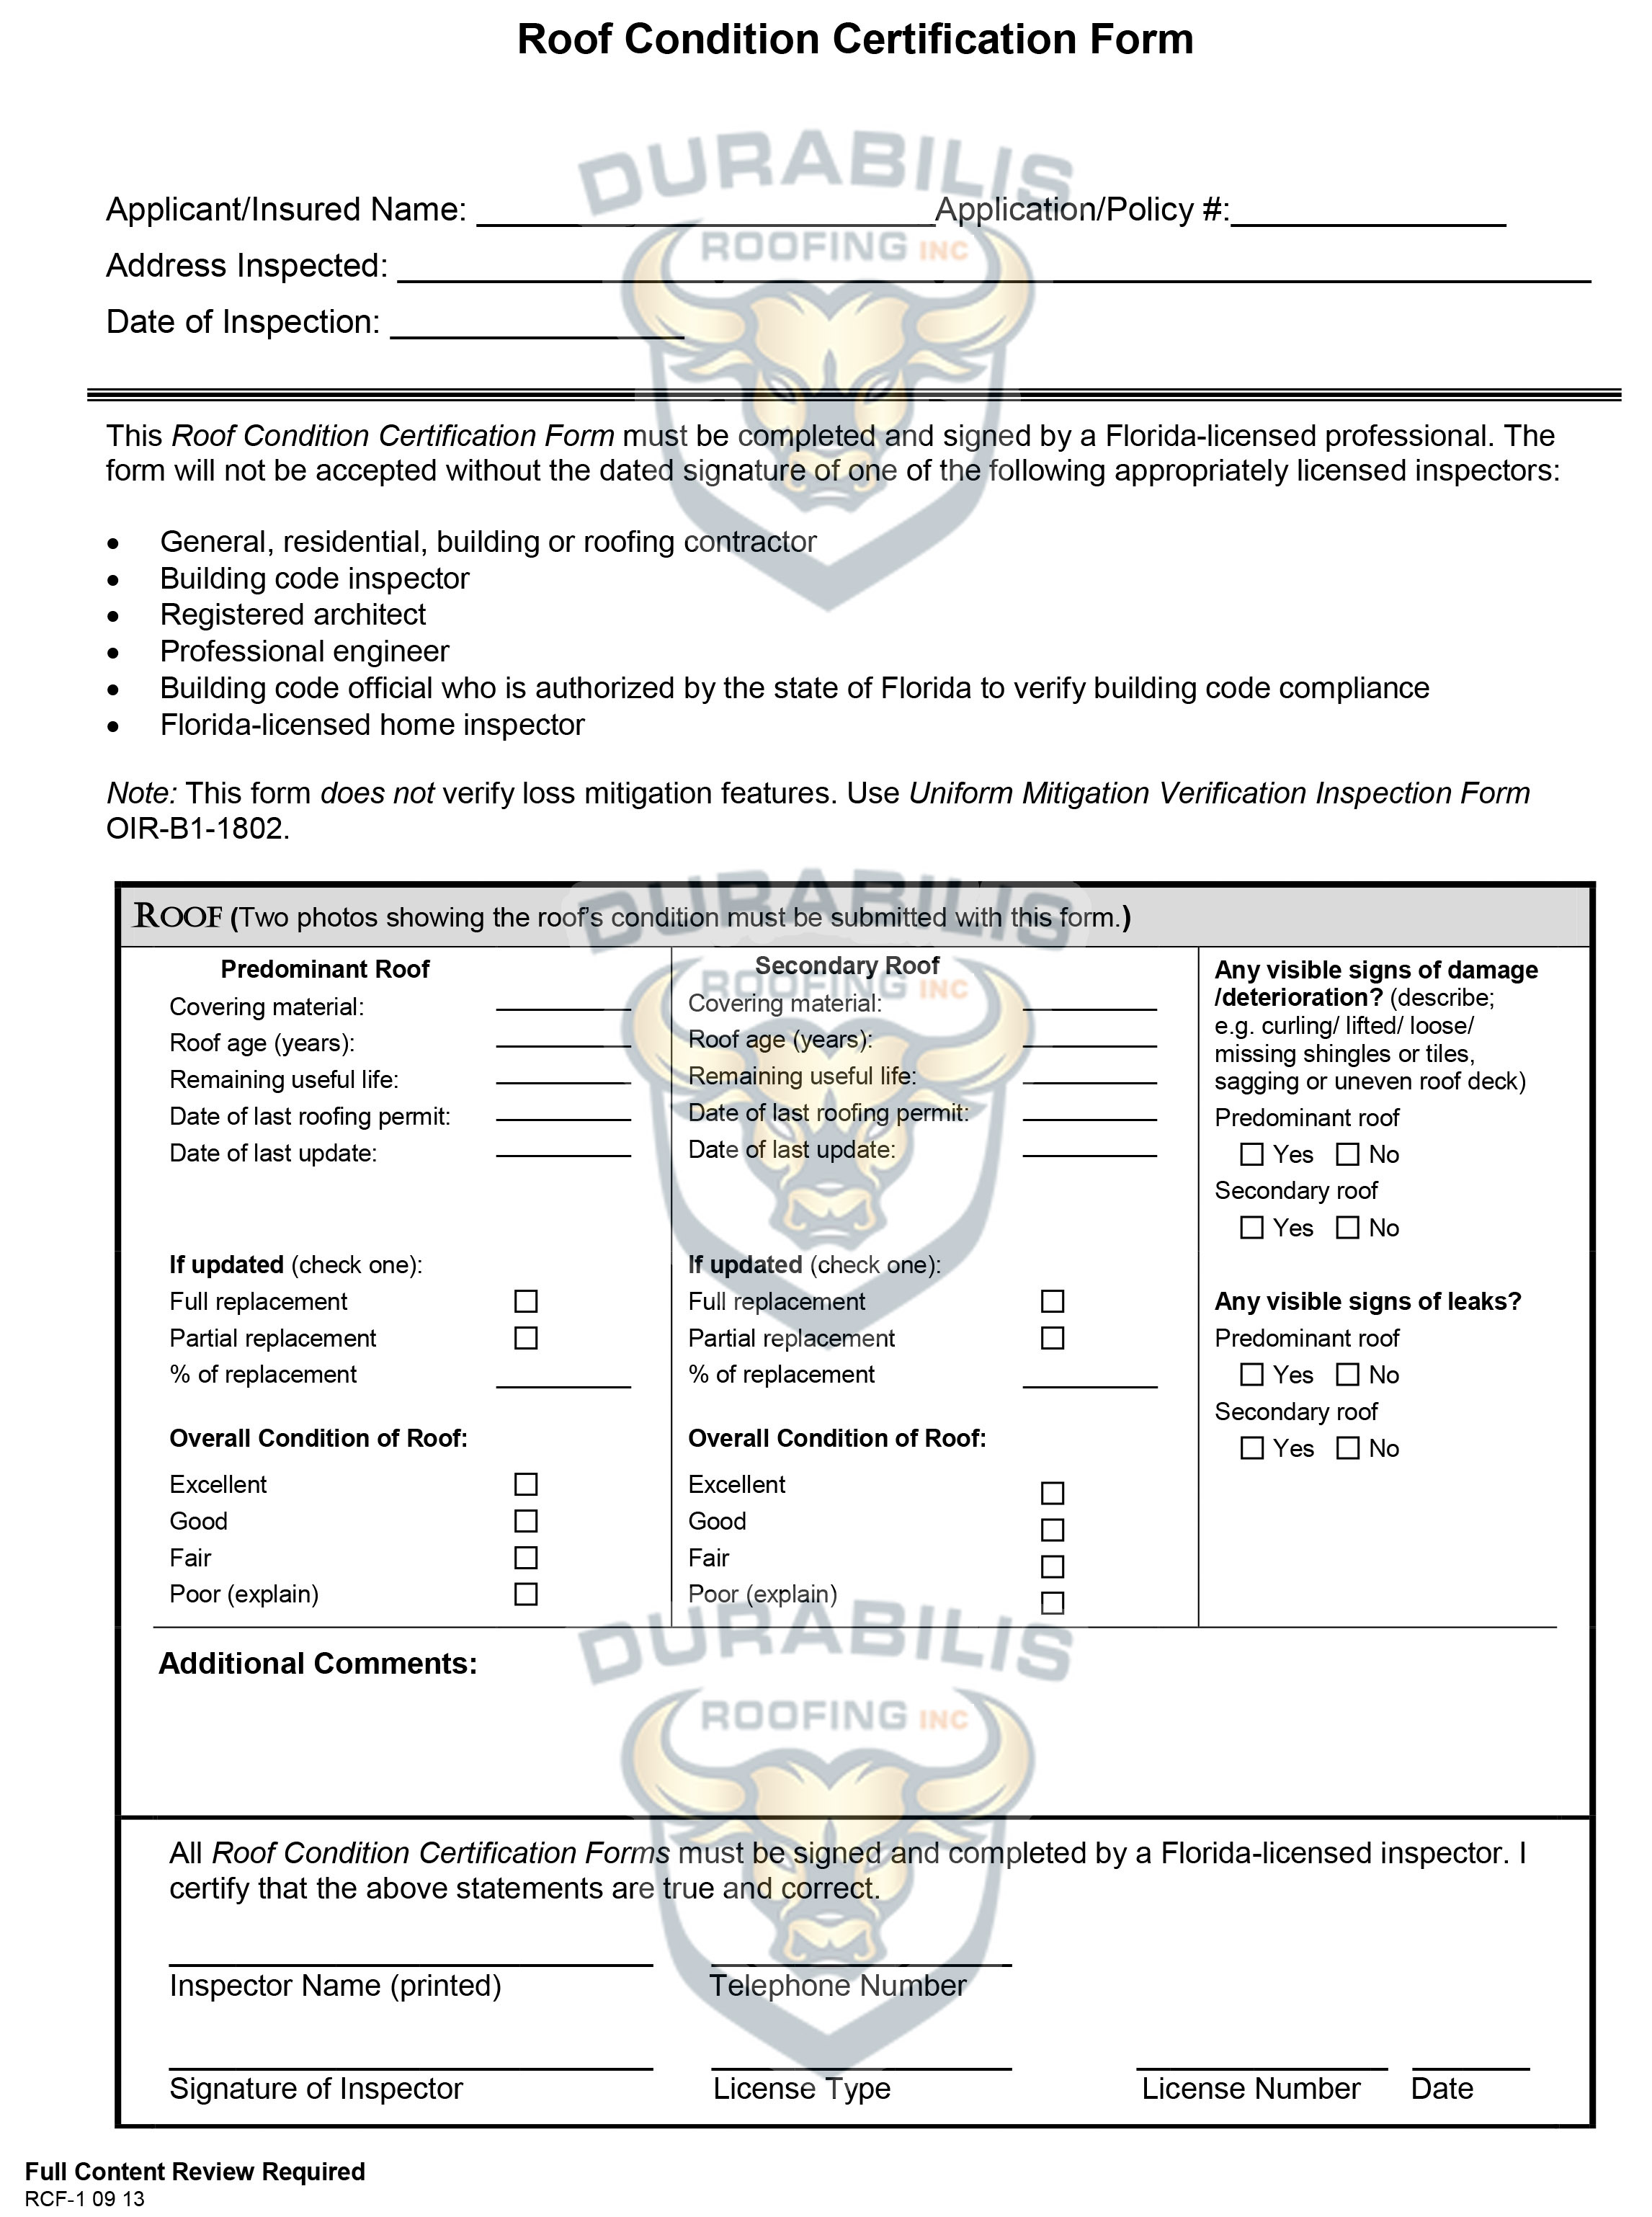
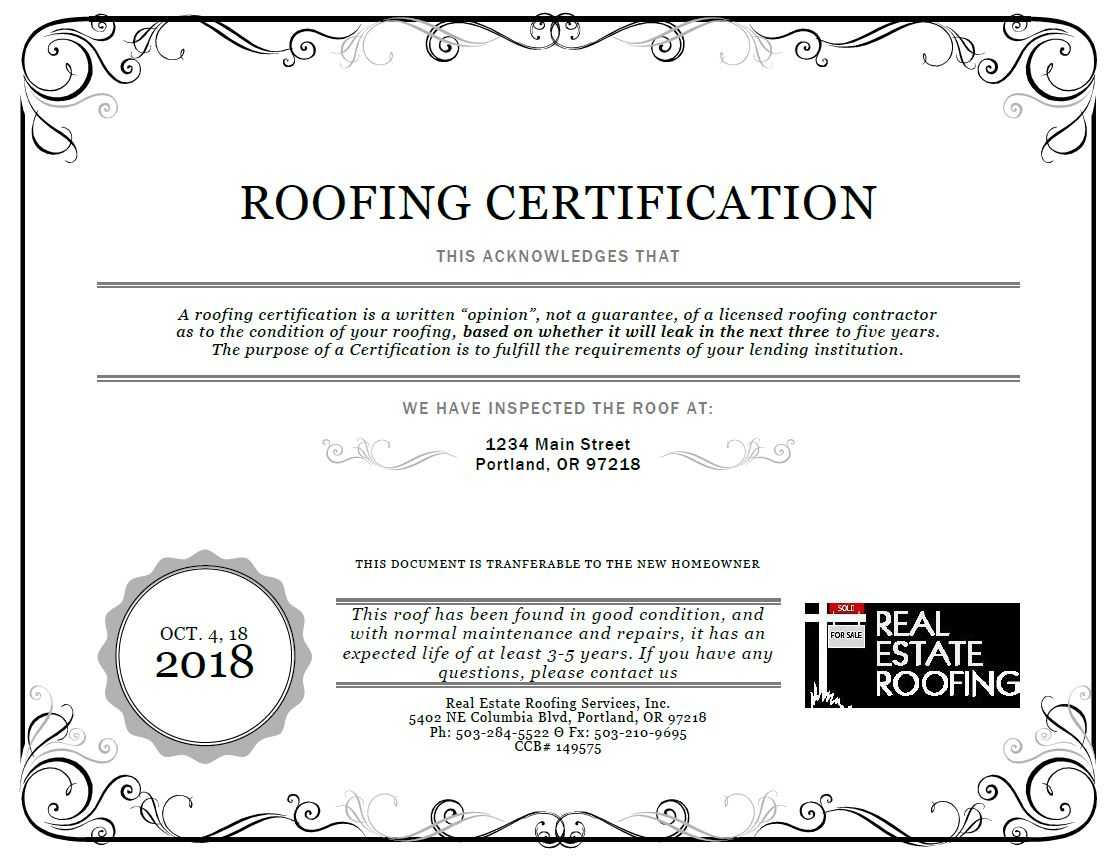
A roof certification is a formal declaration that a roof has been inspected, meets safety criteria, and complies with applicable building codes. Templates standardize this process, ensuring consistency across projects and jurisdictions. They help:
- Document material specifications, installation methods, and contractor qualifications.
- Provide evidence of compliance for insurance, financing, and resale.
- Serve as a reference for future maintenance and warranty claims.
- Facilitate communication between contractors, homeowners, and inspectors.
Because each region may have unique code requirements—such as fire rating, wind load, or moisture control—a flexible template allows you to adapt sections without reinventing the wheel each time.
Core Components of a Comprehensive Template
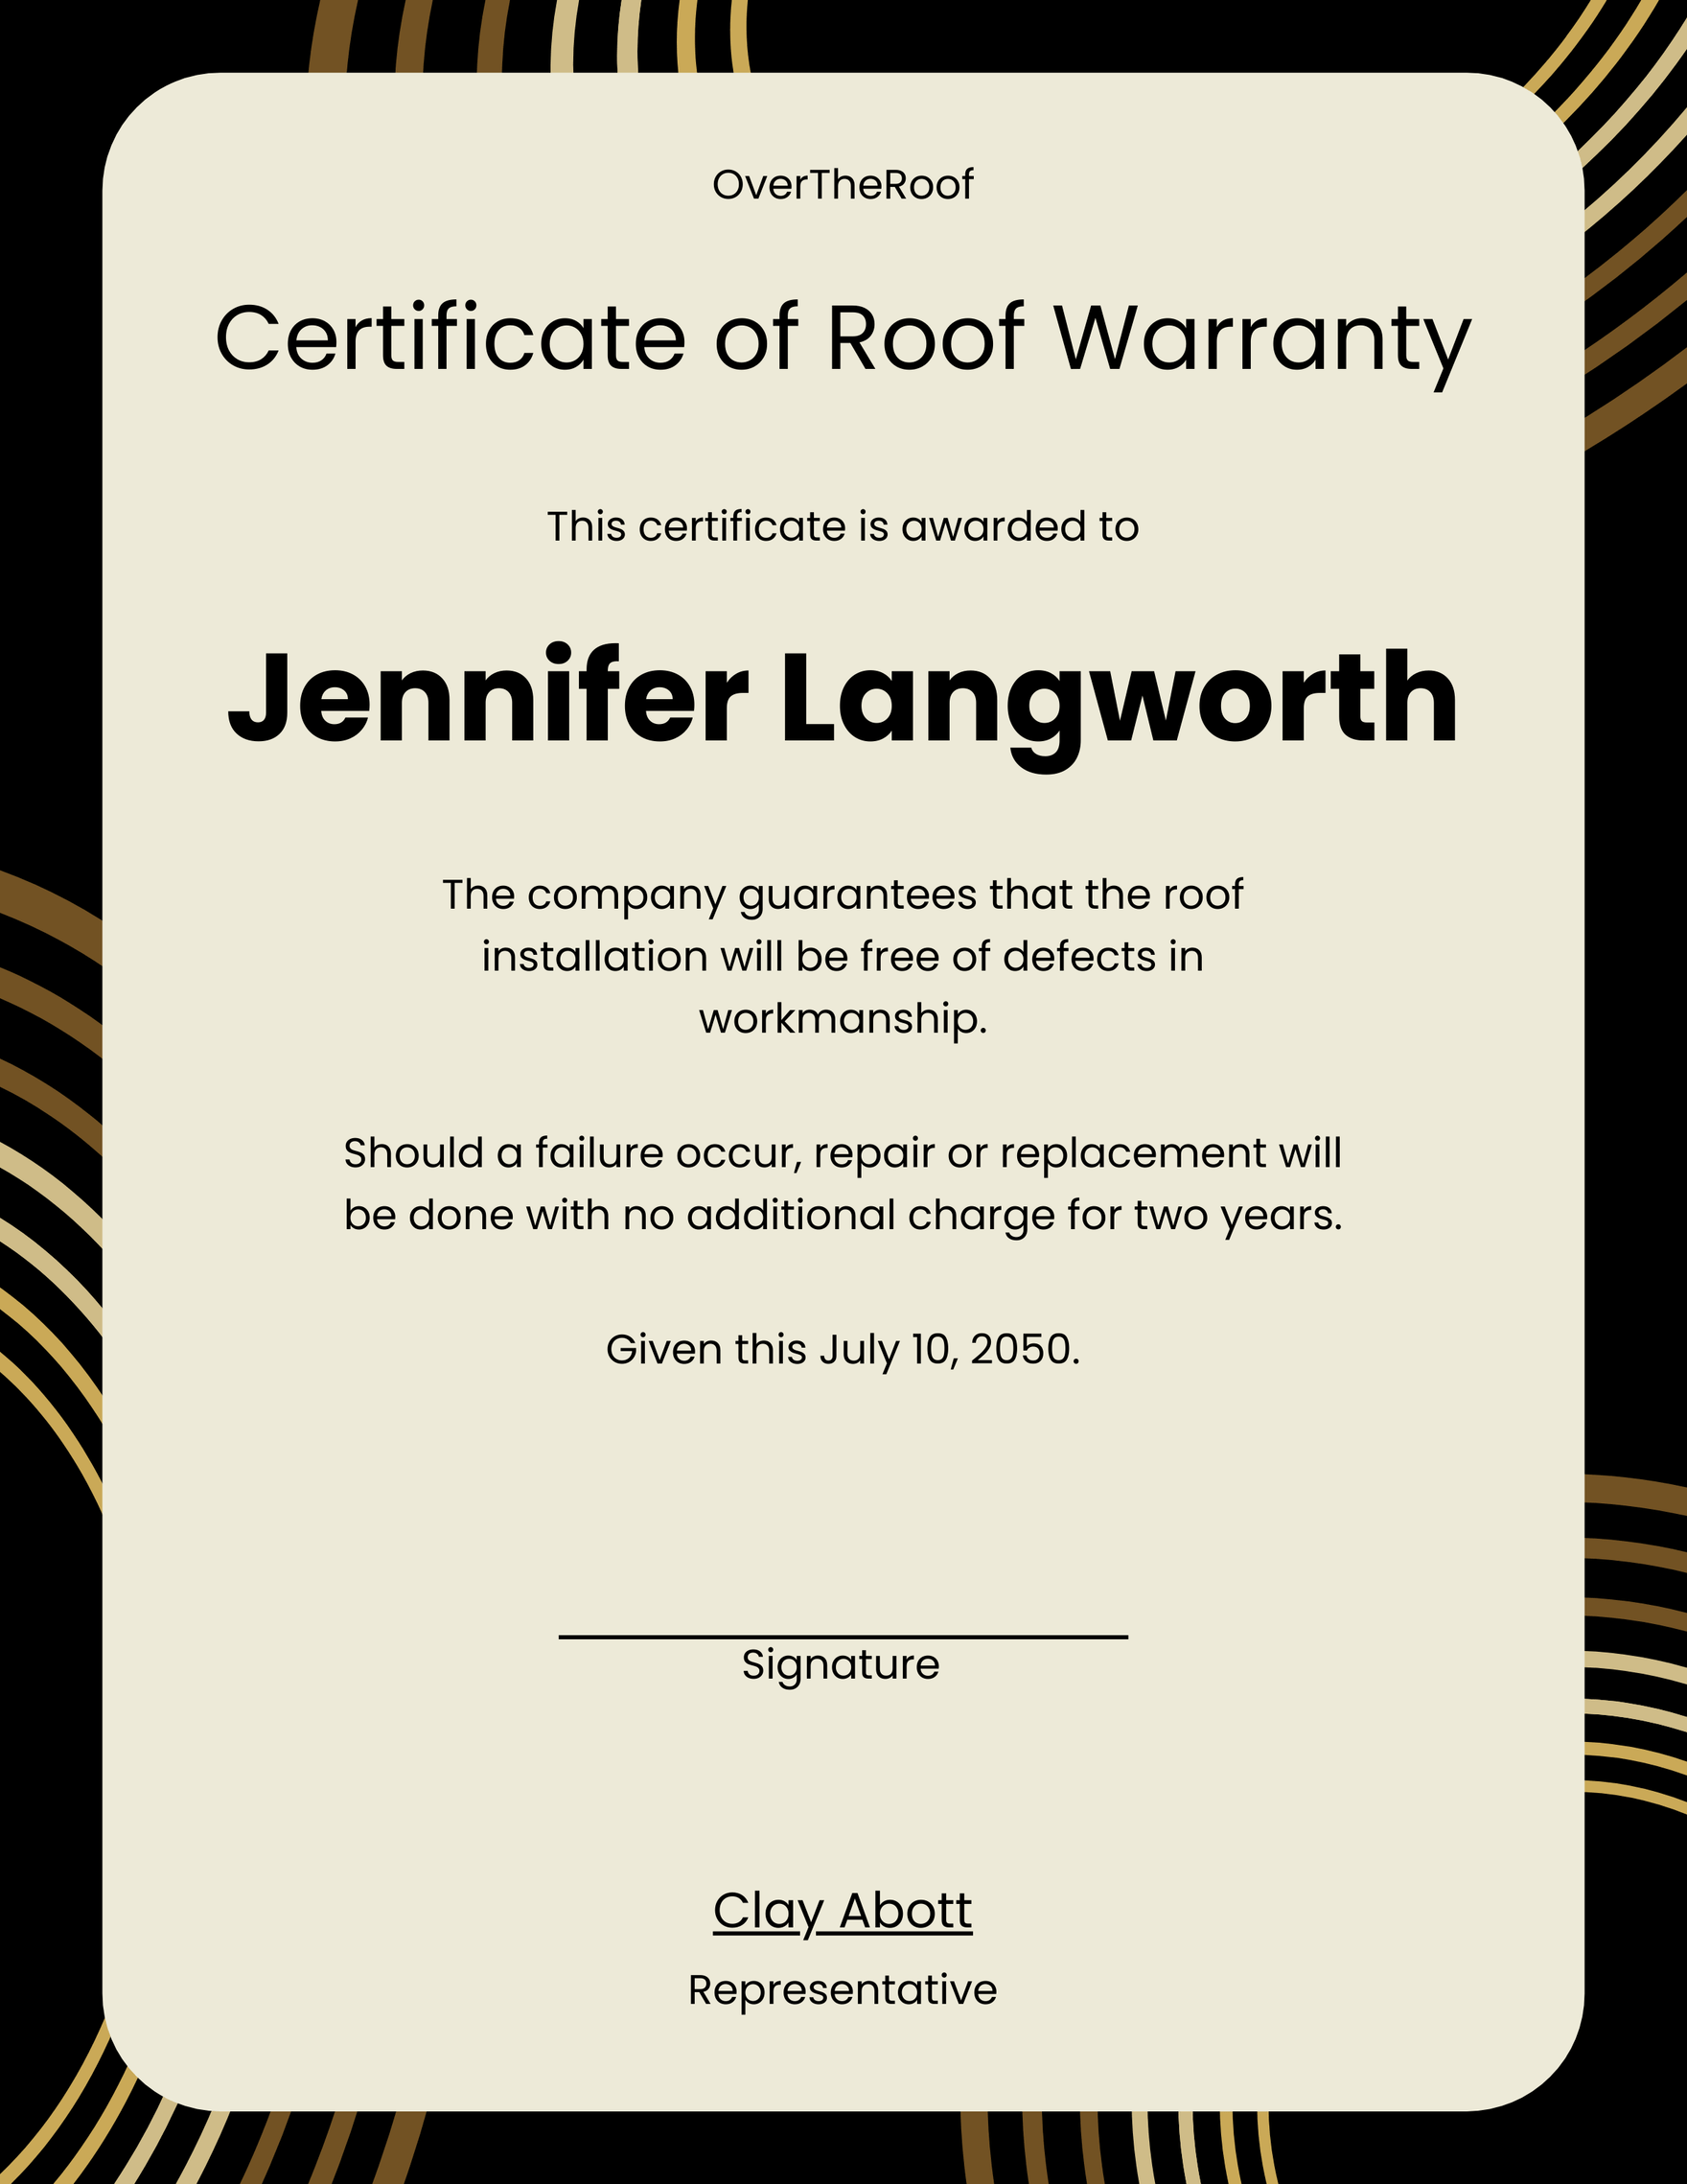
Project Identification
Begin with basic project details: property address, owner name, contact information, and project start and end dates. Include a unique certification ID so every document can be tracked in your system. This section also benefits from a quick photo link or QR code that pulls up the full project file.
Roof Design and Materials
Describe the roof type (e.g., flat, pitched, shed), dimensions, slope (pitch), and material stack. Provide:
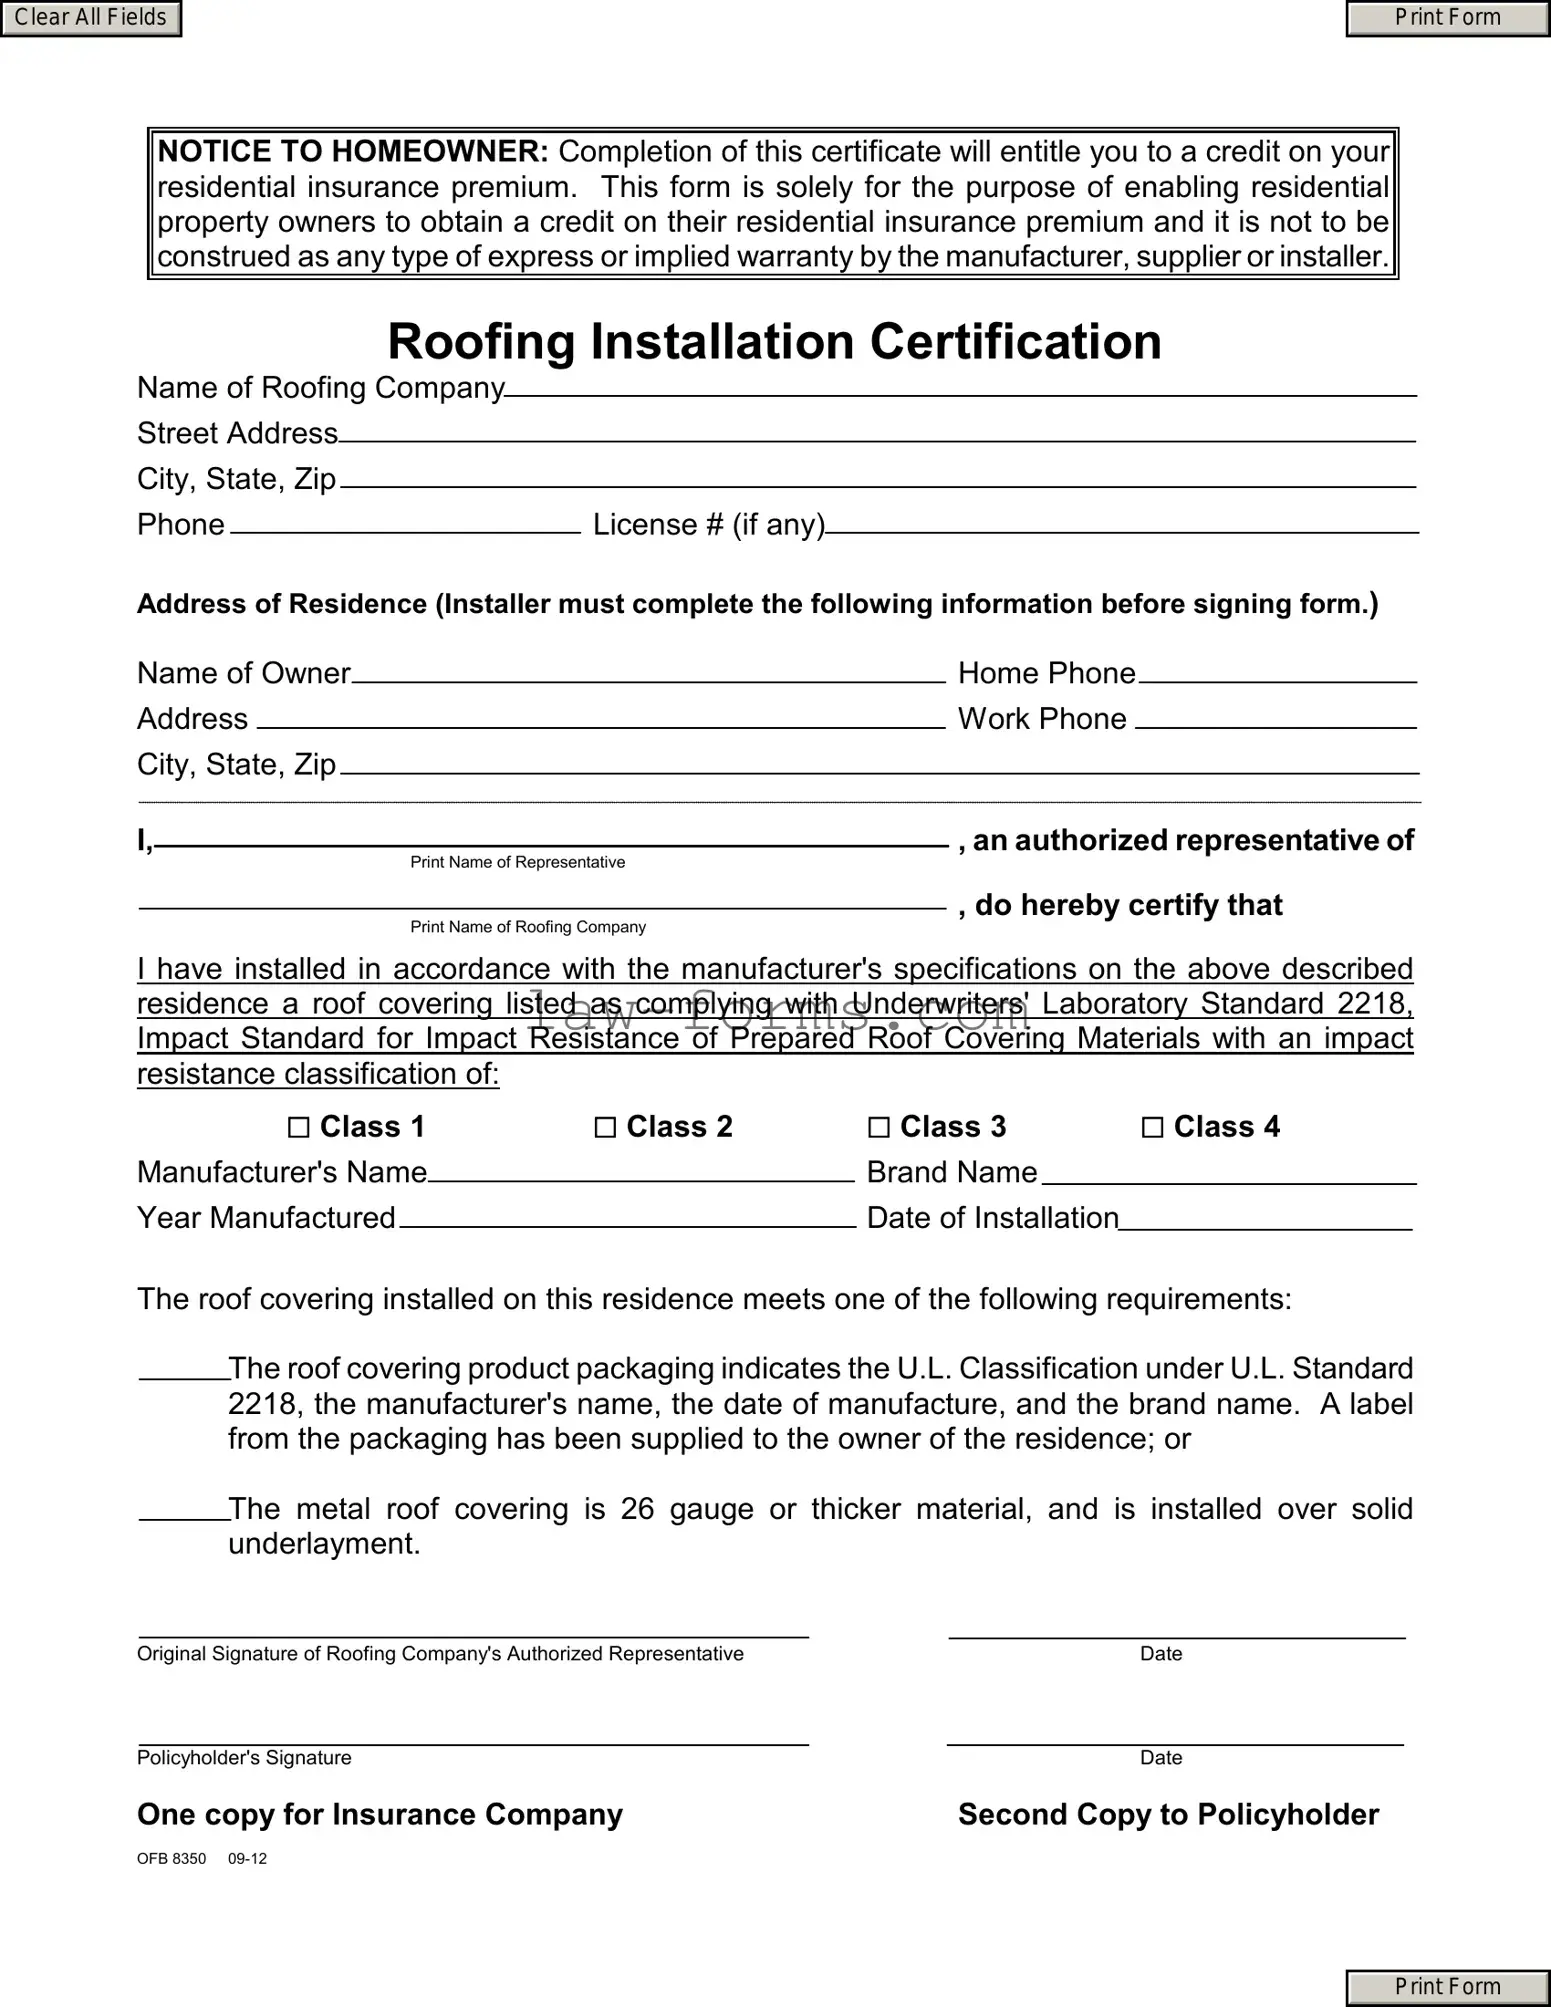
- Manufacturer names and product codes for shingles, metal panels, or membrane.
- Installation method—such as mechanical fastening or adhesive bonding.
- Flashing details, including types of flashings (edge, step, ridge) and materials used.
Include a diagram or reference image, and attach a sample product sheet or a certificate of compliance from the supplier.
Code and Standard References
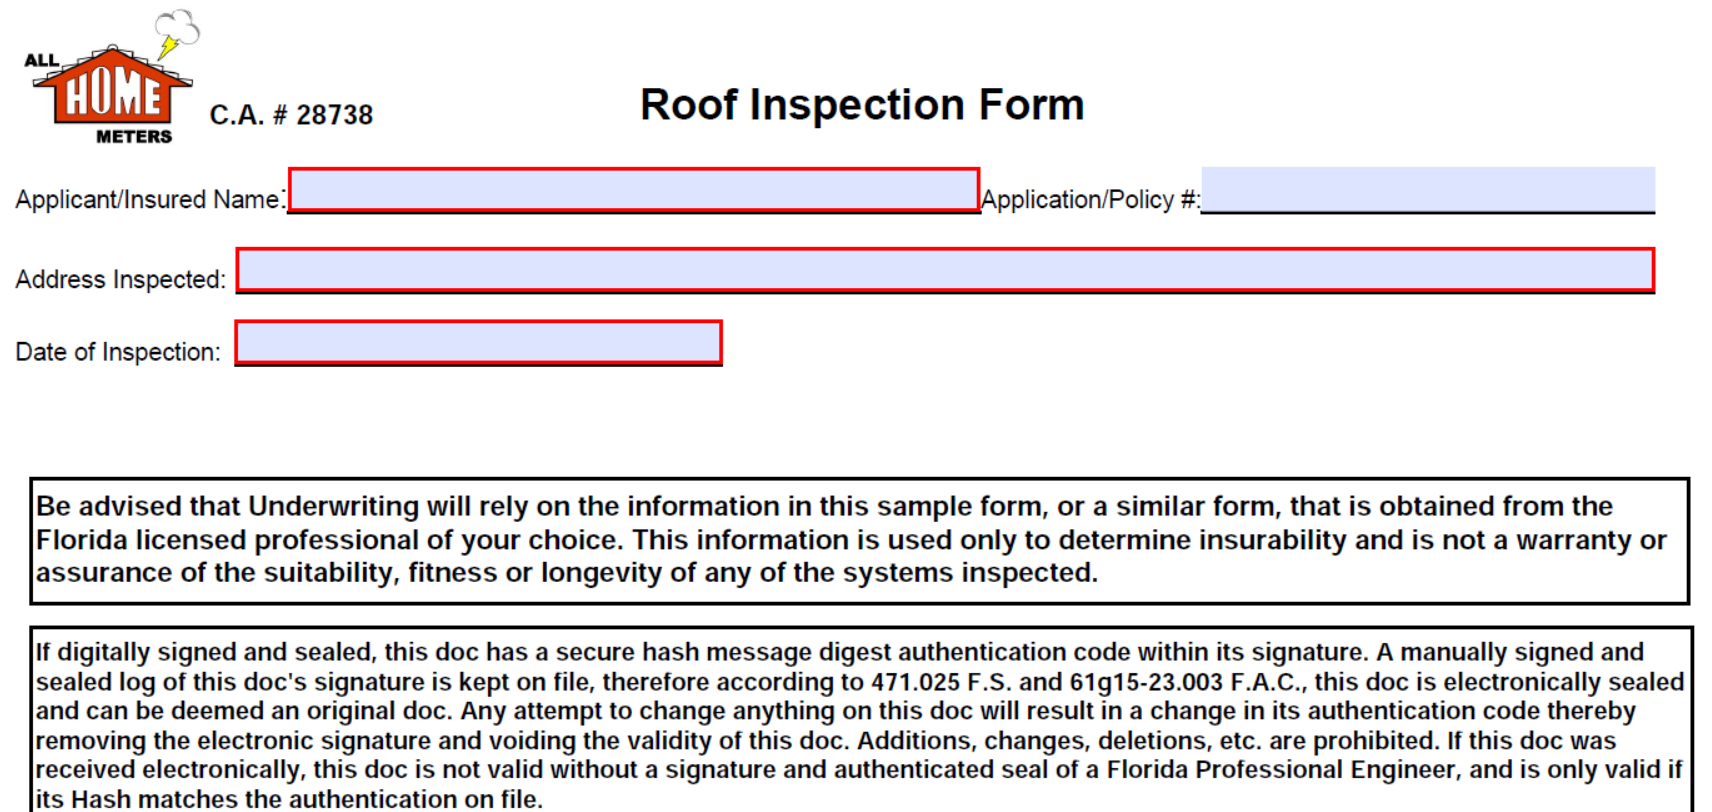
List all applicable codes—such as the International Residential Code (IRC), local zoning ordinances, or energy efficiency standards (e.g., ENERGY STAR). Use a checklist that flags whether each code has been met, with comments for any deviations and the rationale for those choices.
Inspection and Testing Results
Document every inspection conducted, from pre‑installation surveys to post‑installation wind and water tests. Record:
- Date and time of inspection.
- Inspector name and credentials.
- Test methods used and results obtained.
- Any corrective actions taken and re‑inspection confirmations.
Attach certified test certificates where applicable, such as a waterproofing test report or a structural load analysis.
Warranty and Maintenance Plan
Detail the manufacturer’s warranty, its duration, and coverage terms. Include a maintenance schedule that lists routine checks, cleaning guidelines, and troubleshooting tips. This section is valuable for homeowners who want to preserve roof life and for contractors who need to fulfill warranty obligations.
Signatures and Approvals
Provide spaces for signatures from the contractor, homeowner, and, if required, an independent inspector or engineer. Use digital signature fields if the template is online; otherwise, create a printable format that can be scanned and stored.
Choosing Between Digital and Paper Templates
Digital Advantages
Online templates streamline data entry, enable real‑time collaboration, and simplify version control. Features to look for include:
- Cloud storage integration for instant access from any device.
- Automated calculations for material quantities and cost estimates.
- Pre‑filled dropdowns that reduce errors and speed up form completion.
- Audit trails that log every edit and provide a clear history.
Paper Benefits
Some inspectors or clients may prefer hard copies for legal or archival reasons. When using paper:
- Ensure the template is printed on high‑quality, durable paper.
- Use embossed seals or embossed stamps to add authenticity.
- Maintain a master copy in a secure, fire‑proof cabinet and back up with digital scans.
Step‑by‑Step Guide to Customizing a Template
Step 1: Identify Your Audience
Is the template meant for a small residential job or a large commercial project? Different audiences require varied detail levels. A homeowner might only need a high‑level summary, while a contractor needs granular data for billing and compliance.
Step 2: Map Required Codes
Research local building codes and any industry standards that apply. Create a checklist that aligns with each code section. For instance, a wind‑loaded region will need documentation of the roof’s wind resistance rating.
Step 3: Build a Modular Structure
Design the template with expandable sections. Use a spreadsheet or form builder that allows sections to be hidden or shown based on the project type. This modularity prevents clutter and keeps the document focused.
Step 4: Add Visual Elements
Include schematic drawings, photos, or even short video clips of the roof structure. Visuals not only aid verification but also reduce misunderstandings during inspections.
Step 5: Test the Template
Run a pilot with a recent project. Gather feedback from inspectors and clients on clarity, missing fields, or layout issues. Iterate until the template feels intuitive and comprehensive.
Real‑World Example: A Residential Flat Roof
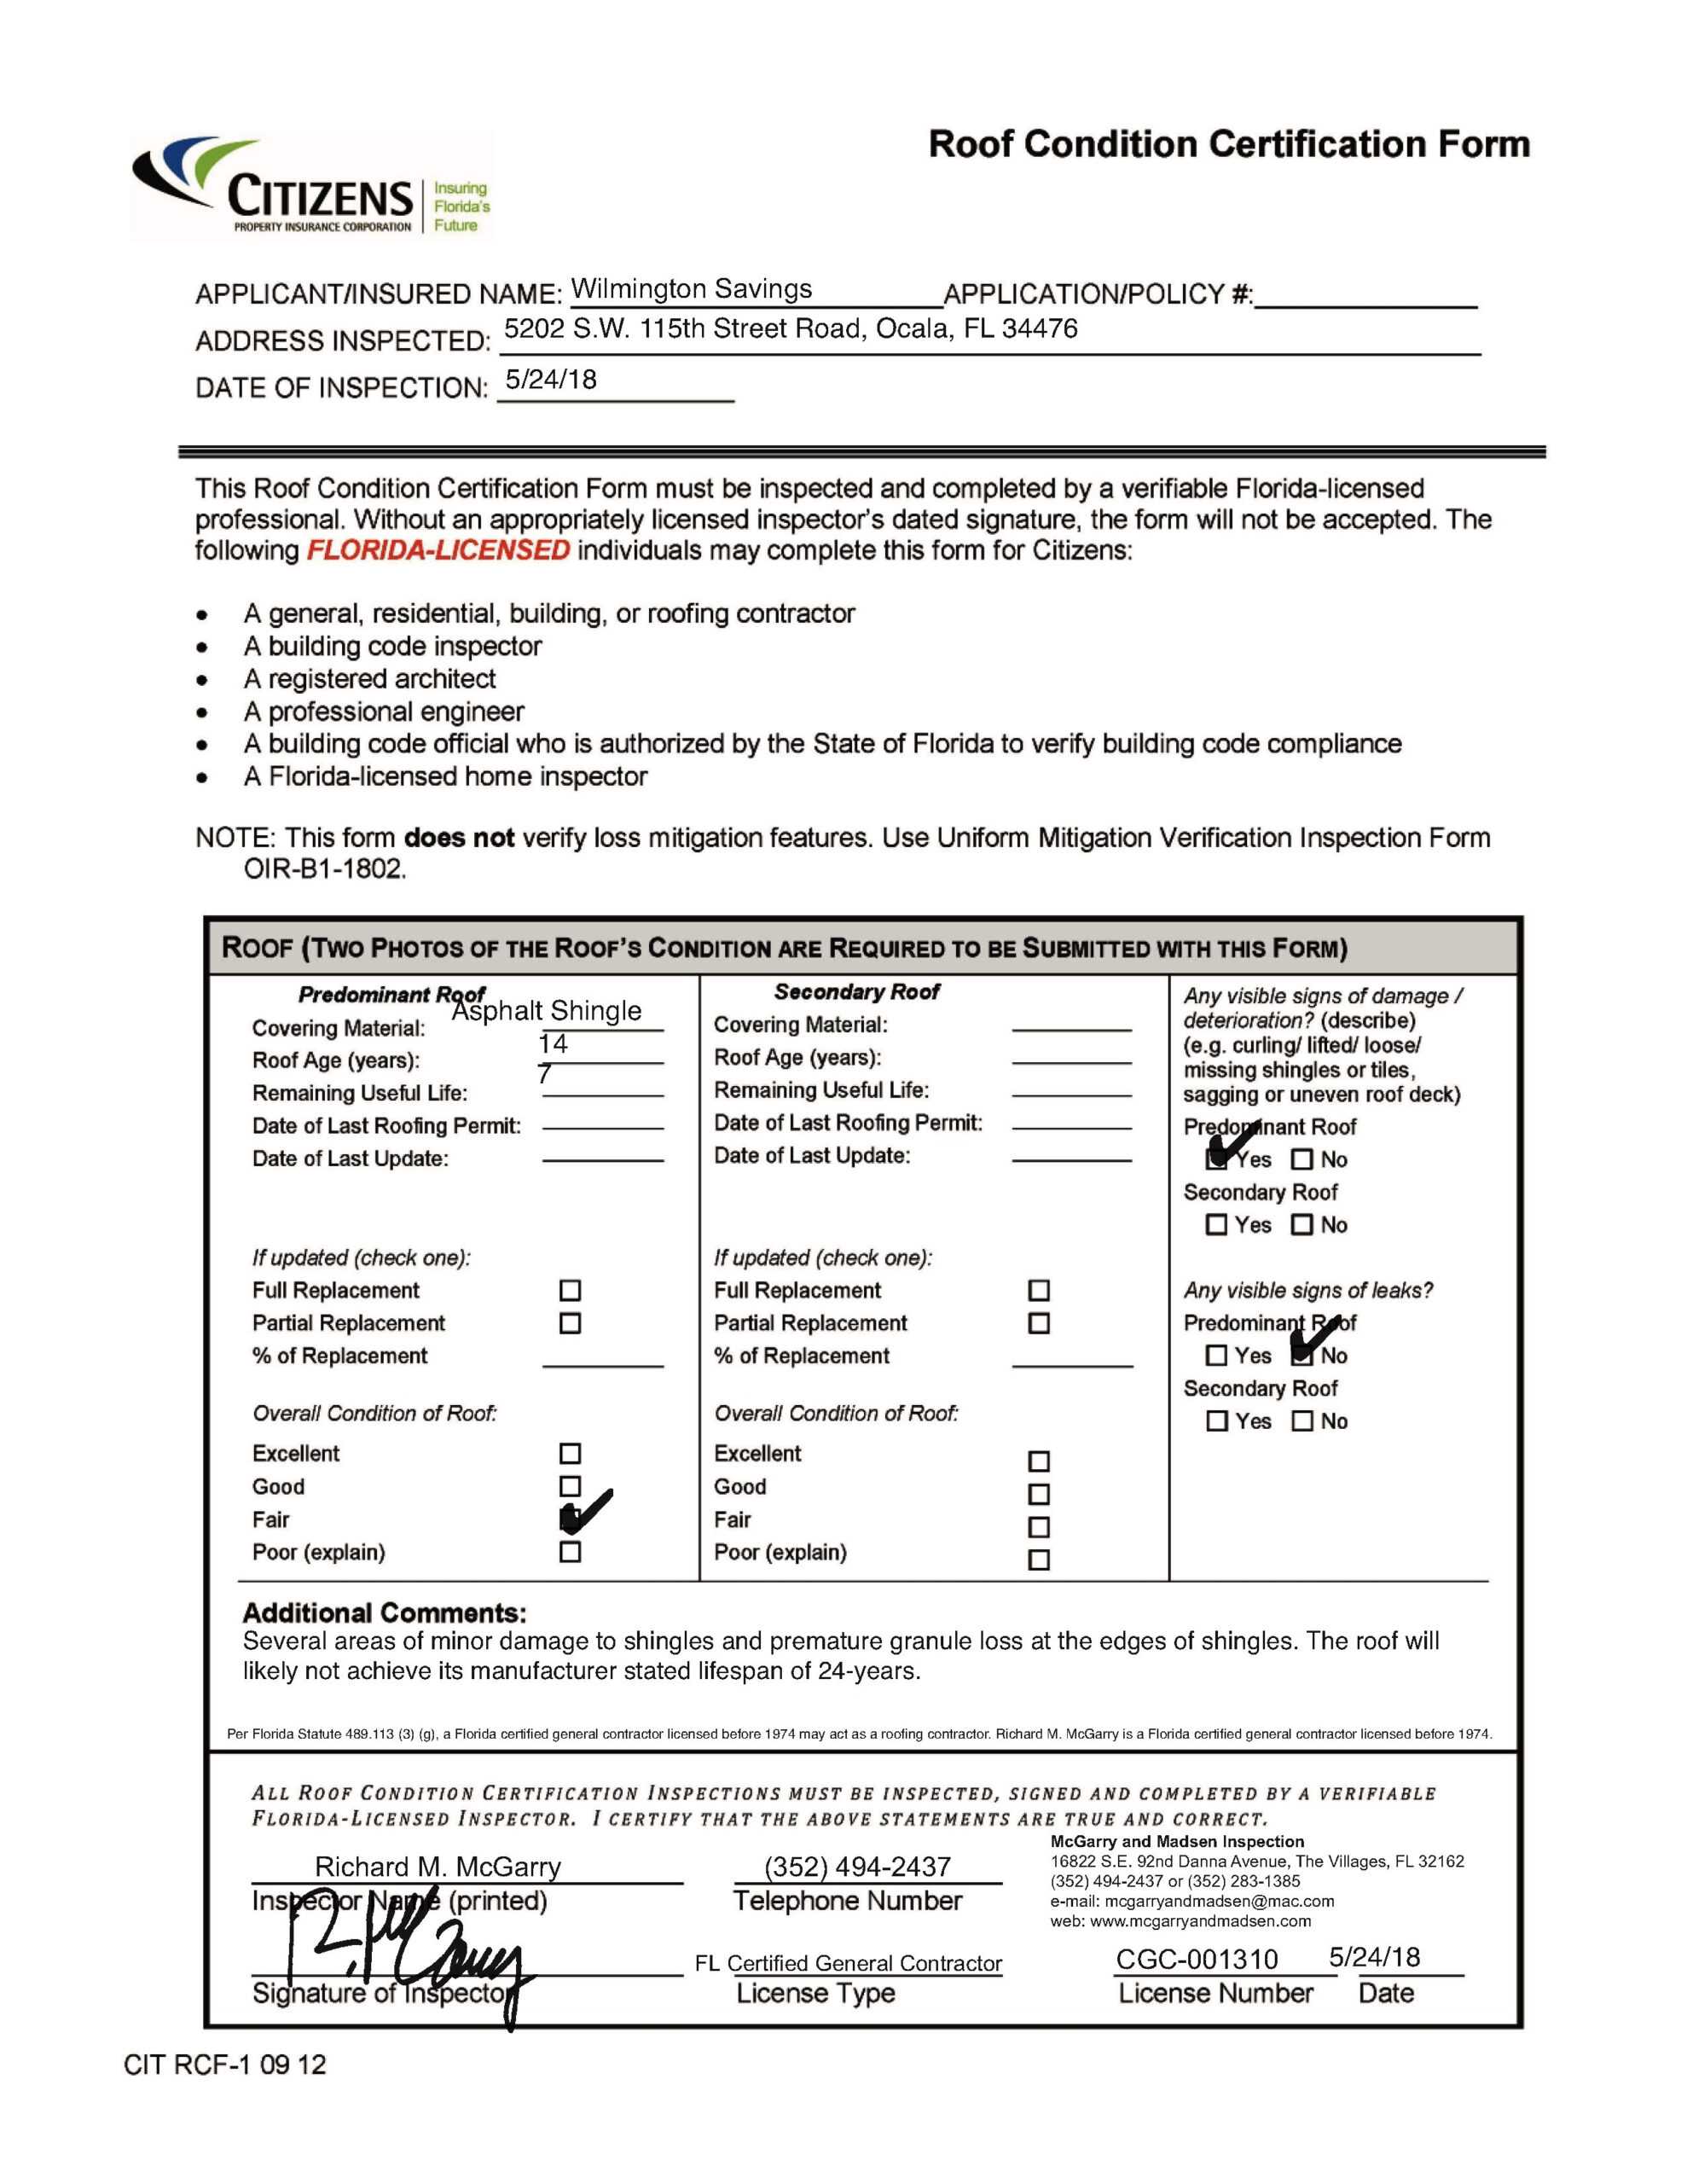
Consider a homeowner in a coastal city needing a waterproofing solution for a flat roof. The contractor uses a Roof Certification Template that includes:
- Wind load calculations to meet local codes.
- Manufacturer’s water‑resistance test results.
- Photographs of flashing and membrane installation.
- Signed statement from a licensed structural engineer.
After completion, the homeowner receives a digital file that is easy to store and share with future insurers or appraisers. The template’s standardized format also speeds up the homeowner’s annual maintenance checks.
Common Pitfalls and How to Avoid Them
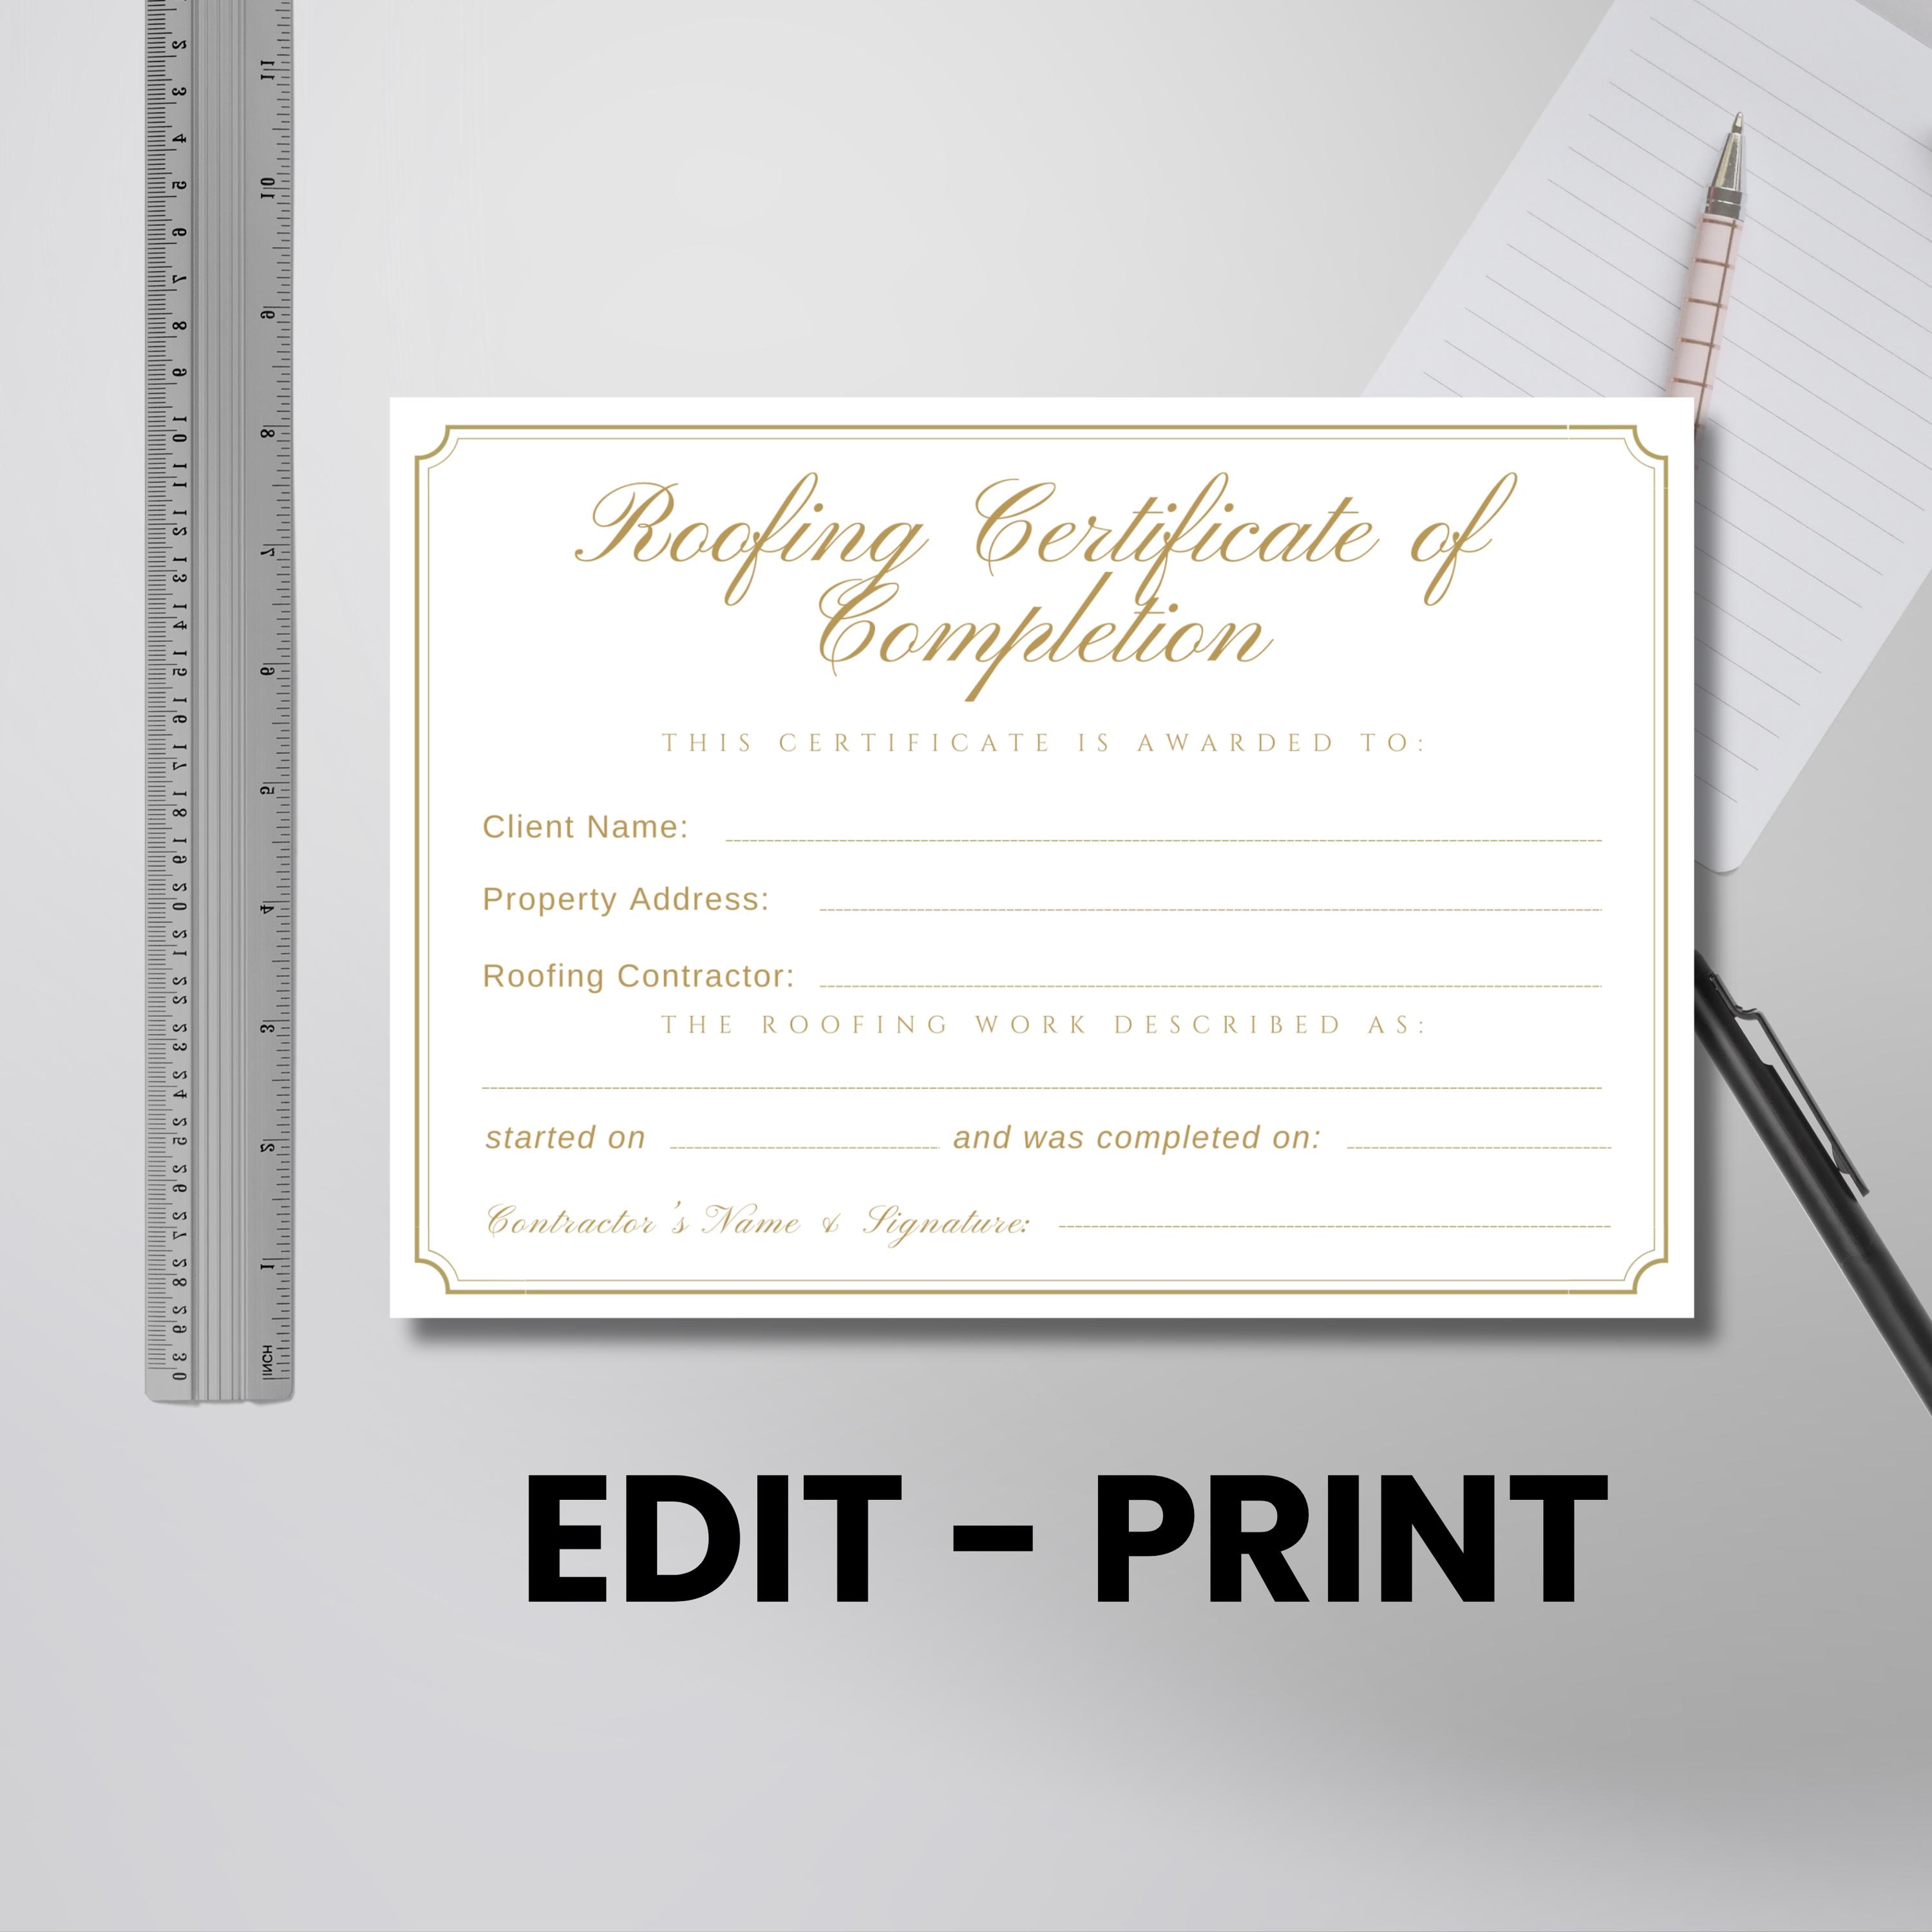
Missing Code References
Failing to cite specific codes can lead to legal disputes. Always list the exact code section and its interpretation within your template.
Incomplete Material Records
Neglecting to document product serial numbers or batch information can invalidate warranties. Incorporate fields for serial numbers and supplier certificates.
Insufficient Signature Fields
Without proper signatures, the certification may be considered void. Use electronic signatures that meet e‑sign laws such as the ESIGN Act.
Overcomplicating the Form
A dense, multi‑page template can discourage completion. Balance thoroughness with simplicity; consider an executive summary that captures key points for quick reviews.
Benefits of a Standardized Roof Certification Process
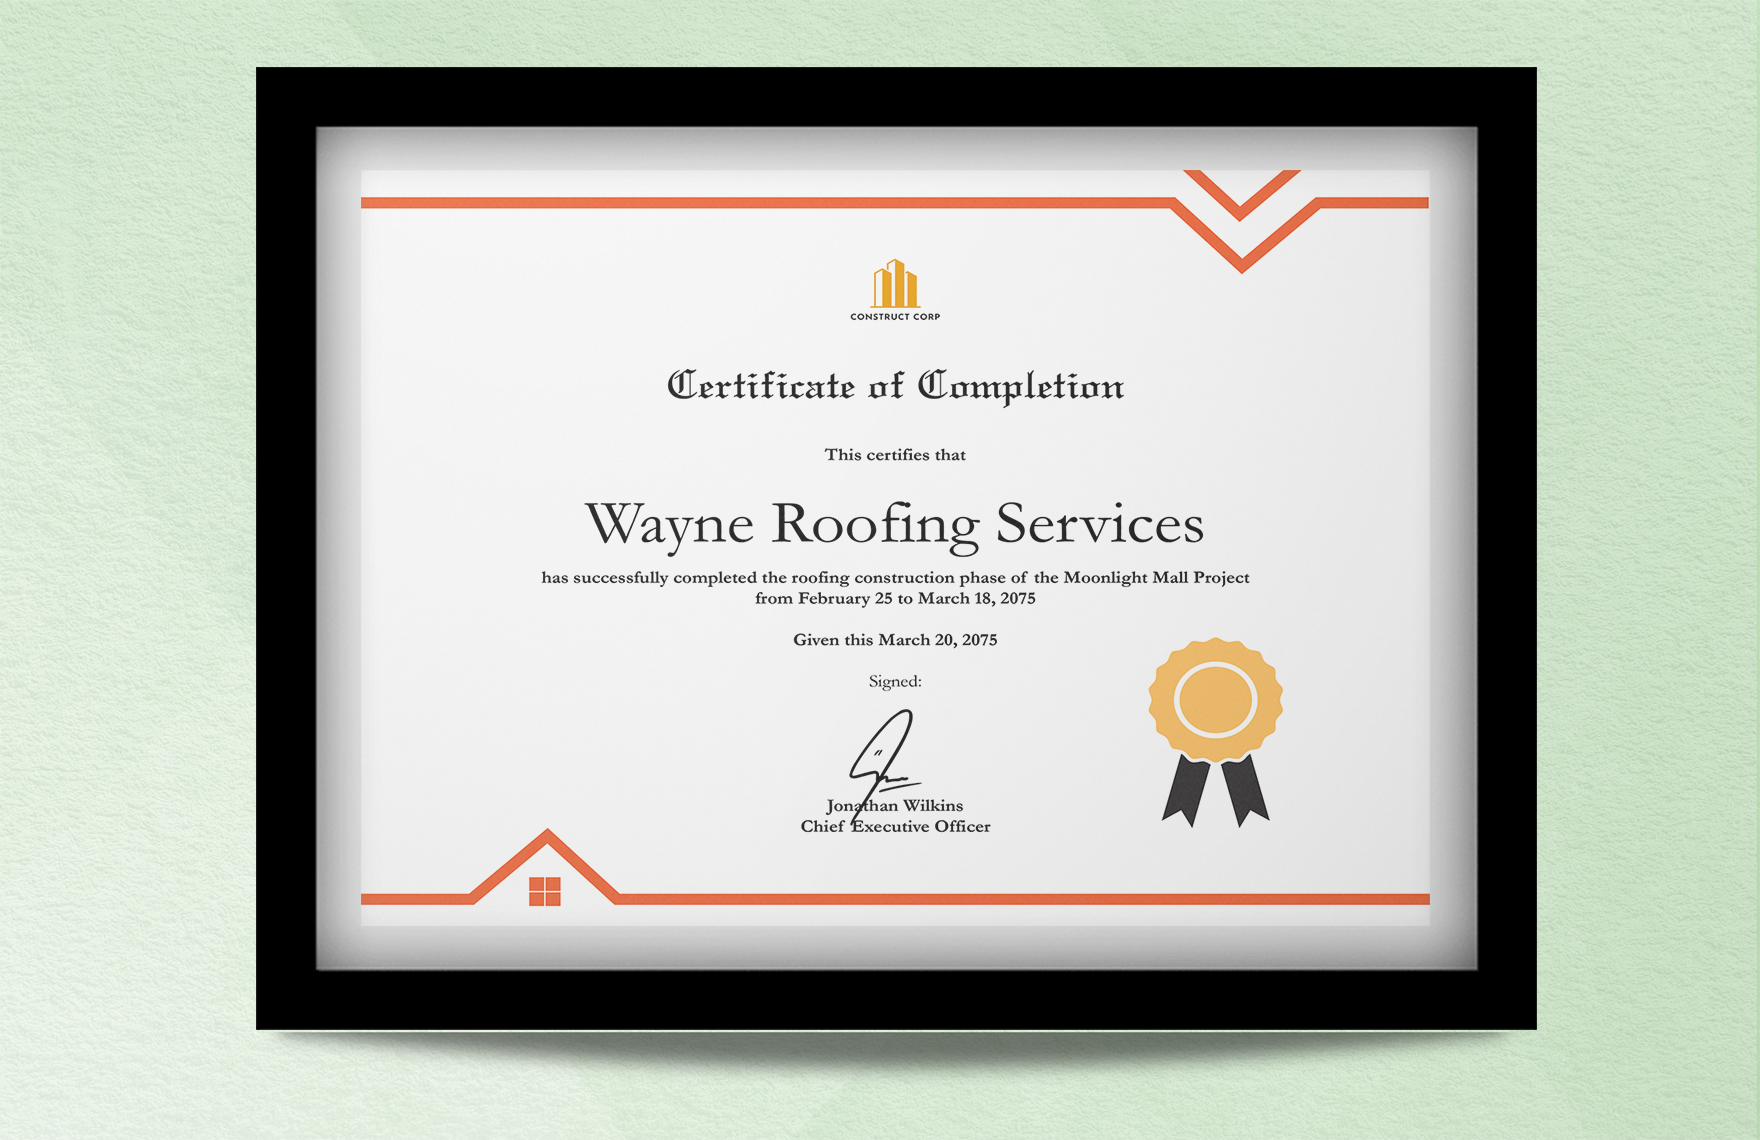
1. Regulatory Confidence – Insurers and regulators view standardized documentation as a sign of professional practice.
2. Insurance Value – Detailed certificates can reduce premiums and simplify claims.
3. Warranty Enforcement – Clear evidence of correct installation ensures warranty claims are processed swiftly.
4. Risk Mitigation – Identifying and rectifying potential failures before they become costly problems.
Leveraging Templates for Future Projects

Once a template is finalized, archive it in a master repository. Tag each project file with key metadata—location, roof type, and certification status—to facilitate quick searches. Over time, this archive becomes a knowledge base, allowing teams to reference past inspections to improve quality and reduce time to market for new jobs.
Final Thoughts
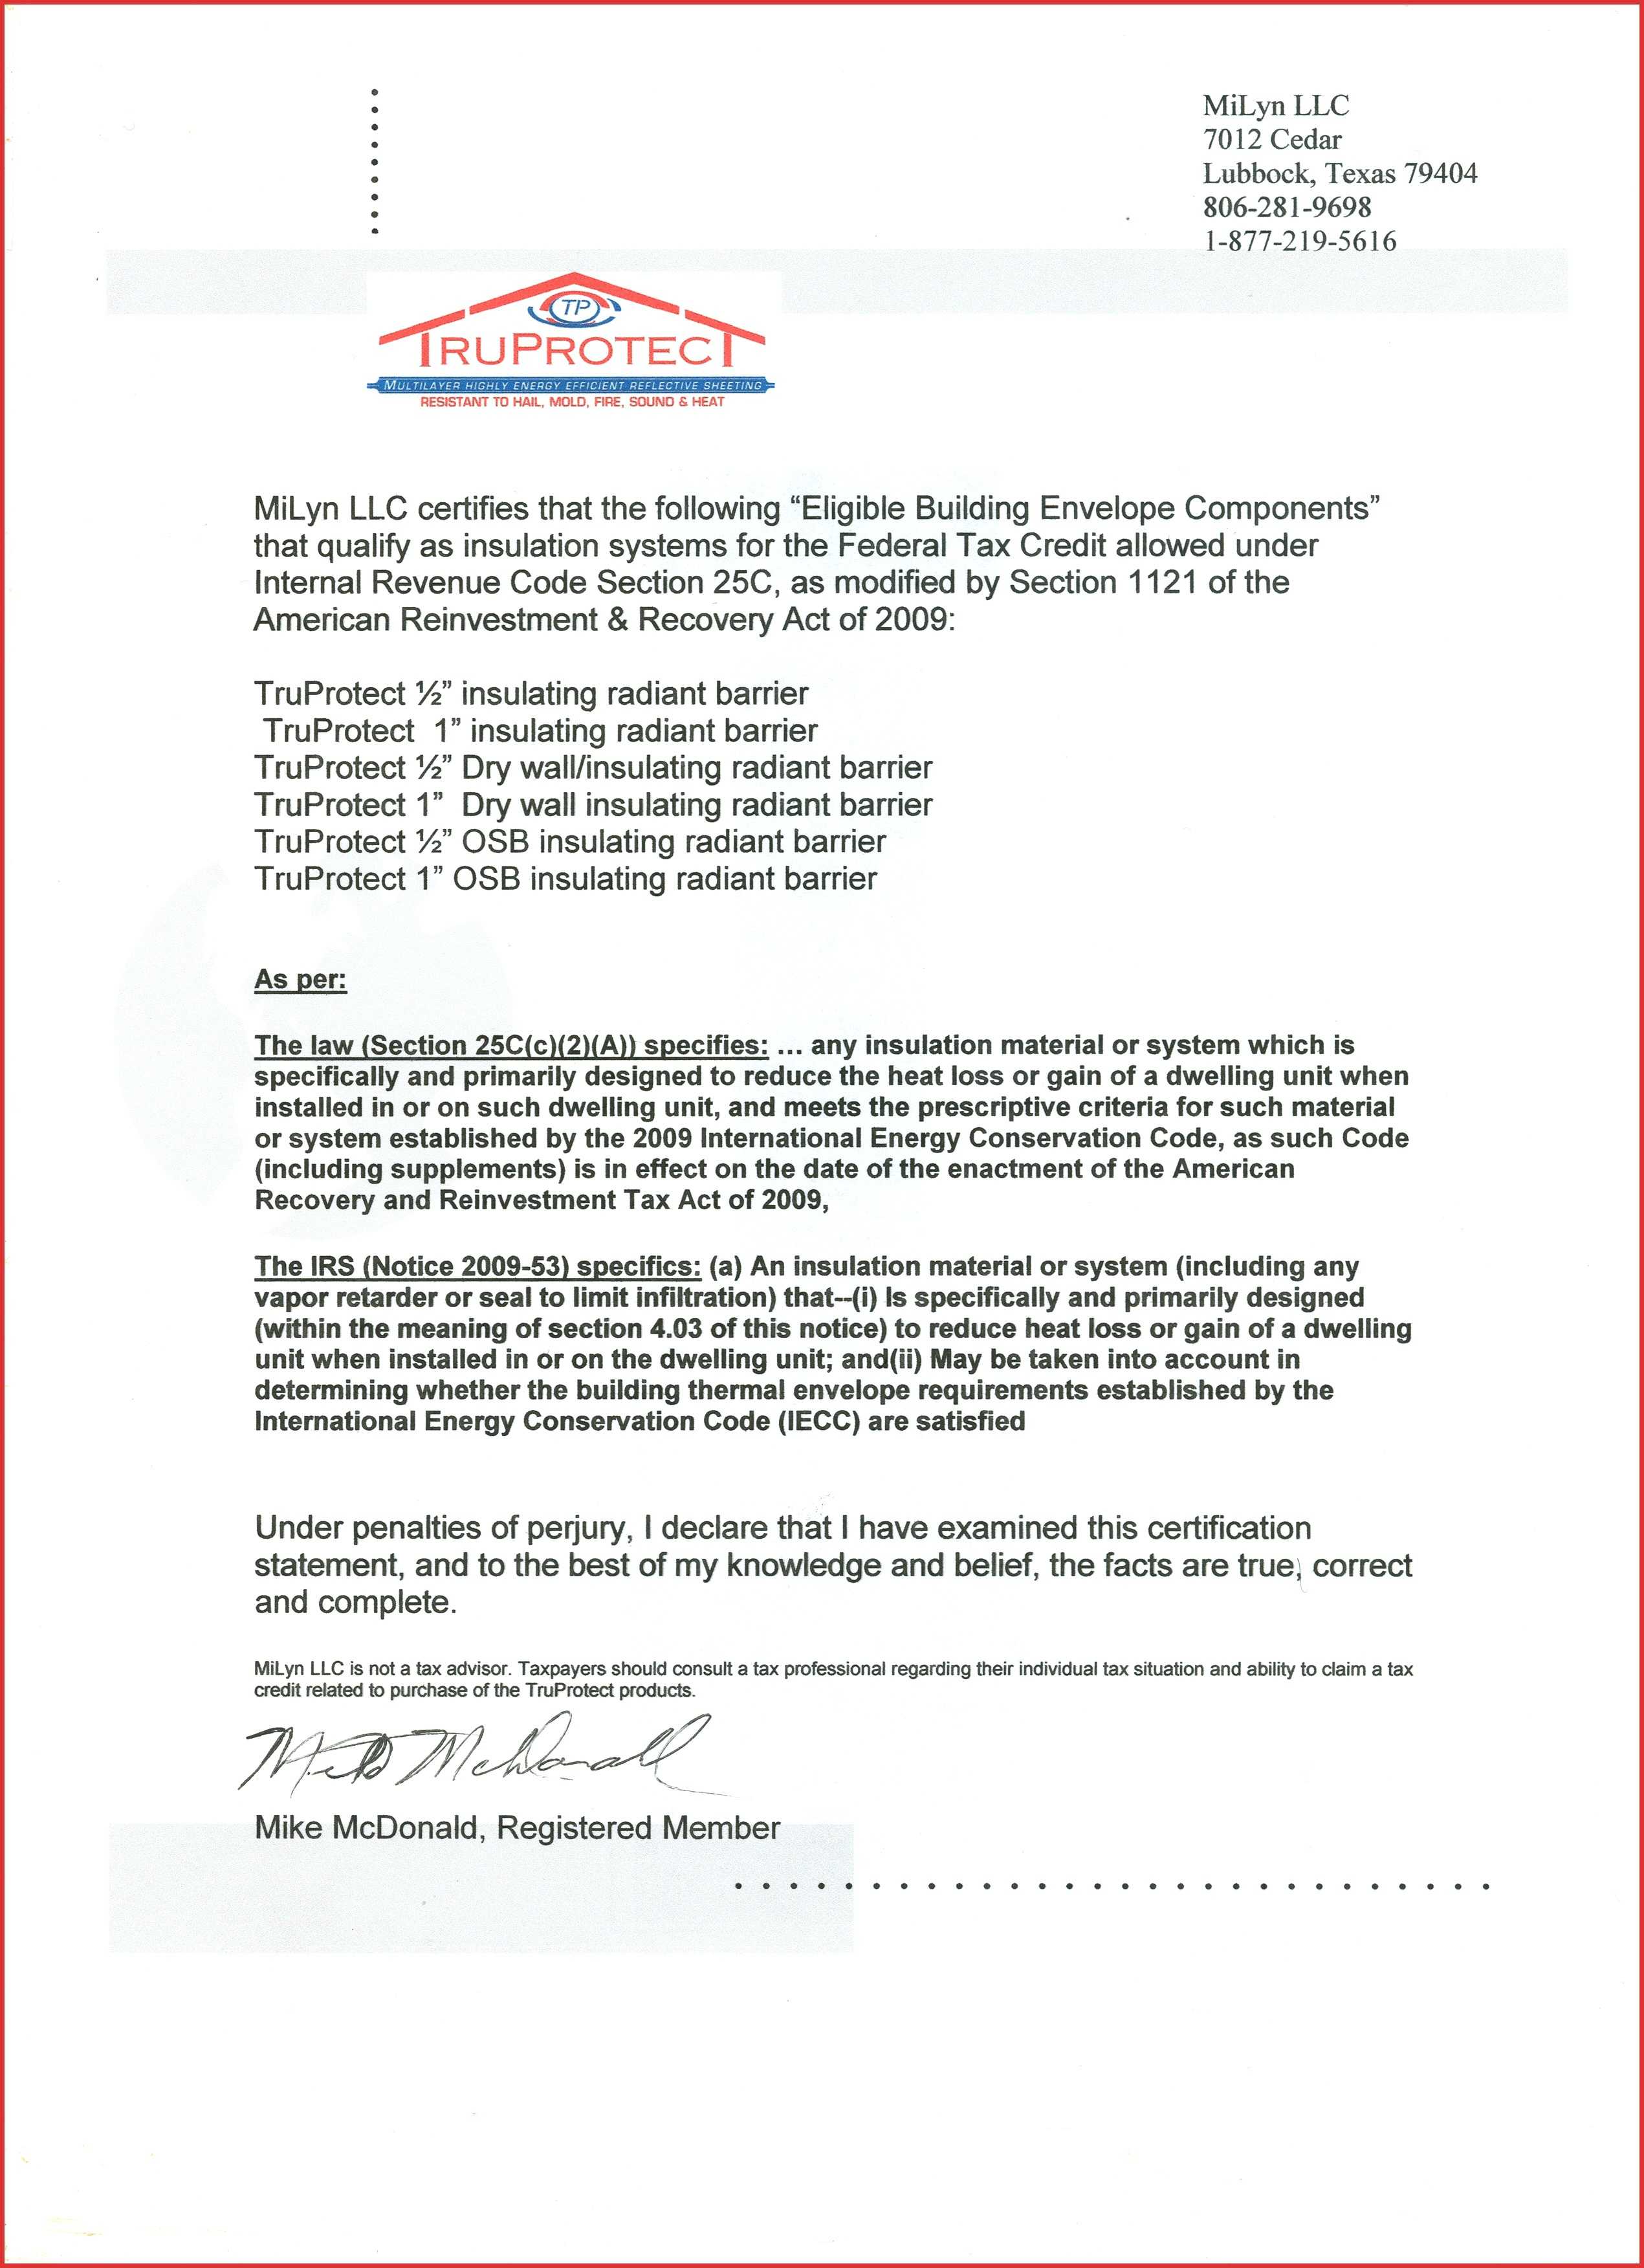
Adopting a robust Roof Certification Template transforms a cumbersome paperwork process into an efficient, reliable tool. By capturing every critical detail—from material specifications to compliance checklists—you protect your clients, your business, and your reputation. Whether you choose a digital or paper format, ensure your template remains adaptable, code‑compliant, and user‑friendly. Start with the structure outlined here, tailor it to your local requirements, and watch your roofing projects gain clarity, trust, and longevity.