
How To Change Powerpoint Template is a question that pops up every time a presenter wants to freshen up a deck, align it with new branding, or simply give a stale slide collection a modern polish. The process can seem intimidating at first glance, especially if you’ve only ever used the default blank layout, but PowerPoint actually offers a suite of intuitive tools that let you swap, tweak, or completely redesign a template in just a few clicks. In this guide we’ll walk through every stage of the transformation—from understanding what a template really is, to preparing your file, executing the change step‑by‑step, and polishing the final product so it looks professional and cohesive.
Understanding PowerPoint Templates
What a template means in PowerPoint
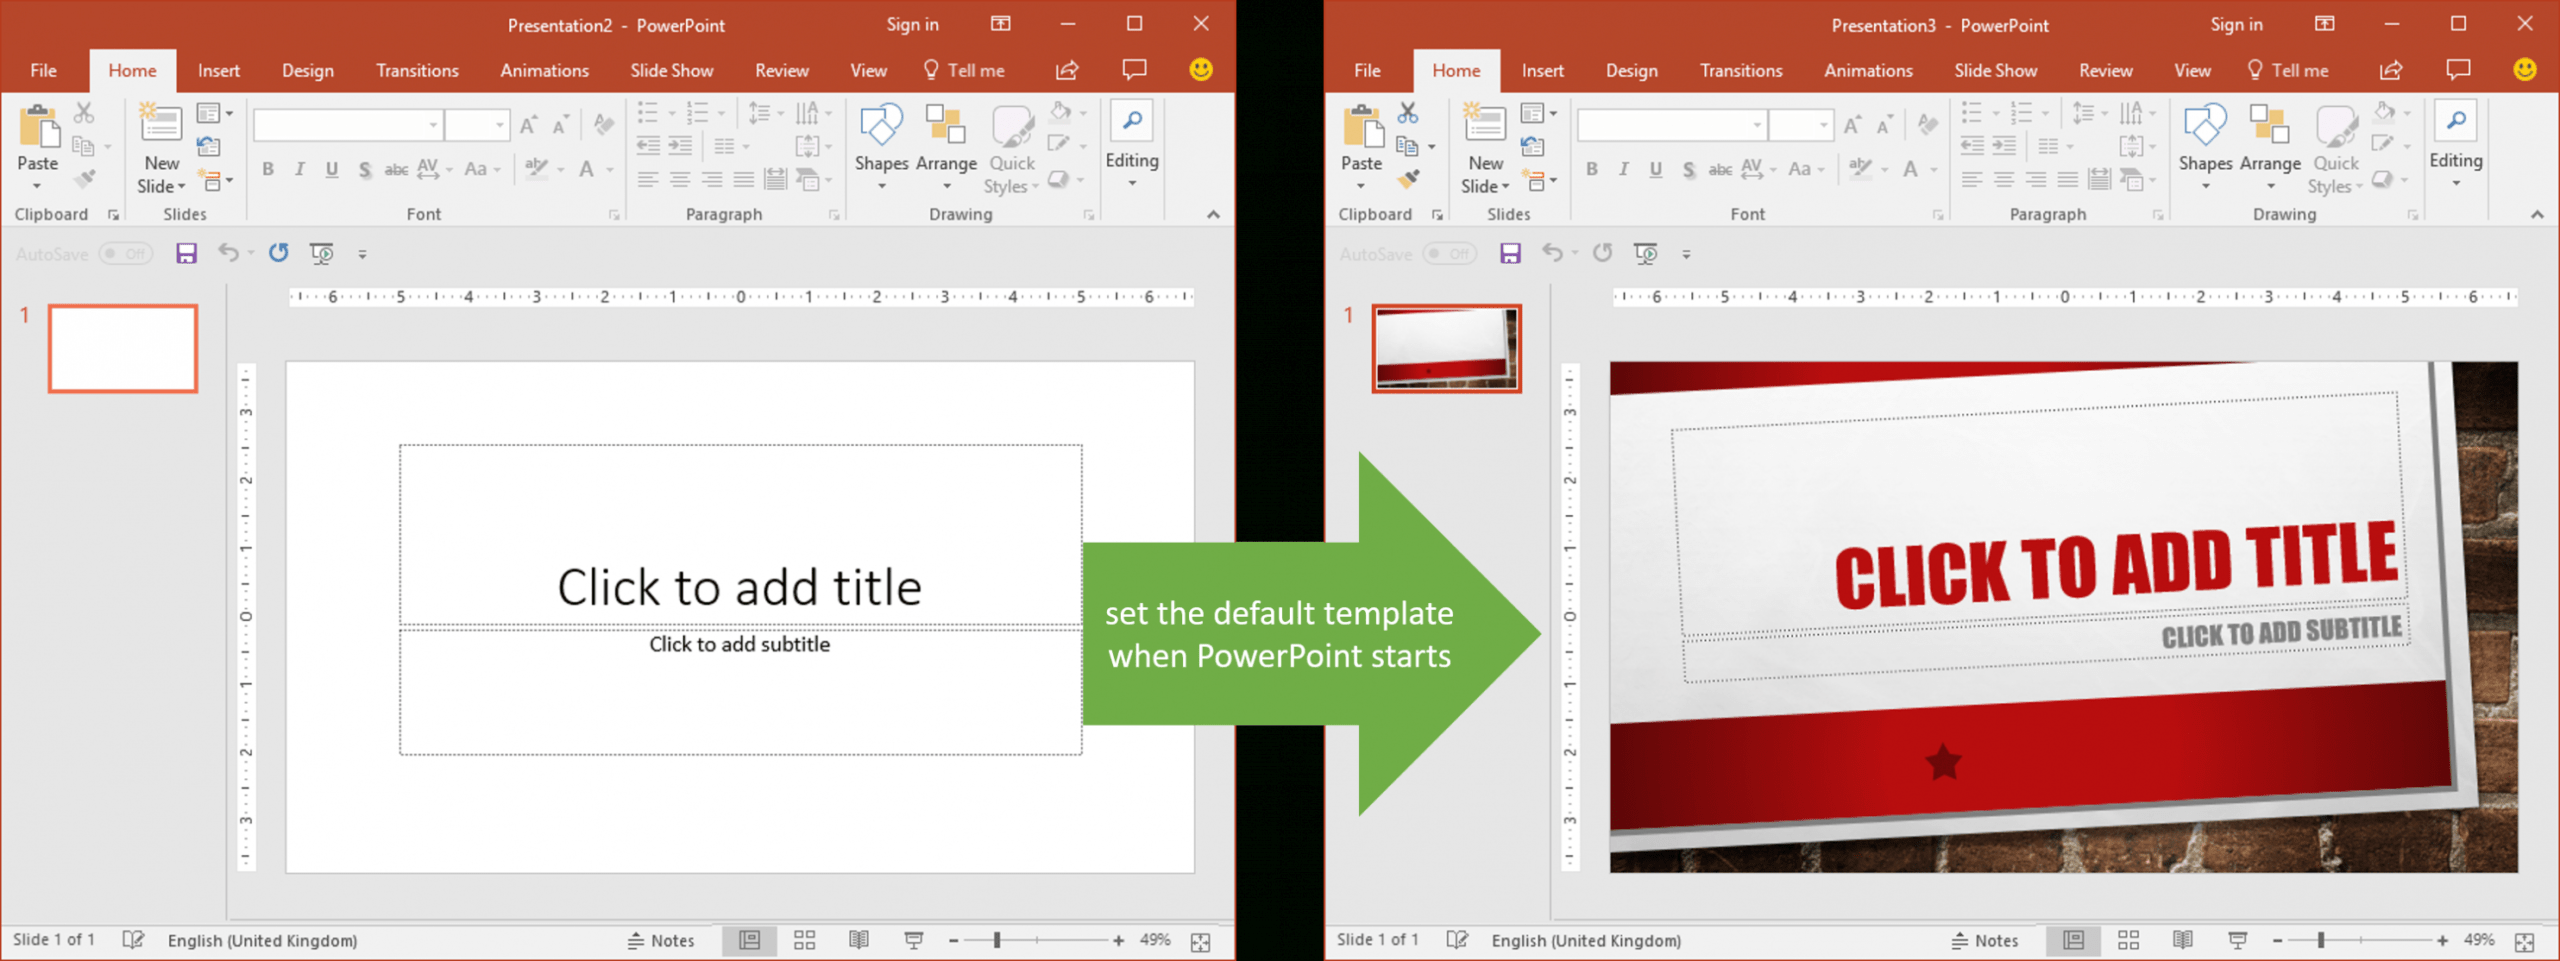
A PowerPoint template is more than a pretty background; it’s a collection of predefined slide masters, layouts, color schemes, fonts, and placeholder objects that together dictate the visual language of an entire presentation. When you apply a template, PowerPoint automatically assigns these design elements to each new slide, ensuring consistency without you having to manually adjust every single element.
Why you might want to change a template
There are several practical reasons to replace an existing template:
- Brand alignment: Companies regularly update their visual identity, and every public‑facing deck must reflect the latest logo, color palette, and typography.
- Audience expectations: A conference might call for a sleek, minimalist look, while a training session could benefit from a more instructional design.
- Content refresh: Older decks often suffer from outdated graphics or cluttered layouts that distract from the core message.
- Collaboration: When multiple contributors work on a shared file, a unified template helps keep the final product looking seamless.
Template components you’ll encounter
PowerPoint stores template information in two main places:
- Slide Master: The top‑level slide that governs global attributes such as background, font, and color.
- Layout Masters: Sub‑templates derived from the Slide Master, each designed for specific slide types (title, two‑column, picture with caption, etc.).
Preparing to Change a Template
Back up your original file
Before you make any changes, save a copy of the presentation under a new file name. This simple step prevents data loss and gives you a fallback if the new template disrupts the layout in unexpected ways.
Identify the right template for your needs
Consider the following criteria when selecting a new template:
- Purpose of the deck: Is it a sales pitch, a technical briefing, or an educational workshop?
- Brand guidelines: Does your organization provide a set of approved colors, fonts, and logo placements?
- Complexity of content: Some templates are optimized for heavy data visualizations, while others focus on storytelling with large imagery.
- File format: Templates can be saved as
.potx(PowerPoint Template) or.thmx(Theme). Both work, but.potxincludes master slides, which is useful for more extensive customizations.
Test the template on a single slide first
Open the template file, insert a new slide, and apply the layout you expect to use most often. This quick test reveals whether the placeholder text boxes, image frames, and color contrasts meet your expectations before you overhaul the entire deck.
Step‑by‑Step Guide to Changing a Template
Method 1: Using the Design Tab (Quick Switch)
This is the fastest way to replace an existing theme with a new one built into PowerPoint.
- Open your presentation.
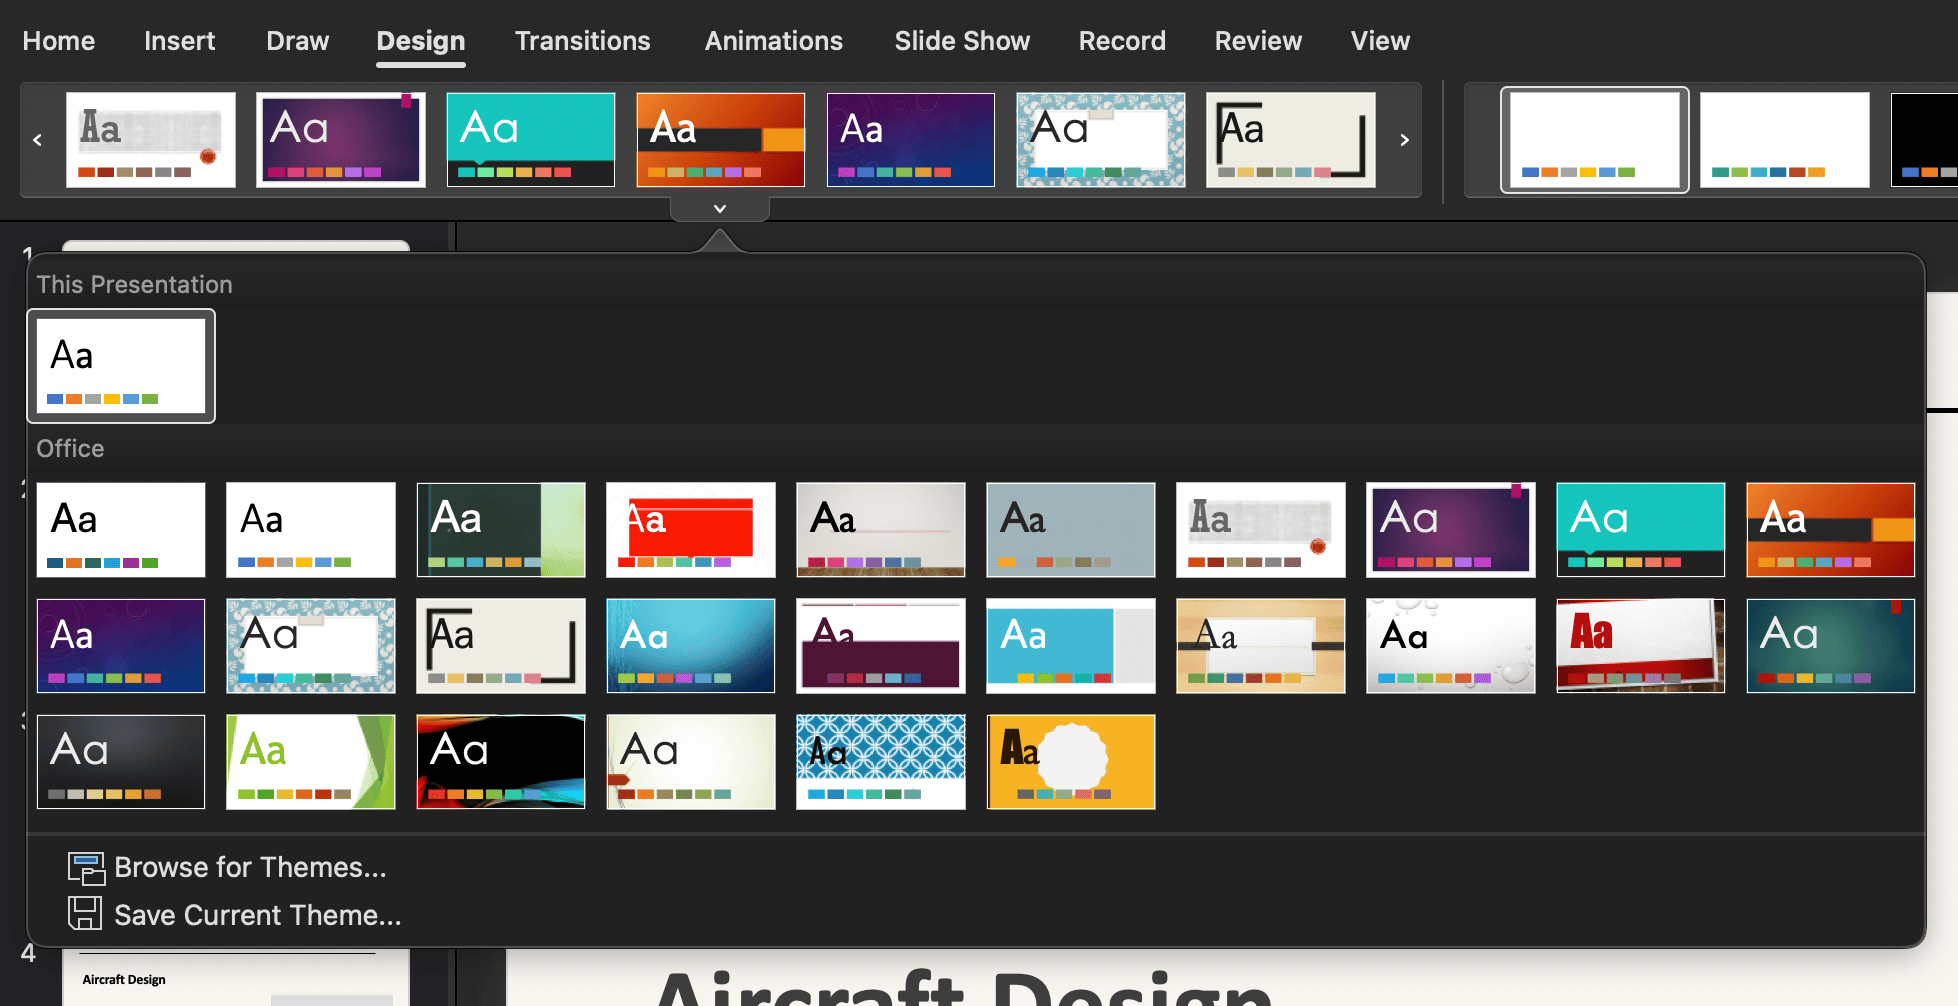
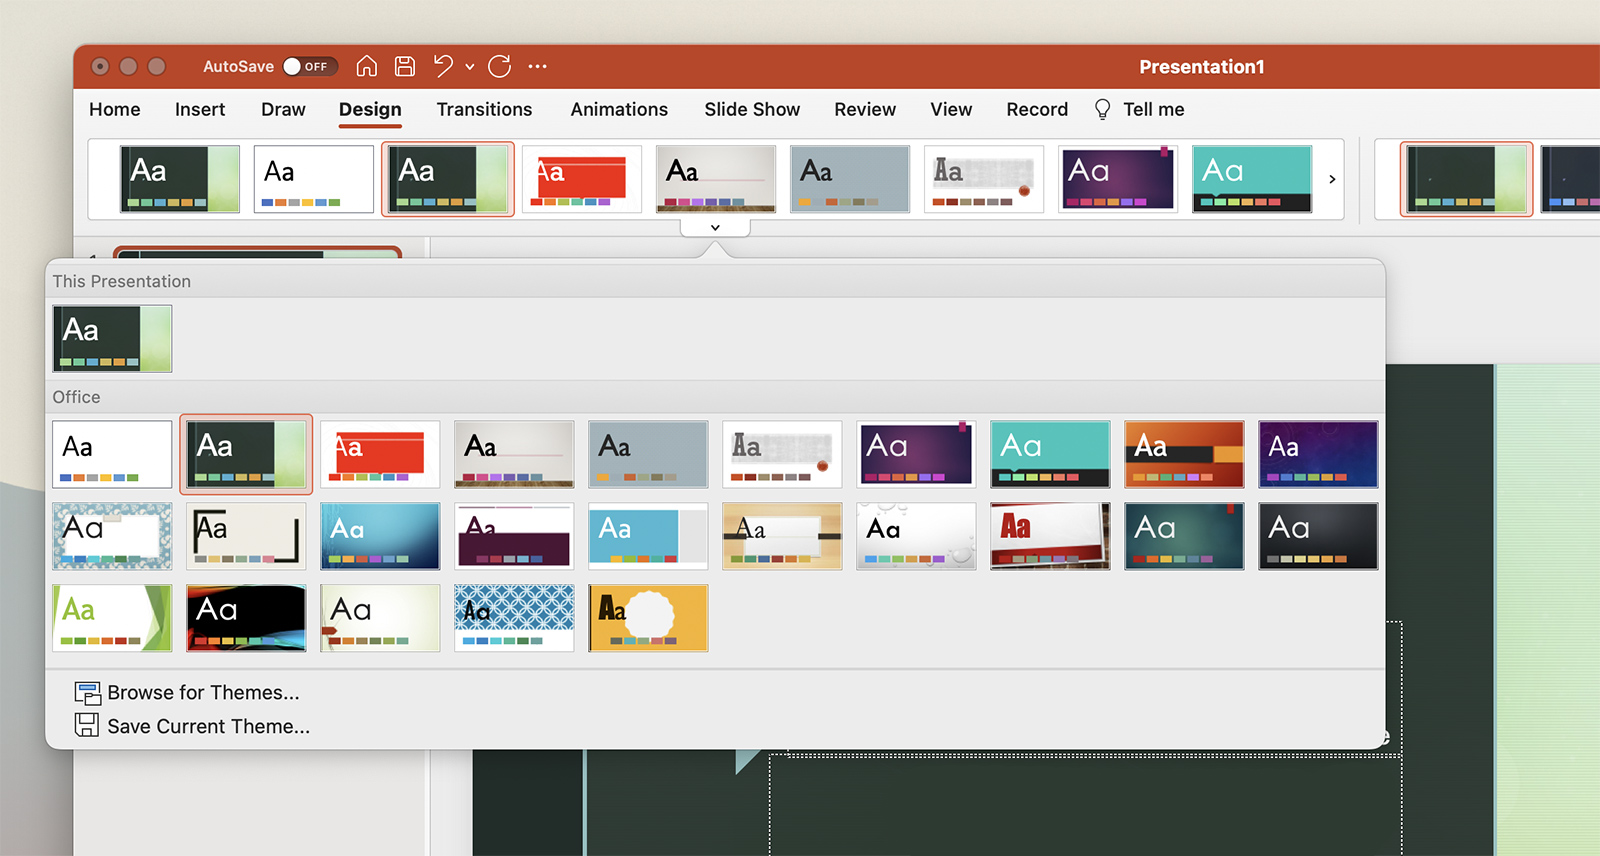
- Navigate to the Design tab on the ribbon.
- In the Themes gallery, hover over the thumbnails to preview how each will affect your slides.
- Click the desired theme to apply it instantly. PowerPoint will automatically update slide backgrounds, fonts, and color schemes across the entire deck.
- If you want to keep the original slide layouts but only adopt the new color palette, click the Variants dropdown, then choose Colors and select a set that matches your brand.
Method 2: Applying a Custom Template via Slide Master
When you have a .potx or .thmx file, follow these steps for a more controlled transition.
- Open the target presentation.
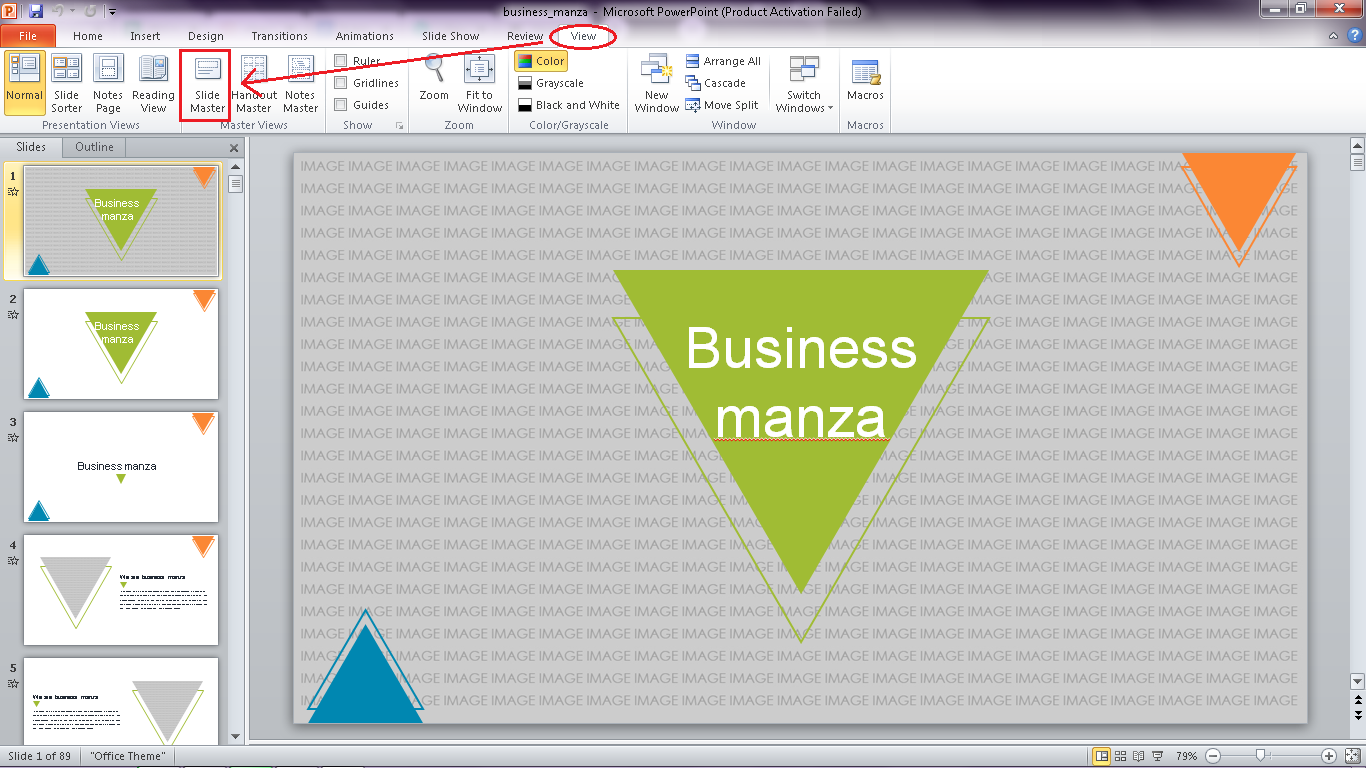
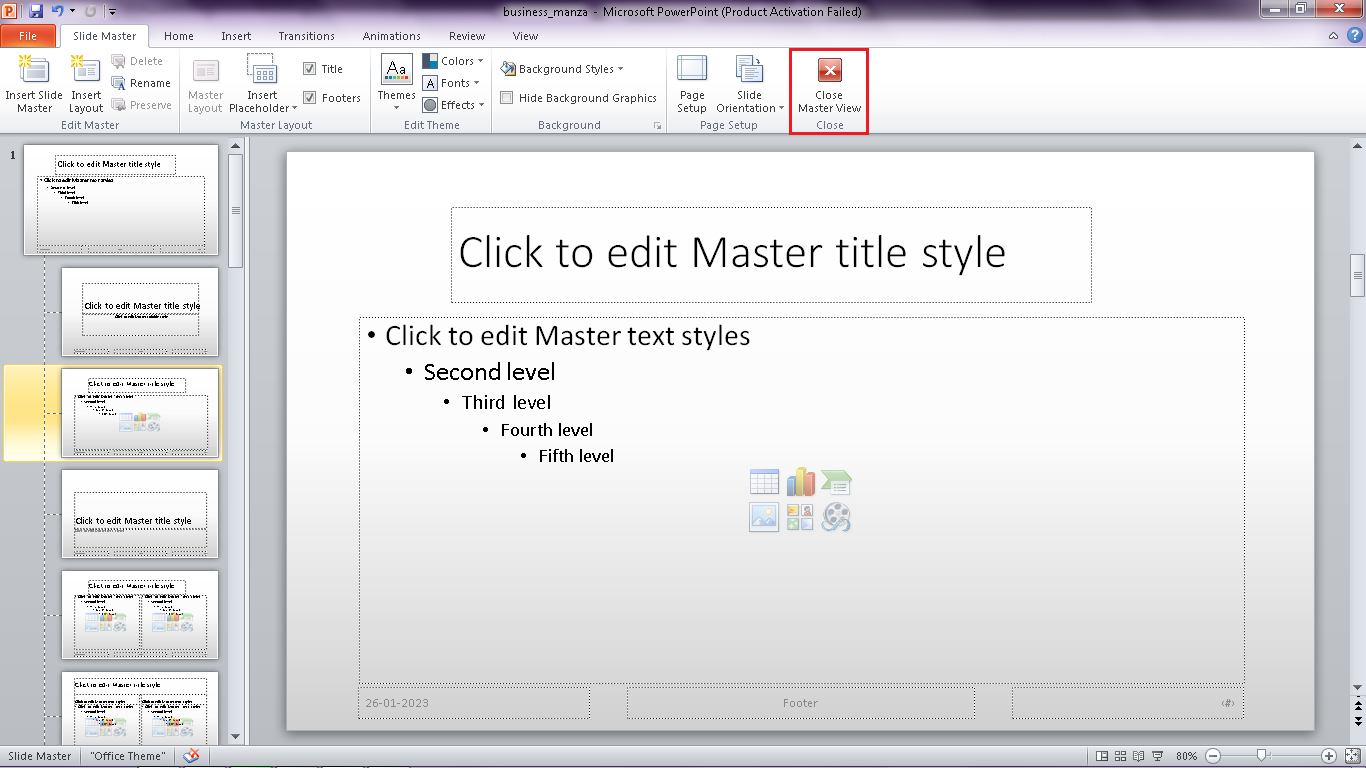
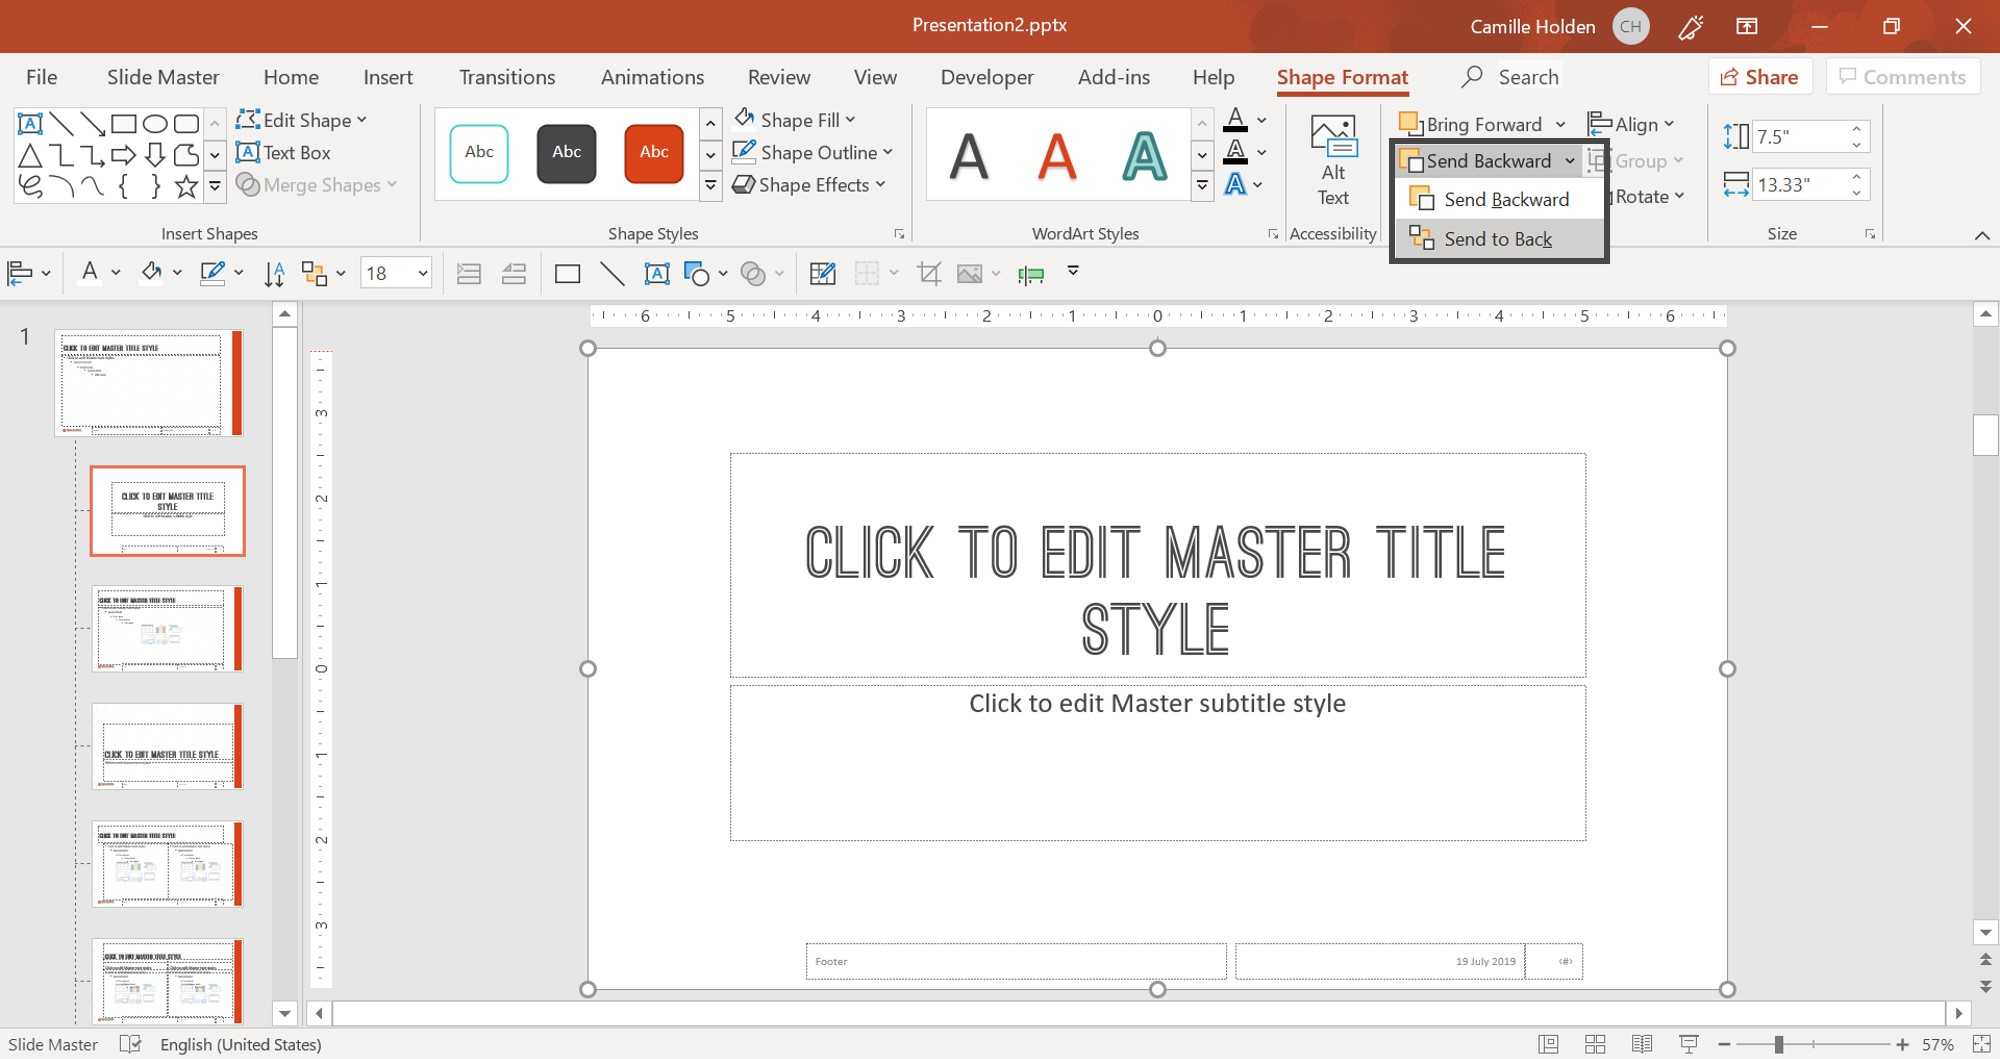
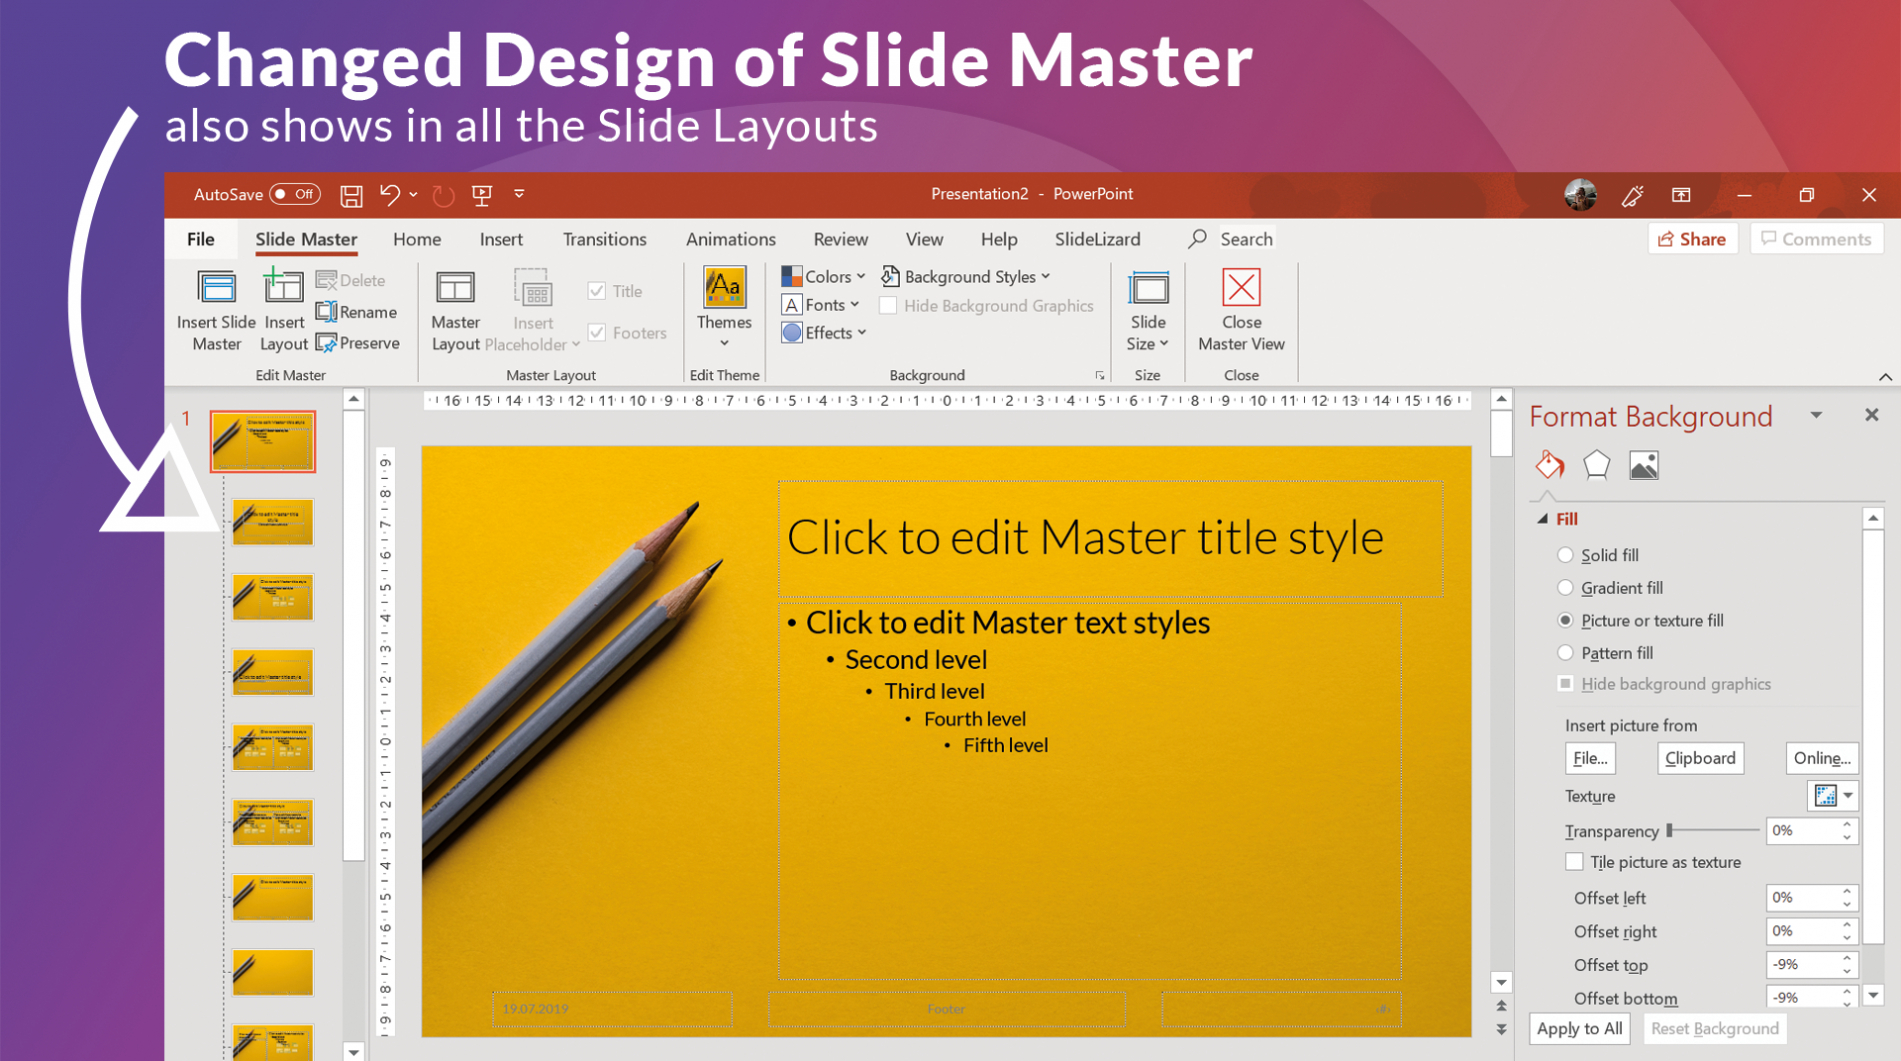
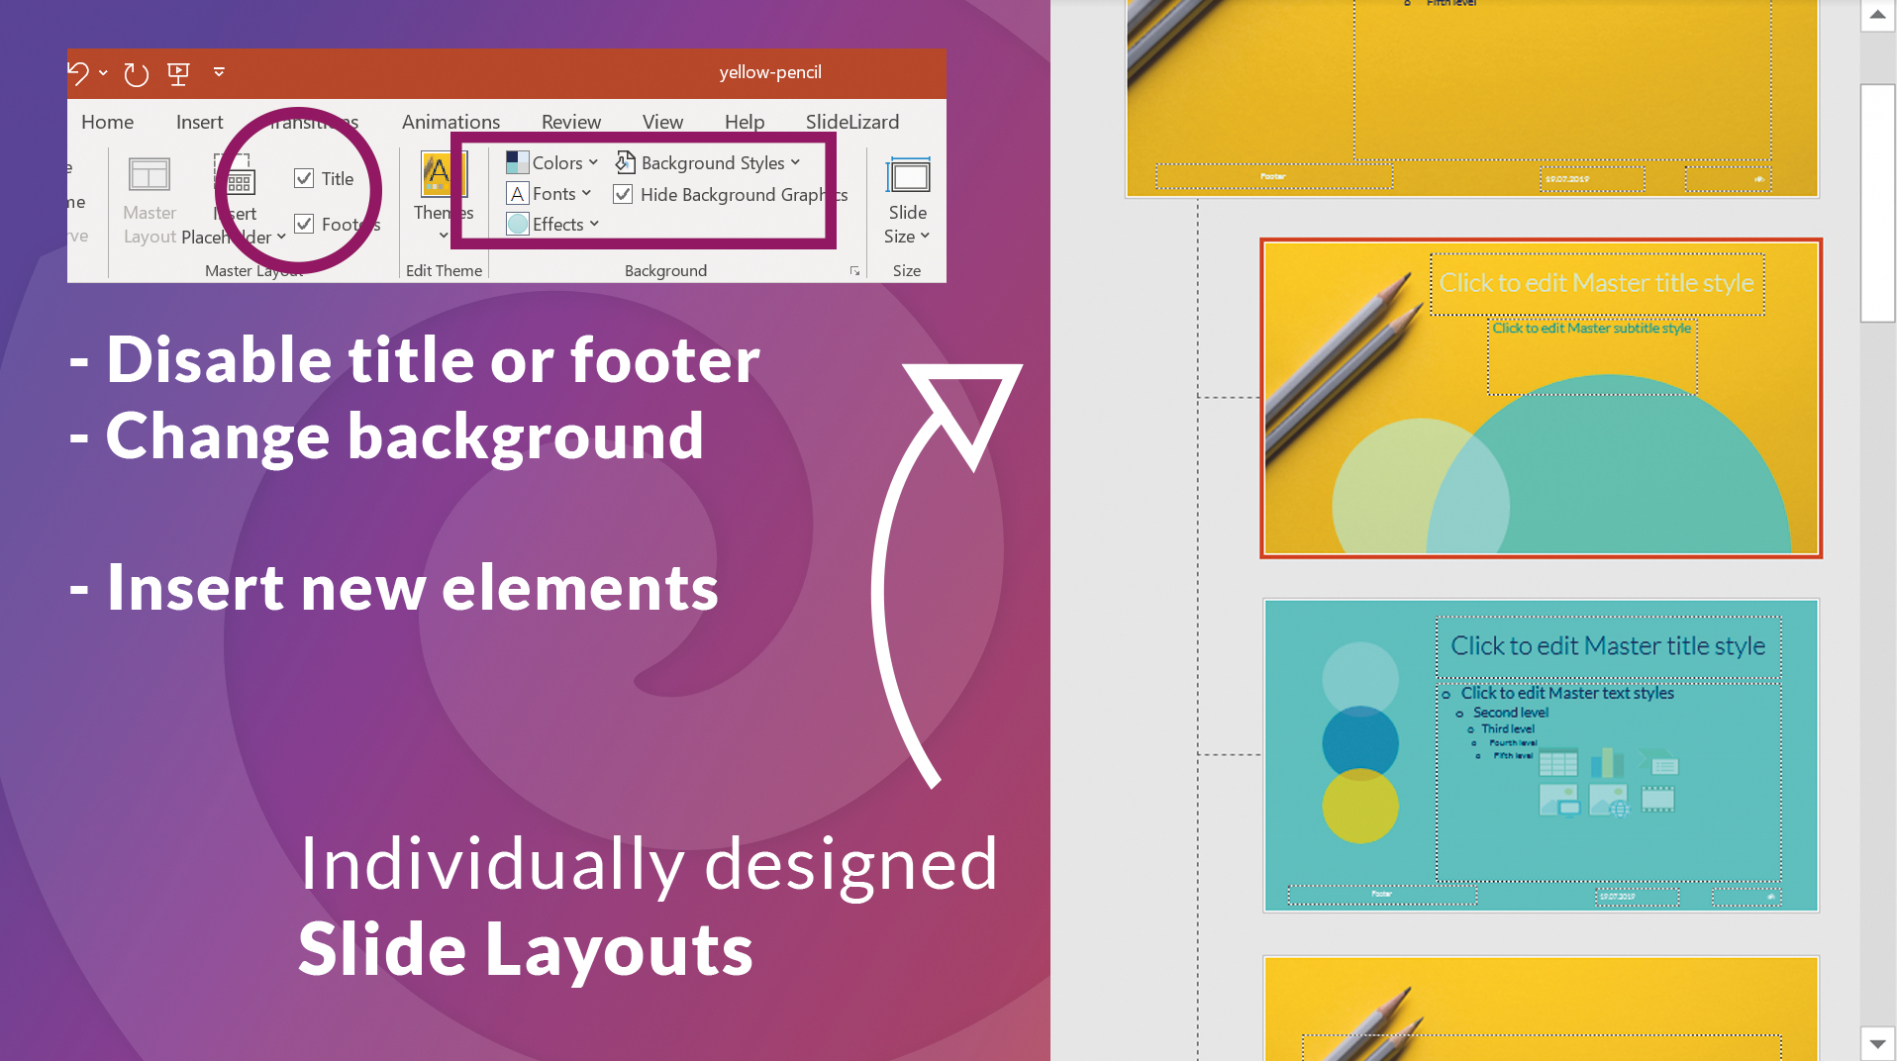
- Go to View > Slide Master. This view reveals the master slide and all associated layouts.
- In the Slide Master tab, click Themes > Browse for Themes… and locate your custom template file.
- PowerPoint will import the new master and replace the existing one. All layout placeholders will now reflect the new design.
- Exit the Slide Master view by clicking Close Master View in the ribbon.
Method 3: Manually Replacing the Slide Master
If you want to keep some of the old layouts while adopting new branding elements, you can manually edit the master slides.
- Open the presentation and go to View > Slide Master.
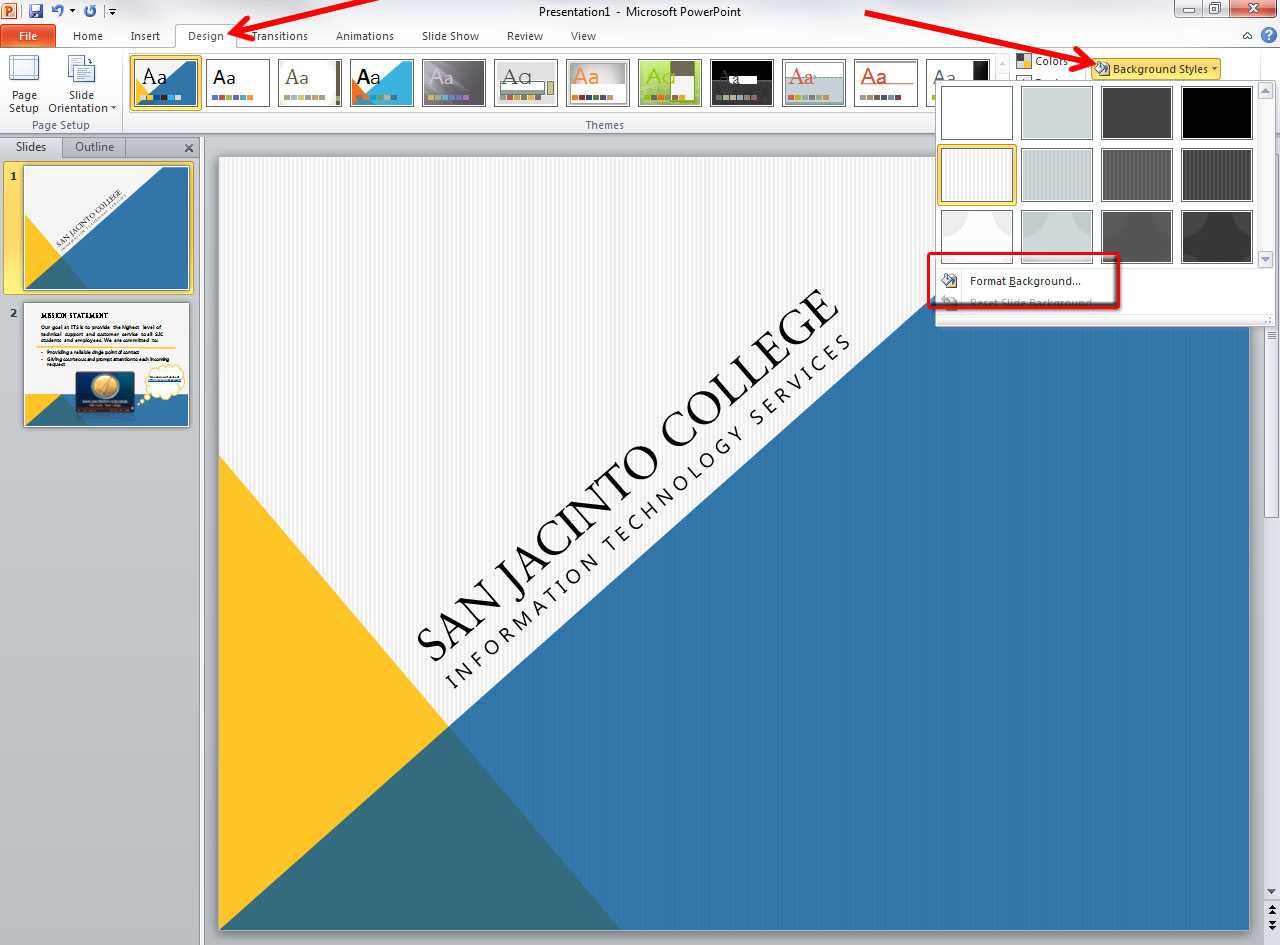
- Select the topmost master slide. Right‑click and choose Format Background to update the background image or color.
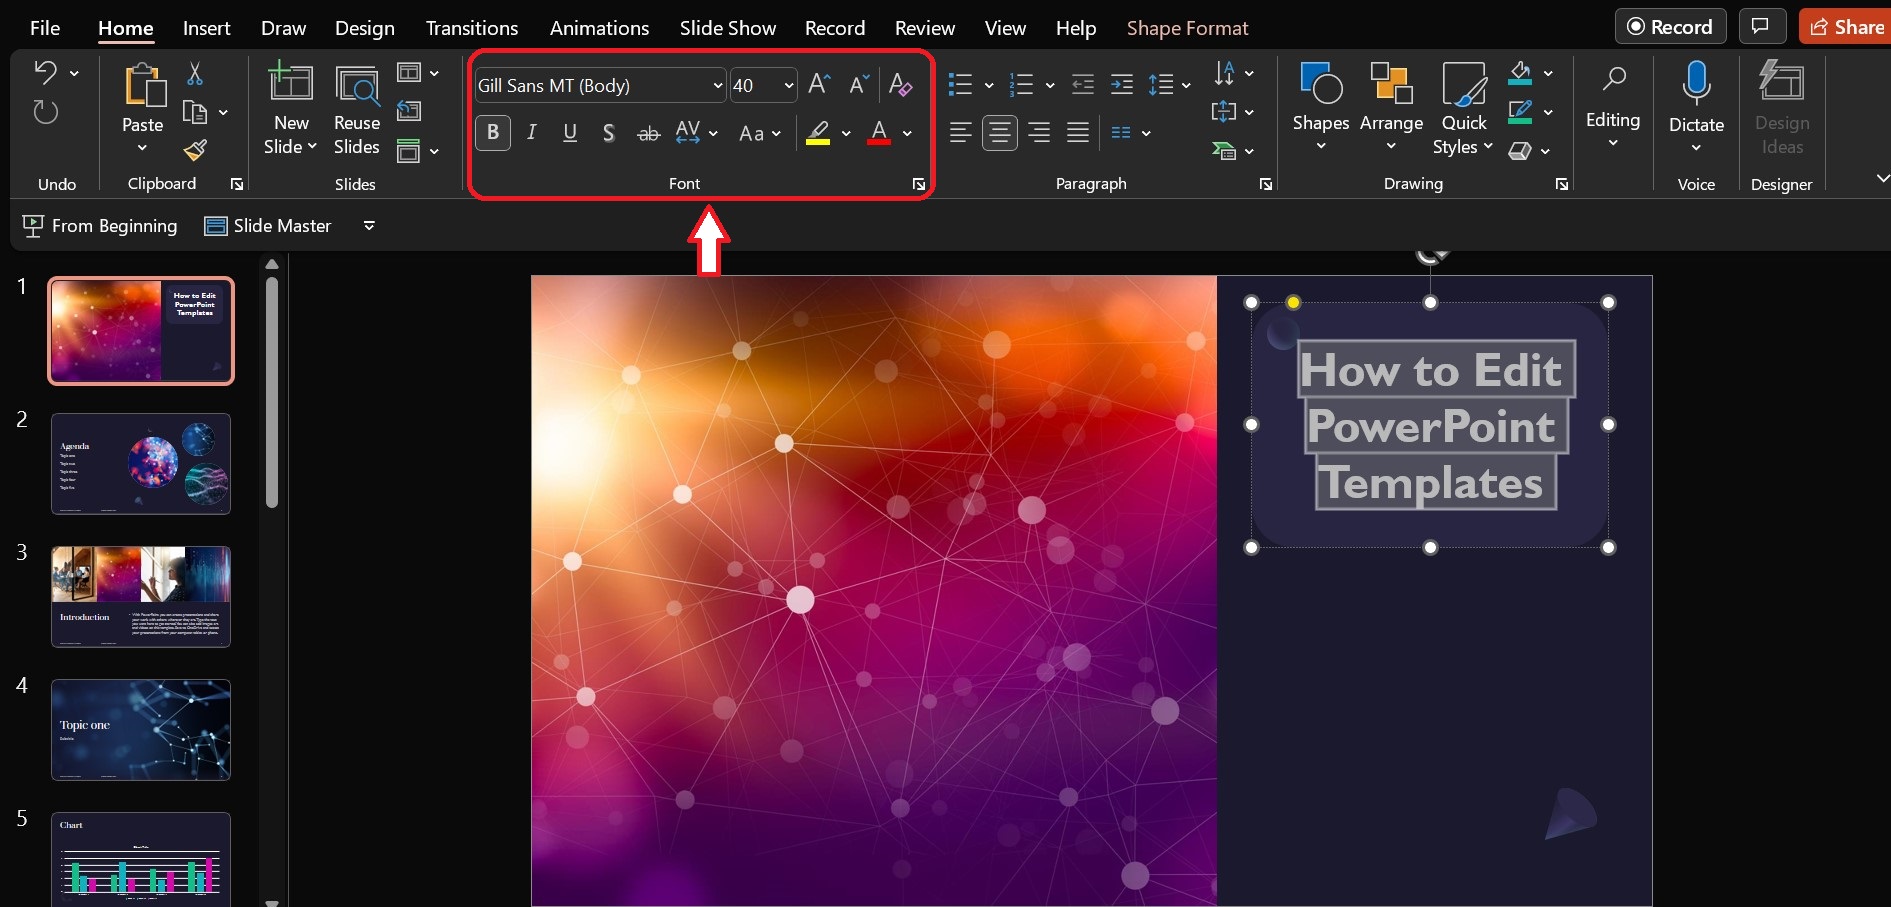
- Use the Fonts dropdown in the Slide Master tab to apply a new font family.
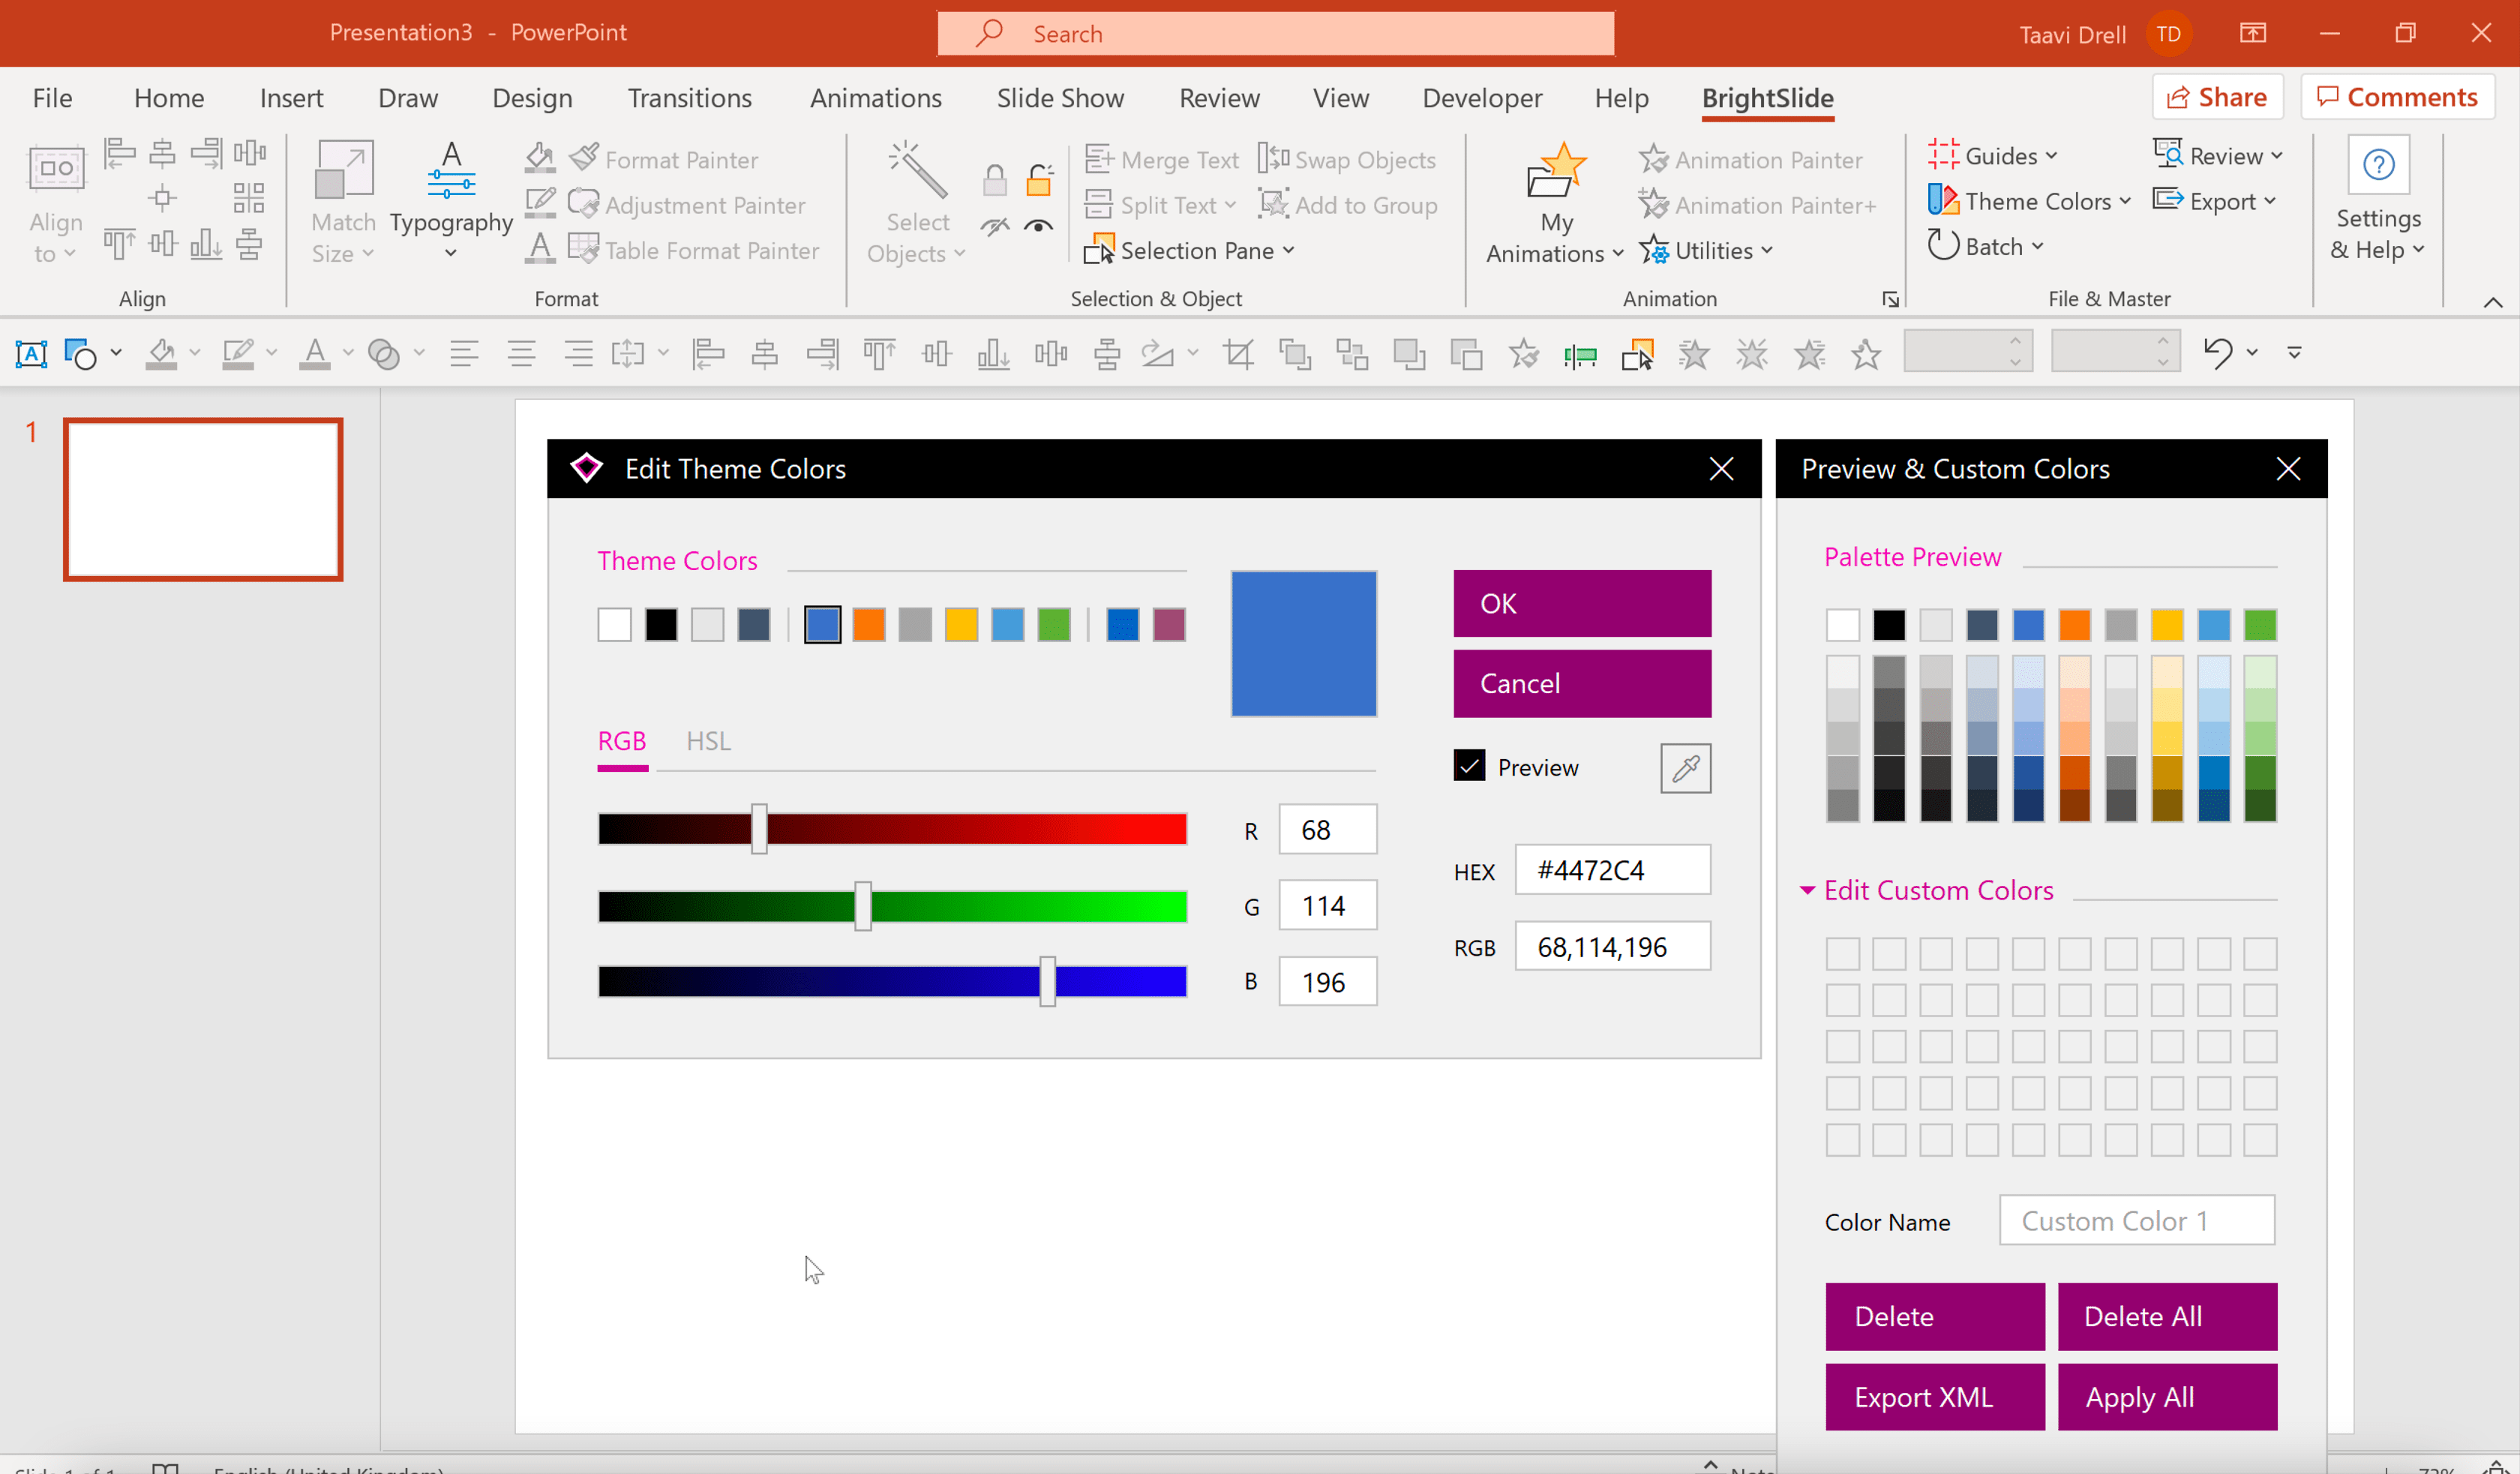
- Click Colors to modify the theme’s color palette, aligning it with brand guidelines.
- For each layout below the master, adjust placeholder positions or add new shapes as needed.
- When finished, click Close Master View. All slides that use the edited layouts will instantly reflect the changes.
Updating existing slides after a template change
Even after applying a new template, some slides may retain old formatting because they were manually edited before. To standardize them:
- Select the slide, then click Reset on the Home tab. PowerPoint will reapply the current layout’s default formatting.
- If the slide contains custom text boxes or images that you want to keep, use the Format Painter to copy the new style onto those elements.
- For charts and tables, use the Design tab that appears when the object is selected to apply the new theme colors.
Tips for Consistent Branding
Standardize color schemes
Brand colors should appear consistently across backgrounds, shapes, and chart series. In the Slide Master, define a custom color palette that mirrors your corporate style guide. Once set, any new shape or chart will automatically pull from this palette.
Choose legible fonts
Stick to one or two typefaces: one for headings and another for body text. In the Slide Master, set the heading font to a bold, attention‑grabbing typeface, and the body font to a clean, readable one. Avoid using more than two fonts to maintain visual harmony.
Maintain uniform spacing and alignment
Use the Guides and Gridlines options under View to align objects consistently across slides. When you create placeholders in the master layouts, lock their position and size so contributors cannot accidentally shift them.
Leverage placeholder content
Placeholders for titles, subtitles, images, and charts guide users to insert content in the right place. This reduces the risk of misaligned text or oversized images that break the design.
Common Pitfalls and How to Avoid Them
Losing custom formatting
When you apply a new template, PowerPoint may override manual formatting such as custom fonts or colors. To safeguard important formatting, use the Keep Source Formatting option when pasting content from other files, or apply the new theme first and then manually adjust only the elements that need special treatment.
Broken image links
If your presentation contains linked images (rather than embedded), changing the template can sometimes disrupt file paths. To prevent missing images, embed all pictures before applying a new template by selecting the image, clicking Picture Format, and choosing Compress Pictures → Delete cropped areas of pictures.
Inconsistent slide layouts
Sometimes a slide uses a custom layout that isn’t present in the new template, leading to a mismatched look. The solution is to either map the slide to an existing layout (via Layout > Apply Layout) or create a new layout within the Slide Master that mirrors the custom design you need.
Hidden fonts causing substitution
If the new template references fonts that aren’t installed on your computer, PowerPoint substitutes a default font, which can alter the visual hierarchy. Ensure that any fonts used in the template are installed on all machines that will edit or present the deck.
Advanced Customization Options
Creating your own template from scratch
If off‑the‑shelf templates don’t meet your requirements, you can design a custom one:
- Open a new presentation and go to View > Slide Master.
- Design the master slide with the desired background, logo placement, and footer.
- Create a set of layout masters for title slides, content slides, section dividers, and any other recurring formats.
- Define a custom color palette via Colors > Create New Theme Colors.
- Set default fonts through Fonts > Create New Theme Fonts.
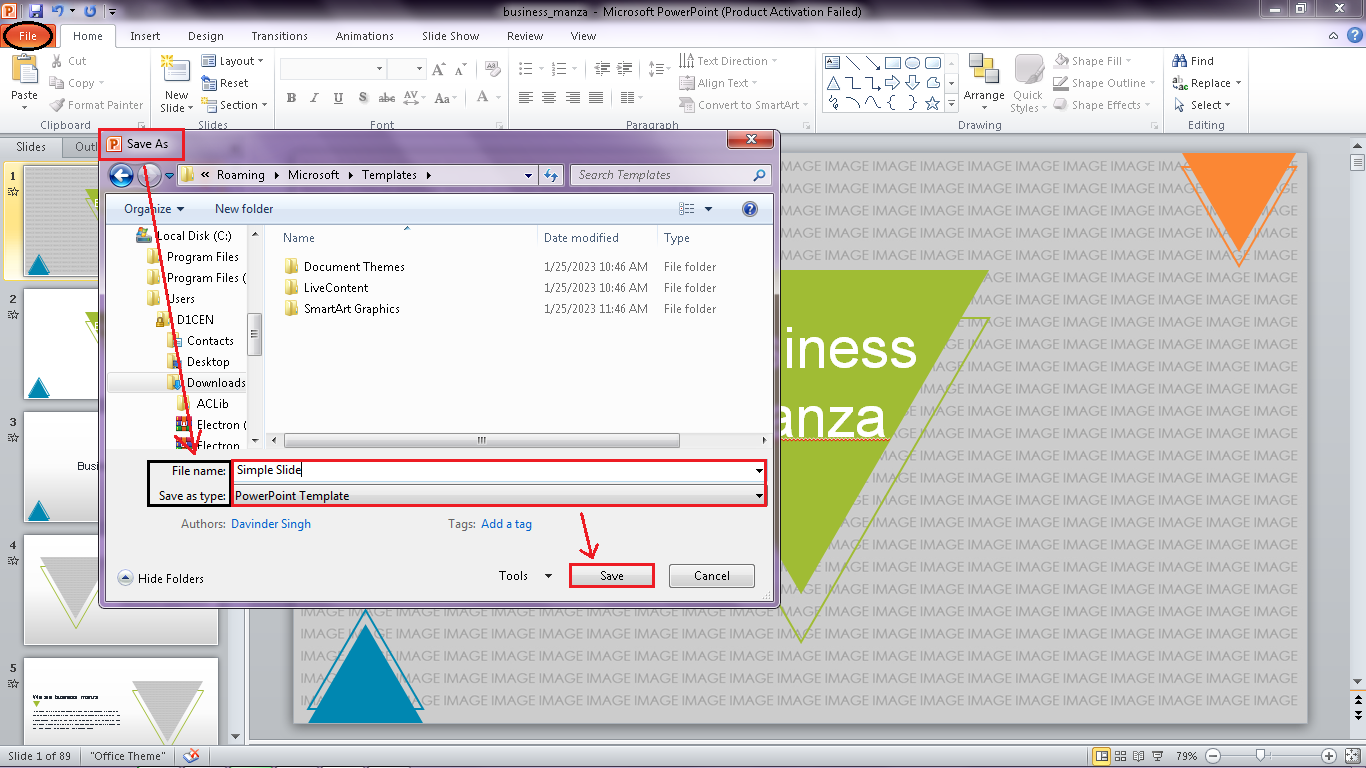
- Save the file as a
.potx(PowerPoint Template) to reuse it across future presentations.
Exporting a theme for distribution
Once you’ve built a template, you might want to share it with teammates. In the Design tab, click Save as Template and choose a location that all users can access, such as a shared network drive or a cloud storage folder. Team members can then load the template directly from the Custom section of the Themes gallery.
Using third‑party design tools
Tools like Adobe Illustrator, Canva, or even PowerPoint add‑ins (e.g., SlideModel) can produce high‑resolution graphics and custom icons that you can import into your master slide. When doing so, keep the file size in check by compressing images to a reasonable DPI (usually 150‑200 for screen presentations).
Conclusion
Changing a PowerPoint template is a straightforward yet powerful way to revitalize a presentation, enforce brand consistency, and streamline the design workflow for teams. By understanding the anatomy of templates, preparing your file carefully, following the step‑by‑step methods outlined above, and paying attention to branding details, you can transform any deck into a polished, professional asset. Keep an eye out for common pitfalls—such as lost formatting or broken image links—and leverage advanced features like custom master slides to future‑proof your presentations. With these strategies in hand, you’ll be able to confidently apply, modify, and create templates that keep your audience engaged and your message looking its best.



Related posts of "How To Change Powerpoint Template"
