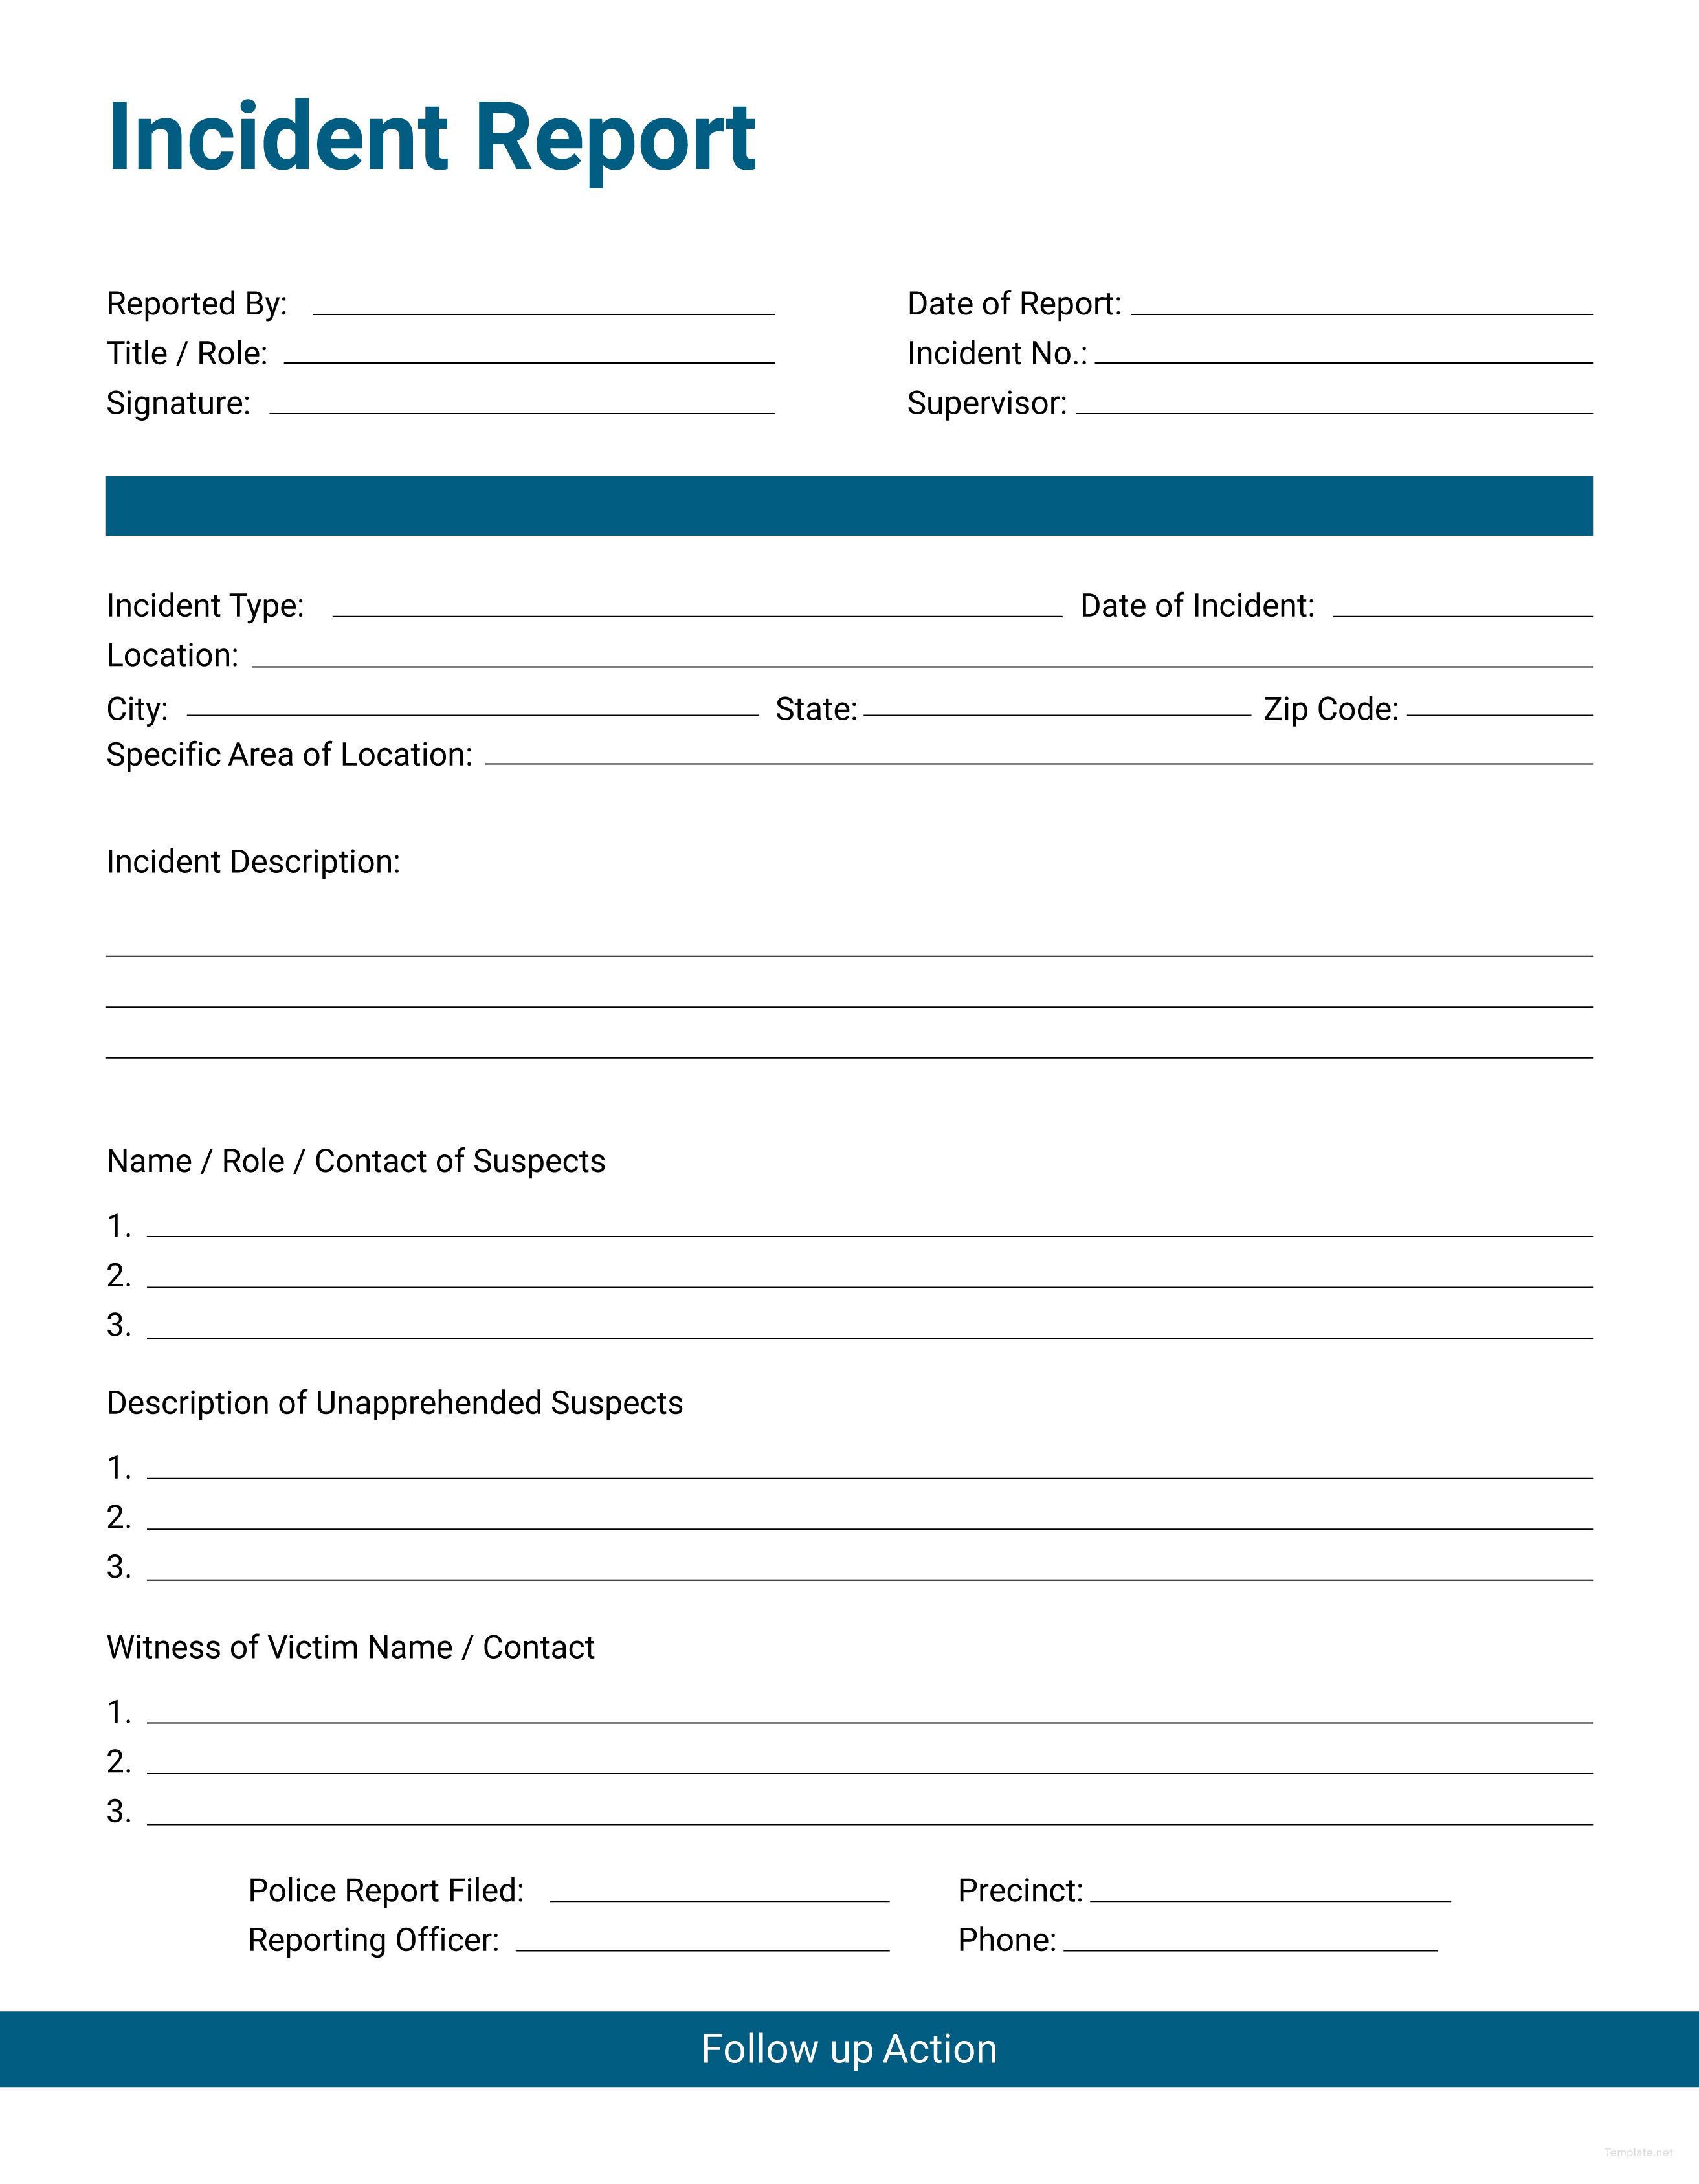
Incident Report Log Template is the cornerstone of a proactive safety culture, turning chaotic moments into organized data that drives real improvement across any workplace. Whether you manage a bustling restaurant, a construction site, a corporate office, or a small home‑based business, having a reliable way to capture the who, what, when, where, and why of incidents can protect your team, safeguard your brand, and keep you compliant with regulations. In this article we’ll explore everything you need to know to create, customize, and consistently use an incident report log template that works for you—complete with actionable steps, design tips, real‑world examples, and a roadmap for seamless integration into daily operations.
Why Every Business Needs an Incident Report Log Template
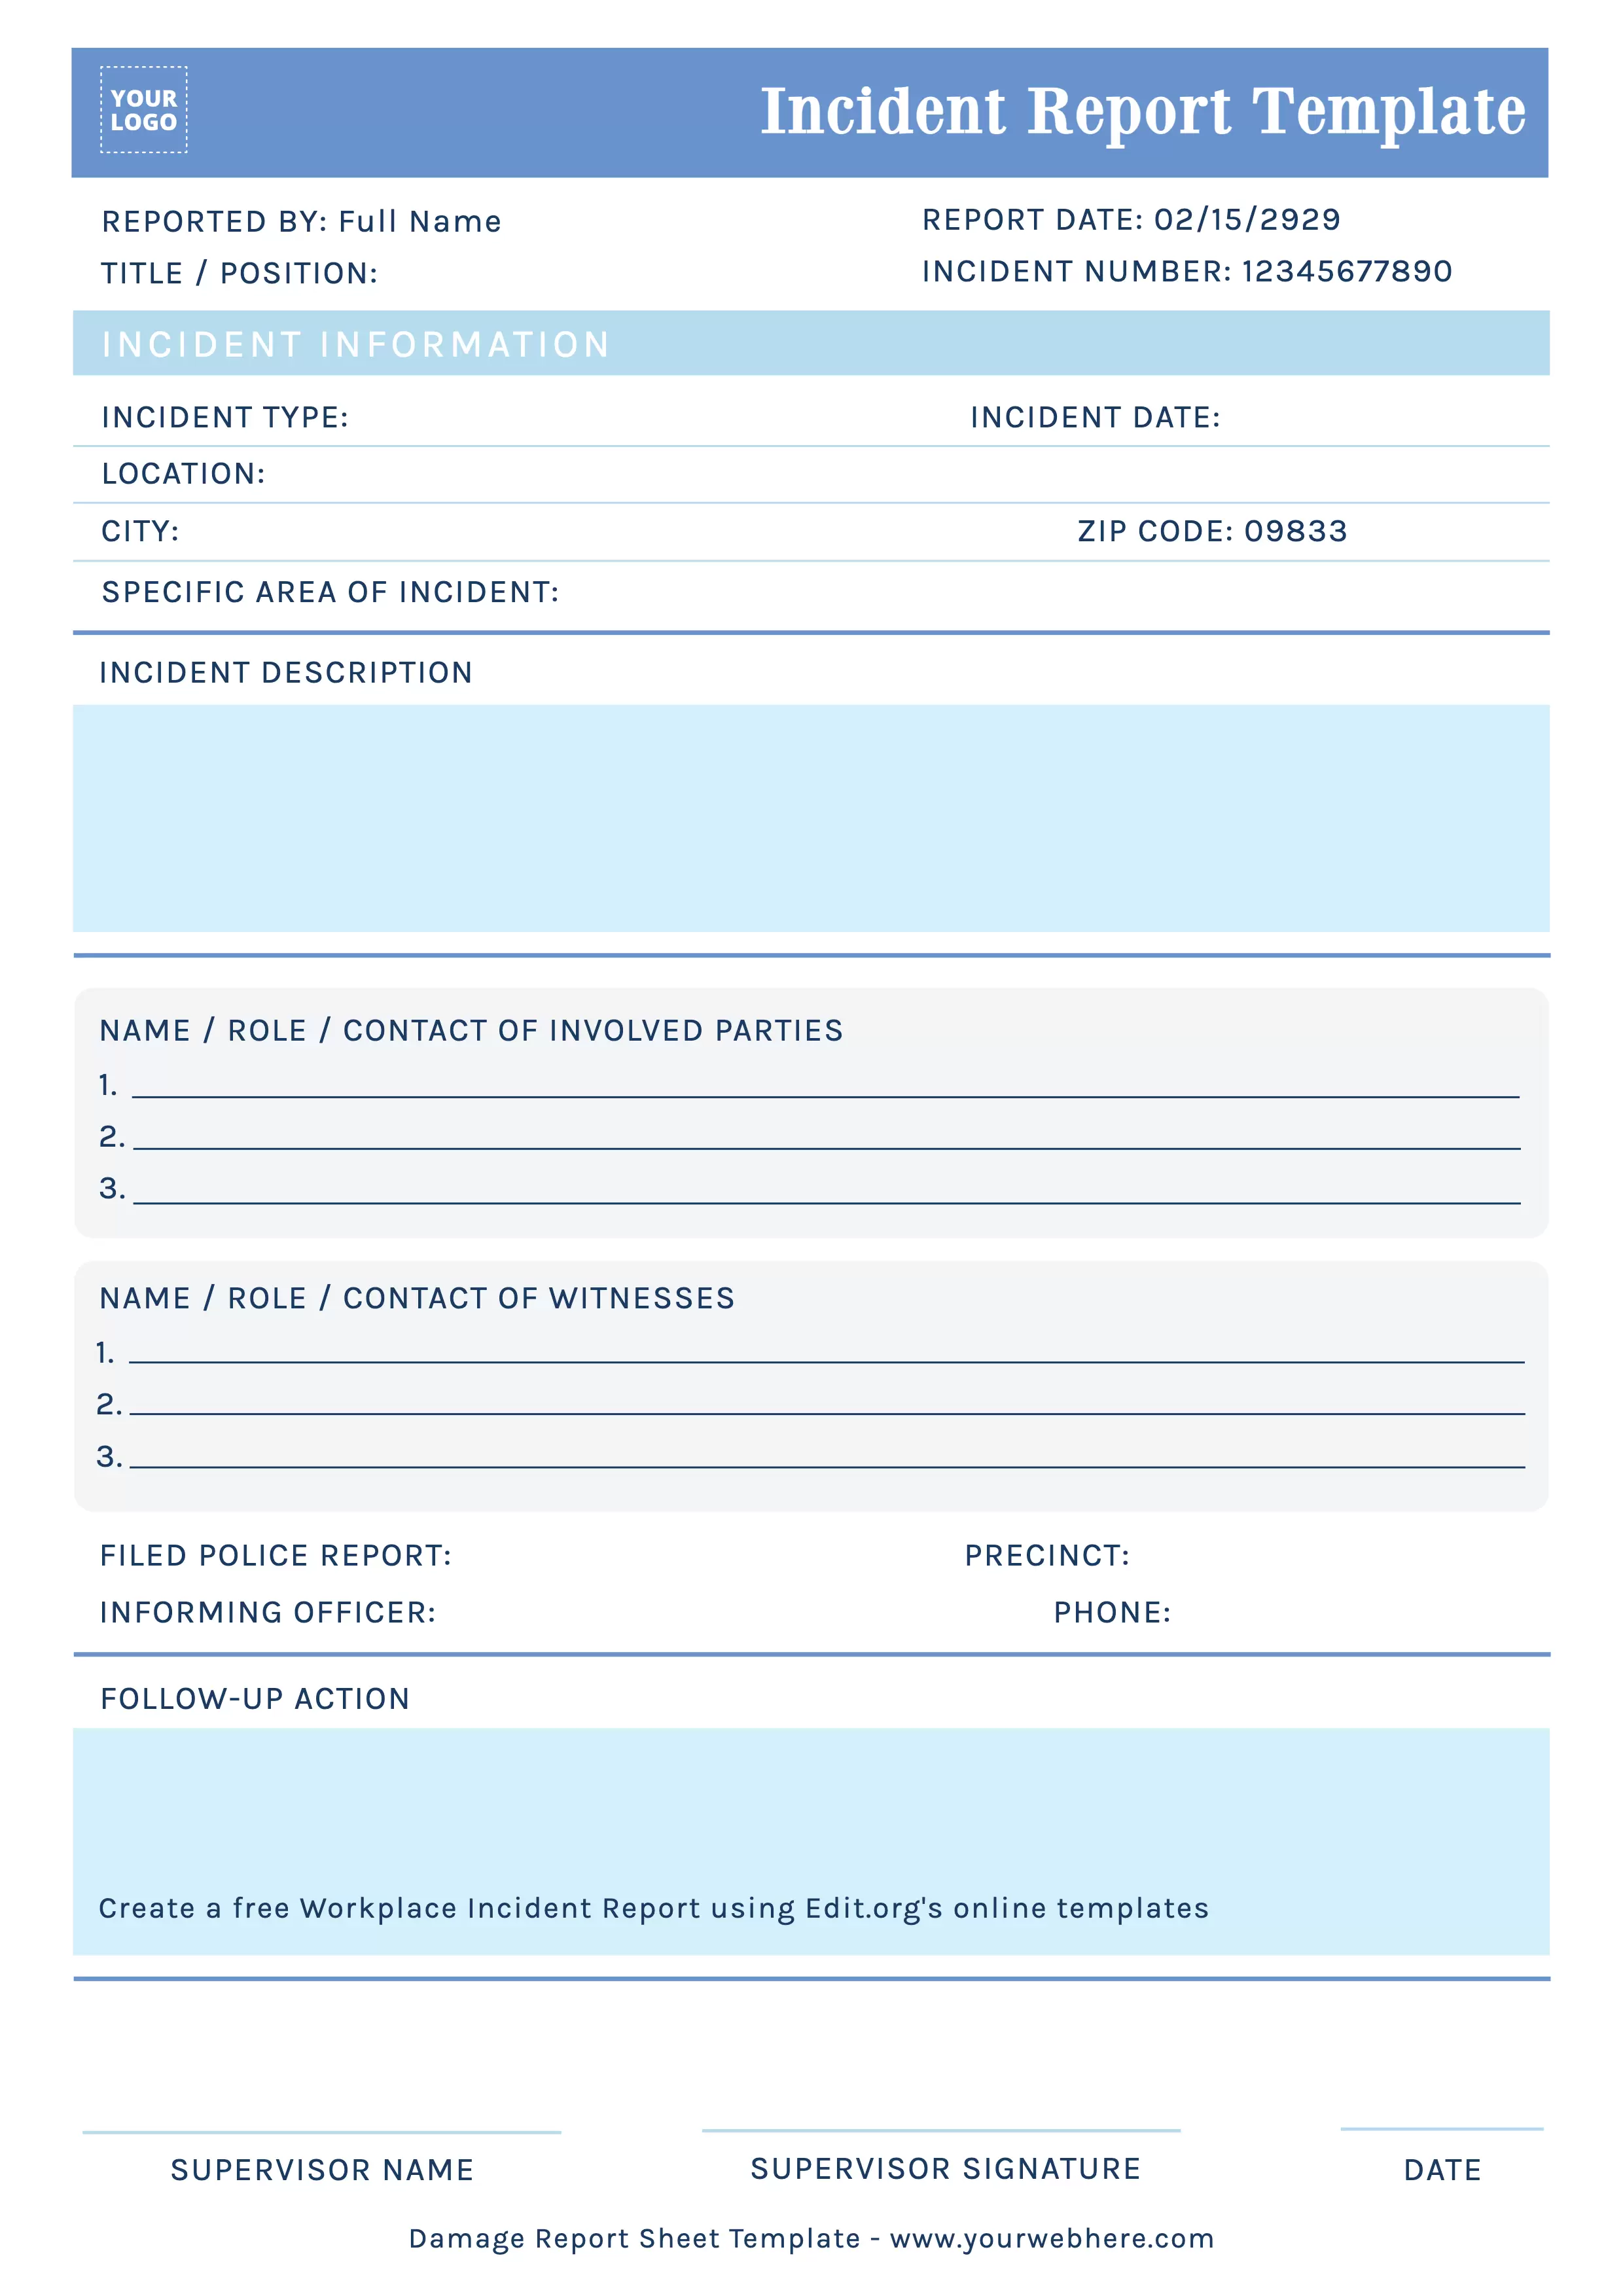
Incidents happen, from minor slips to major equipment failures, and each one carries a hidden cost that can snowball if not documented properly. A well‑structured template does more than just satisfy legal requirements; it provides a clear narrative that helps managers identify patterns, allocate resources, and prevent recurrence. The data you collect becomes a strategic asset, enabling you to demonstrate due diligence during audits, negotiate insurance claims with confidence, and foster a culture where safety is a shared responsibility rather than a checkbox.
Beyond compliance, the template empowers employees to speak up without fear. When a form is easy to fill out and clearly explains what information is needed, staff members are more likely to report near‑misses and minor injuries that might otherwise slip through the cracks. Over time, this granular insight reveals hidden hazards—such as a slippery floor near a back‑door that only causes a few bruises each month—allowing you to address them before they become catastrophic.
Core Elements of an Effective Incident Report Log Template

Header Information
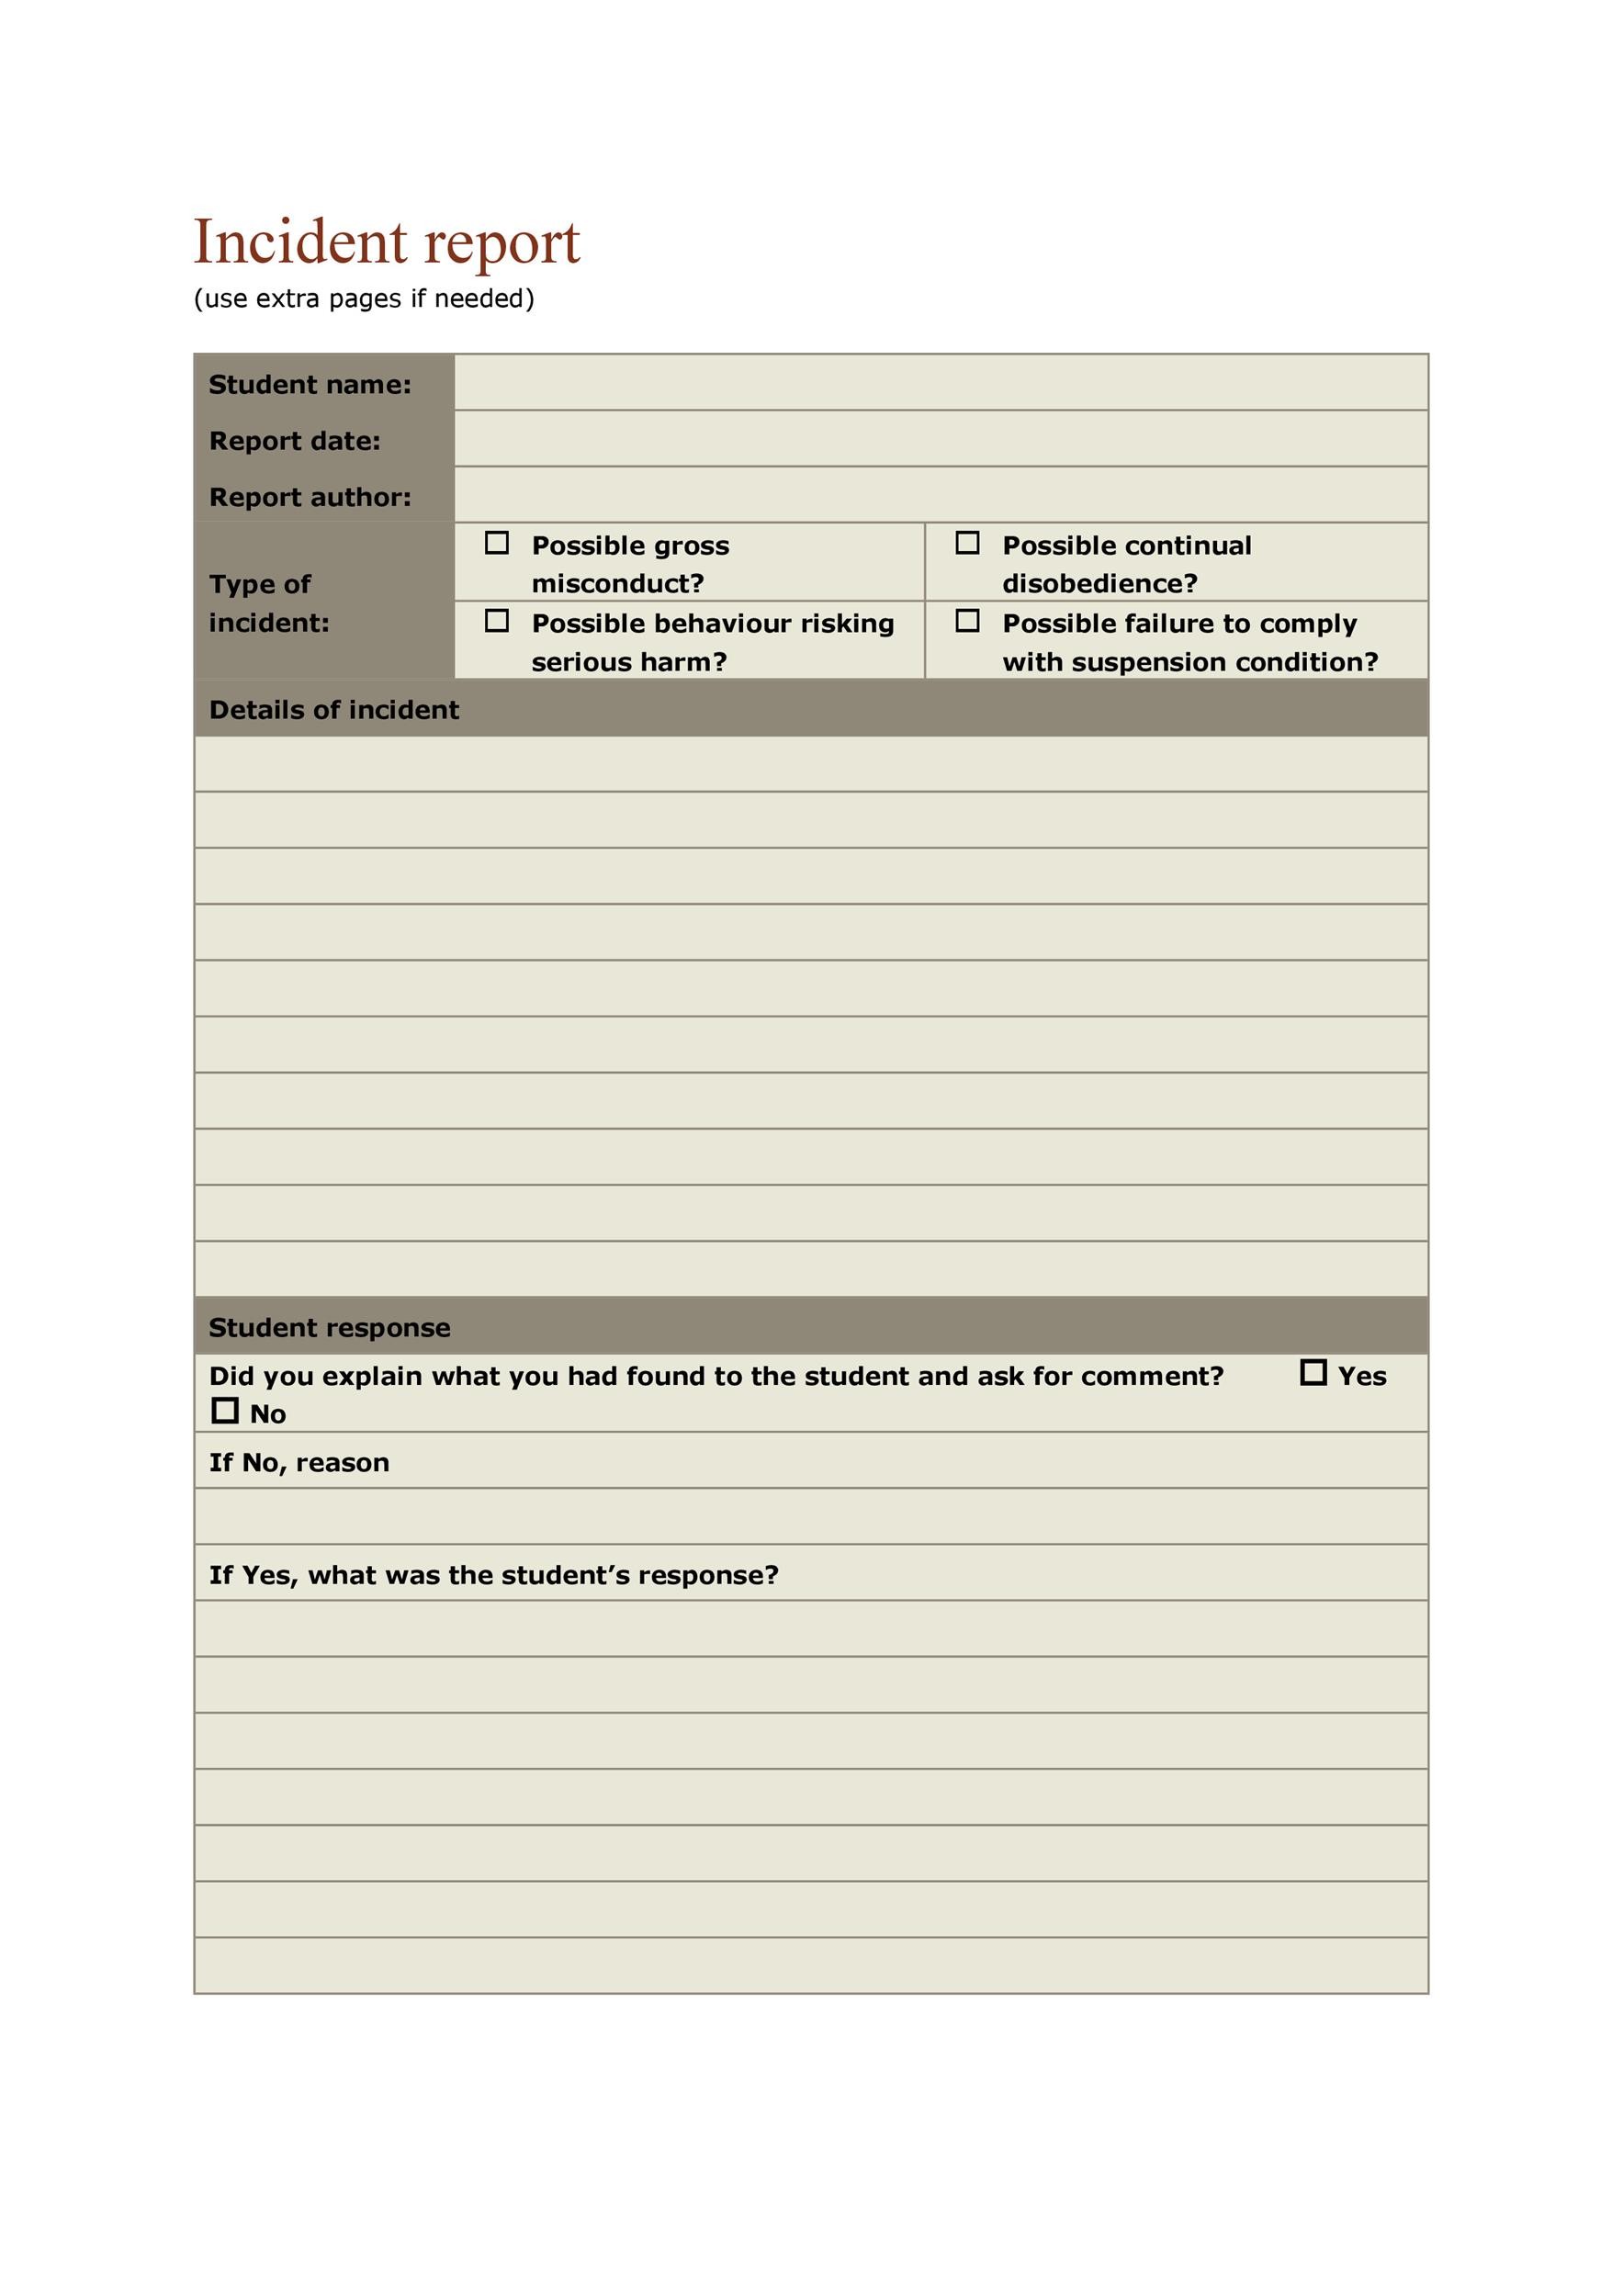
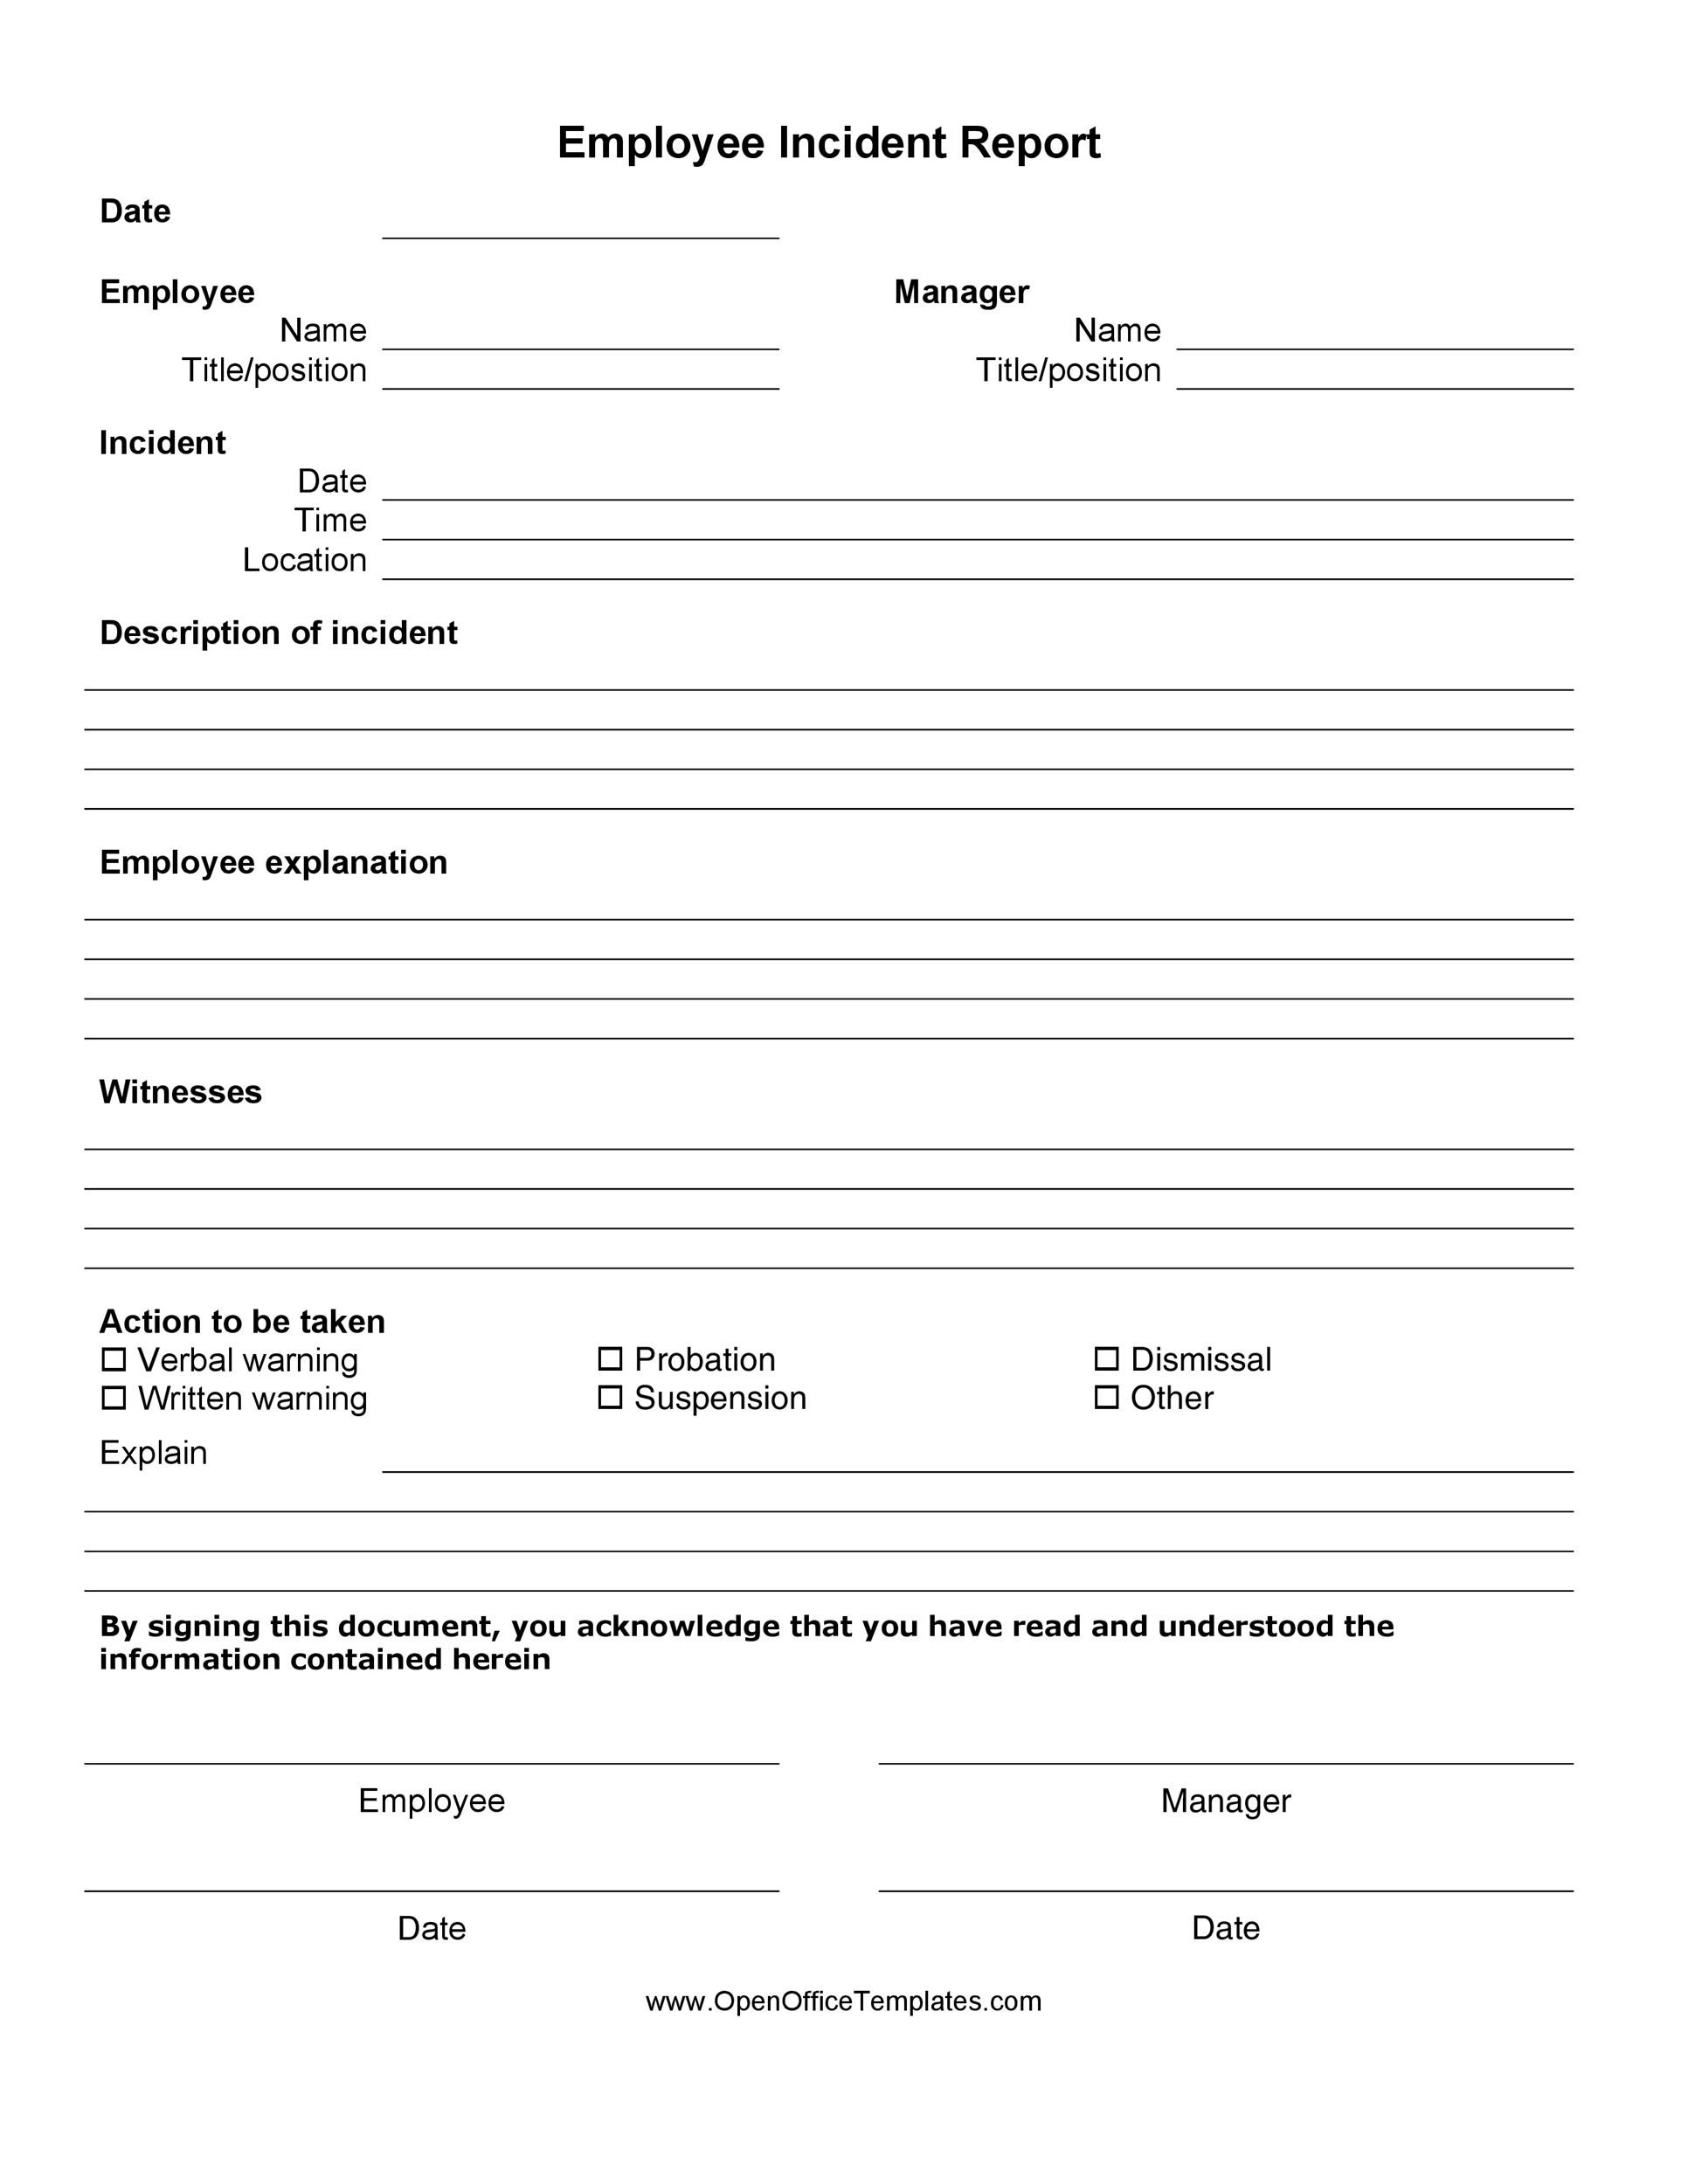
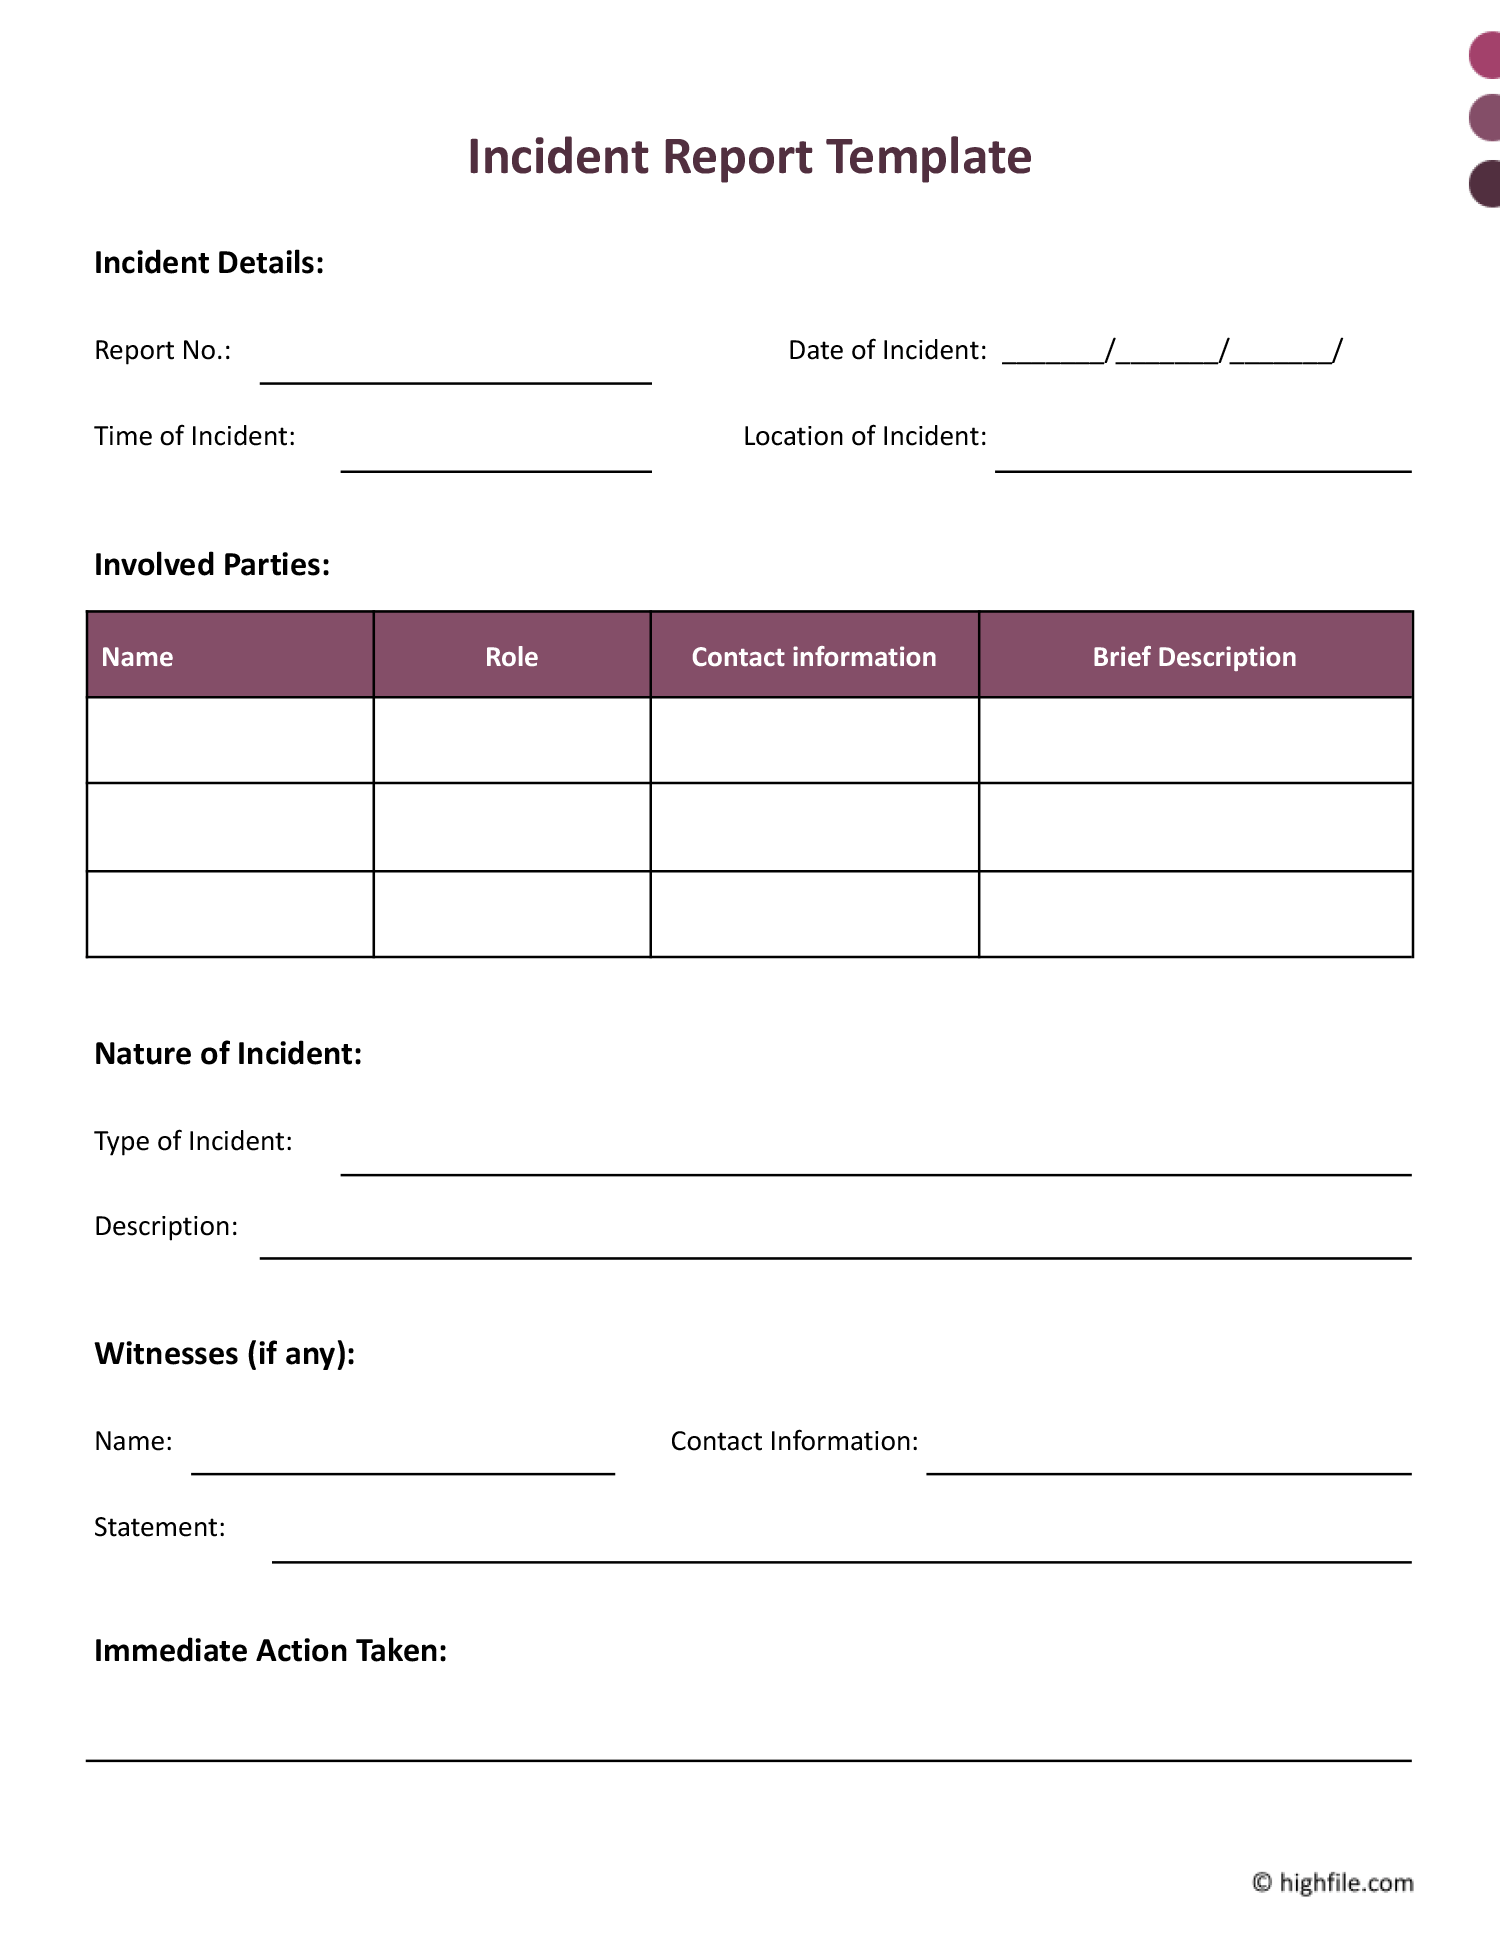
The header sets the stage for every report. Include fields for the company name, location, department, and a unique incident identification number. A date‑time stamp is essential, preferably auto‑filled in digital versions to eliminate manual errors. Adding the name and role of the person completing the form helps with accountability and follow‑up.
Incident Details
This section captures the heart of the event. Prompt the reporter to describe the incident in a factual, chronological manner, avoiding speculation. Key fields should include:
- Type of incident (e.g., slip, equipment malfunction, security breach)
- Location (specific area, room number, or GPS coordinates for outdoor sites)
- Date and time (exact start and end if applicable)
- Severity level (minor, moderate, severe, or a numeric scale)
- Immediate cause (e.g., wet floor, lack of PPE, software glitch)
Providing a checklist of common incident categories speeds up reporting and ensures consistent categorization for later analysis.
Witness and Evidence Section
Capturing statements from anyone who saw the event adds credibility and detail. Include fields for witness names, contact information, and a brief statement. If applicable, request attachment of photos, video clips, or sensor logs. In a digital template, you can embed a file‑upload button that accepts images, PDFs, or CSV files, making evidence collection seamless.
Injury or Damage Assessment
For physical incidents, record any injuries sustained, the body part affected, and the initial medical response (first aid, emergency services, etc.). For property damage, note the asset involved, estimated repair cost, and whether the asset is operational. This data feeds directly into insurance claims and risk‑management calculations.
Immediate Actions Taken
Detail the steps taken right after the incident—such as isolating a machine, cleaning a spill, or calling a supervisor. This helps auditors understand whether proper emergency protocols were followed and provides a timeline for corrective measures.
Root Cause Analysis (Optional but Recommended)
While not every report will include a deep dive, a brief “probable cause” field encourages a mindset of continuous improvement. Prompt users to answer “Why did this happen?” and “What could have prevented it?” Even a simple 5‑Why analysis can surface systemic issues that would otherwise remain hidden.
Follow‑Up and Corrective Action
Assign responsibility for each corrective action, set realistic deadlines, and include a checkbox for completion. A separate “Verification” line for a manager or safety officer ensures that the fix is reviewed and signed off, closing the loop on the incident lifecycle.
Design Tips for a User‑Friendly Template
Keep It Simple and Consistent
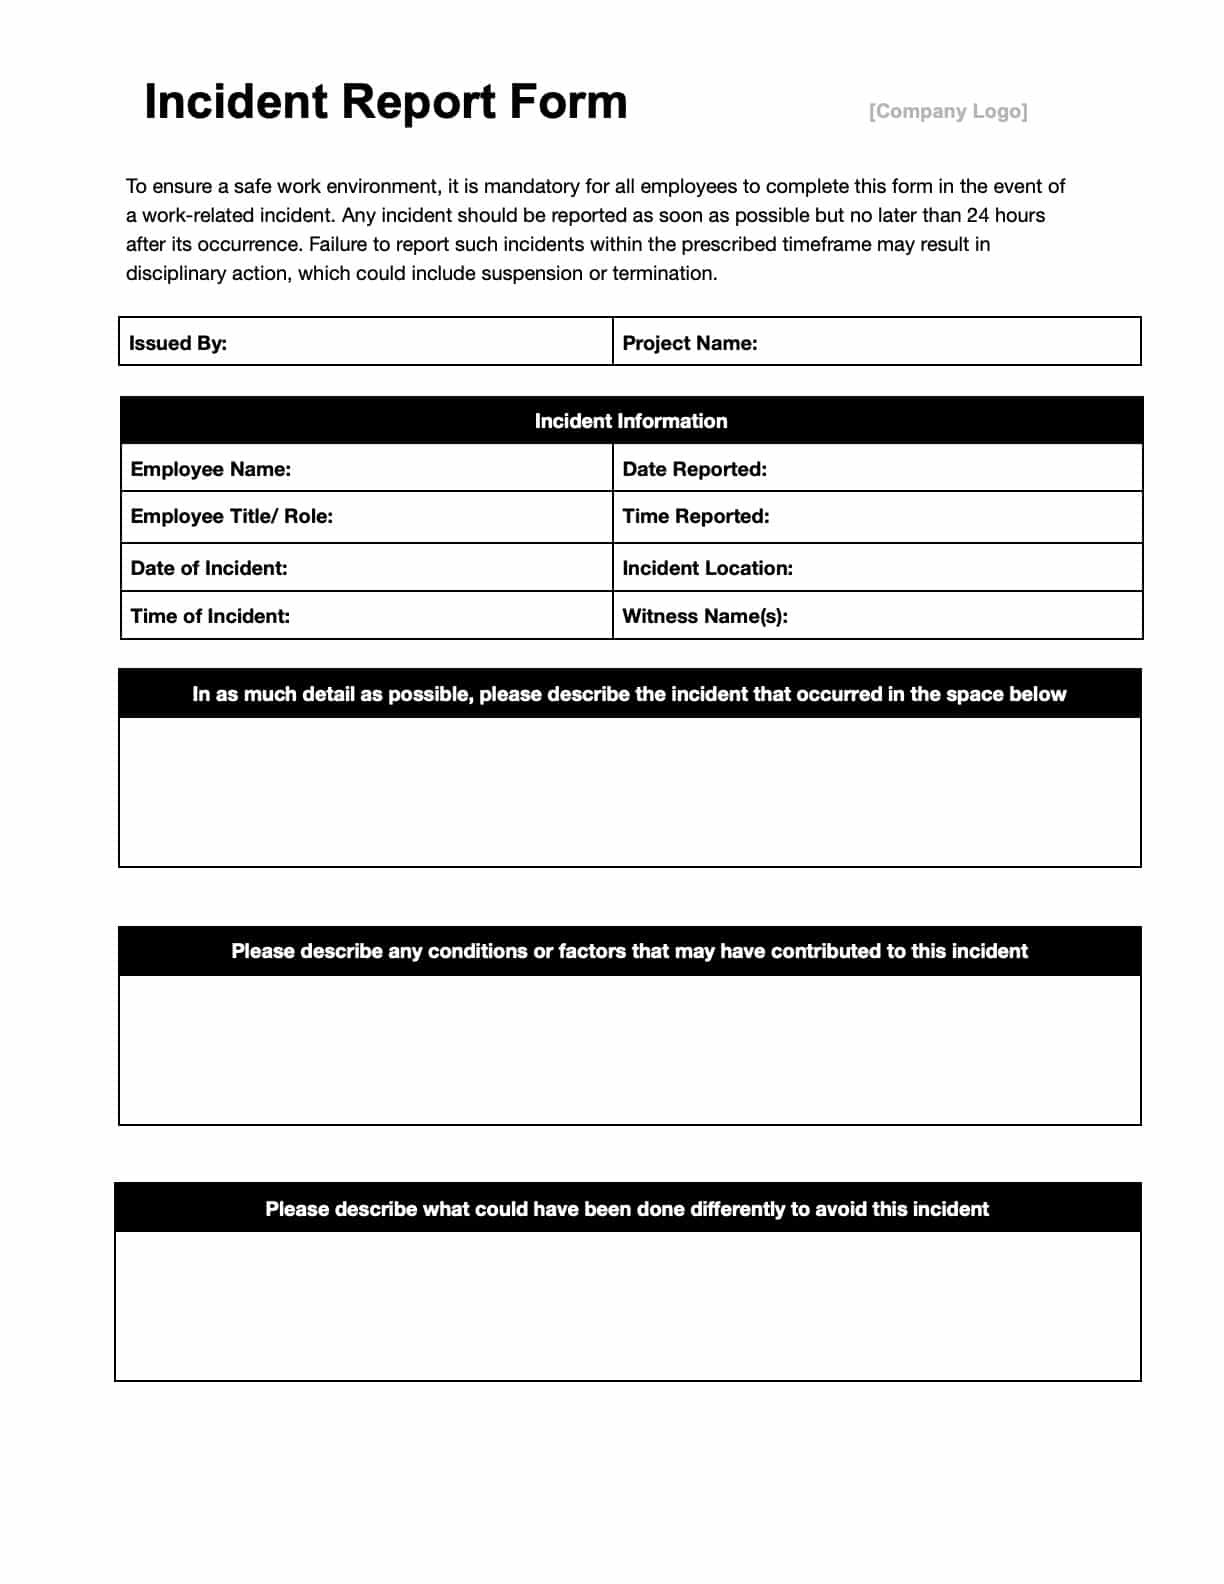
Complex forms deter completion. Use a clean layout with logical grouping—header, incident details, evidence, and follow‑up. Align labels left‑hand side and input fields right‑hand side, and maintain the same font and spacing throughout. Consistency reduces cognitive load, especially for employees who fill out the form under stress.
Use Clear Language and Checkboxes
Avoid jargon. Replace “Incident Severity” with “How serious was the incident?” and provide clear options like “Minor (no treatment needed)”, “Moderate (first aid required)”, and “Severe (hospitalization)”. Checkboxes and radio buttons speed up data entry and minimize interpretation errors.
Digital vs. Printable Formats
Digital forms are ideal for real‑time reporting, auto‑calculations, and seamless data export. However, a printable version is essential for environments with limited internet access or for field workers who prefer pen and paper. Design both versions side‑by‑side, ensuring field names match exactly so data can be transferred without confusion.
Accessibility Considerations
Make sure the template complies with WCAG 2.1 standards. Use sufficient color contrast, label every form control with descriptive aria-label attributes, and ensure the layout works with screen readers. Offering a large‑print PDF version supports workers with visual impairments.
Step‑by‑Step Guide to Creating Your Own Incident Report Log Template

Step 1: Define Scope and Audience
Identify who will use the template and what types of incidents they need to report. A manufacturing floor might focus on equipment hazards, whereas an office environment emphasizes ergonomic injuries and security breaches. Tailor the fields accordingly to avoid unnecessary clutter.
Step 2: Choose the Platform
Decide between a cloud‑based form builder (Google Forms, Microsoft Forms, JotForm), a custom internal web app, or a printable PDF. Consider integration needs—if you already use an HR or safety management system, choose a platform that can push data directly into that ecosystem via API.
Step 3: Draft the Layout
Sketch a wireframe on paper or use a design tool. Place the header at the top, followed by incident details, then evidence, and finally follow‑up actions. Reserve white space for optional comments. Review the layout with a small group of end‑users to catch any confusing sections early.
Step 4: Write Clear Field Labels and Help Text
For each input, write a concise label and, if needed, a short hint. Example: “Date of Incident – (MM/DD/YYYY)”. Use placeholder text for date fields and default dropdown values like “Select…” to encourage selection rather than leaving blanks.
Step 5: Add Validation Rules
Implement required fields for critical data (date, location, description). Use conditional logic to show additional questions only when relevant—for instance, if “Injury” is selected, reveal the injury assessment fields. This keeps the form lean for non‑injury reports.
Step 6: Test with Real Scenarios
Run through a few mock incidents with staff from different departments. Observe where they hesitate, what fields they skip, and whether the generated report meets the needs of safety officers. Collect feedback, iterate, and finalize the design.
Step 7: Train and Deploy
Hold a short training session—live or recorded—that walks employees through the form, explains why each field matters, and demonstrates how the data will be used. Provide quick reference cards or screen captures near workstations for easy recall.
Step 8: Monitor Usage and Refine
After launch, track completion rates and time‑to‑submit metrics. If you notice a high abandonment rate on a specific field, revisit its wording or placement. Continuous improvement keeps the template relevant as your business evolves.
Real‑World Examples and Templates You Can Adapt

Below are three practical scenarios that illustrate how different industries shape their incident report log templates. Use these as inspiration to customize your own version.
Manufacturing Plant
A typical form includes fields for machine ID, lock‑out/tag‑out status, and a “Hazard Type” dropdown with options like “Mechanical,” “Electrical,” and “Chemical.” An attached photo of the damaged equipment helps maintenance crews prioritize repairs.
Retail Store
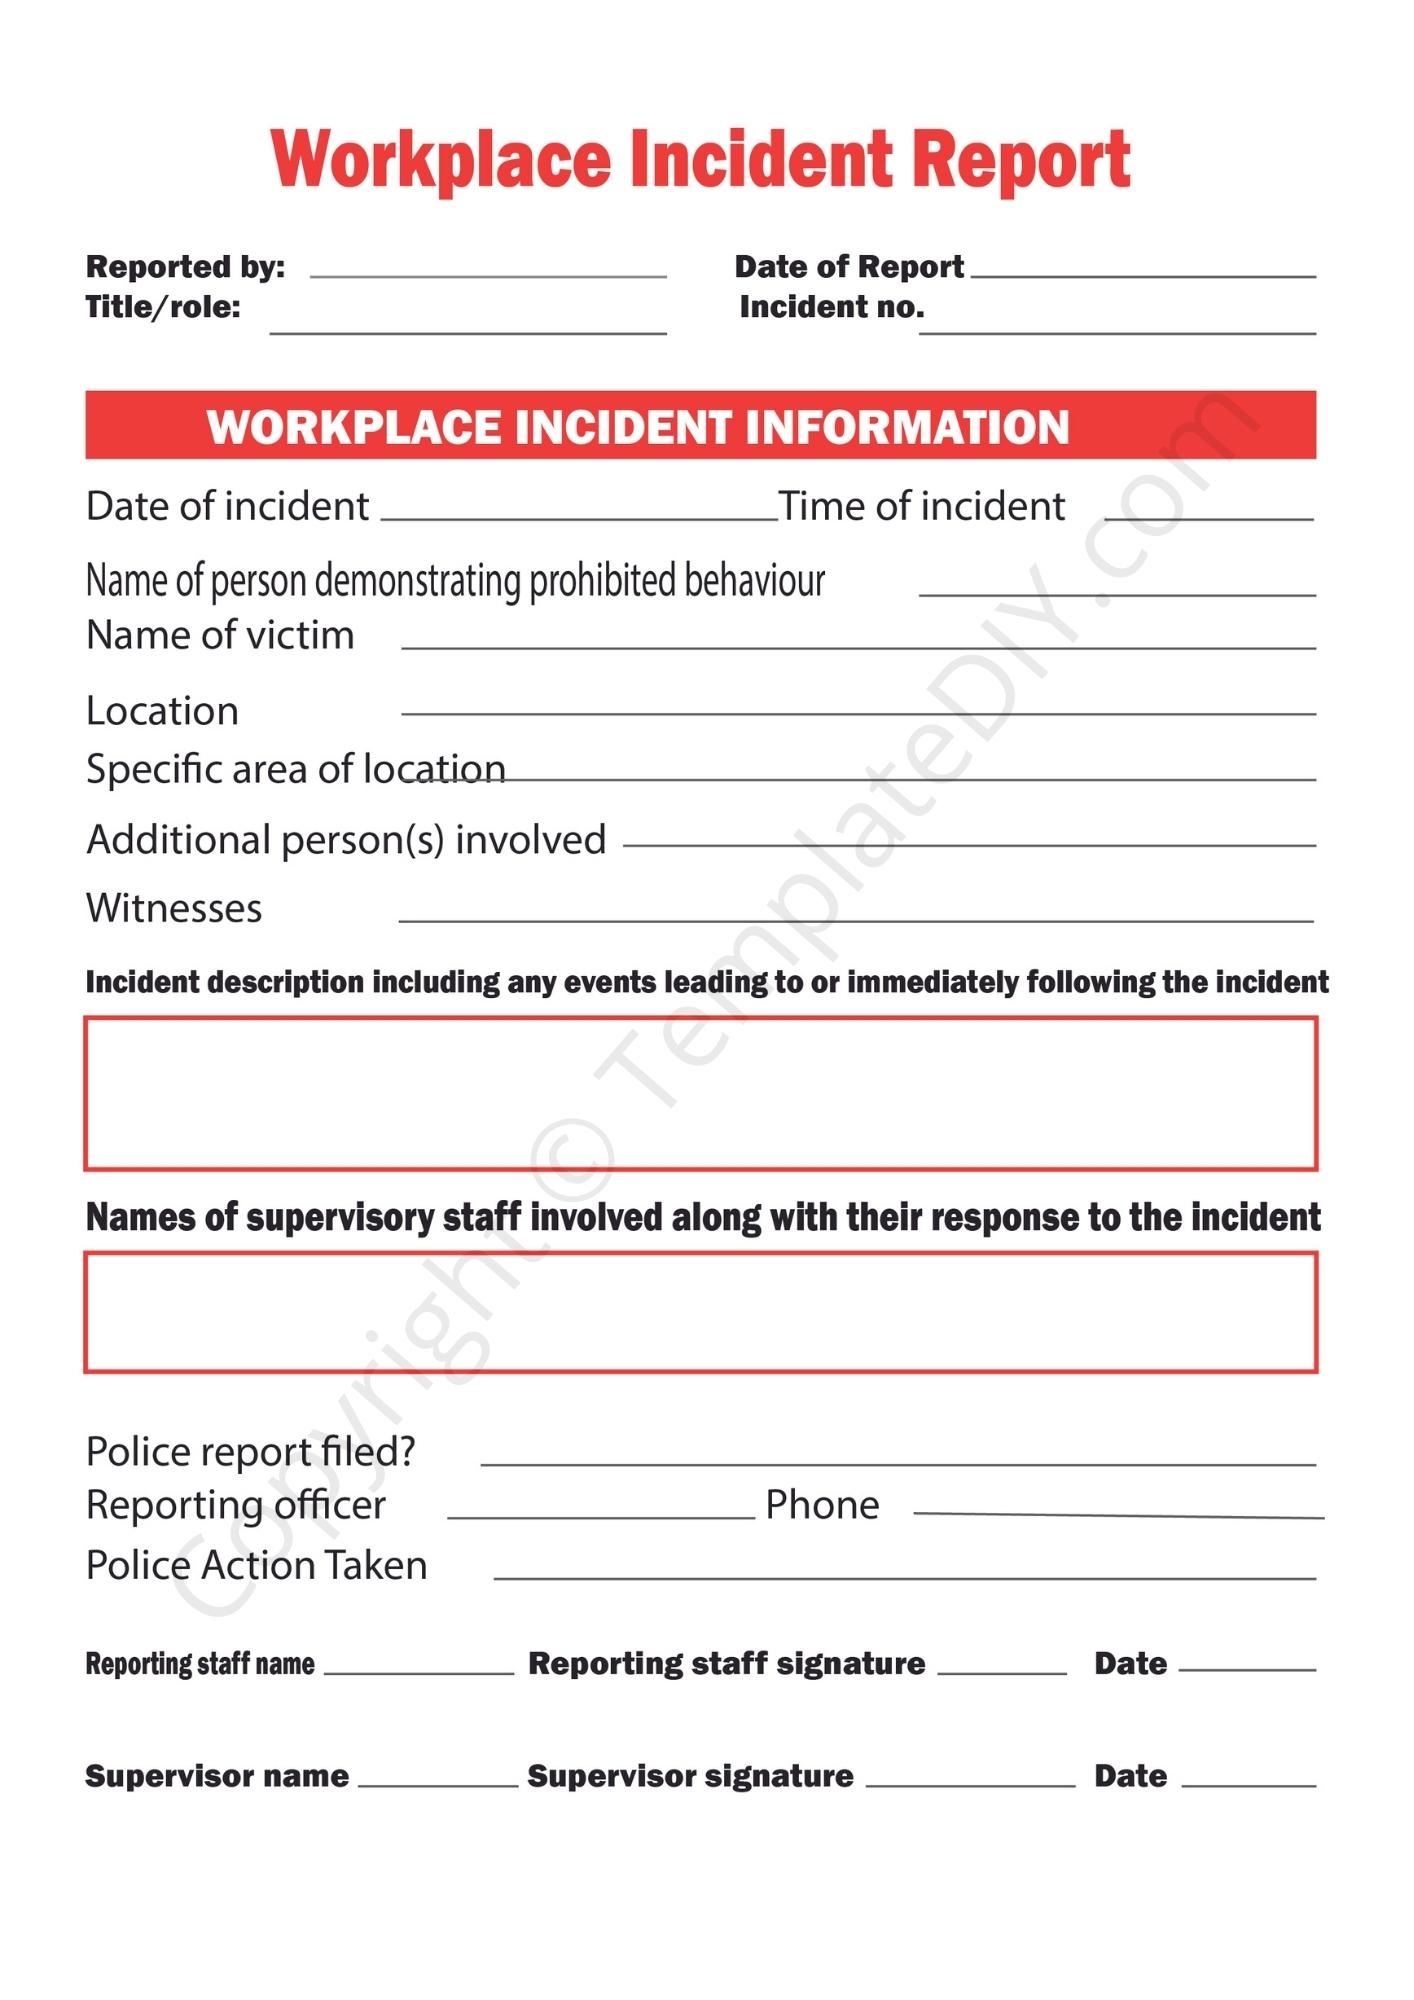
Retail incidents often involve customer injuries or theft. The template highlights “Customer vs. Employee” as a selector, prompts for a “Store Section” (e.g., “Aisle 5 – Produce”), and includes a checkbox for “Police Report Filed.” A quick “Loss Estimate” field aids loss‑prevention analysis.
Remote Office (Digital)
For virtual teams, the form captures “Device Type” (laptop, headset), “Software Involved,” and “Data Breach Description.” Integration with a ticketing system automatically creates a follow‑up task for the IT security team, streamlining response time.
Common Mistakes to Avoid

- Overloading the form with optional fields that discourage completion.
- Using ambiguous terminology that varies between departments.
- Failing to enforce mandatory fields, resulting in incomplete data.
- Neglecting to secure the data—incident reports often contain personal health information that must be protected under HIPAA or similar regulations.
- Skipping post‑incident review; a report that sits idle provides no value.
How to Integrate the Template Into Your Daily Workflow
Training Employees
Make the template part of onboarding and regular safety briefings. Role‑play common incidents so staff become comfortable with the reporting process. Reinforce that timely reporting is a shared responsibility, not a punitive measure.
Embedding in Routine Checklists
Place a link to the digital form on daily safety checklists, equipment inspection sheets, and shift handover documents. When a worker finishes a checklist, a prompt can appear: “If an incident occurred today, please complete the report now.” This creates a natural workflow hook.
Automating Reporting with Software
Connect the template to your incident management system via Zapier, Power Automate, or a native API. When a form is submitted, the data can automatically generate a PDF, send an email alert to supervisors, and create a ticket in a project‑management tool for corrective actions. Automation eliminates manual data entry and accelerates response.
Regular Review Meetings
Schedule monthly safety meetings where the team reviews the latest incident logs, identifies trends, and assigns corrective tasks. Use visual dashboards—pie charts for incident types, line graphs for frequency over time—to make the data accessible to all stakeholders.
Legal and Compliance Benefits

Many industries are governed by OSHA, EPA, or industry‑specific standards that mandate incident documentation. A comprehensive log demonstrates that you have a systematic approach to hazard identification and mitigation, which can reduce penalties during inspections. Additionally, a well‑maintained log supports workers’ compensation claims by providing clear, contemporaneous evidence of the incident timeline and medical response.
From a corporate governance perspective, documented incidents feed into risk‑assessment matrices, influencing insurance premiums and board‑level discussions about operational risk. In the event of litigation, a thorough, accurately timed log can be the decisive factor that shows you acted responsibly and promptly, potentially limiting liability.
Conclusion

Implementing a robust Incident Report Log Template is not just a compliance checkbox—it’s a strategic tool that transforms chaotic events into actionable intelligence. By focusing on clear structure, user‑friendly design, and seamless integration into everyday processes, you empower every employee to contribute to a safer workplace. Remember to start with a solid foundation: define scope, choose the right platform, and involve end‑users in the design. Then, train, automate, and continuously refine the system based on real‑world feedback. The result is a living safety ecosystem where incidents are reported promptly, investigated thoroughly, and prevented in the future, protecting people, property, and the reputation of your business.






Related posts of "Incident Report Log Template"
