
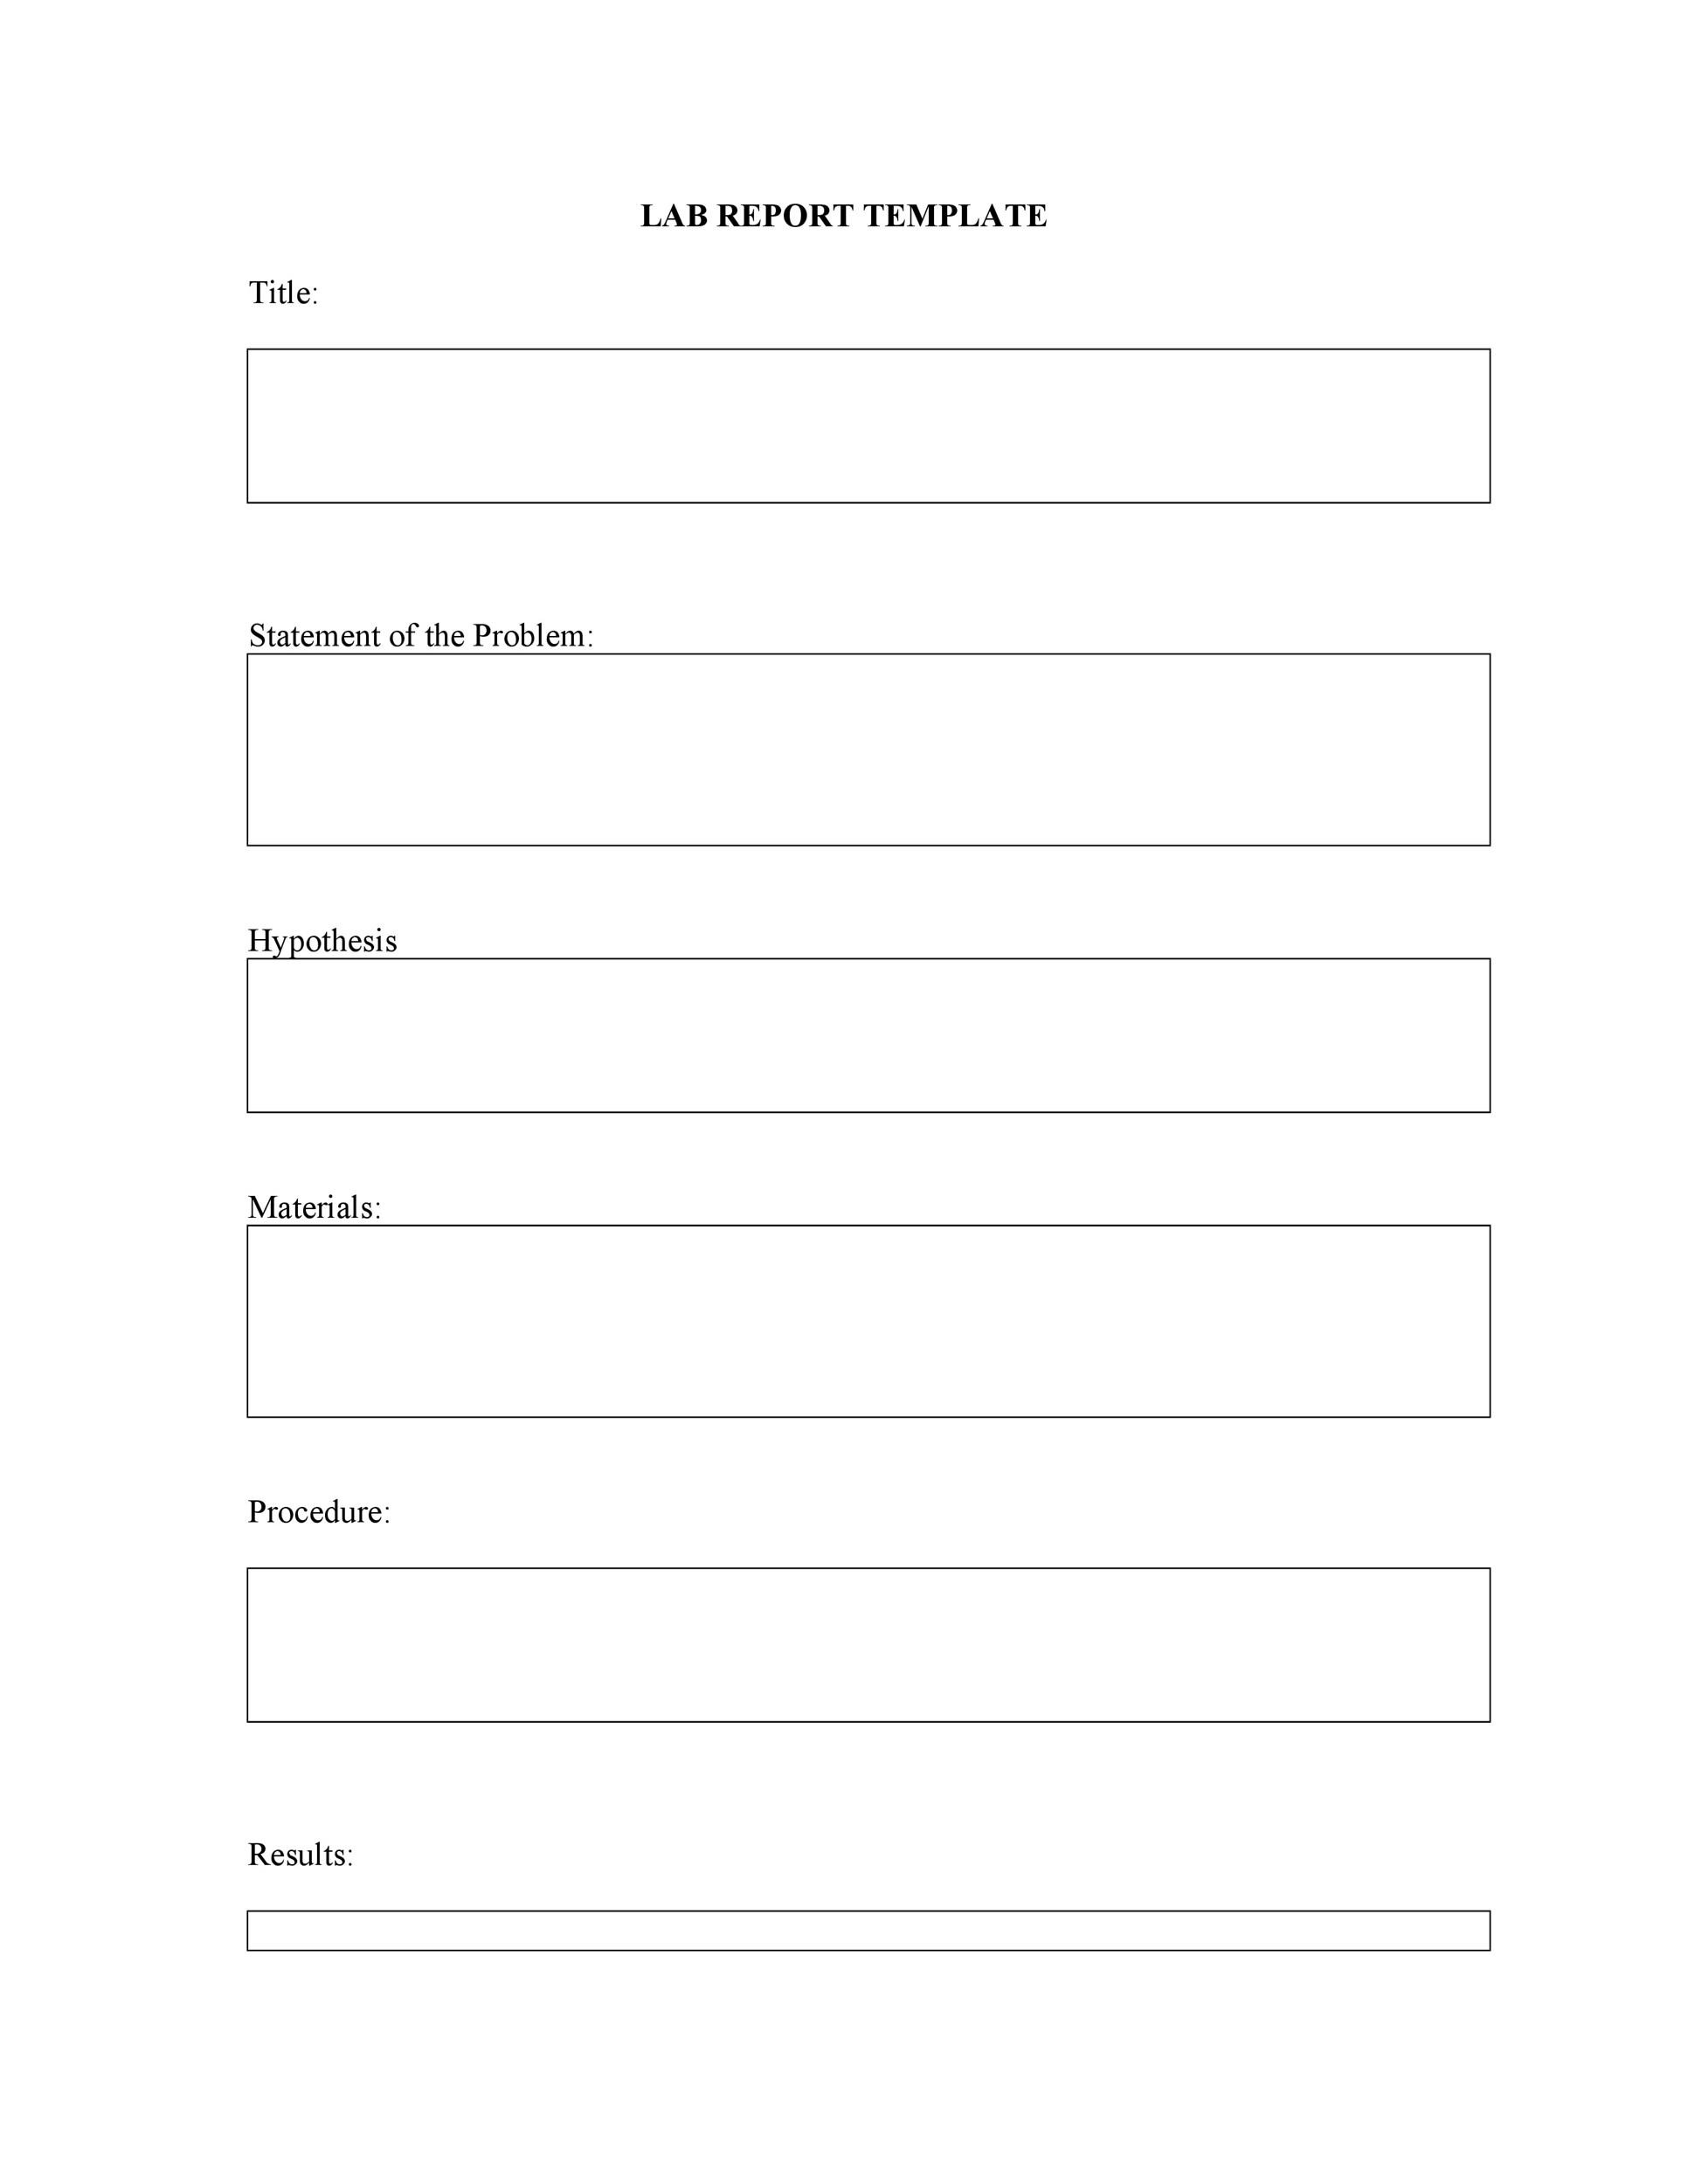
Formal Lab Report Template serves as a structured roadmap that transforms raw data and observations into a polished, professional document. Whether you’re a high‑school student tackling a chemistry experiment or a research scientist compiling a peer‑reviewed paper, a well‑crafted template streamlines the writing process, ensures consistency, and impresses your instructor or journal editor.
What Makes a Formal Lab Report Template Stand Out
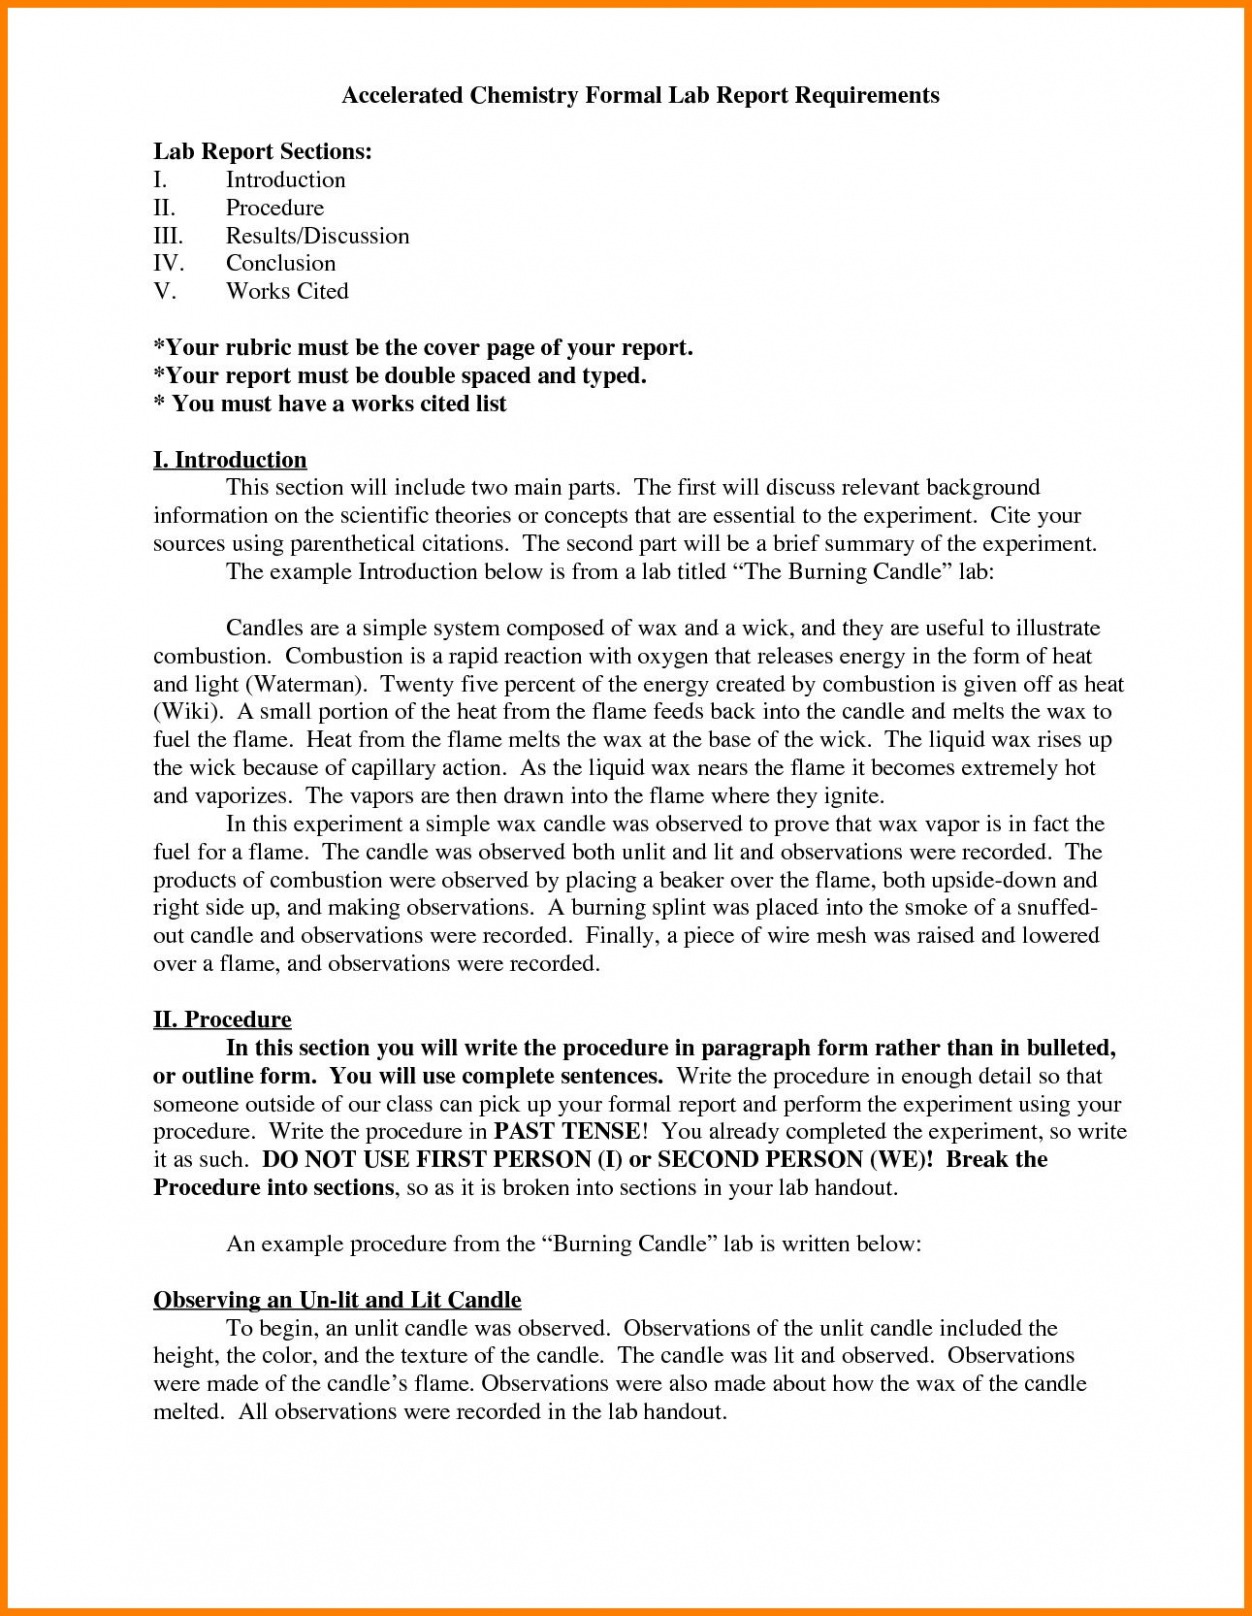
A great template isn’t just a pretty layout—it delivers clarity, organization, and flexibility. Below are the core features that distinguish a high‑quality template from a generic one.
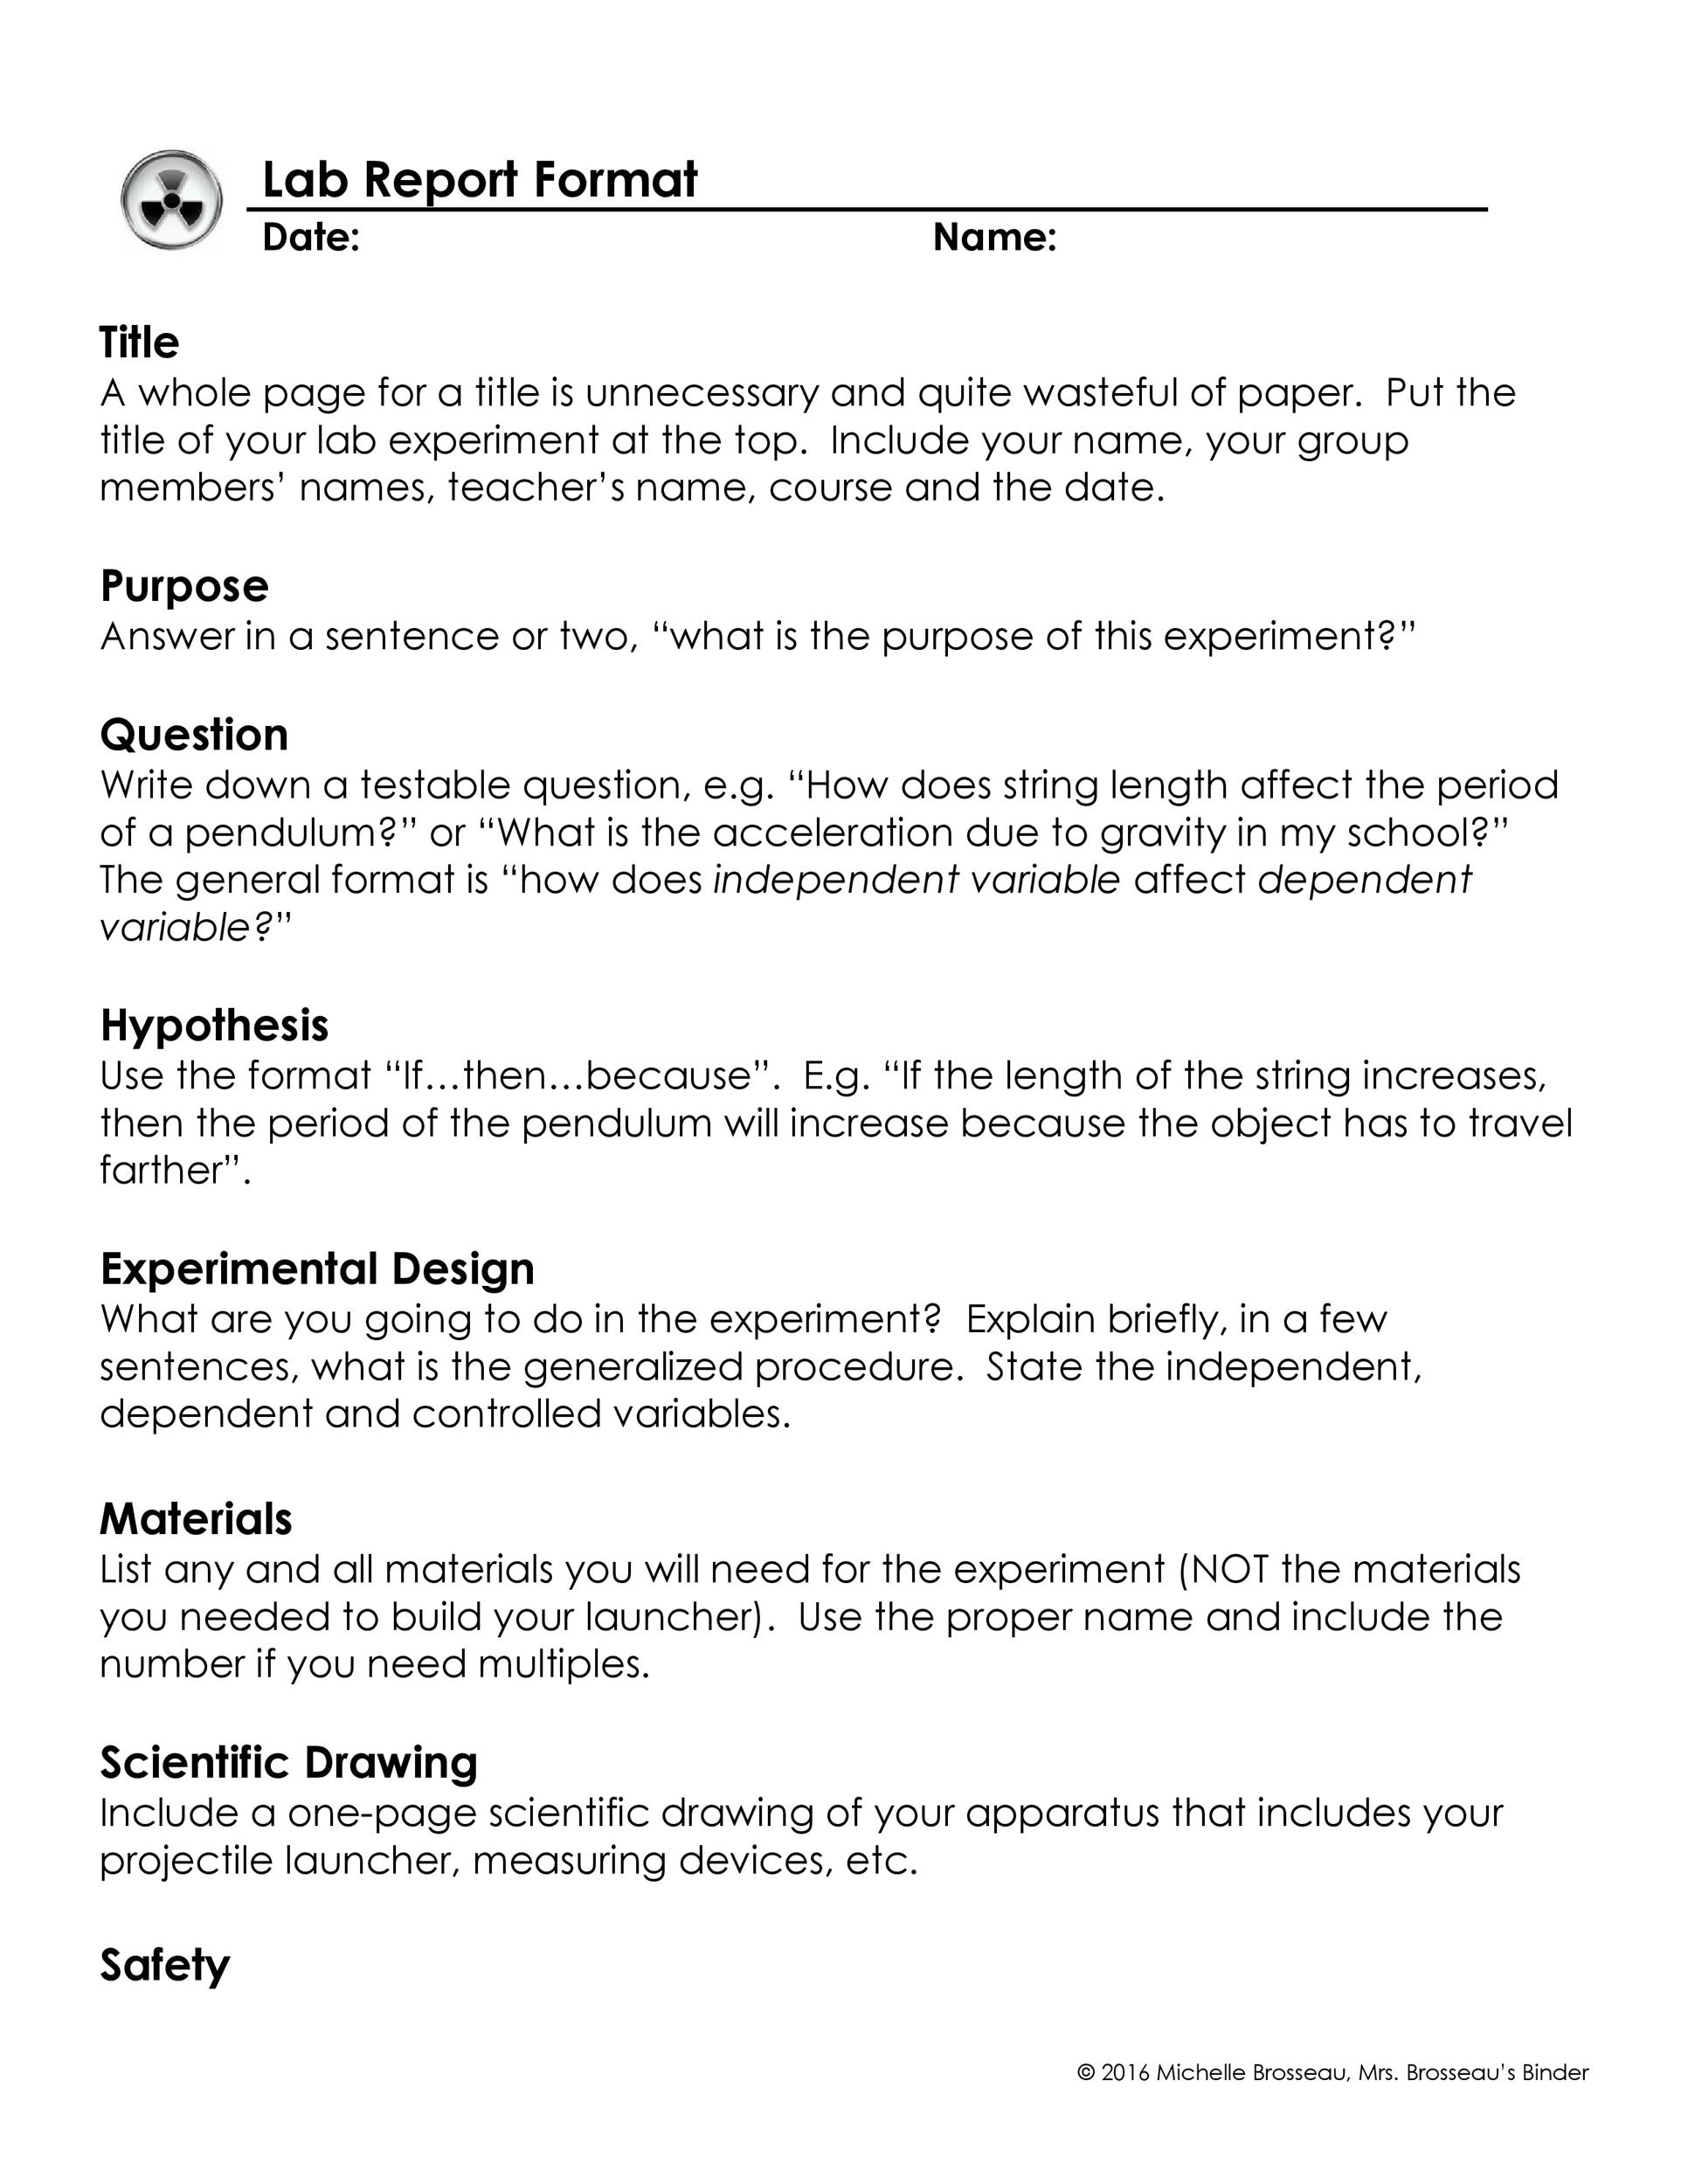
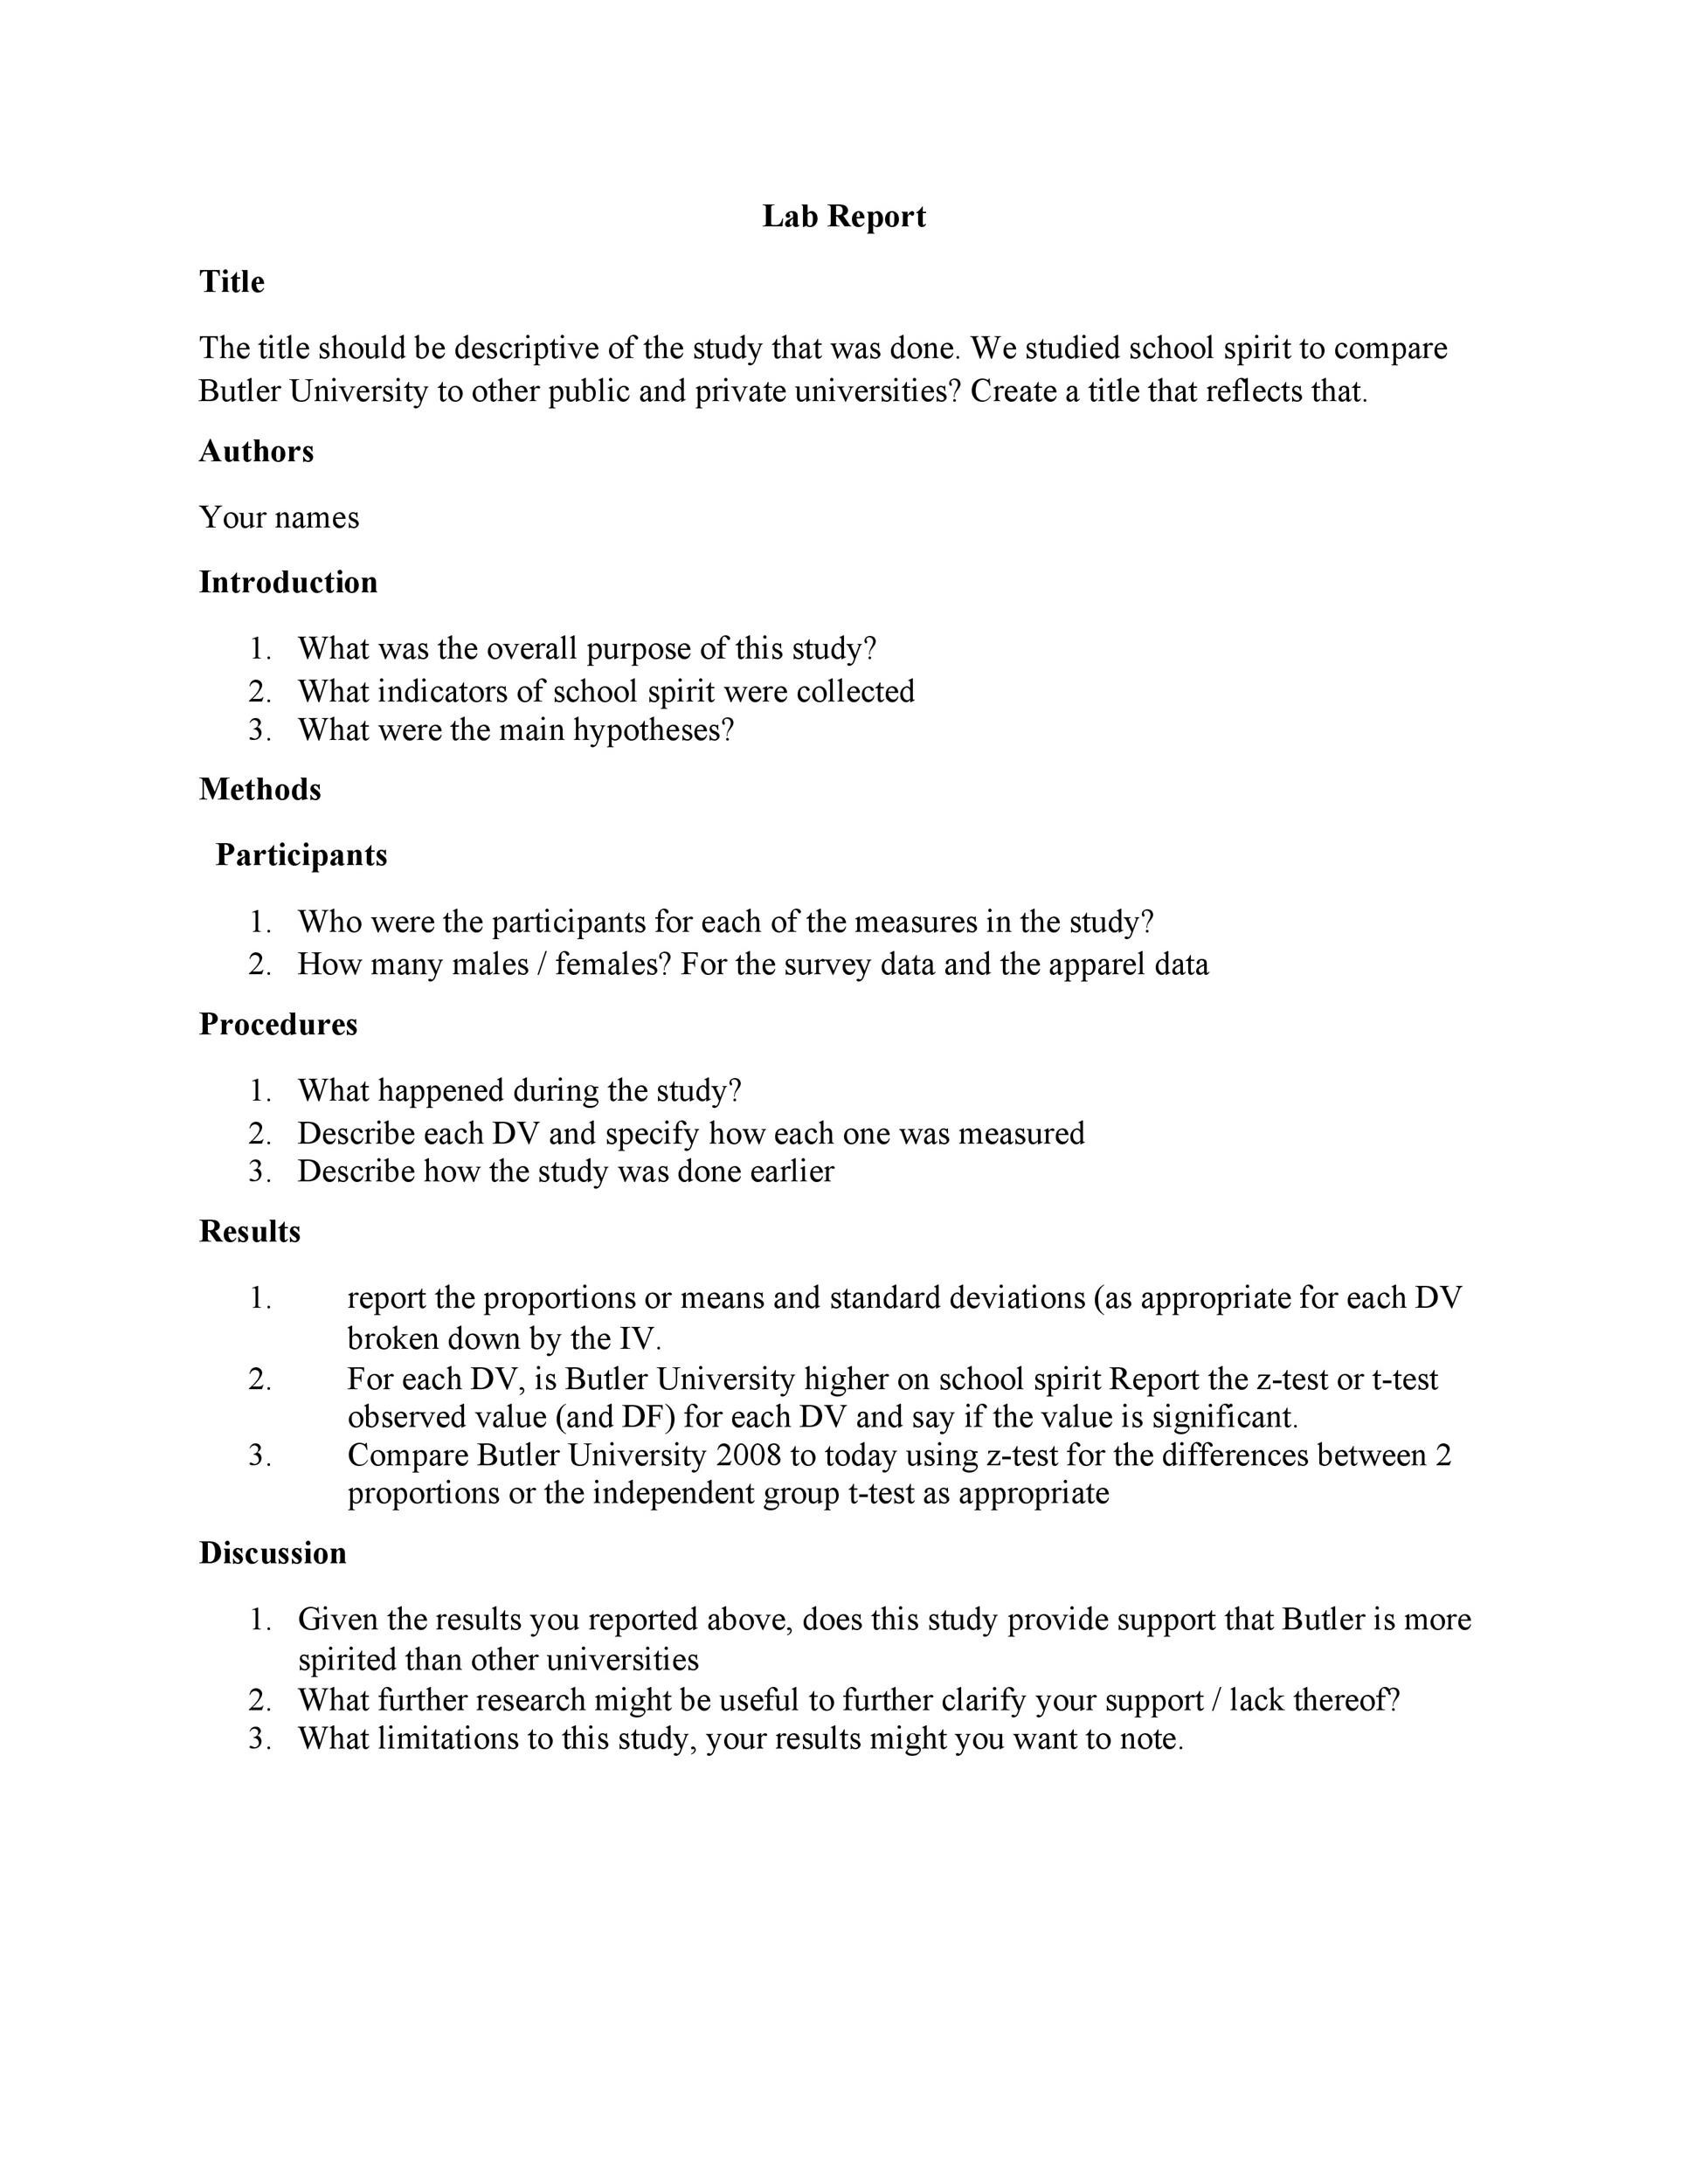
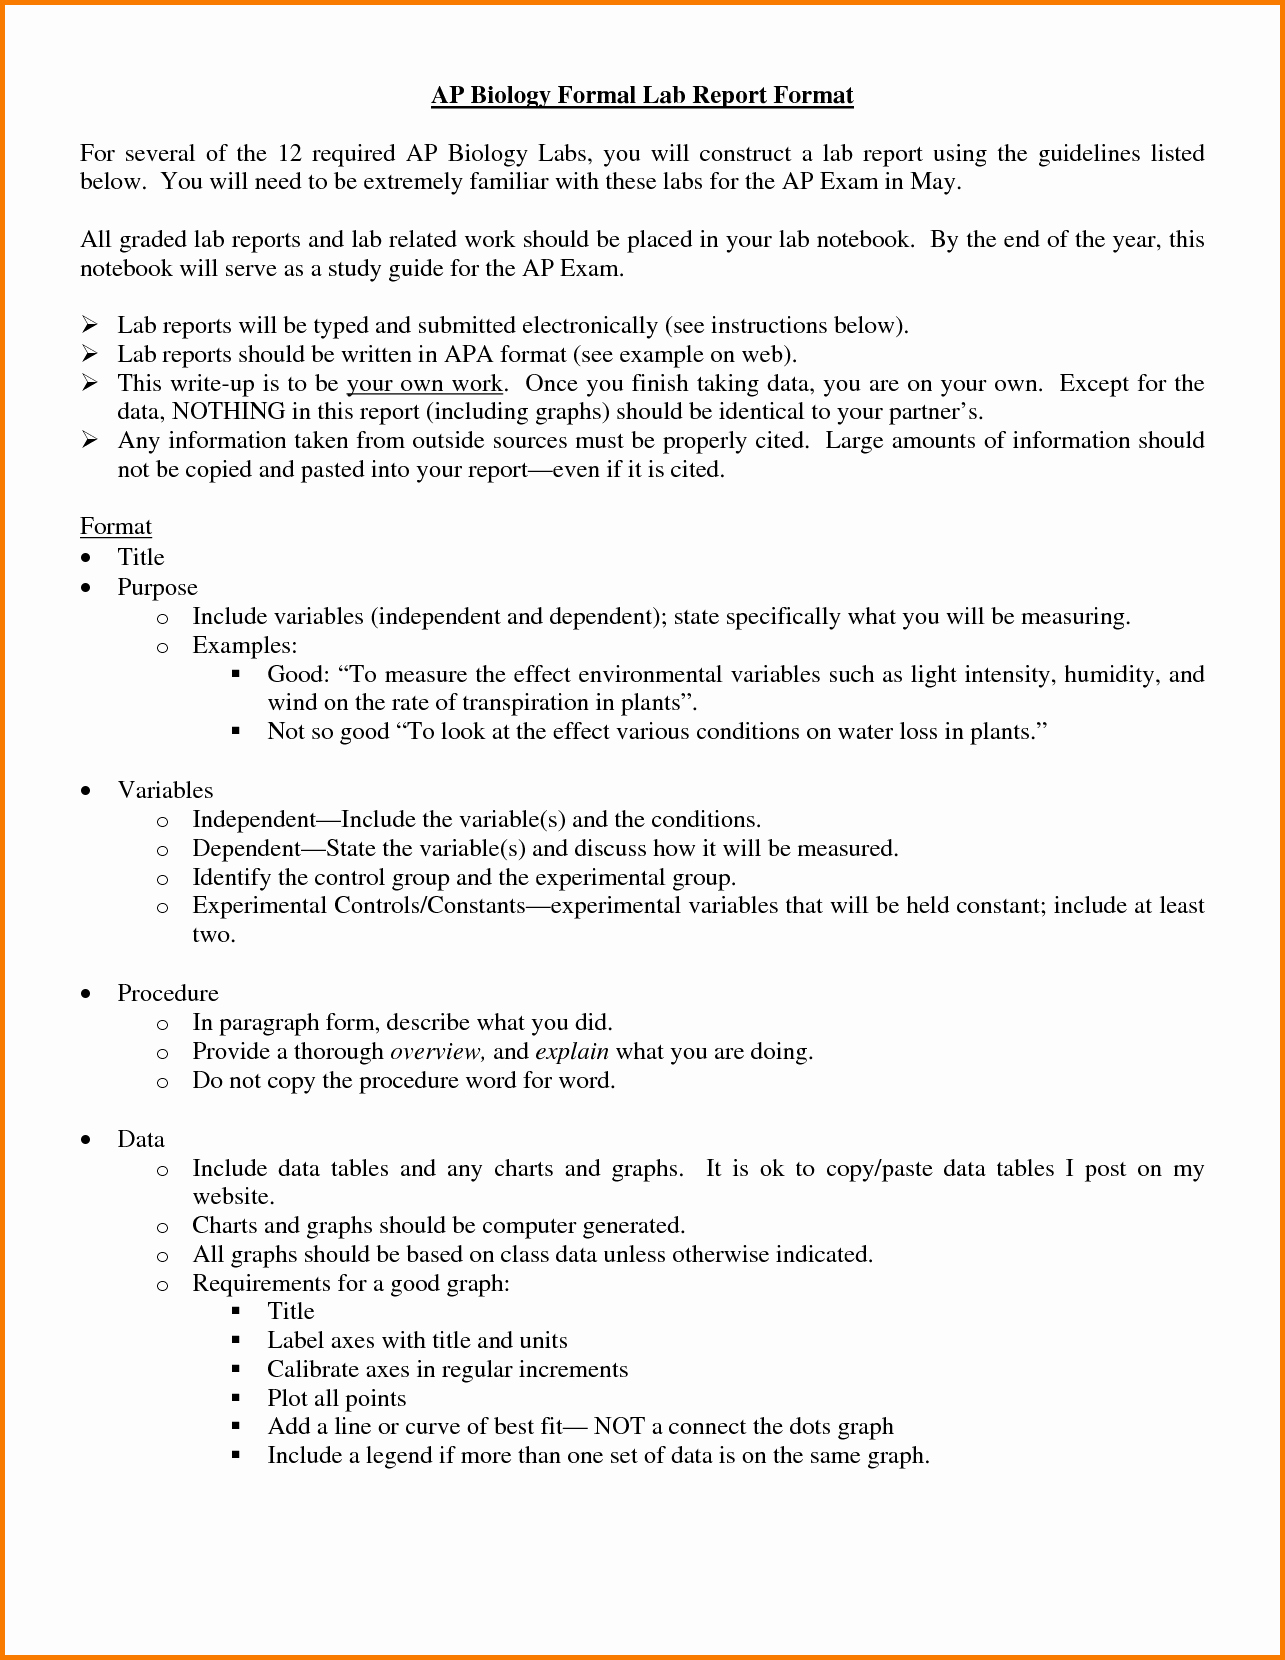
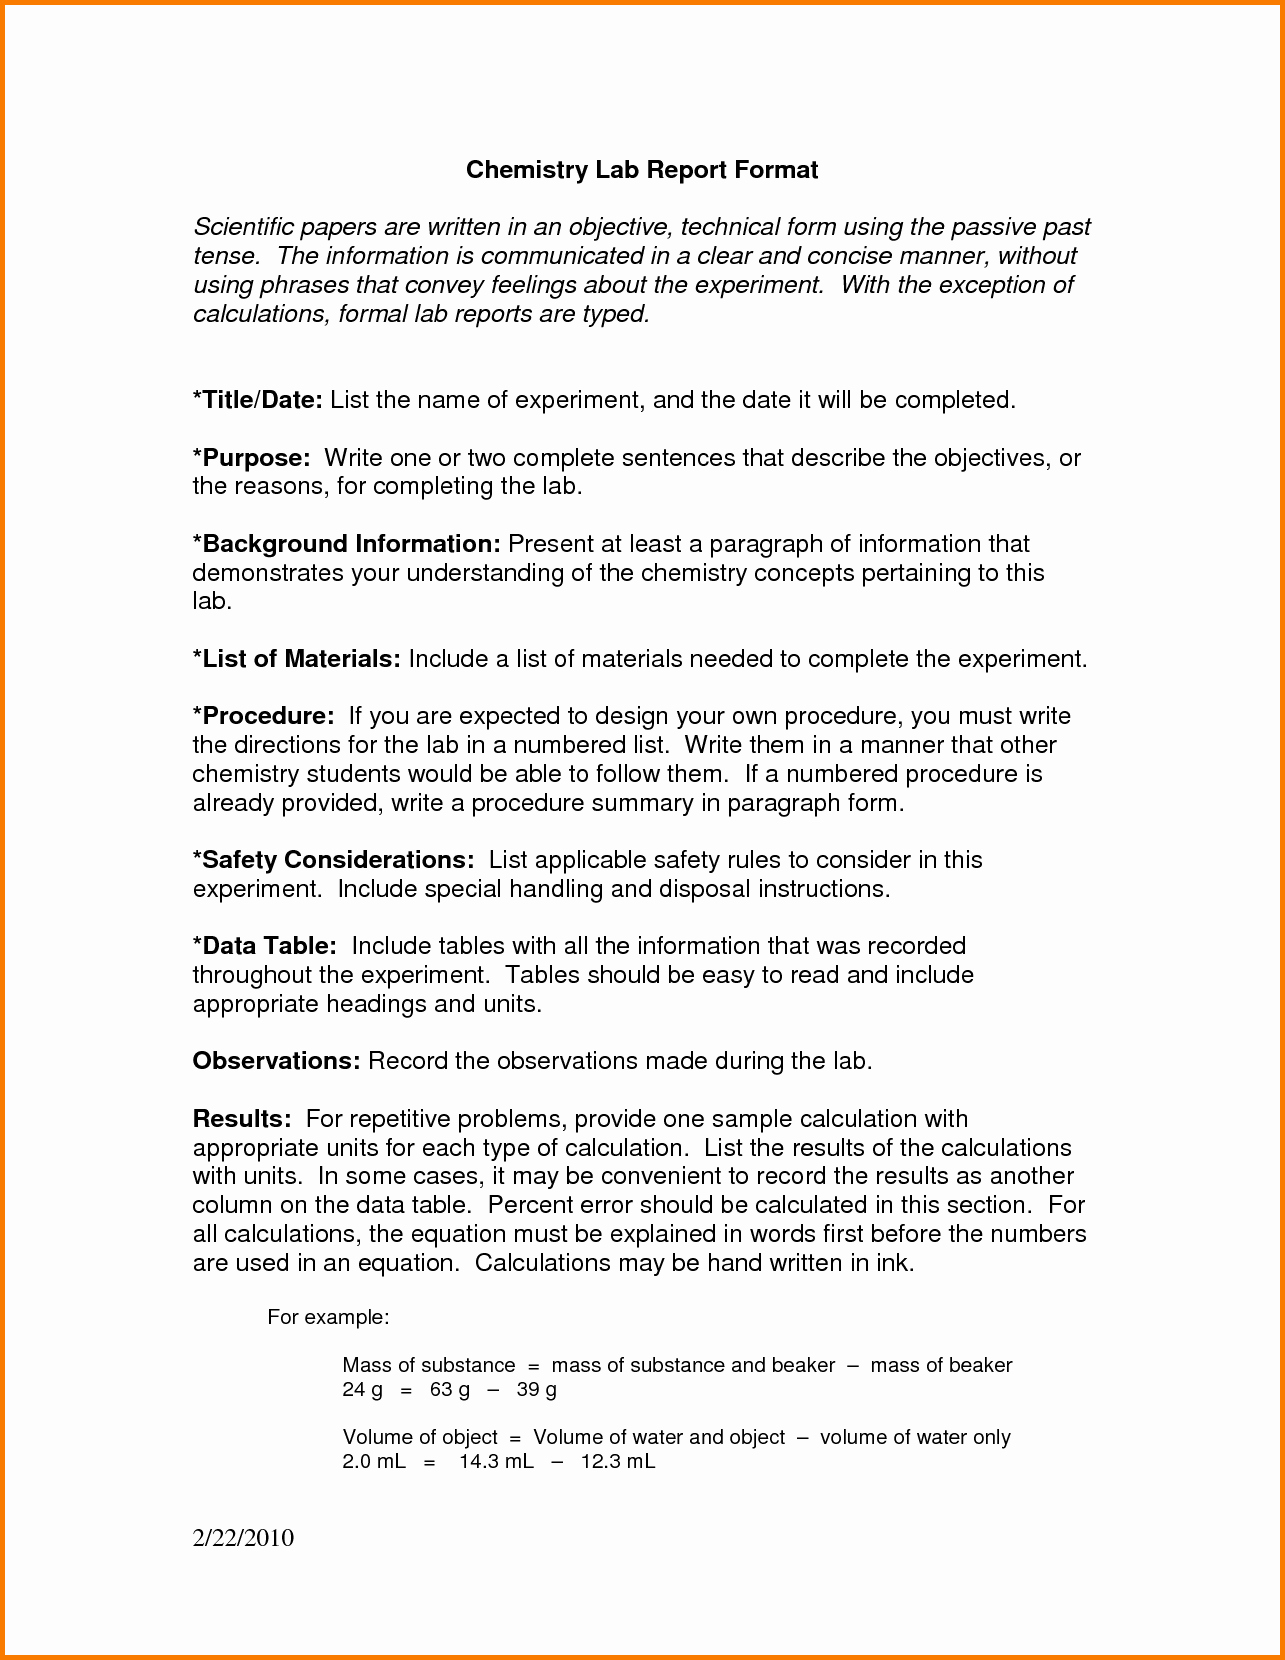
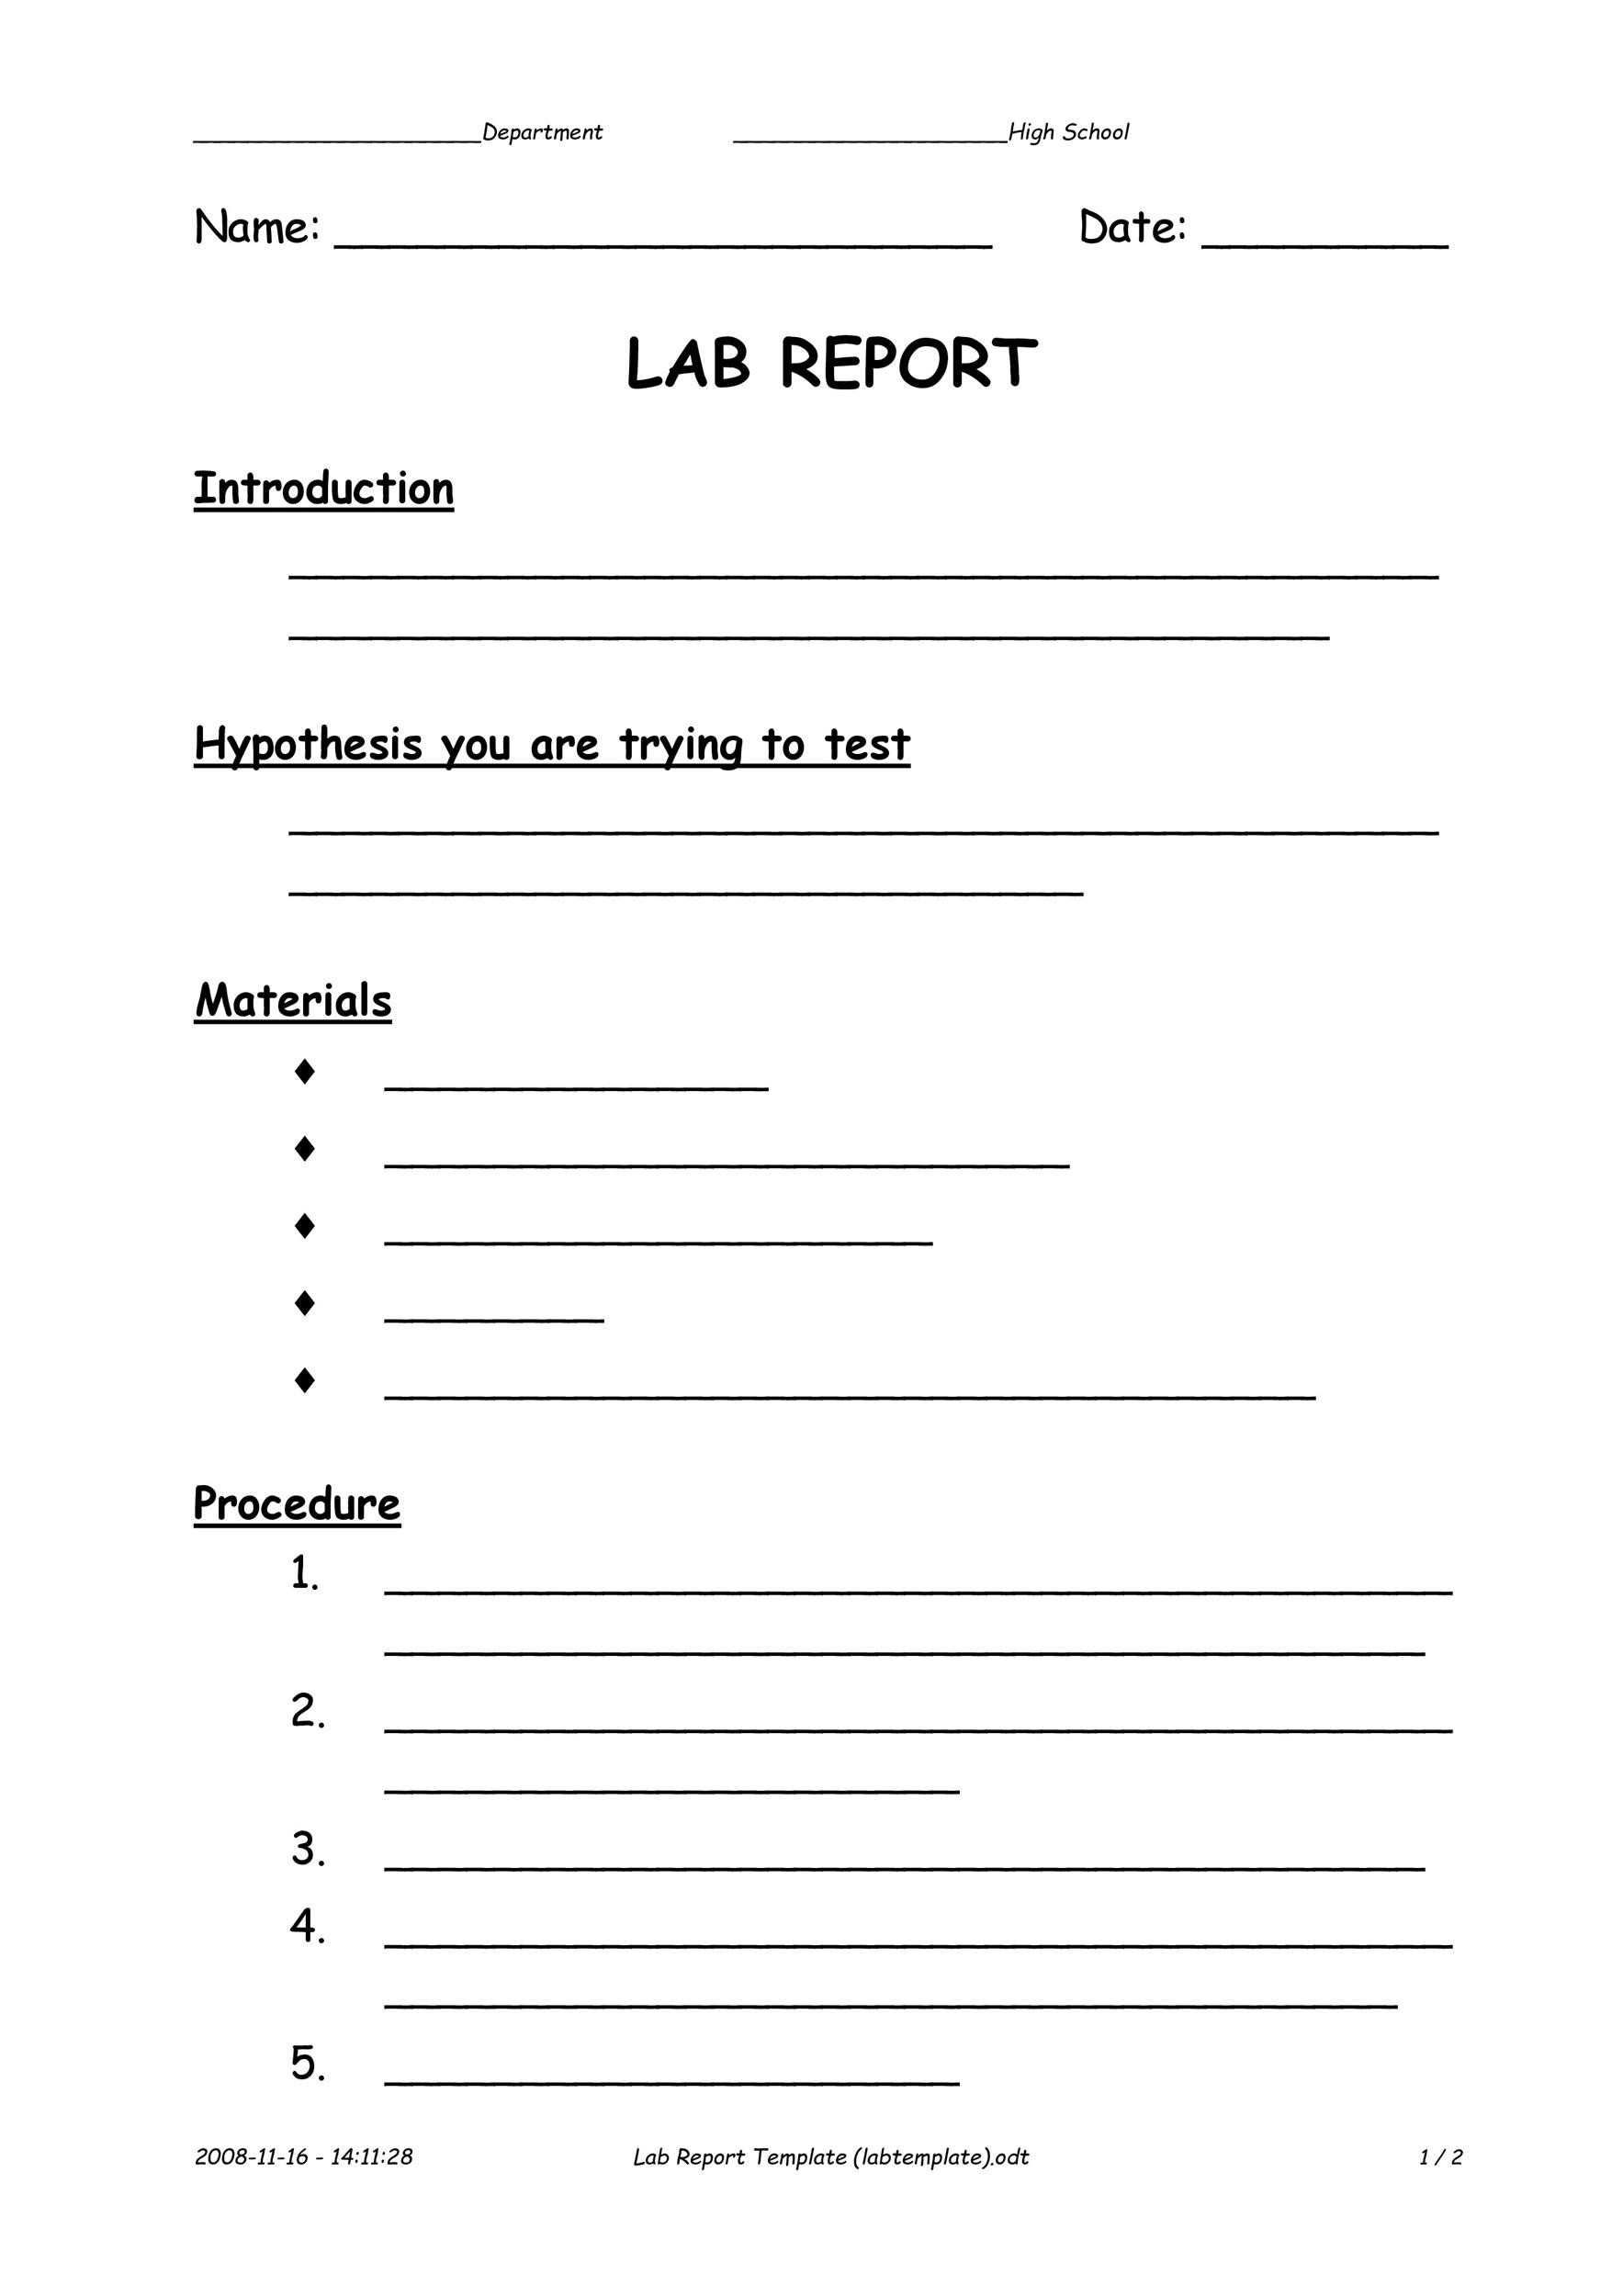
Essential Components
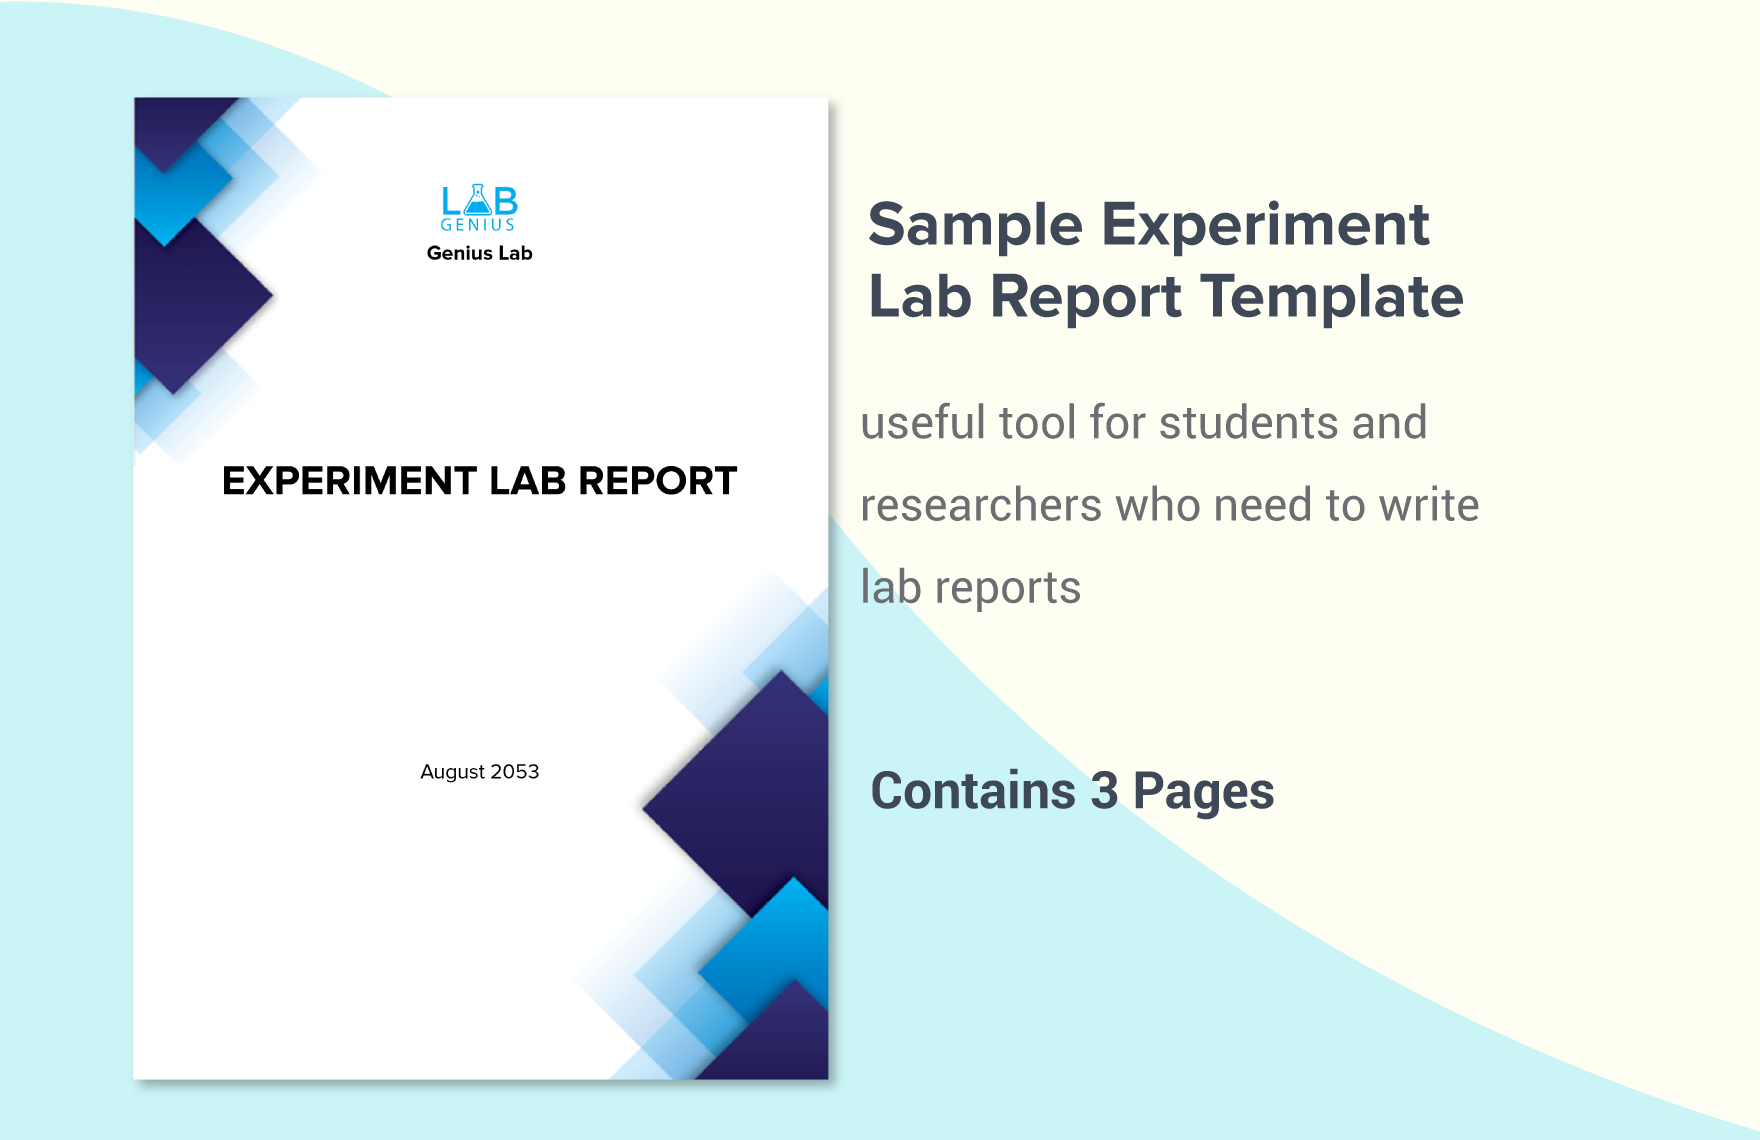
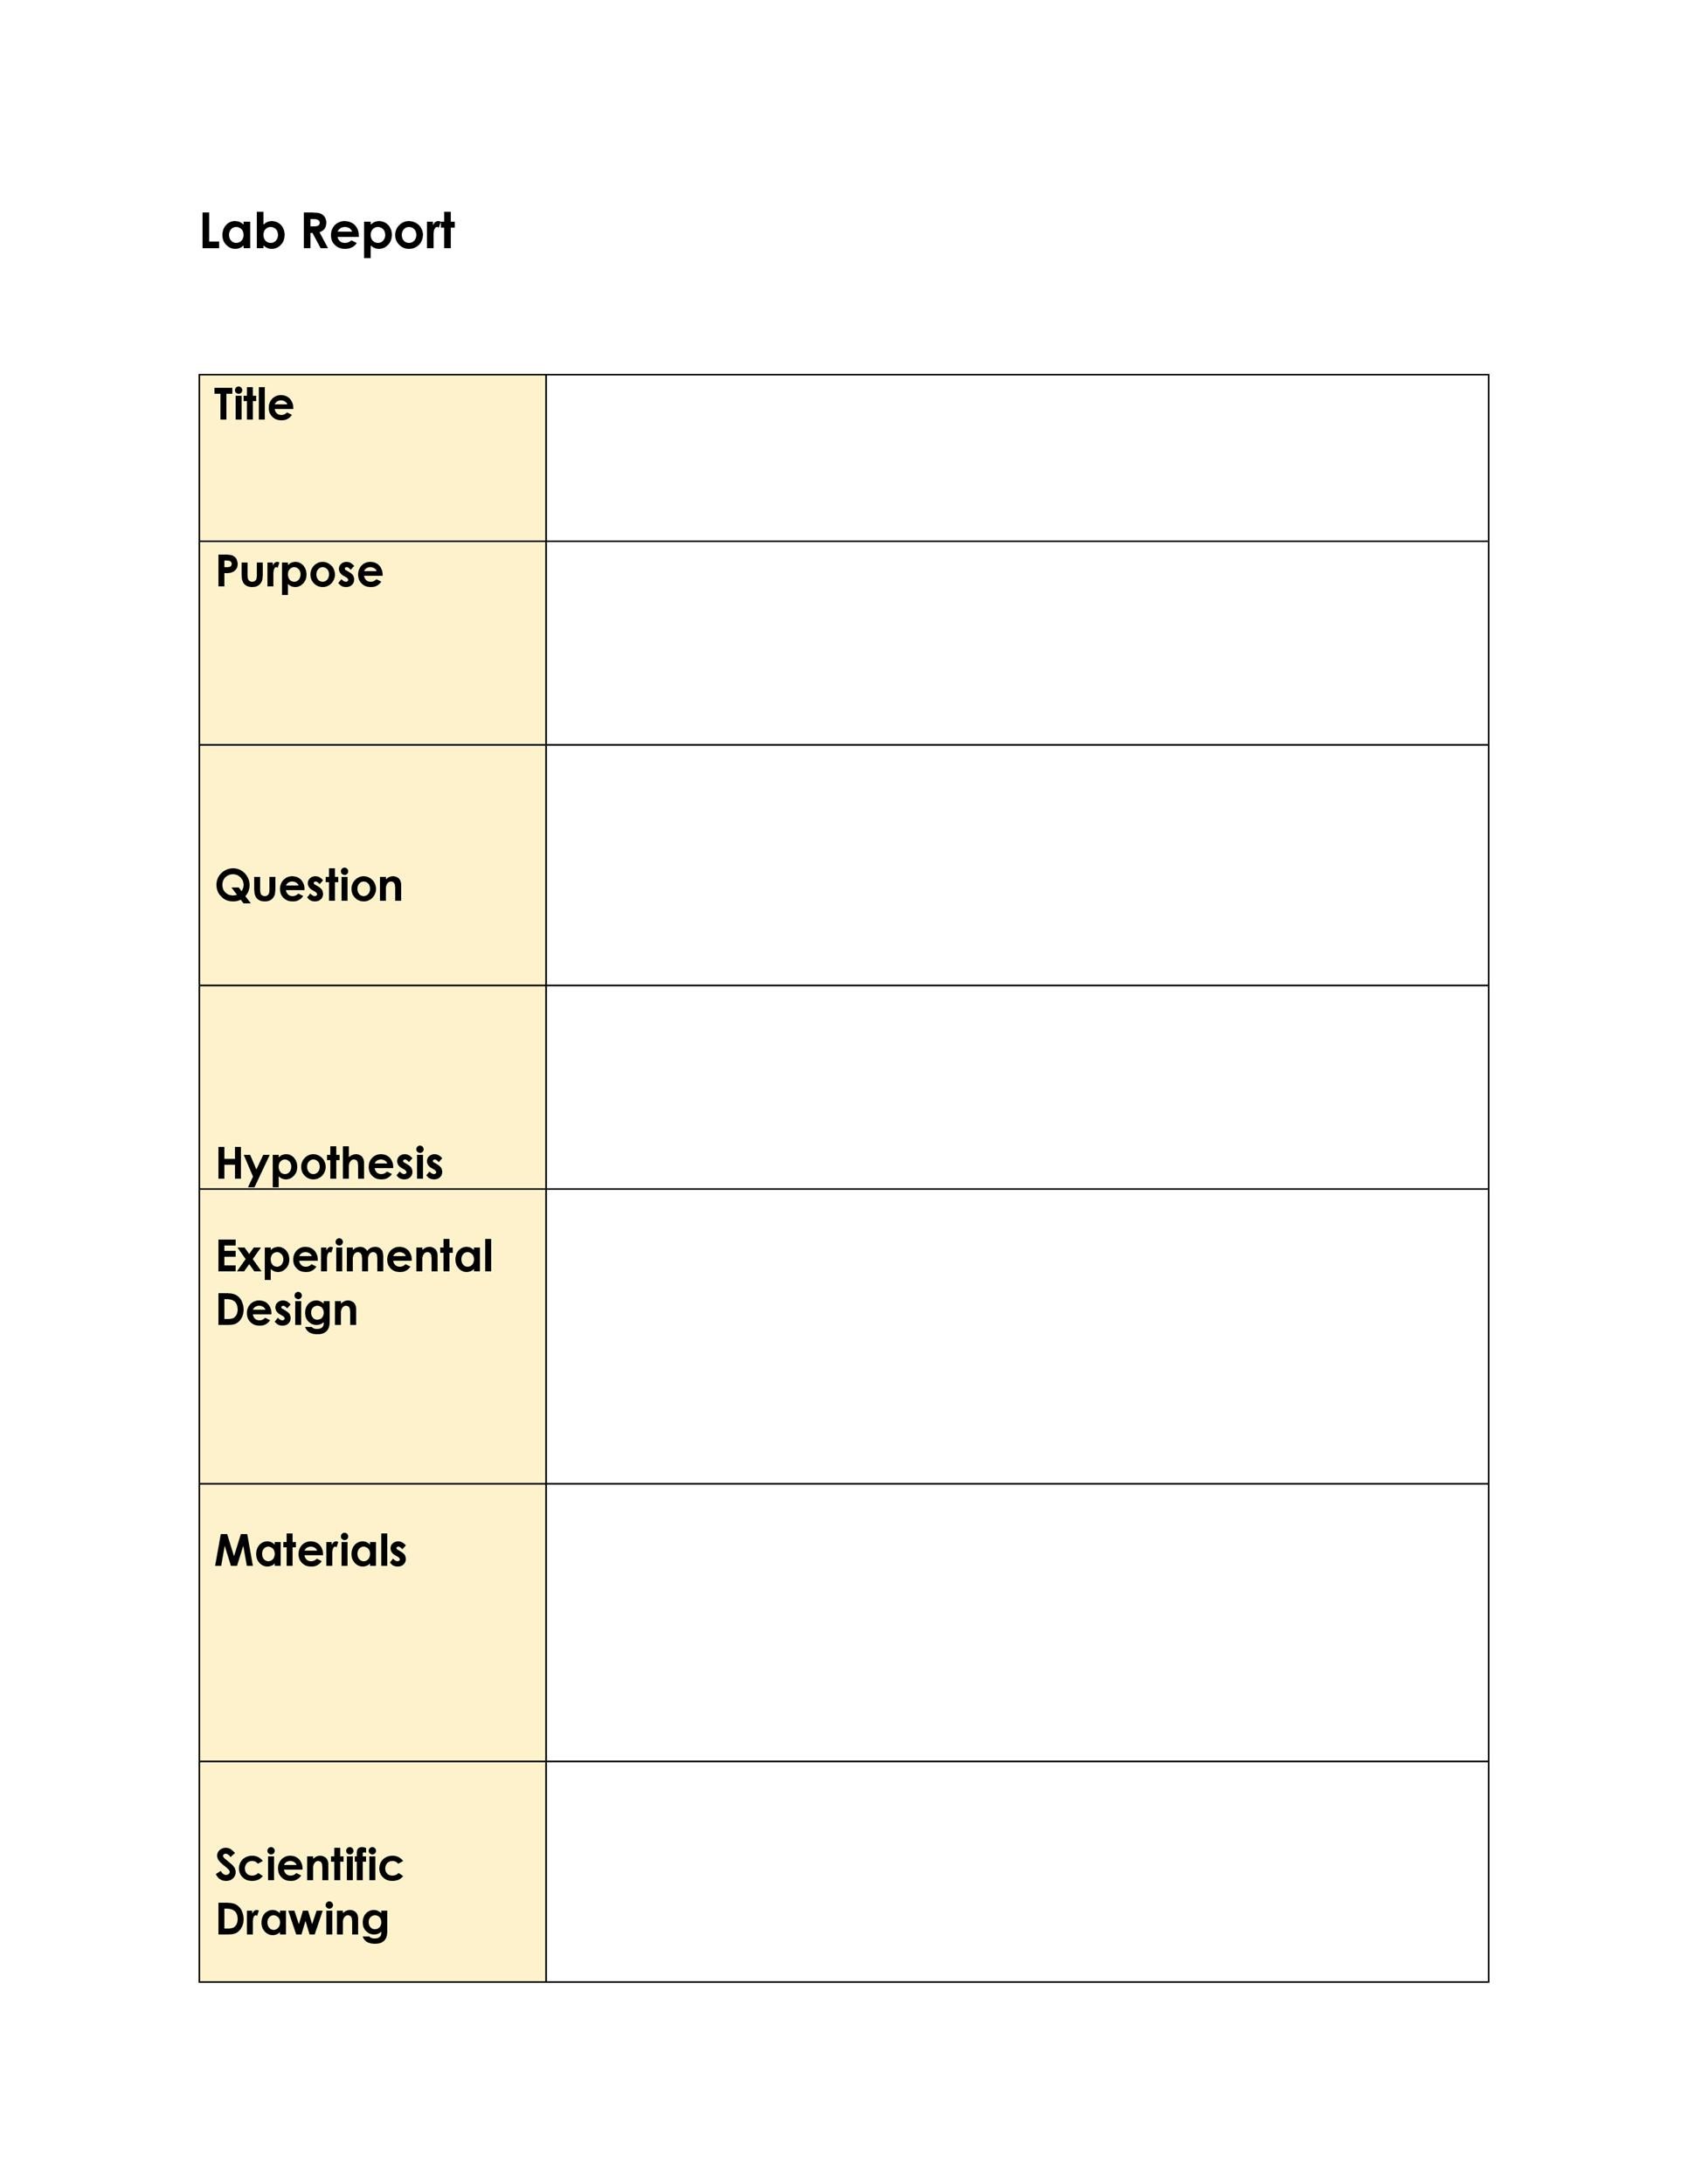
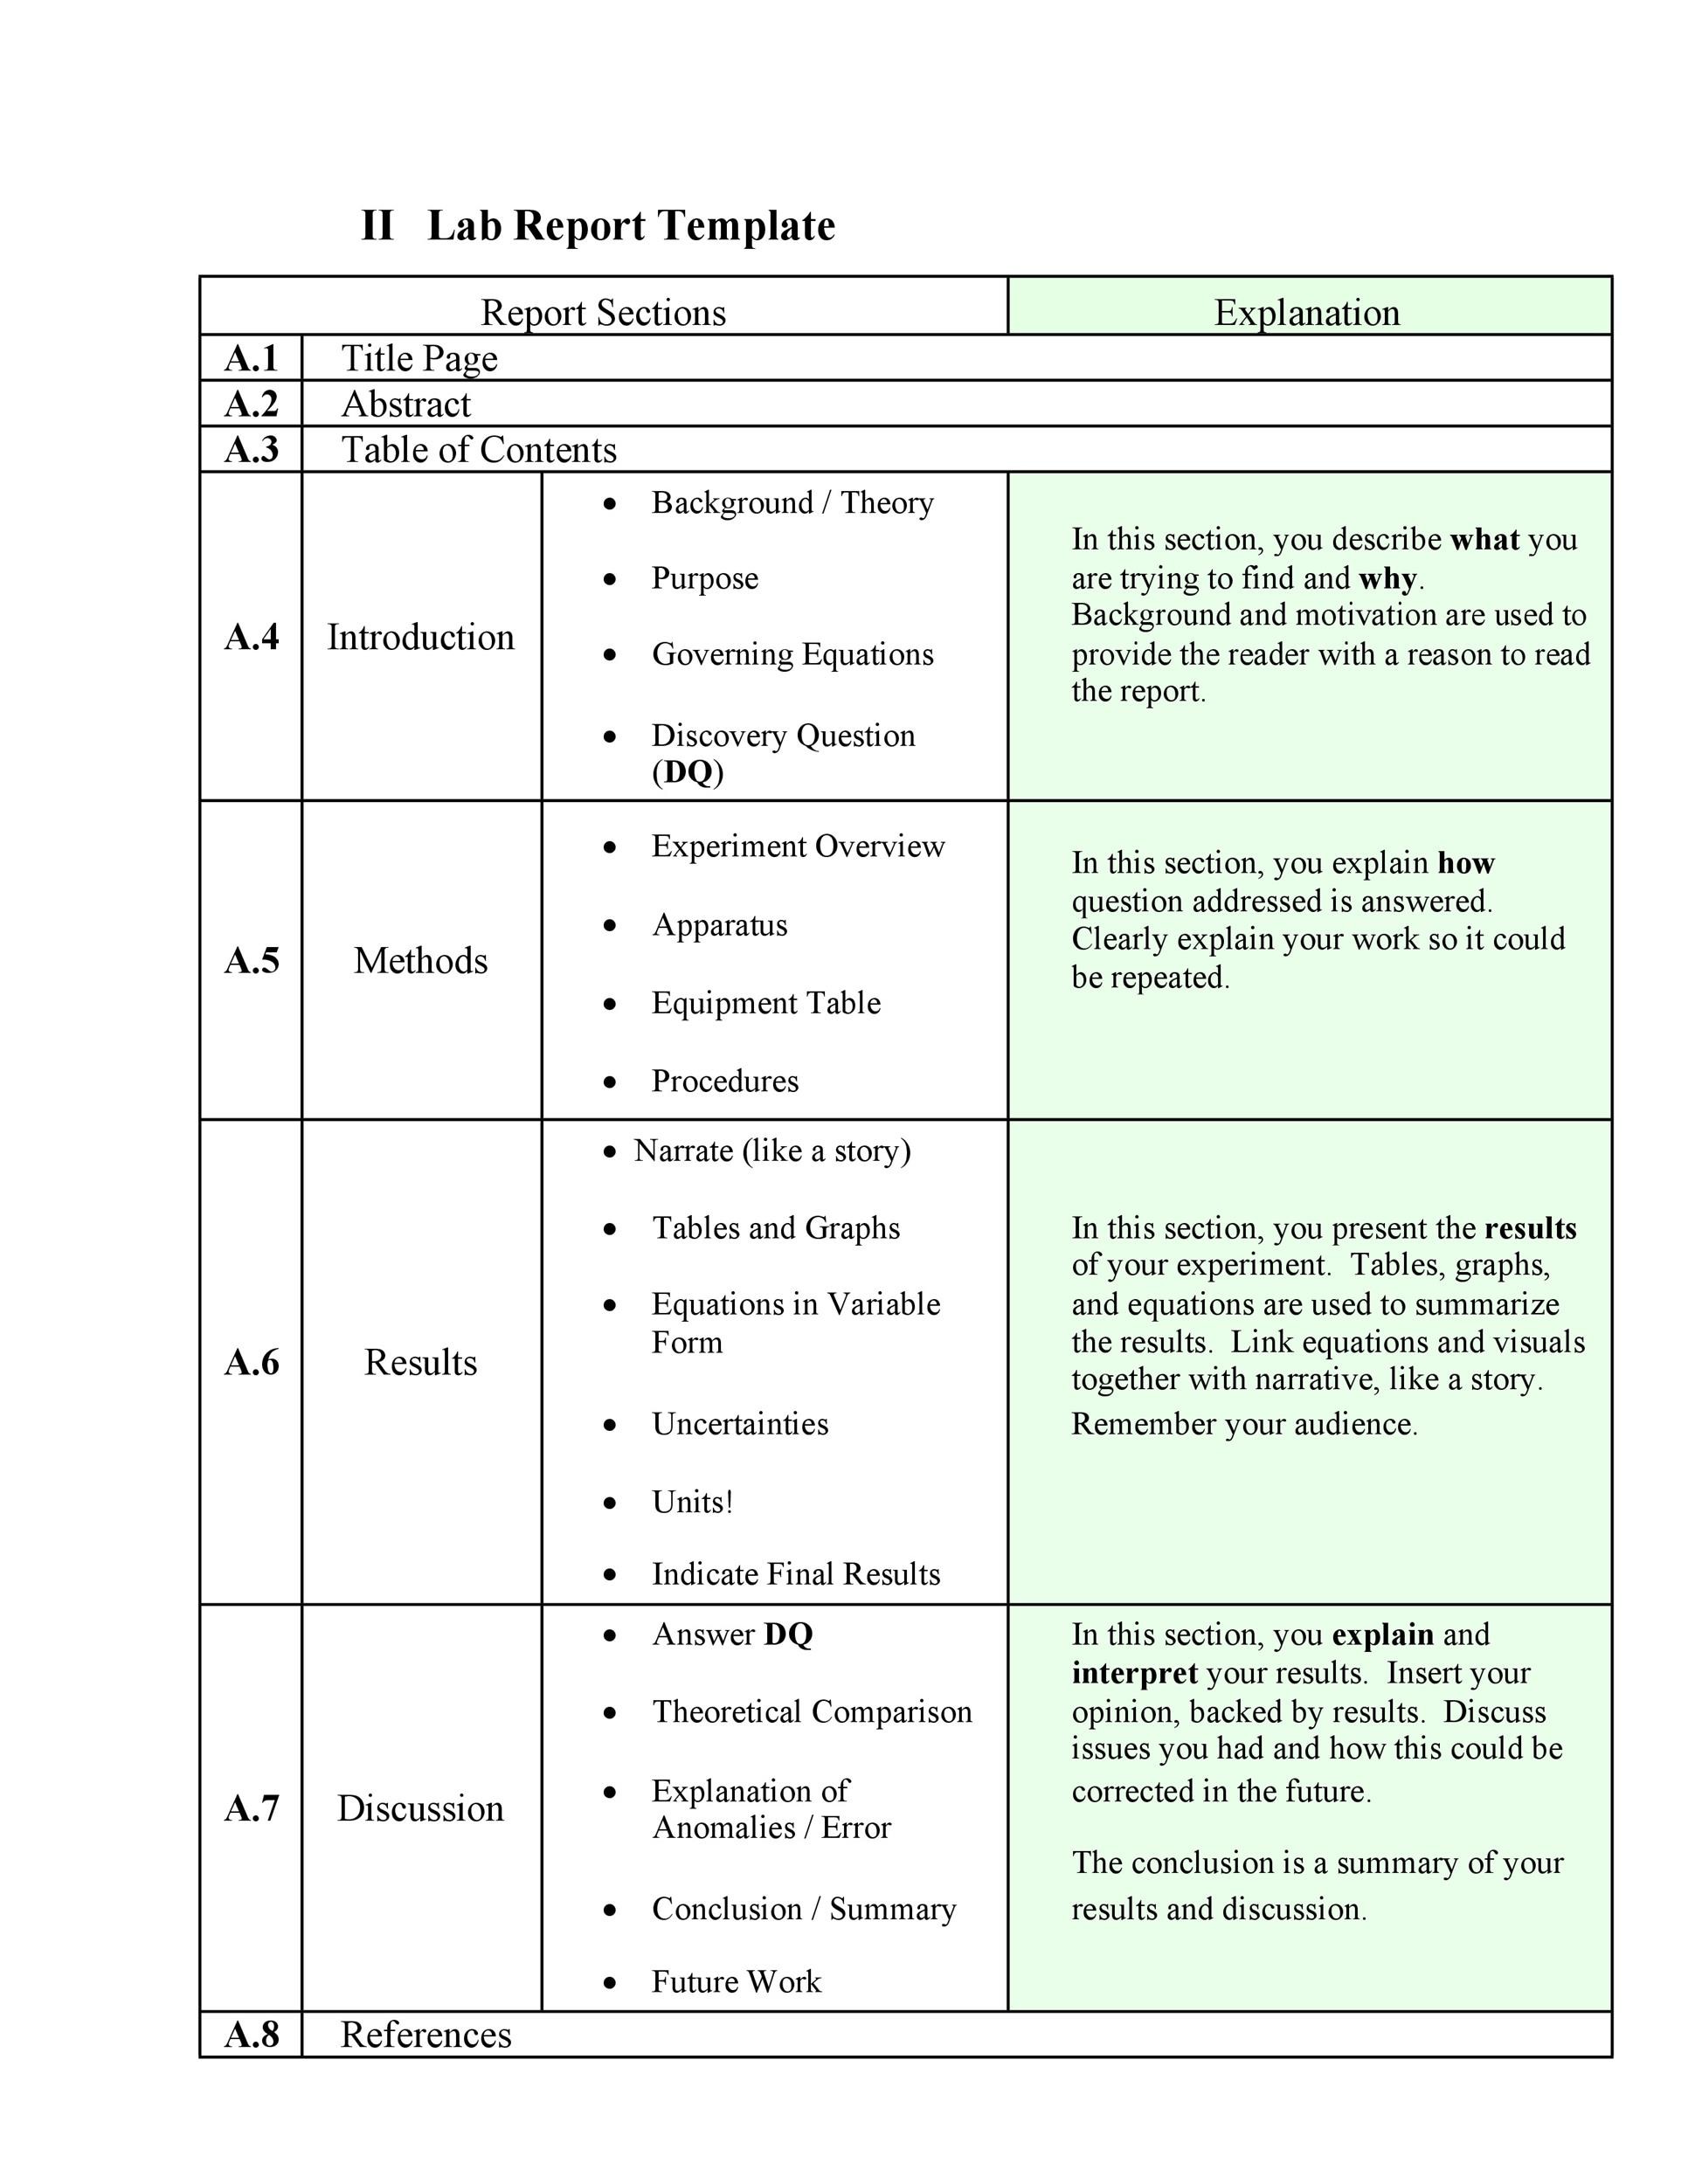
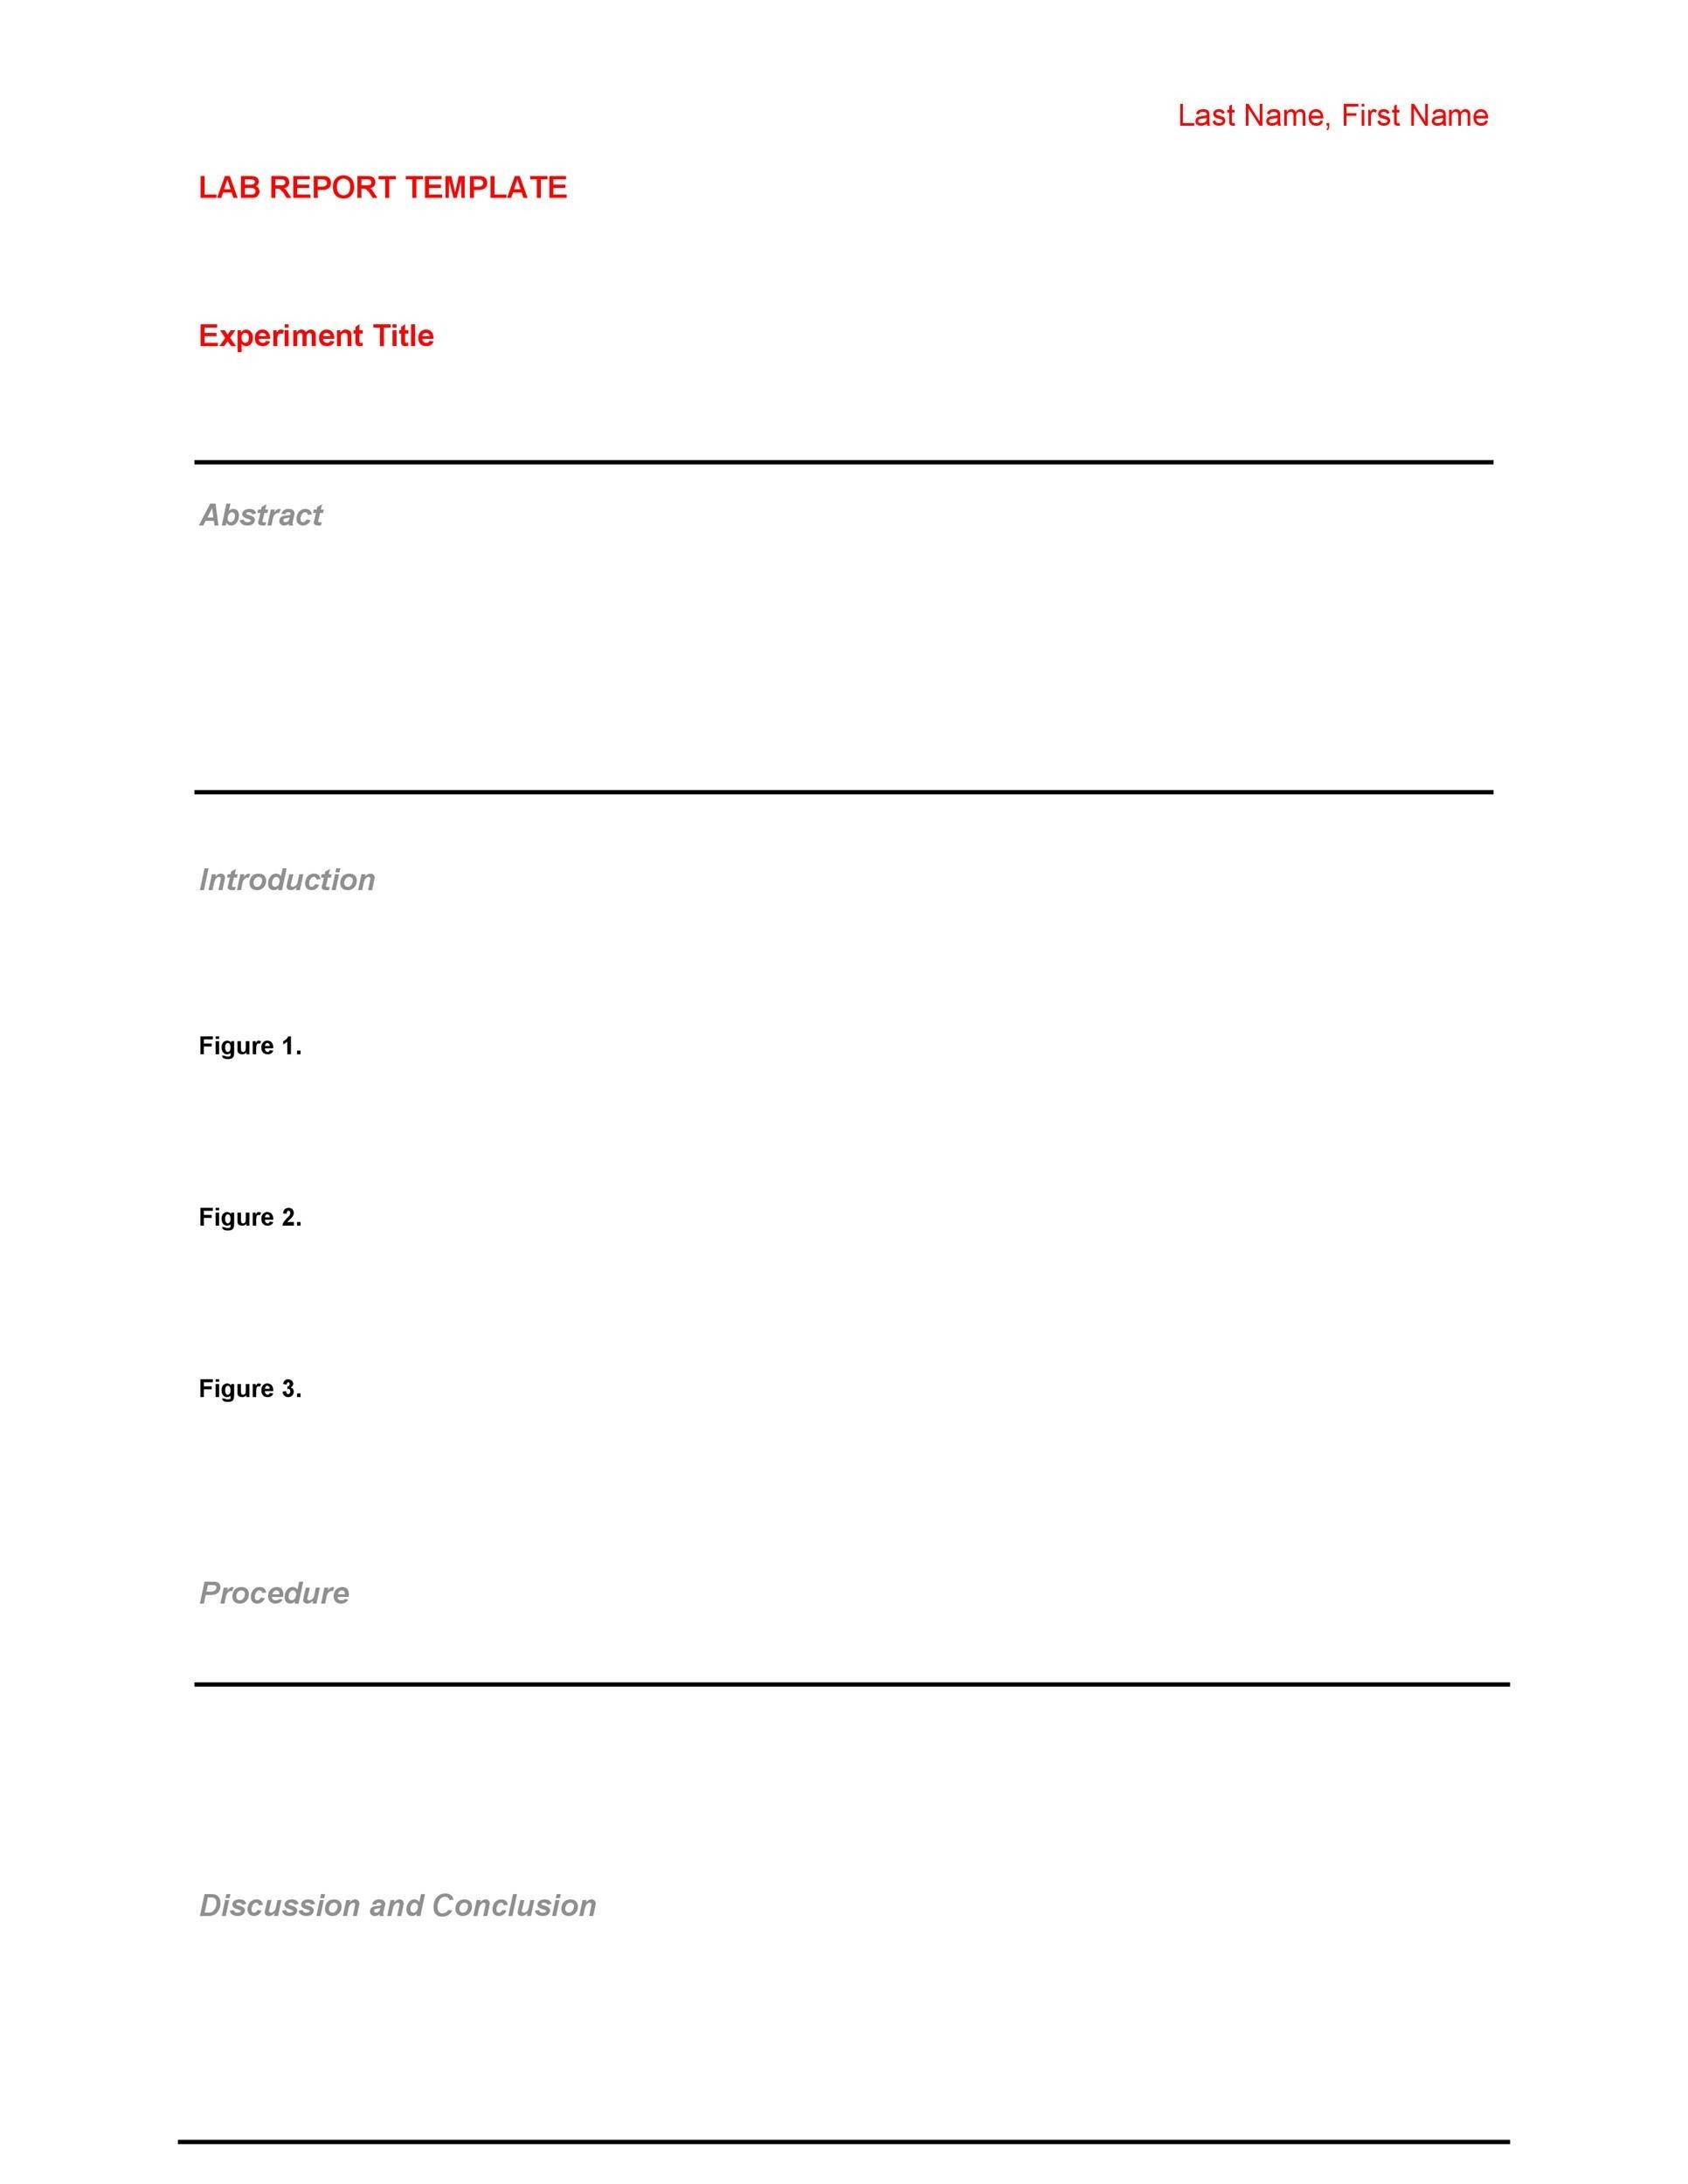
- Title Page with space for title, author names, institution, and date.
- Abstract section that summarizes objectives, key methods, major results, and conclusions.
- Introduction that frames the problem and cites background literature.
- Methods with subsections for materials, procedure, and instrumentation.
- Results that can accommodate tables, graphs, and narrative explanations.
- Discussion that interprets findings, addresses limitations, and suggests future work.
- Conclusion that restates the significance and main takeaways.
- References formatted according to the required citation style.
- Appendix for raw data or supplementary calculations.
Design Tips for Clarity
Visual hierarchy matters. Use consistent margins, line spacing, and font sizes. Keep headings bold and slightly larger than body text. Place figures and tables near the corresponding discussion points to aid reader comprehension. A template that automatically applies these design standards saves time and reduces errors.
Step-by-Step Guide to Using a Formal Lab Report Template
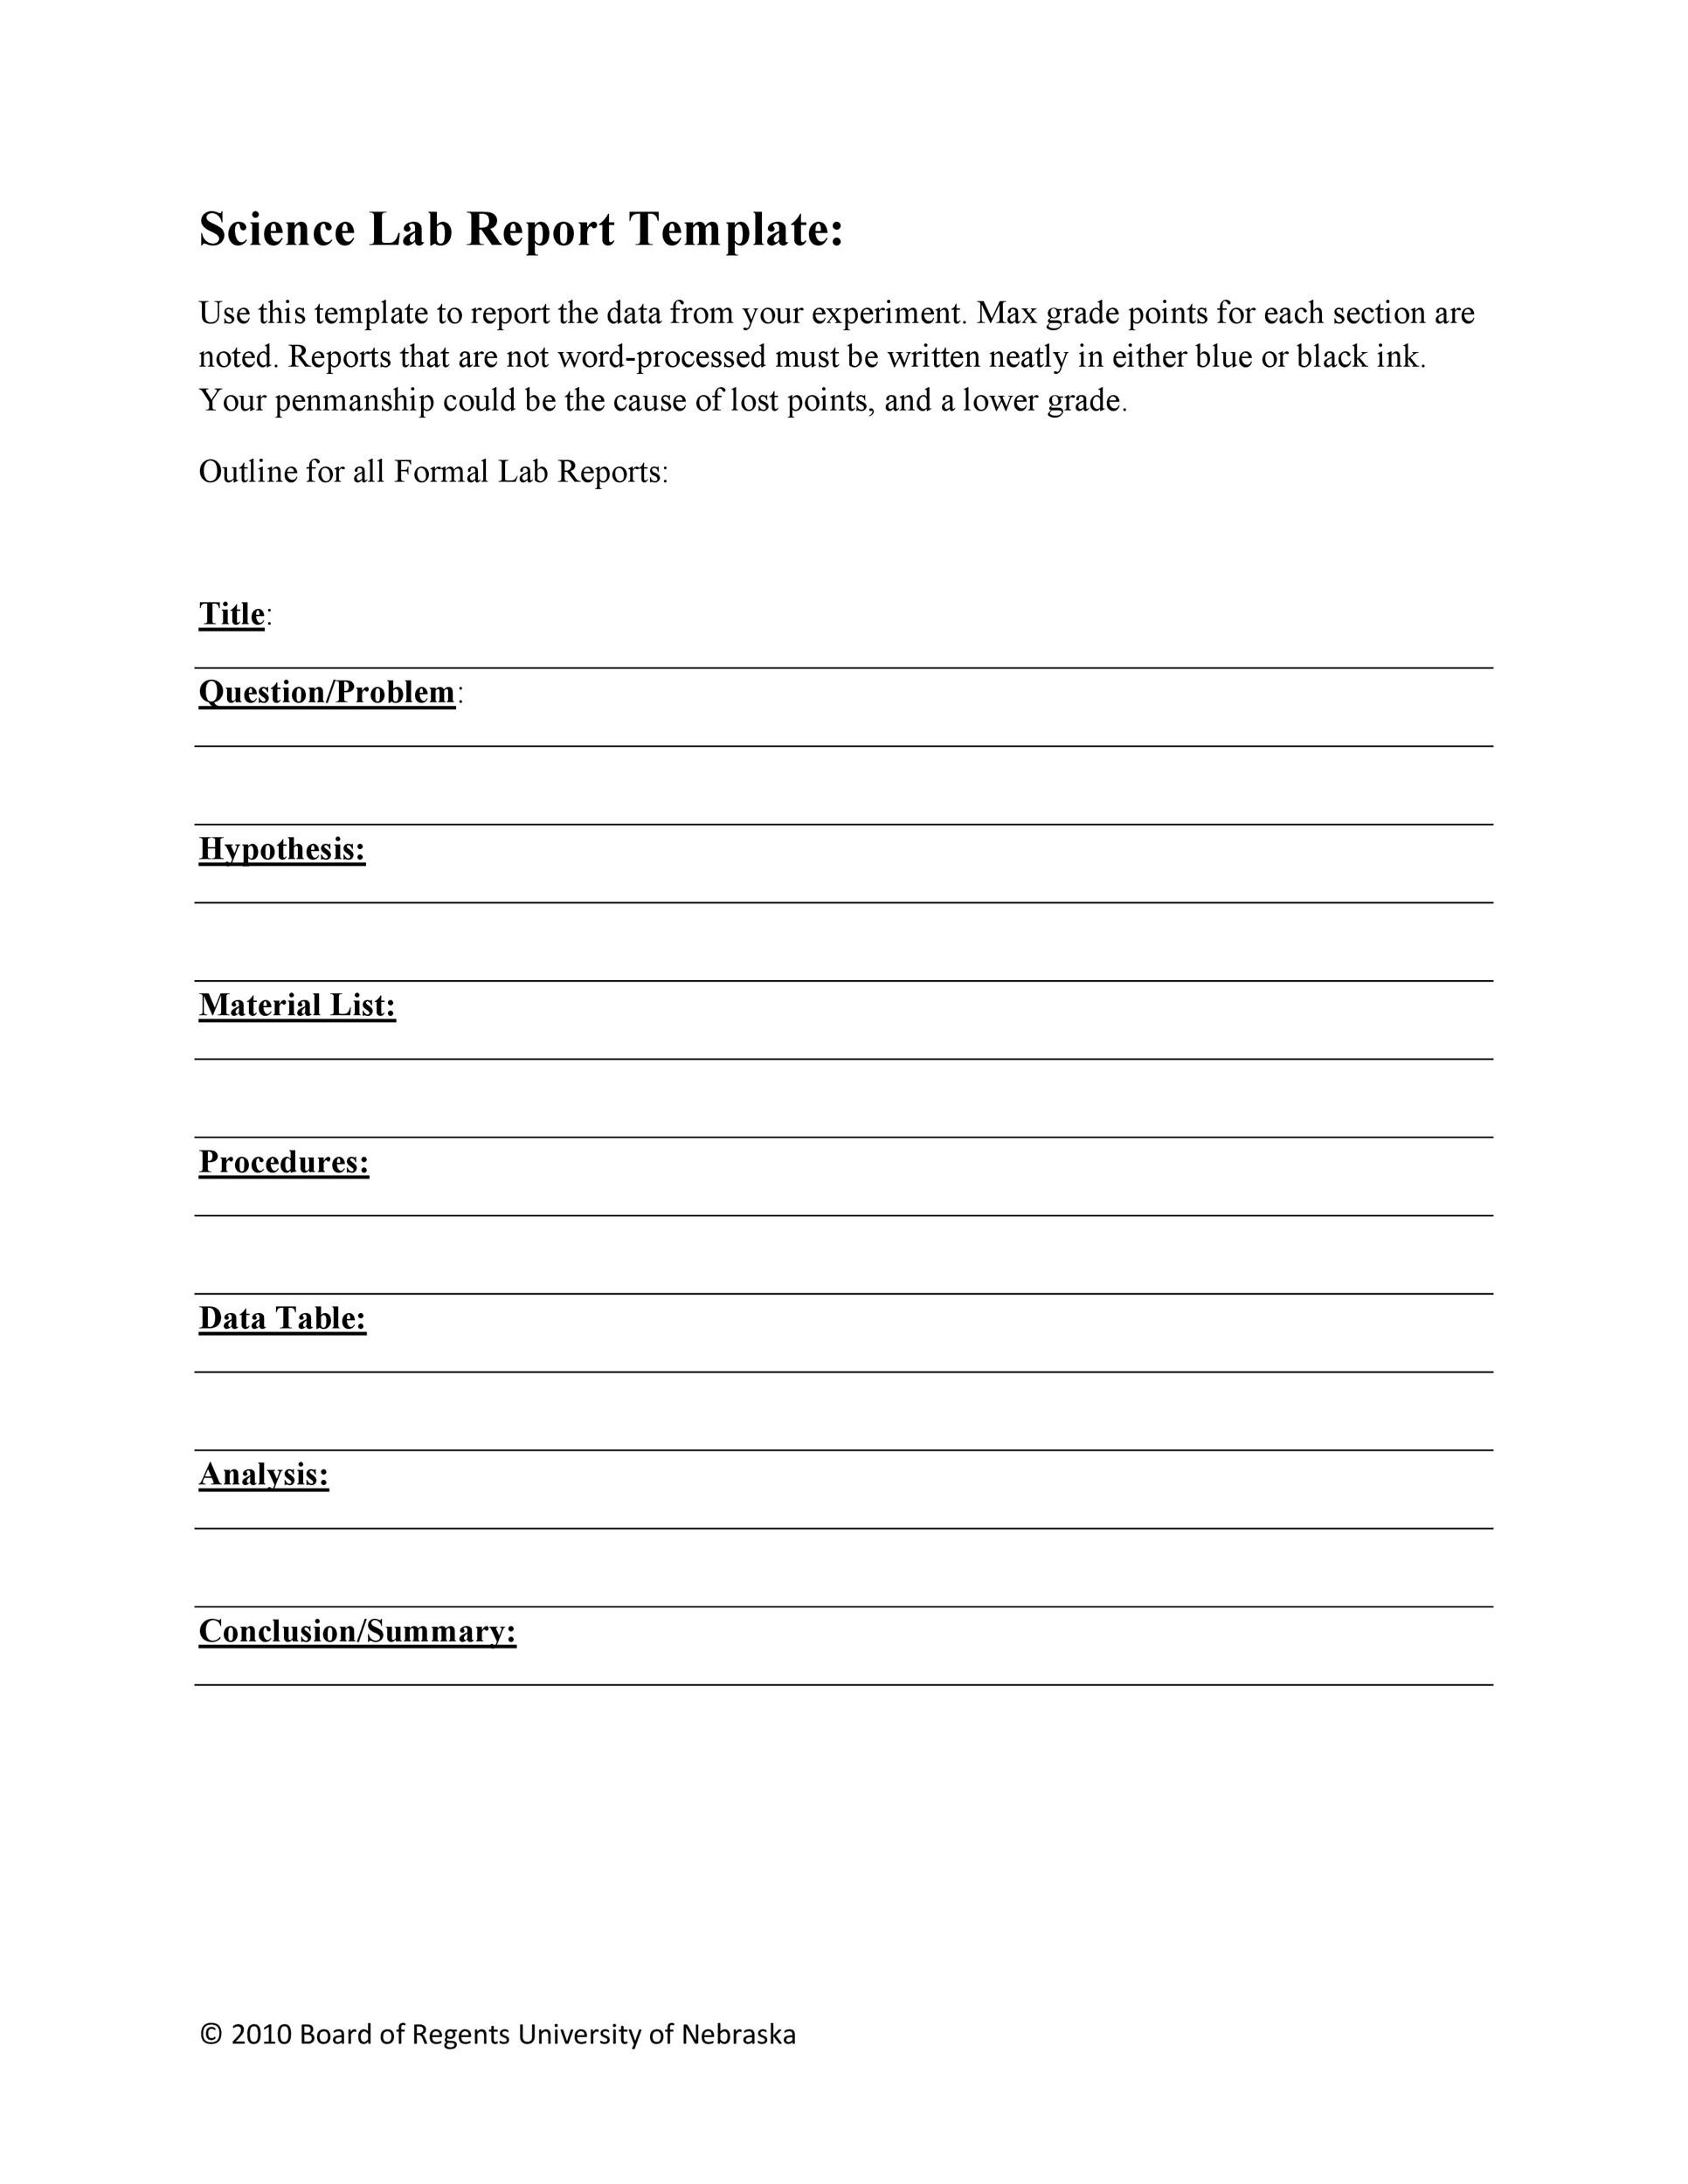
Follow this workflow to maximize efficiency and maintain professional quality.
Step 1: Choosing the Right Template
Begin by selecting a template that matches the formatting guidelines of your course or journal. Look for templates that are:
- Compatible with common word processors (Microsoft Word, Google Docs, LibreOffice).
- Easy to edit without breaking the layout.
- Updated to reflect current citation styles like APA, MLA, or Chicago.
- Accessible, offering clear instructions for users with limited experience.
Step 2: Customizing Header and Title
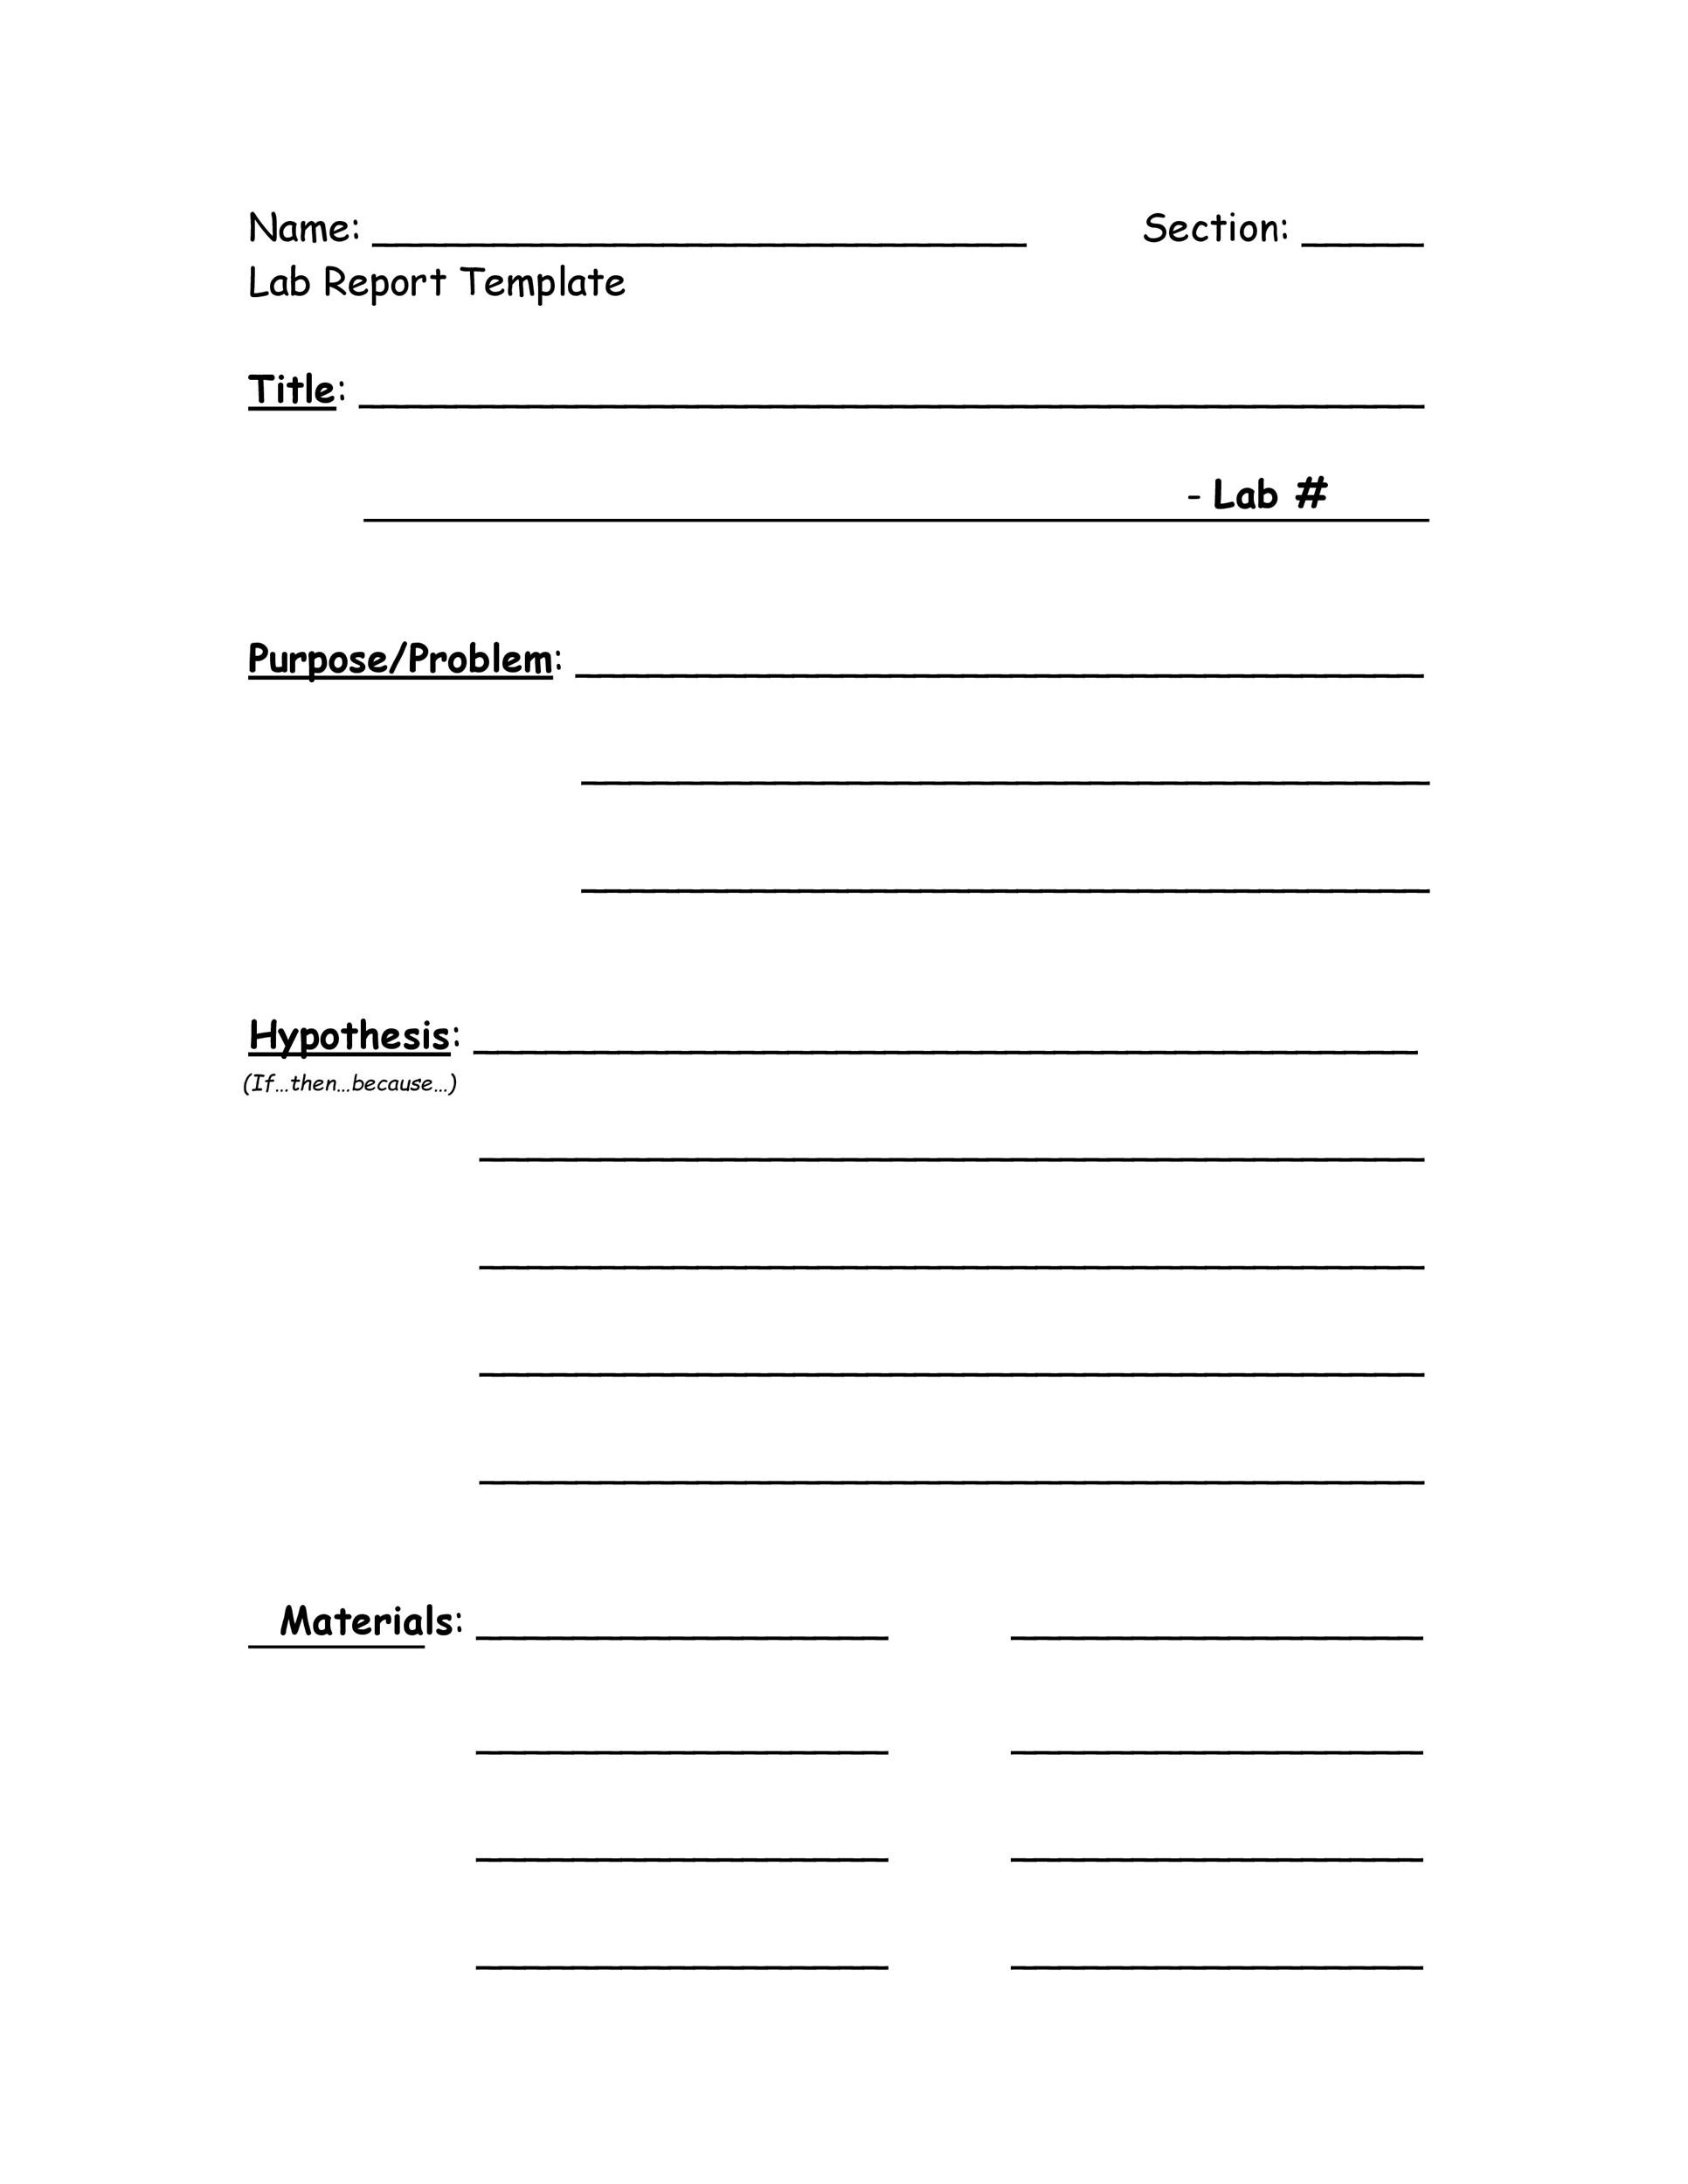
Replace placeholder text with your project’s title, your name, your supervisor’s name, and the date. Align the title centrally and use a font size that is 1–2 points larger than the body text. This establishes a professional appearance from the first glance.
Step 3: Crafting a Compelling Abstract
Use the template’s abstract field to write a concise paragraph that answers the “who, what, where, when, why, and how.” Keep it to 150–250 words. Highlight the primary result and its broader significance. Remember: the abstract is often the only part many readers examine, so clarity is key.
Step 4: Writing the Introduction
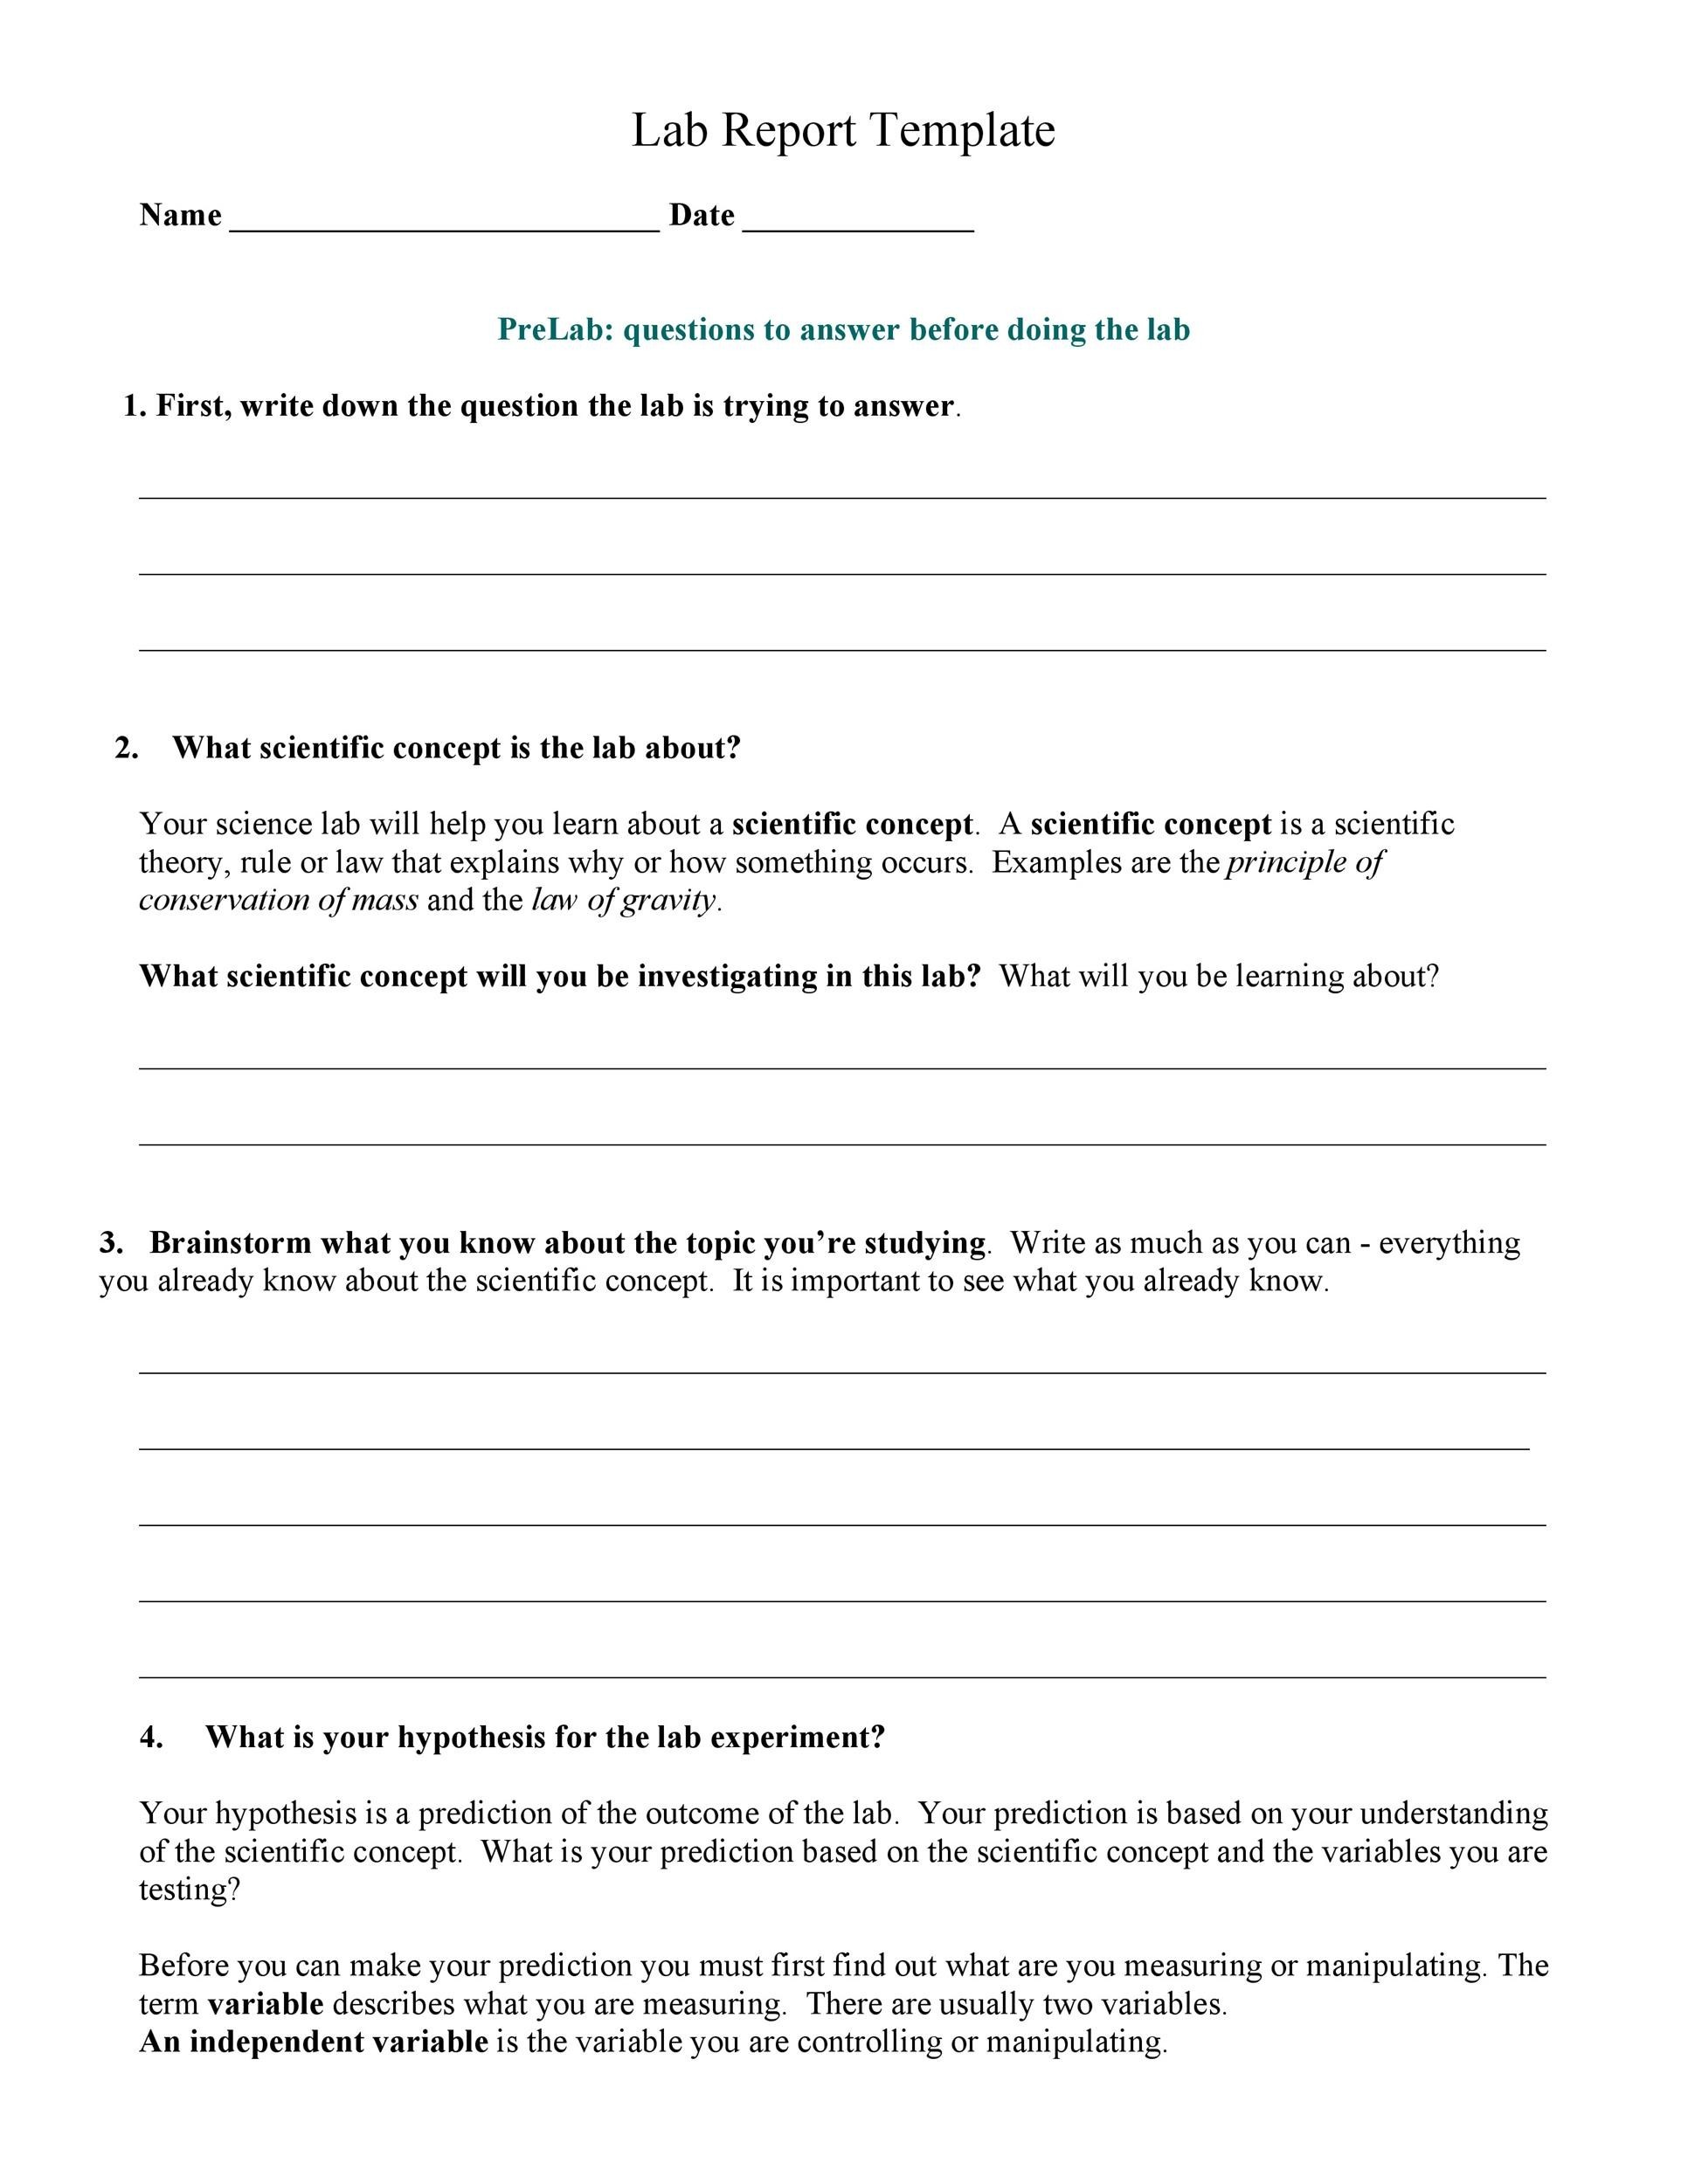
Start with a hook that contextualizes the experiment. Explain why the topic matters and outline the hypothesis or research question. Then, briefly review relevant literature, citing sources that support your methodology. This section should be about 15–20% of the total word count.
Step 5: Detailing the Methods
Use bullet points or numbered steps to describe materials, apparatus, and procedures. Provide enough detail for replication but avoid unnecessary jargon. If the template includes a “Procedure” subheading, populate it with a clear, step‑by‑step guide. Add a diagram if it clarifies a complex setup.
Step 6: Presenting Results
Insert tables and graphs using the template’s placeholders. Each figure should have a caption that explains what is being shown. Following the template’s guidance, describe trends and statistical outcomes in the text. Highlight key findings without over‑interpreting.
Step 7: Discussing Your Findings
Interpret the data in light of the hypothesis. Address whether the results confirm or contradict expectations, and discuss possible sources of error. Use the template’s discussion section to structure your argument logically, moving from specific observations to broader implications.
Step 8: Concluding with Impact
Summarize the main outcomes and emphasize their relevance to the field. Suggest potential extensions or practical applications. Keep the conclusion concise and focused, mirroring the tone of the abstract.
Step 9: Finalizing References and Appendices
Populate the reference list using your preferred citation style. Many templates provide a built‑in reference manager or an example format. For appendices, attach raw data or detailed calculations, linking to the main text where appropriate.
Step 10: Proofreading and Peer Review
Run a spellcheck, check for grammatical consistency, and ensure that all tables and figures are properly referenced. Ask a peer or mentor to review the draft using the template’s “Reviewer Comments” section if available. This step guarantees that the document meets both academic and stylistic standards.
Common Pitfalls and How to Avoid Them
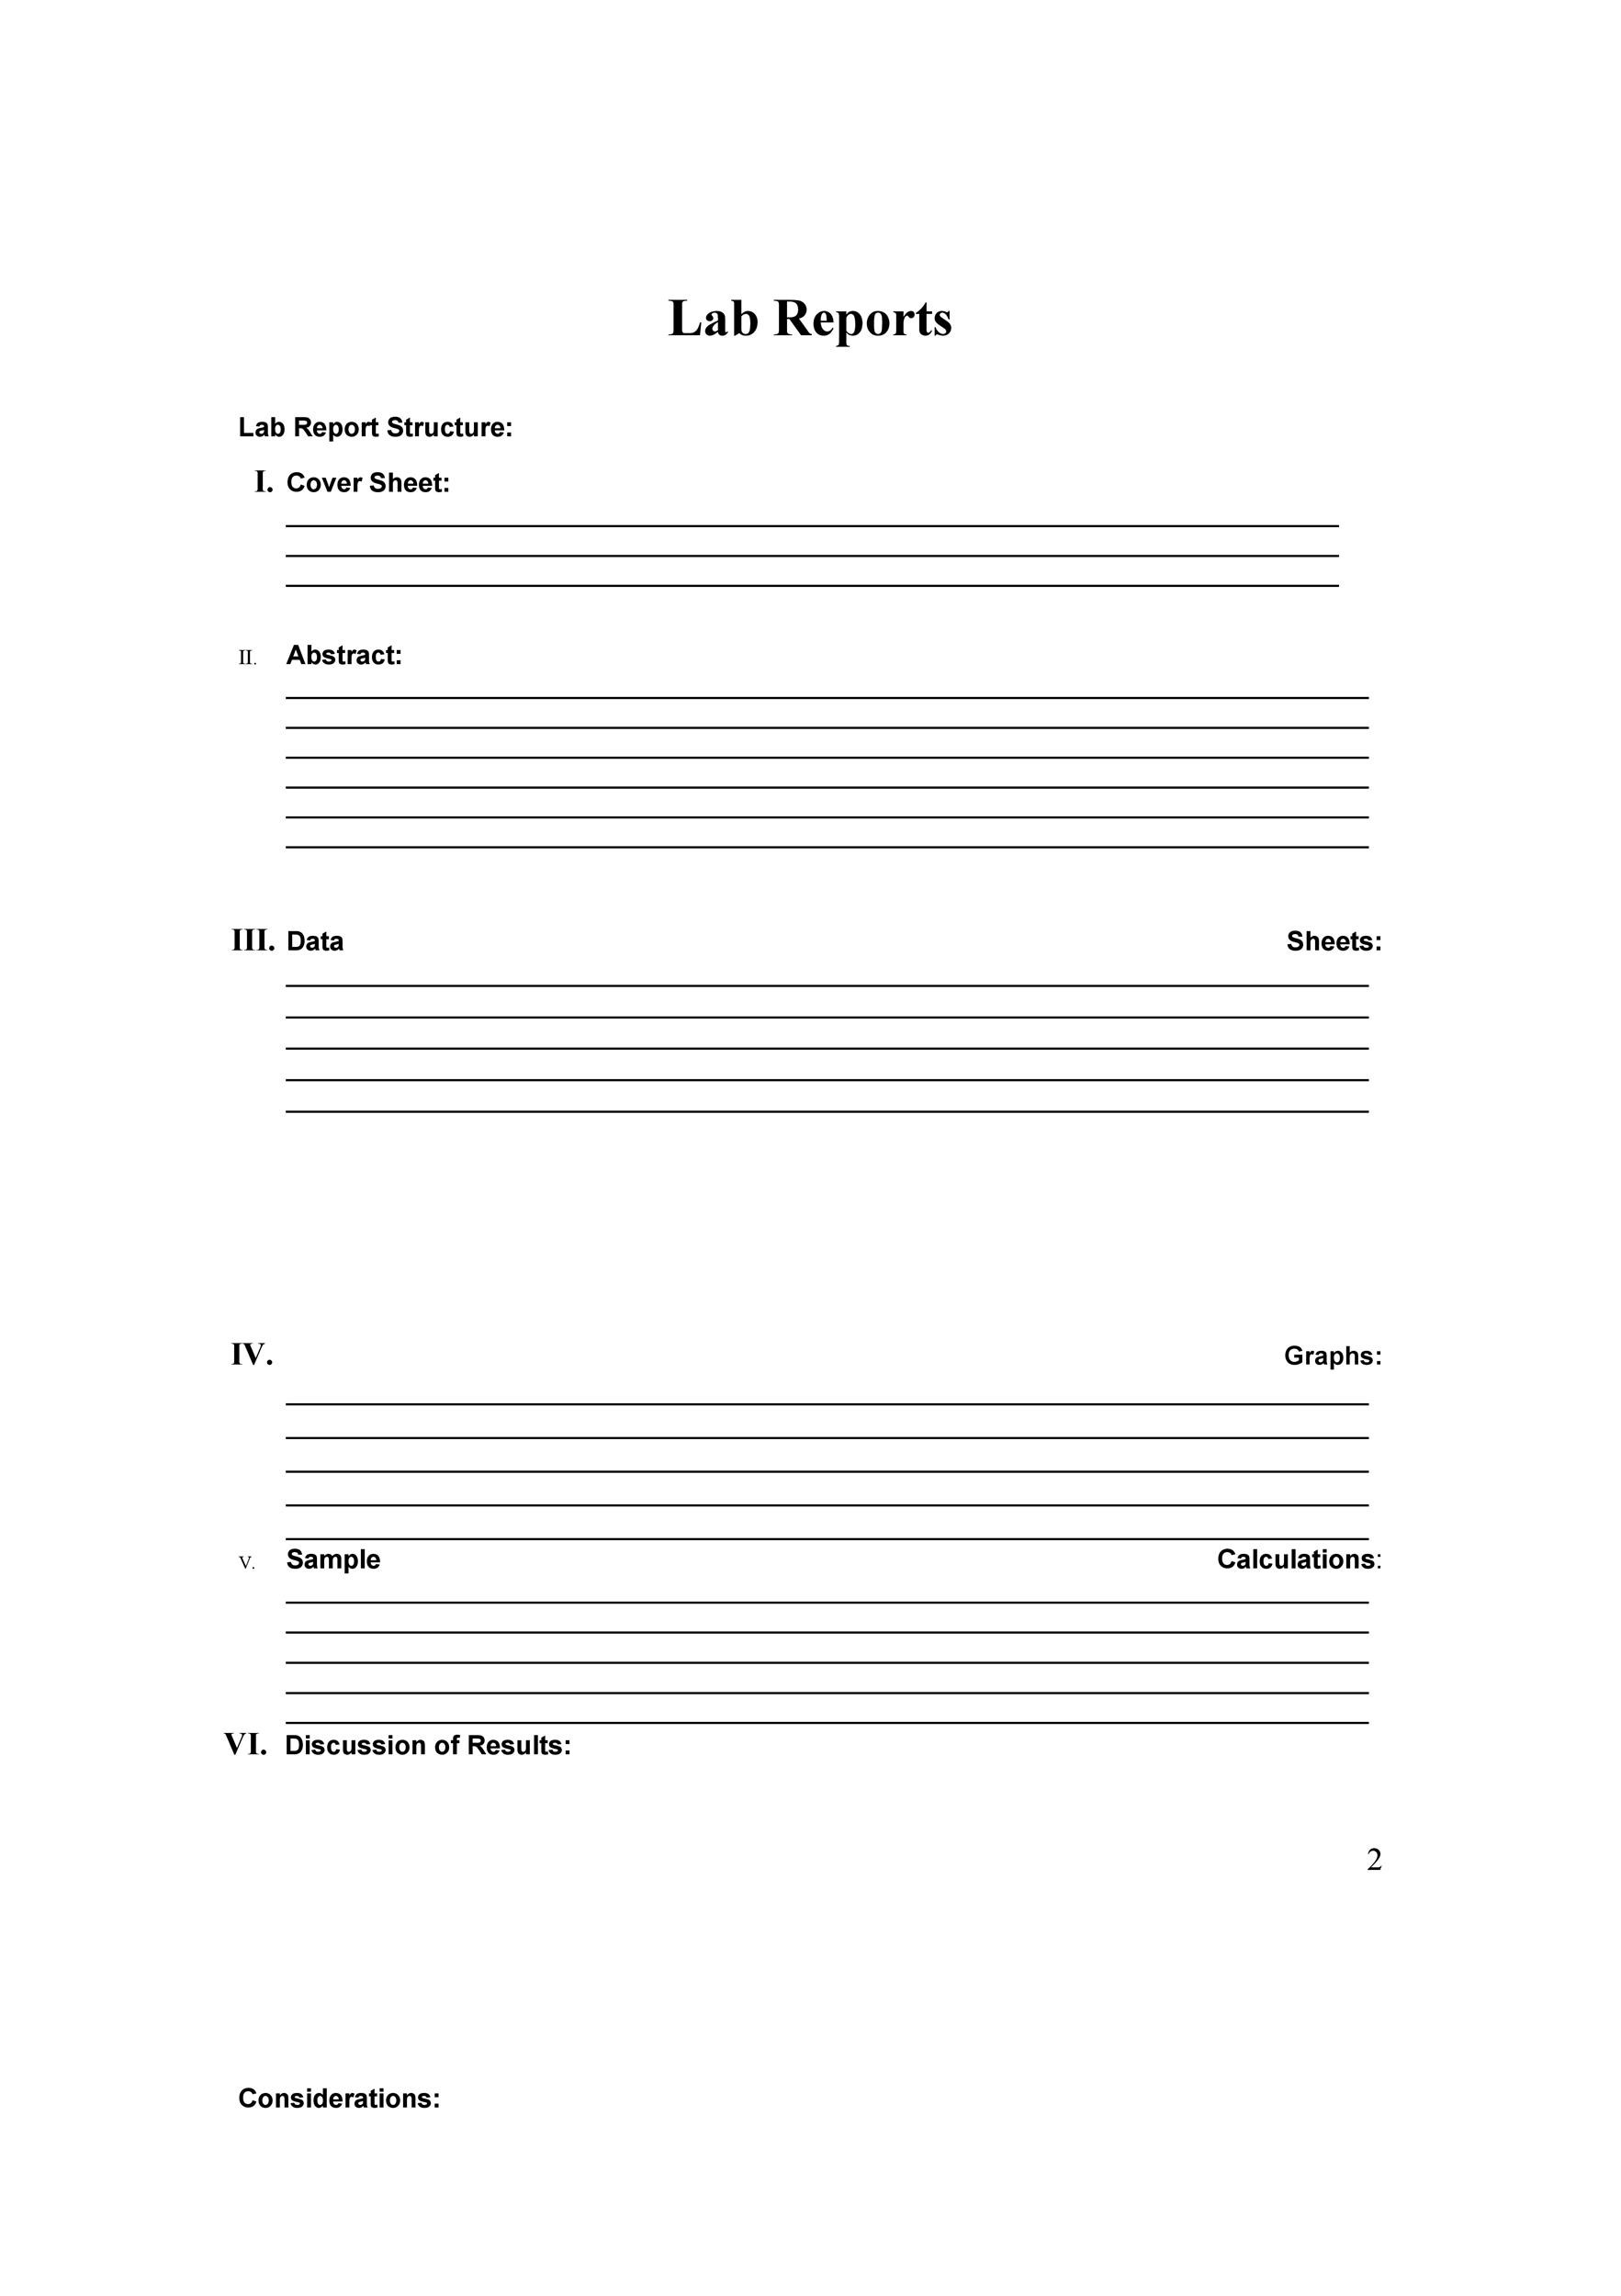
Even a top‑tier template can be undermined by careless mistakes. Below are frequent issues and how to sidestep them.
Missing Data Tables
Failing to include a complete table can make your results vague. Always cross‑check that each numerical entry in the text has a corresponding table or figure.
Inconsistent Citation Style
Using mixed citation formats can confuse readers. Stick to the template’s citation style and double‑check each reference against the required guidelines.
Overly Dense Paragraphs
Long, unbroken paragraphs hinder readability. Aim for three to five sentences per paragraph and use subheadings to break up the flow.
Ignoring Formatting Instructions
Templates often have specific instructions for margins, line spacing, and font size. Deviating from these settings can trigger formatting errors during submission.
Real-World Examples of Well-Structured Lab Reports

Examining finished reports provides a practical benchmark for what a polished document looks like.
Example 1: Chemistry Experiment
This report used a clear “Materials and Methods” section to detail the synthesis of a novel compound. The “Results” section incorporated a high‑resolution mass spectrum as a figure, while the “Discussion” explained how the spectral peaks confirmed the target structure. The template’s appendix housed the raw NMR data for transparency.
Example 2: Physics Measurement
In this physics lab, students measured the acceleration due to gravity using a free‑fall experiment. The template’s “Procedure” subheading guided the step‑by‑step setup of the stopwatch and ruler. Graphs plotting distance versus time were inserted directly under the “Results” heading, followed by a statistical error analysis that satisfied the instructor’s rigor expectations.
Advanced Features to Elevate Your Report
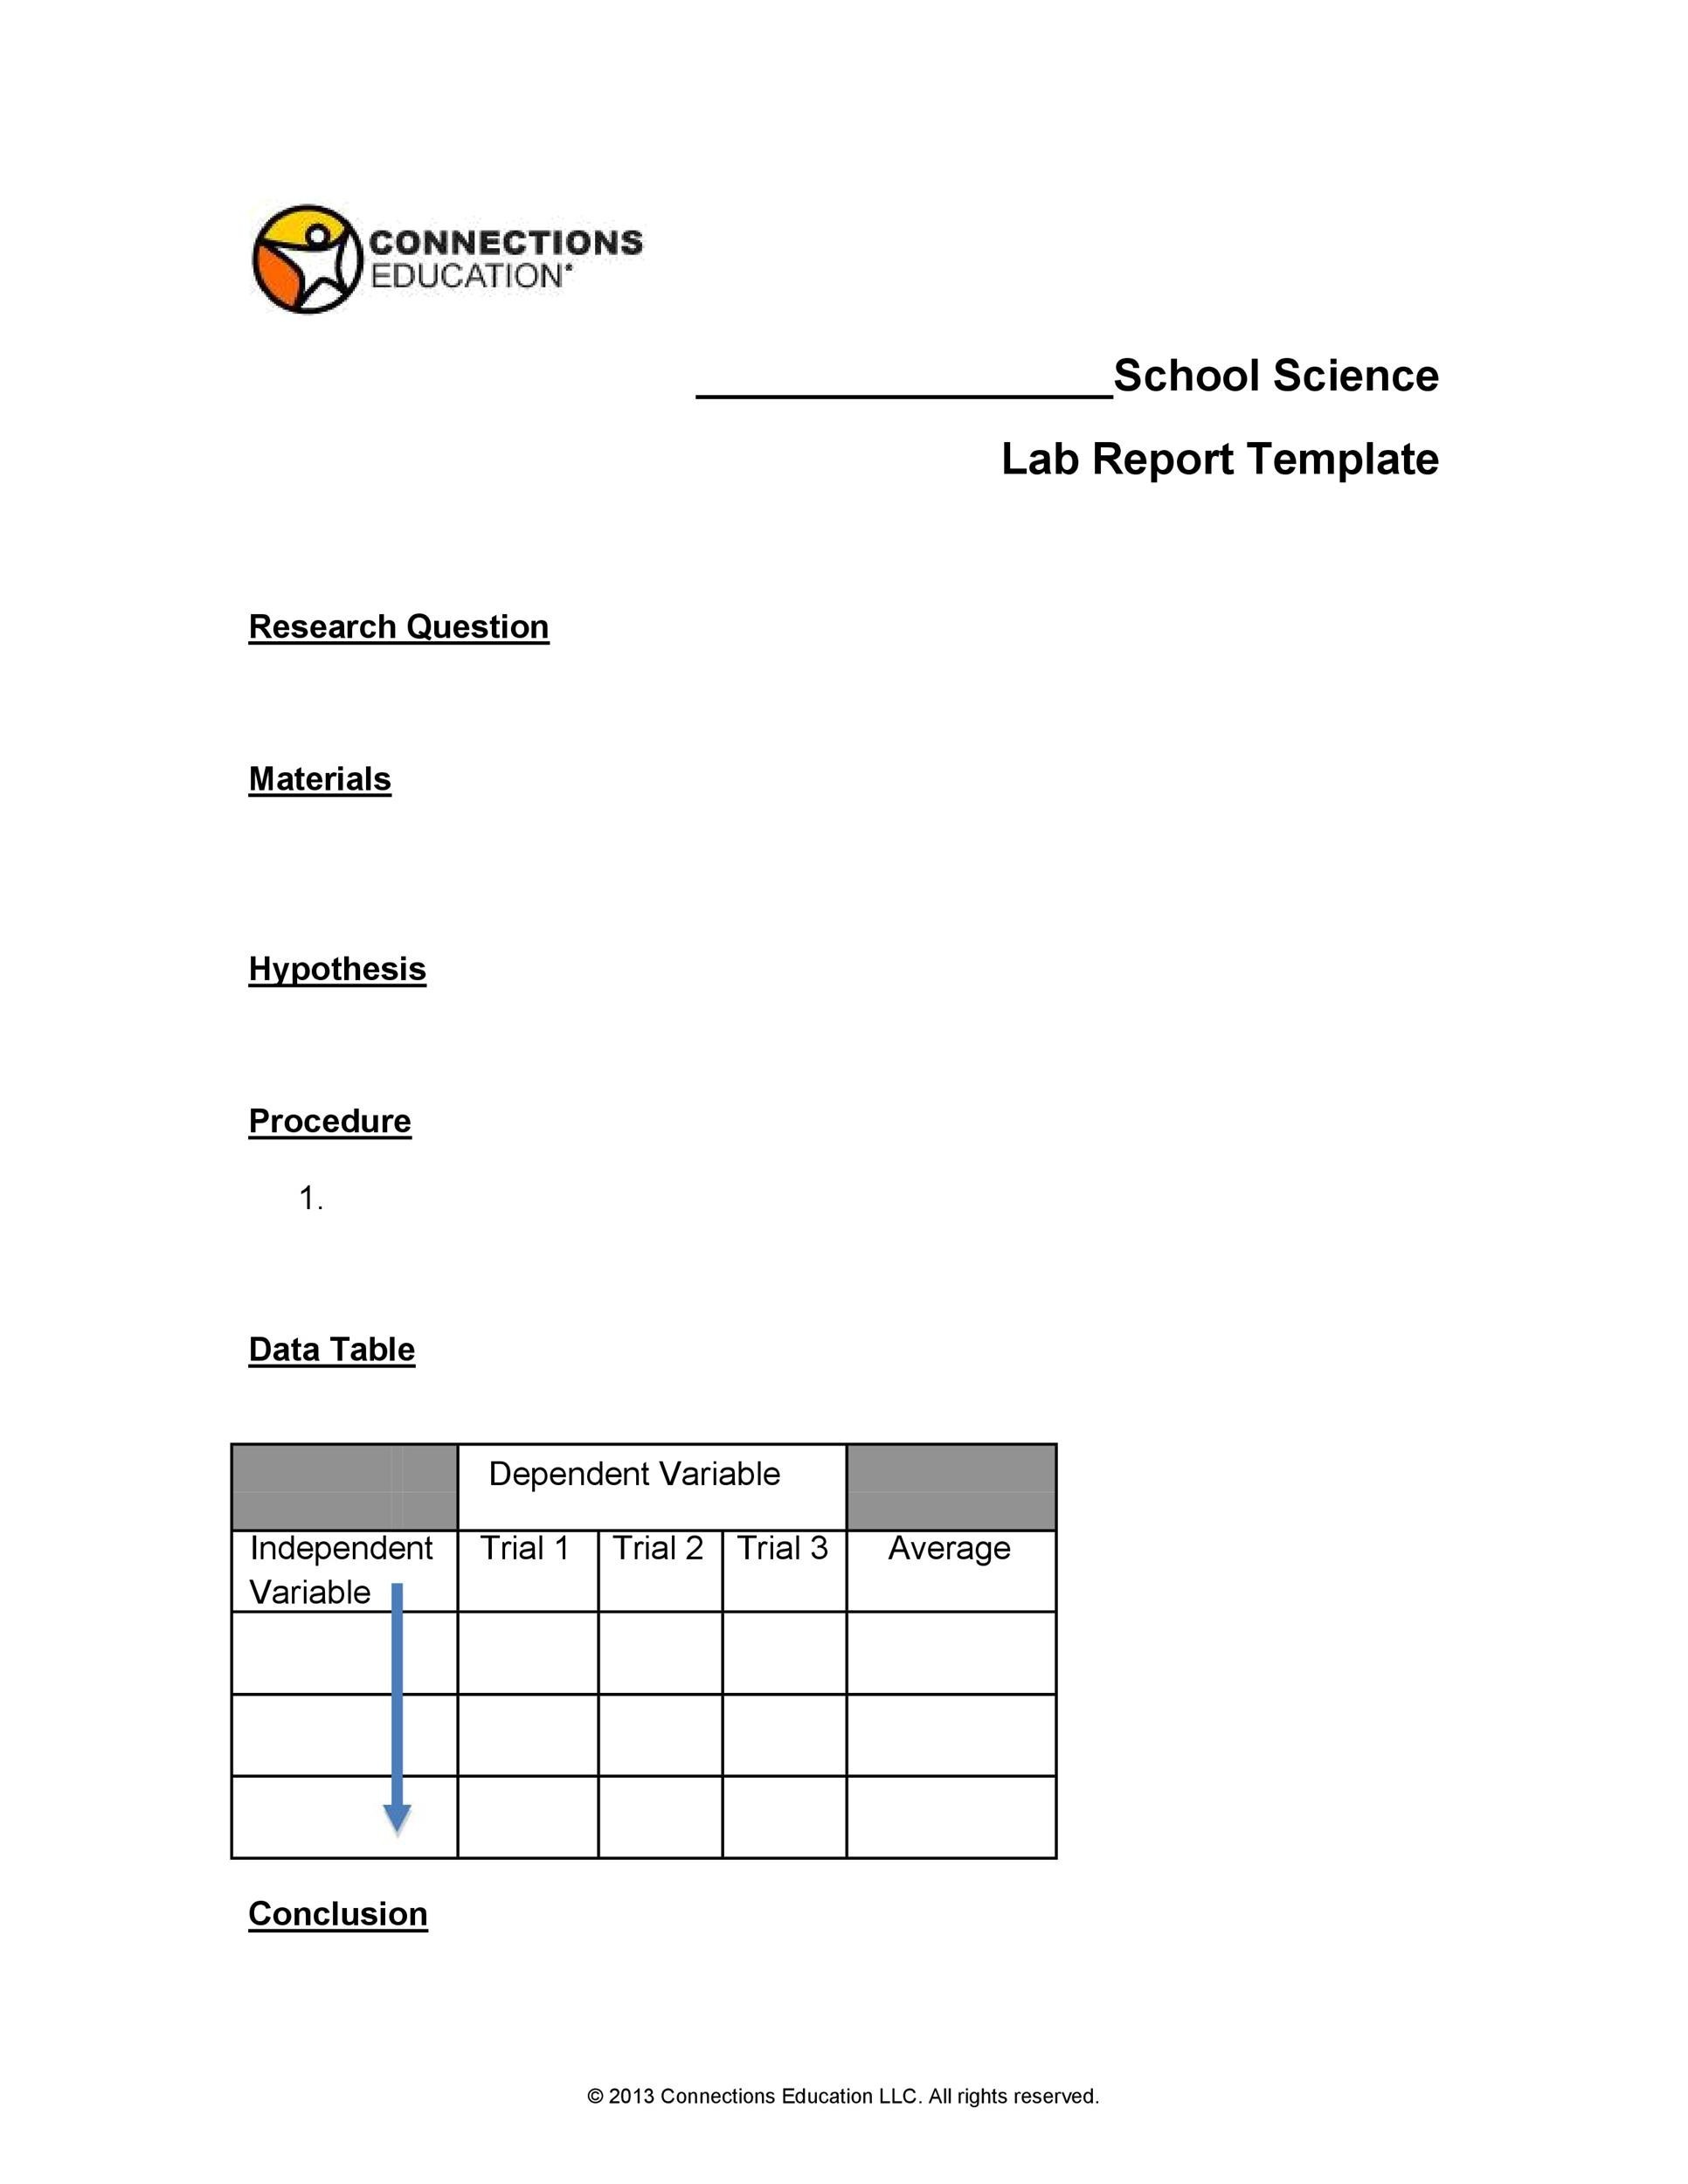
Beyond the basics, many modern templates offer sophisticated tools to enhance scientific communication.
Embedding Figures with Captions
Use the template’s built‑in figure insertion tool to keep captions tied to images. This reduces the risk of mislabeling and maintains consistent font and numbering.
Integrating Statistical Analysis
Templates can include pre‑formatted sections for ANOVA tables, confidence intervals, or regression output. This not only looks professional but also ensures that results are presented with the appropriate statistical rigor.
Collaboration and Version Control
By hosting the template in a shared cloud environment, multiple authors can edit simultaneously. Version control tags and comment threads help track changes, preventing duplication and ensuring accountability.
Choosing Free vs. Paid Templates
Free templates are readily available and often sufficient for standard coursework. However, paid templates usually offer:
- Advanced formatting options aligned with specific journal requirements.
- Integrated citation management tools.
- Customizable color schemes and logos.
- Customer support and frequent updates.
When deciding, weigh the complexity of your project against the cost and benefits of a premium template.
Conclusion
A Formal Lab Report Template is more than a template; it is a scaffold that guides researchers from raw observations to a coherent narrative. By selecting a well‑designed template, following a structured workflow, and vigilantly avoiding common pitfalls, you can produce reports that not only meet academic standards but also stand out in clarity and professionalism. Embrace these tools, refine your process, and let each report reflect the precision and curiosity that define scientific inquiry.

Related posts of "Formal Lab Report Template"
