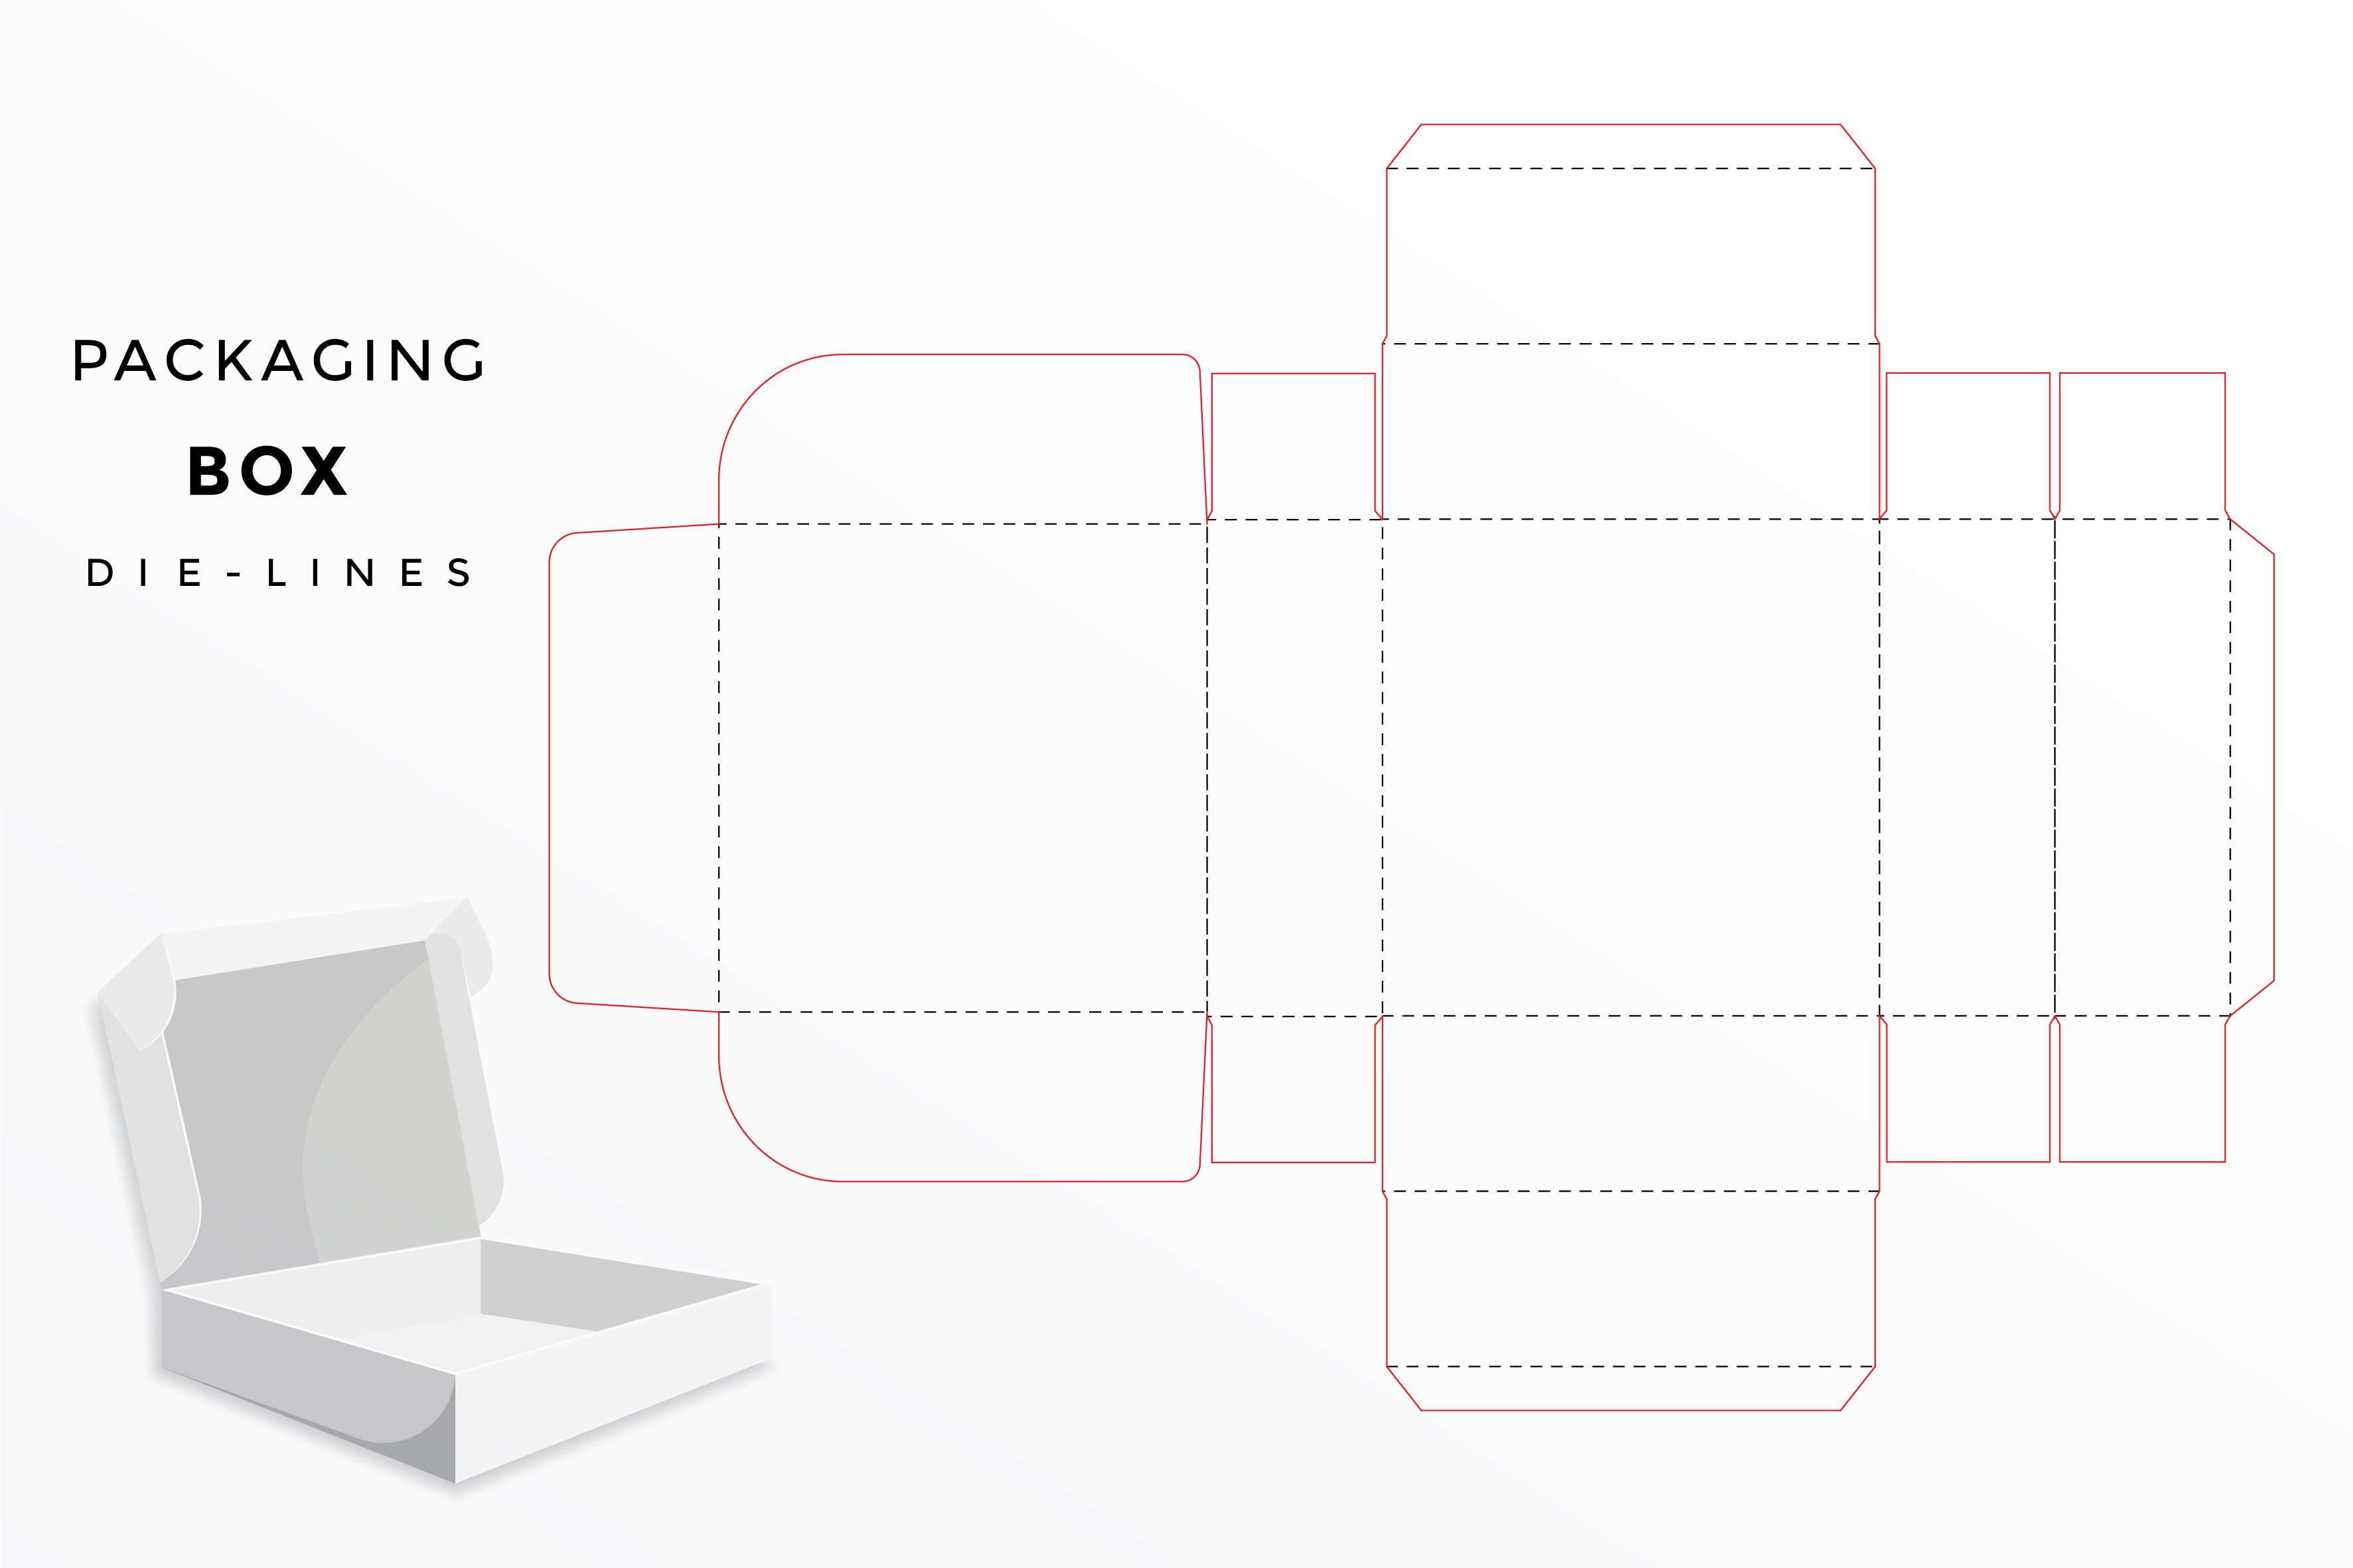
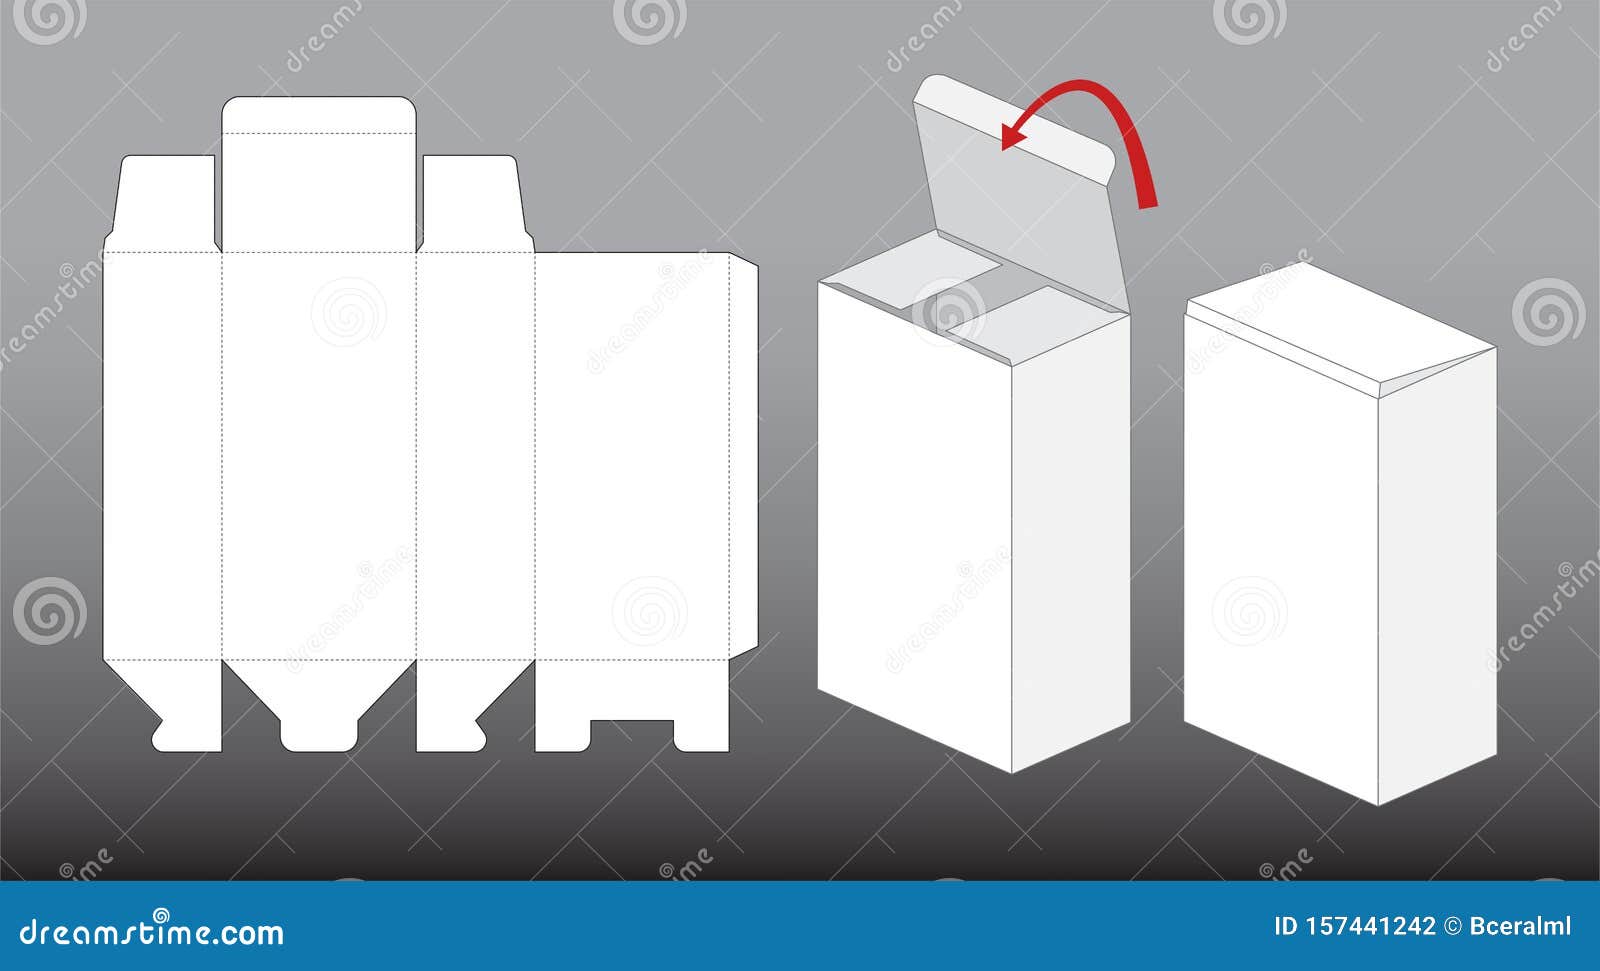
Blank Packaging Templates are the unsung heroes of every entrepreneur who dreams of turning a product into a retail star—without actually being a superhero. Imagine you’re the captain of a ship, but instead of a map, you’re armed with a crisp, printable outline that tells your cardboard how to fold into a magnificent box. That’s the magic of a good template: it’s the blueprint that saves time, cuts costs, and keeps your packaging from collapsing like a soggy sandwich.
Why Every Packaging Designer Needs a Blank Template
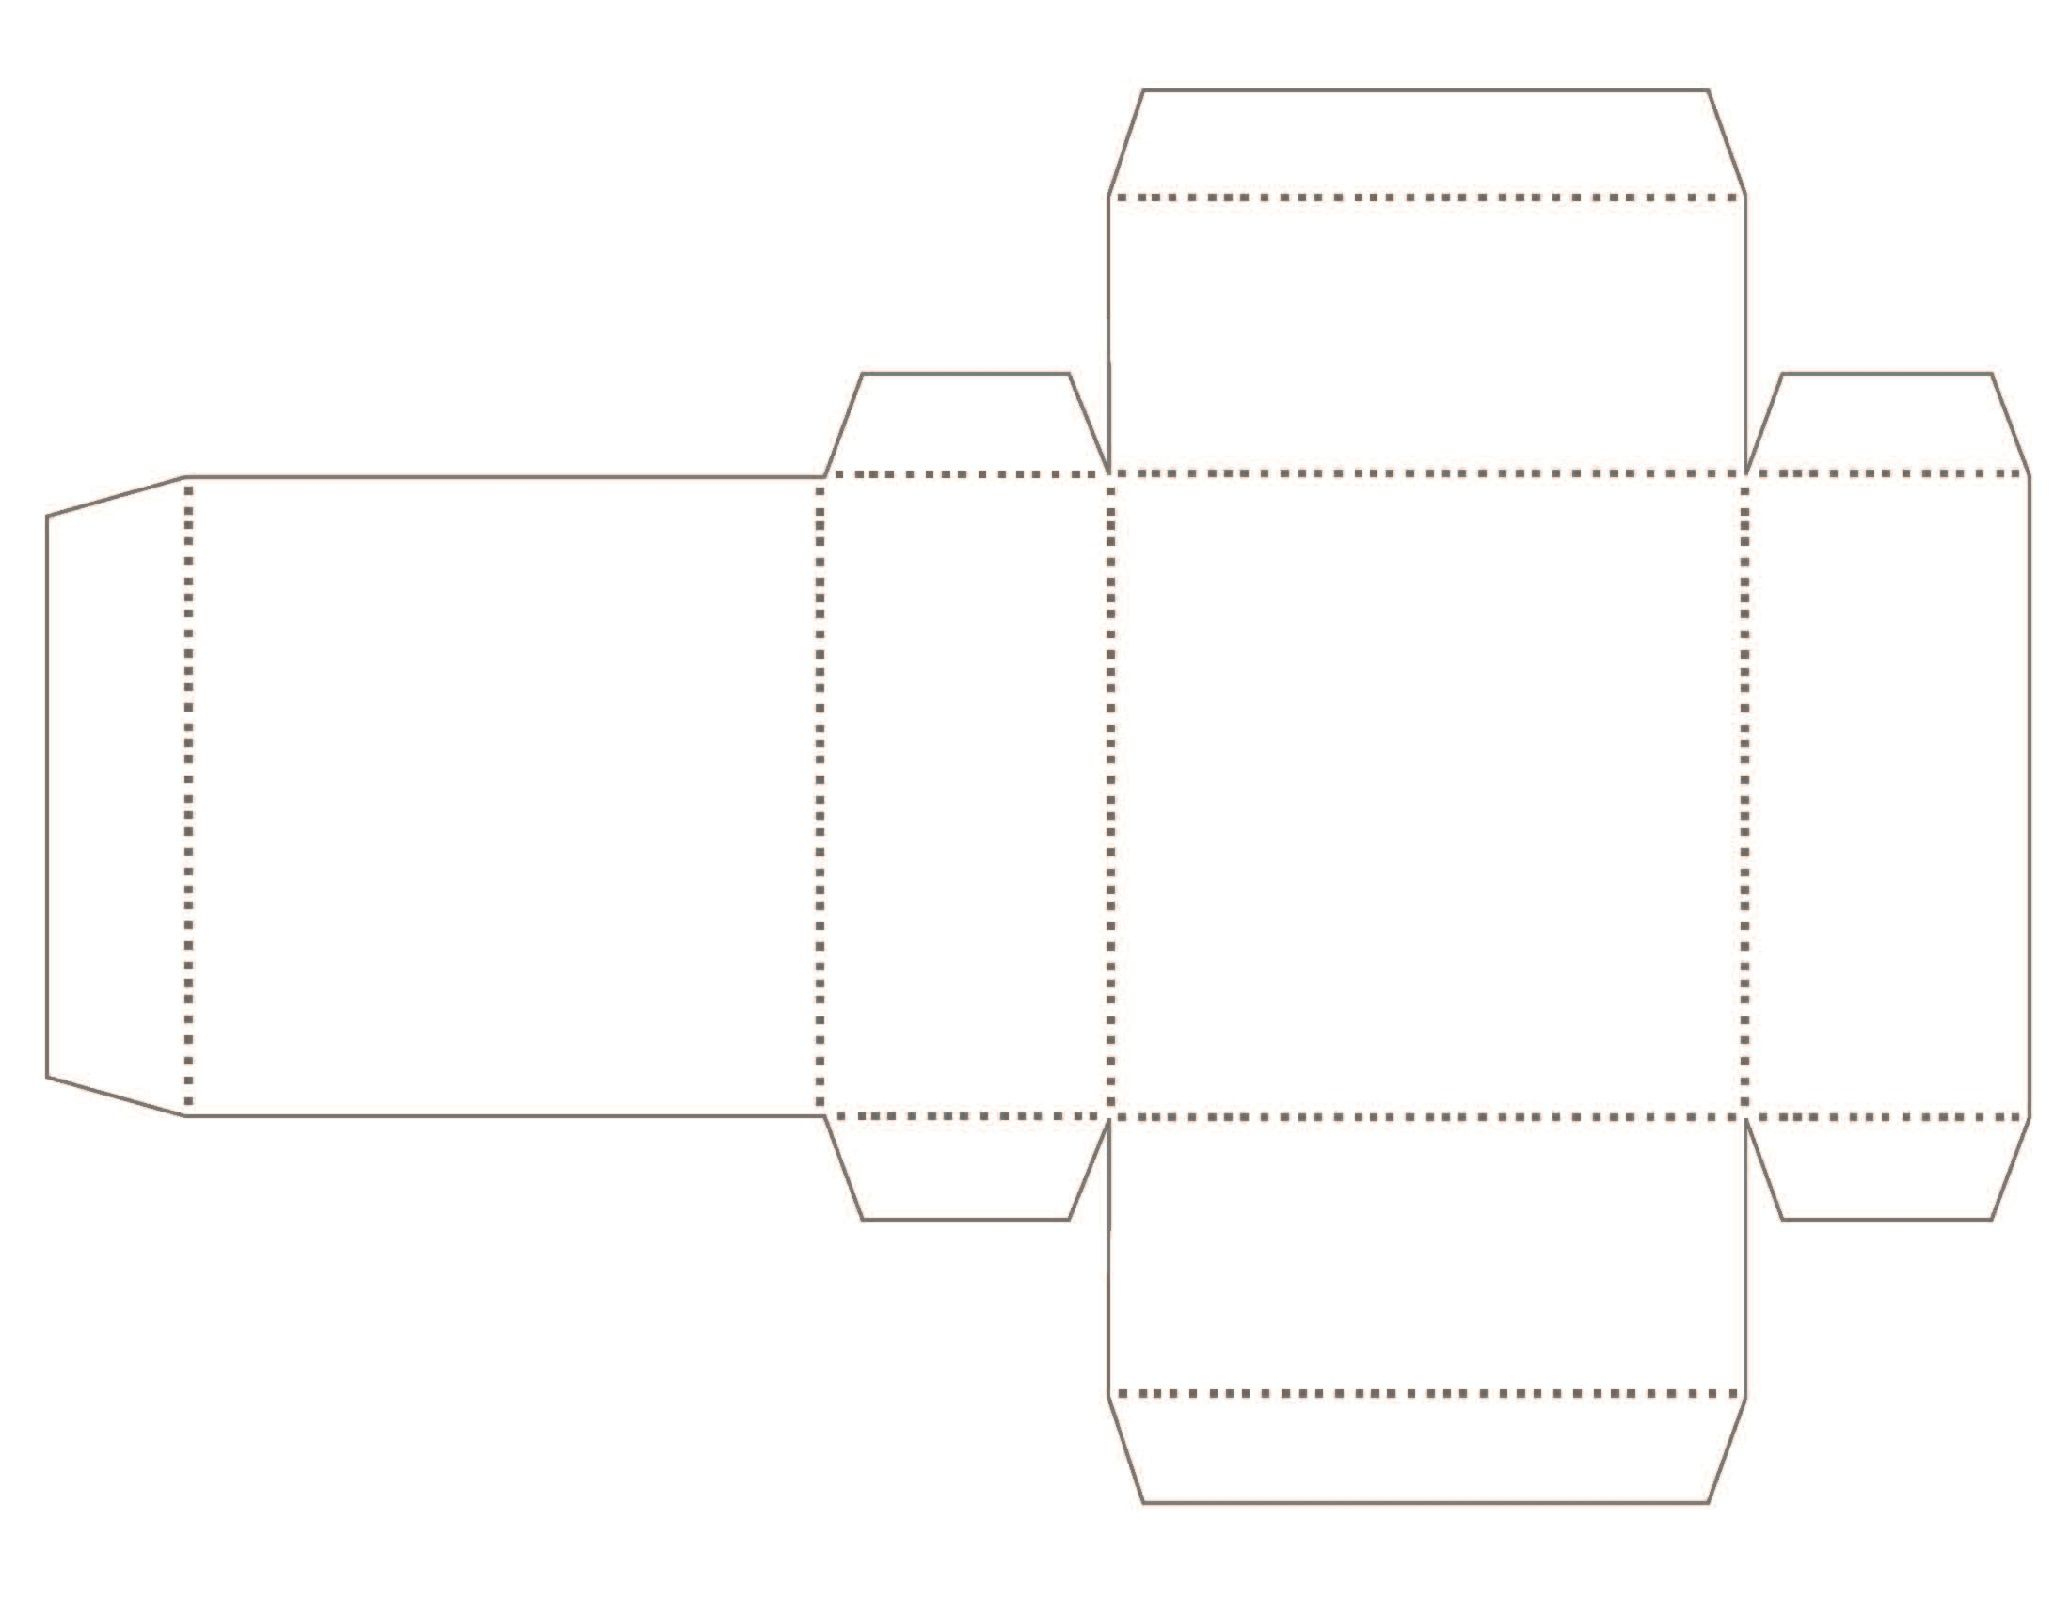
First off, let’s clear up the confusion: a Blank Packaging Template is not a decorative image you paste over a box. It’s a precise, die‑cut pattern that you print, cut, or laser‑cut into cardboard or paperboard. Think of it like a sewing pattern but for cardboard. Here’s why it matters:
- Precision: Every fold line is measured to the millimeter, ensuring that your boxes stack perfectly and fit your product snugly.
- Speed: Instead of drafting a new design from scratch for every SKU, you reuse the same template and just swap the artwork.
- Cost‑effectiveness: A single template can be printed on large sheets, reducing waste and lowering per‑unit material costs.
- Consistency: Brand‑cohesive packaging across products, sizes, and seasons feels more professional to the customer.
Without a template, you’re basically folding cardboard blindfolded while juggling oranges—possible, but not efficient.
Getting Started: Choosing the Right Template Size

Templates come in various shapes and sizes, each designed for a specific product dimension. The most common categories include:
1. Square Boxes
Ideal for small gadgets, cosmetics, or even a single pizza slice (yes, we’re counting it). Square templates are easy to manipulate because all sides share the same length.
2. Rectangular Boxes
These are the workhorses of packaging, perfect for books, appliances, or those awkwardly elongated items that can’t fit into a square.
3. Custom or Irregular Shapes
Think of a wine bottle with a unique silhouette or a gaming console with a quirky corner. For these, you’ll often need a custom template created by a professional or a software like Adobe Illustrator.
When selecting a template, always account for the tolerances required by your cutting equipment. A 0.1 mm difference can cause your box to warp, leading to a costly rework.
Step‑by‑Step: How to Use a Blank Packaging Template

Let’s walk through a typical workflow, from download to final product. Don’t worry—there’s a joke in every step to keep the process light.
Step 1: Download or Create Your Template
If you’re starting from scratch, sketch the dimensions in a vector program. If you’re reusing an existing one, ensure it’s in the same file format (usually PDF or AI) so that it can be exported cleanly.
Step 2: Print on the Right Material
Use a heavy paperboard or cardstock with a smooth finish. If you’re printing at home, set your printer to high‑resolution mode and test a single sheet before scaling up.
Step 3: Cut the Template Accurately
For hobbyists, a sharp craft knife works. Professionals prefer die‑cutting machines or laser cutters. Always keep your cutting blade aligned with the template’s guidelines.
Step 4: Fold, Glue, and Assemble
Fold along the crease lines, apply adhesive to the flaps, and press the box into shape. Remember the rule of thumb: “fold first, glue second, and never fold a glued flap back.”
Step 5: Add Your Artwork
Print the artwork onto a separate sheet or laminate it. Place it inside the box, ensuring it aligns with the template’s dimensions so the final box looks sharp.
Common Mistakes and How to Avoid Them

Even seasoned designers can trip over these pitfalls. Below are some common errors and practical solutions.
Misaligned Creases
If your creases don’t line up, the box will look crooked. Double‑check the template’s scale before printing. Use a ruler or a caliper to confirm dimensions.
Over‑Stretching the Material
Cardboard can only stretch so far. If your product is too big, you’ll be tempted to stretch the material to fit, resulting in weak seams. Instead, tweak the template size slightly to accommodate the product’s bulk.
Ignoring Edge Thickness
Most people forget that the cardboard’s thickness adds to the overall box dimensions. Measure the thickness of your material and factor it into your template calculations.
Creative Ways to Customize Your Blank Templates

Now that you’ve mastered the basics, let’s inject some personality into your packaging. After all, a box is the first physical interaction a customer has with your brand.
1. Embossing and Debossing
Use a die set to emboss your logo onto the cardboard. Debossing gives a subtle, tactile feel that customers can’t ignore.
2. Foil Stamping
Gold or silver foil adds a luxurious touch without breaking the bank. Apply the foil onto the printed artwork or directly onto the cardboard for a high‑contrast look.
3. Matte vs. Gloss Finish
Matte finishes are modern and chic, while gloss can make colors pop. Choose the finish that best reflects your brand identity.
4. Adding a Window
Include a cut‑out window to let customers glimpse the product inside. This is especially useful for cosmetics or small gadgets.
Eco‑Friendly Packaging: Going Green with Templates

Consumers today are increasingly eco‑conscious. Here’s how to align your packaging with sustainable practices while using blank templates.
1. Use Recycled Cardboard
Recycled paperboard reduces environmental impact. Make sure it’s certified and has a smooth finish for printing.
2. Optimize the Template Design
Minimize waste by designing templates that use the entire sheet with minimal leftover. This reduces the amount of material discarded.
3. Offer a Recyclable Seal
Switch from plastic glue to a paper-based adhesive, or use a glue that’s fully recyclable.
4. Encourage Return or Reuse
Include a small sticker or note on the box encouraging customers to reuse or recycle it. This adds value and strengthens brand loyalty.
Real‑World Success Stories

Let’s look at a few companies that leveraged blank templates to elevate their packaging game.
Case Study 1: The Tiny Tech Gadgets
This startup used a custom rectangular template for their USB drives. By printing the template on high‑quality recycled cardstock, they cut production costs by 18% and achieved a sleek, minimalist look that won rave reviews on social media.
Case Study 2: The Artisan Candle Co.
They incorporated a square template with a built‑in window to showcase their candle’s color. Adding a foil-stamped logo on the flap gave the packaging a premium feel, and sales increased by 25% during the holiday season.
Case Study 3: The Eco‑Beverage Brand
Using a custom custom template, they created a box that folded into a reusable pouch. Their marketing campaign highlighted the sustainable design, attracting a younger, eco‑aware audience and boosting brand engagement.
Tools and Software to Create Your Own Templates

If you’re ready to design your own templates, consider the following tools:
1. Adobe Illustrator
Industry standard for vector graphics; offers precise dimension control.
2. CorelDRAW
Another powerful vector program with excellent support for dielines.
3. Inkscape
Free and open source, great for beginners looking to get started without a hefty price tag.
4. BoxMaker and Boxed
Web‑based platforms that let you generate templates from product dimensions.
Final Thoughts and Checklist

Here’s a quick recap to ensure you’re on the right track before printing your next batch:
- Verify dimensions and tolerances.
- Choose the appropriate material and finish.
- Print on high‑resolution settings.
- Cut with precision, respecting the template’s guidelines.
- Fold and glue following the creases.
- Add artwork and optional customizations.
- Conduct a quality check for alignment and strength.
- Consider eco‑friendly options where possible.
- Document the template for future reference.
Blank packaging templates may seem like a small detail, but they’re the foundation of a professional, scalable packaging strategy. By mastering the art of template design and customization, you not only save time and money but also create a memorable experience for your customers. Remember: a great box isn’t just a container—it’s the first page in your brand’s story. So grab that template, unleash your creativity, and let the cardboard adventures begin.